2023 was the year I truly embraced sleeveless things. Heatwaves without air-conditioning are just too dang hot, and I’d rather be comfortable.
I was very interested in trying the Blomma Tank by Paradise Patterns, since it’s such a popular pattern in the sewing community. It’s also a FREE pattern if you sign up for Paradise Patterns newsletter (score!).
It’s a small pattern that comes together pretty quickly, so I figured I would make it a few times and just make subtle changes to it with each time (as opposed to cutting 3 and assembly line sewing them).
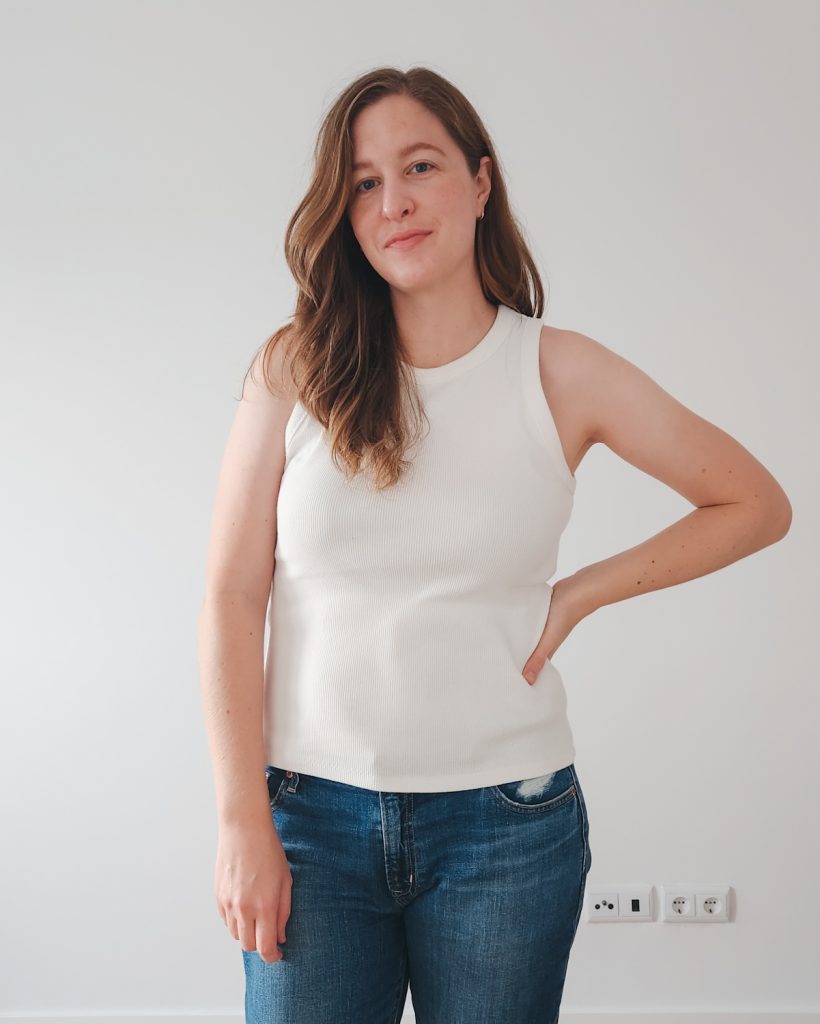
The fabric I used is the ribbing from Soul Fabric. It’s a really nice thicker weight and even the white is very opaque.
*Ribbing Tip: Since the fabric is usually used for cuffs and hem bands, it doesn’t have very good recovery, and it tends to stretch out quite a bit. It’s not as bad for the bodice pieces, but the arms and neckline can end up being too long and make it look loose and wavy when you’re finished. So, when I was cutting the armbands and neckband, I would cut the piece like normal, stretch it out a little bit to see how much it would stretch (without recovering to the same length), and then cut off a little bit more to get it back to the size of the pattern piece. It worked pretty well, and the fabric stretches so far that I didn’t have any problems sewing the pieces on.
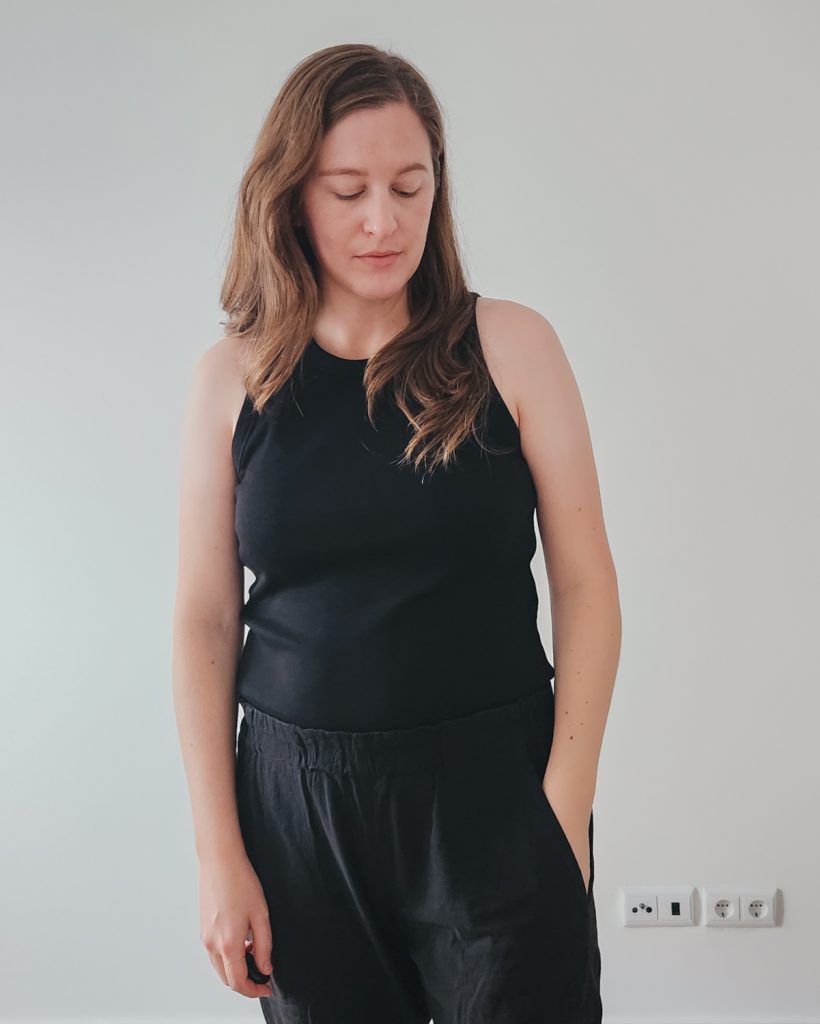
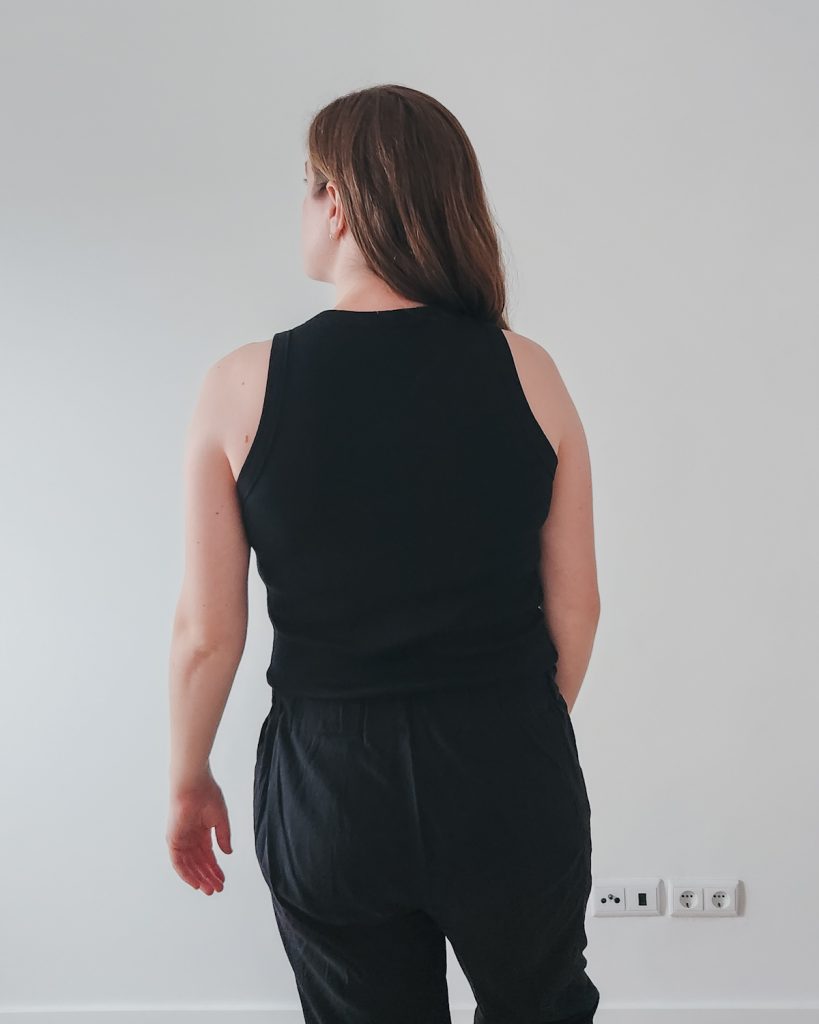
Version #1
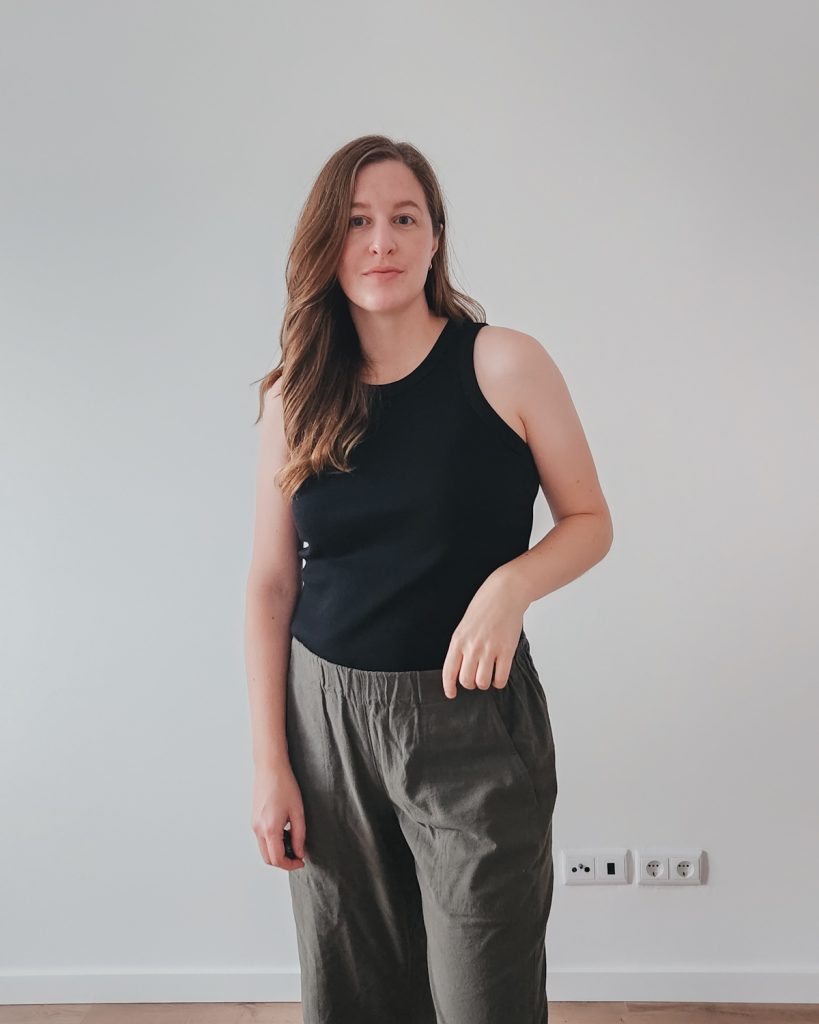
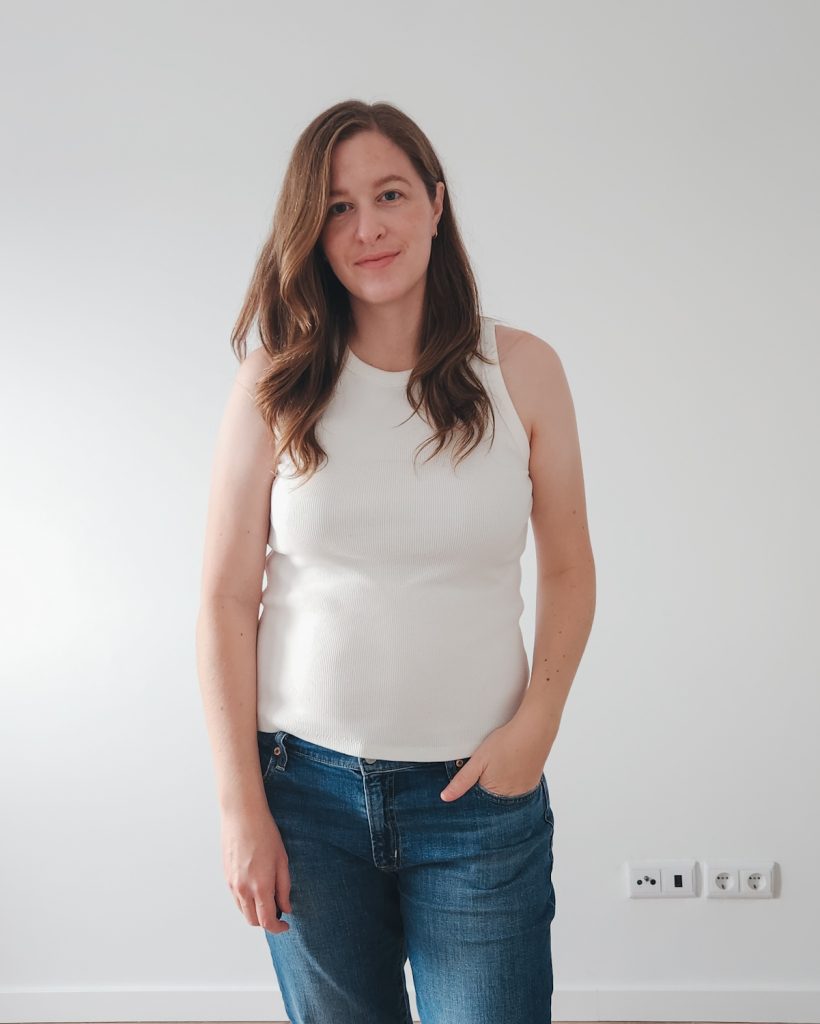
For my first one, I made size F which is right in line with my measurements. I decided not to make any changes besides adding 2″ in length to this first one.
Since the fabric was stretching out a bit, this size felt a little bit too big. I also I felt like the length was too long, but it was a good length for tucking in nicely. Sometimes I don’t like tucking, and this fabric was a little bit too thick to try any type of half tuck.
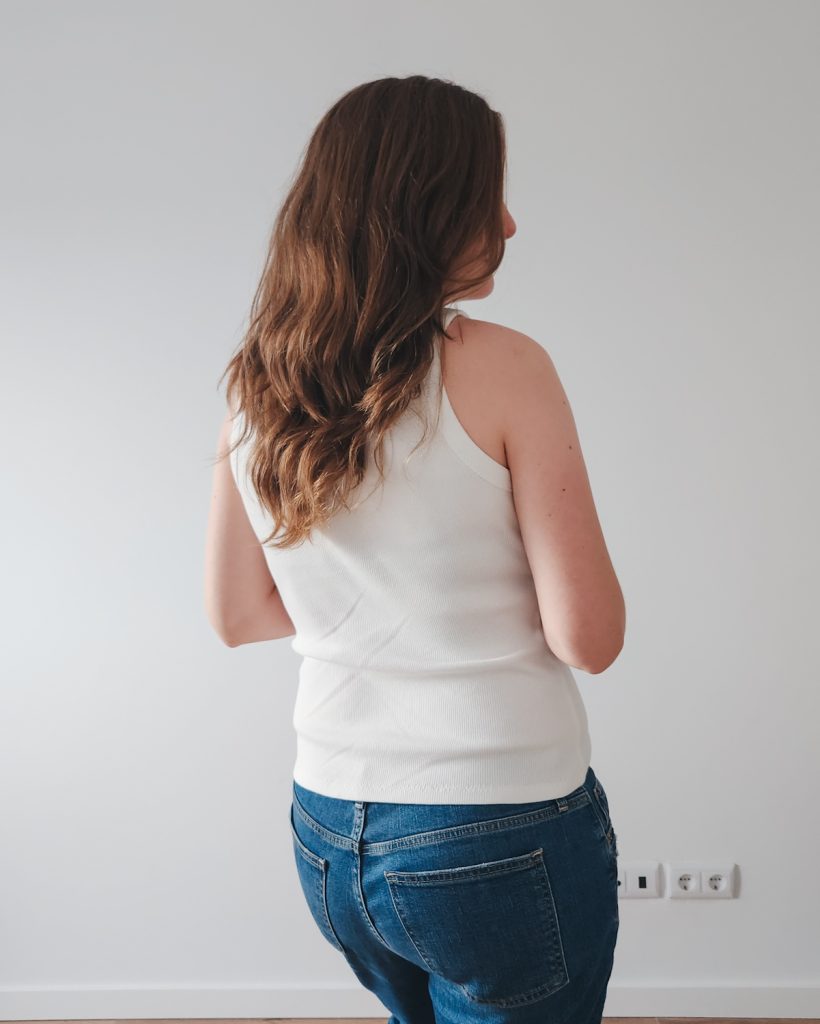
Version #2
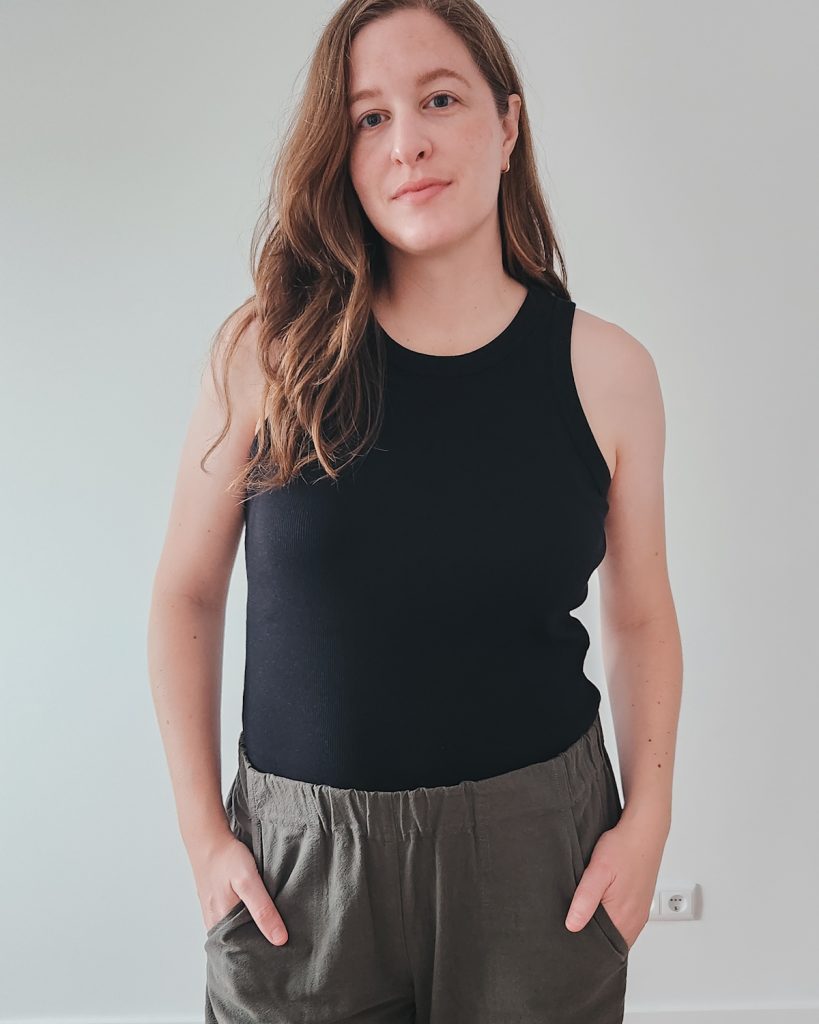
Since size F was too large in this fabric, I went down one size, to size E. I also only lengthened it by 1.5″ this time.
I straightened the front and back armscye curve a bit so that it was a little less cut out (less curved in). Then I lowered the armscye by 1/2″ (for more armpit room), which didn’t feel like a huge difference since I had sized down.
Version #3
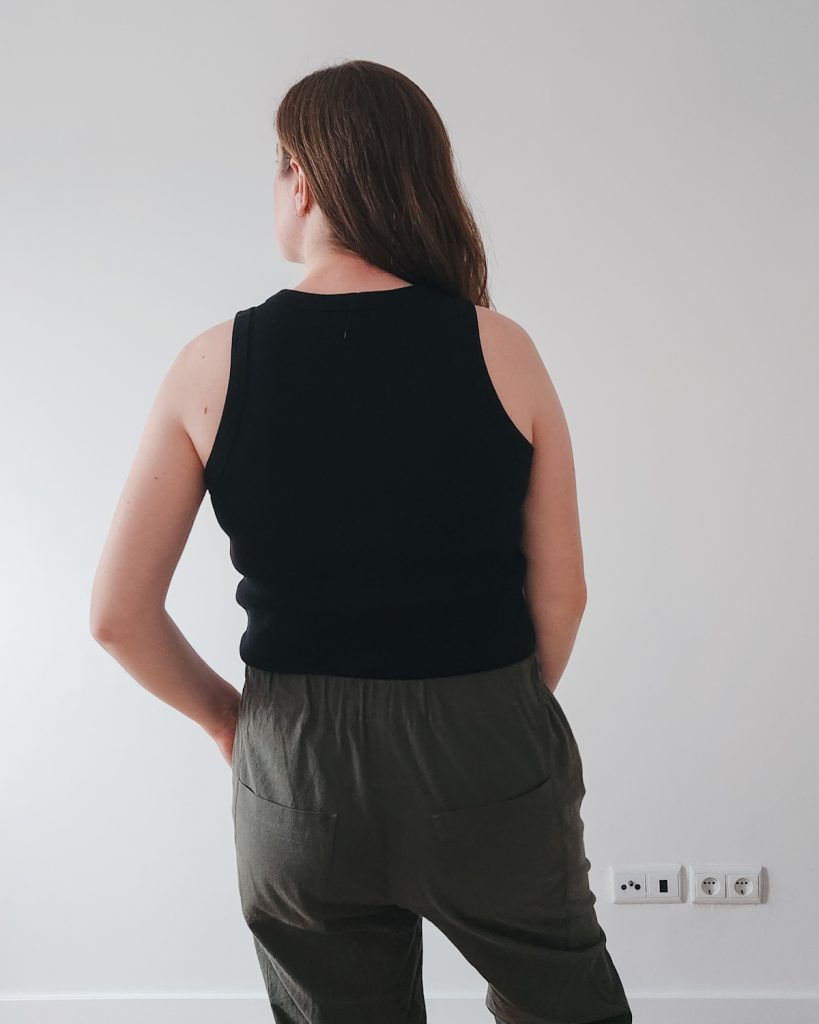
This last version, I made in a size E again, but my approach for the armscye was a little bit different.
Instead of lowering the armscye by scooping it out from the bottom, I drew a horizontal line from the center seam to about mid-armscye. Then I used that as a lengthen line and added 1″. I don’t think that was the right way to do it, but hey, I’m not a professional. I also did the same as I did for version #2 and made the armscye less cut out in the front and back.
My mistake with this one is that because I added length at the top, I thought adding 1/2″ would be okay, but it’s almost too short. I don’t have any problems wearing it, but I still need to figure out the right length for future versions. And lastly, instead of lengthening at the chest I’ll just scoop it out the armscye like I did for version #2.
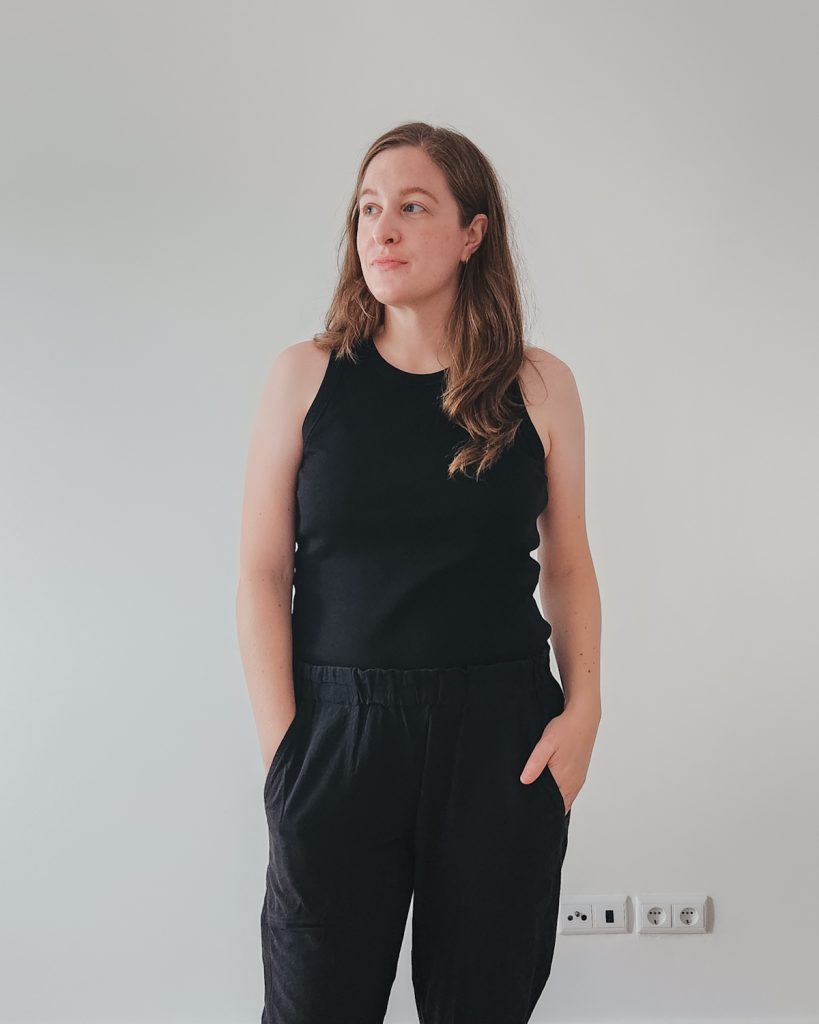
Styling
Even after making the pattern 3 times, I didn’t get it perfect, but I was approaching it as an experiment. So even though I will probably make other subtle changes in the future, these are all wearable versions that I’m still happy to have in my closet. So here are a couple of ways I’ve been wearing them!
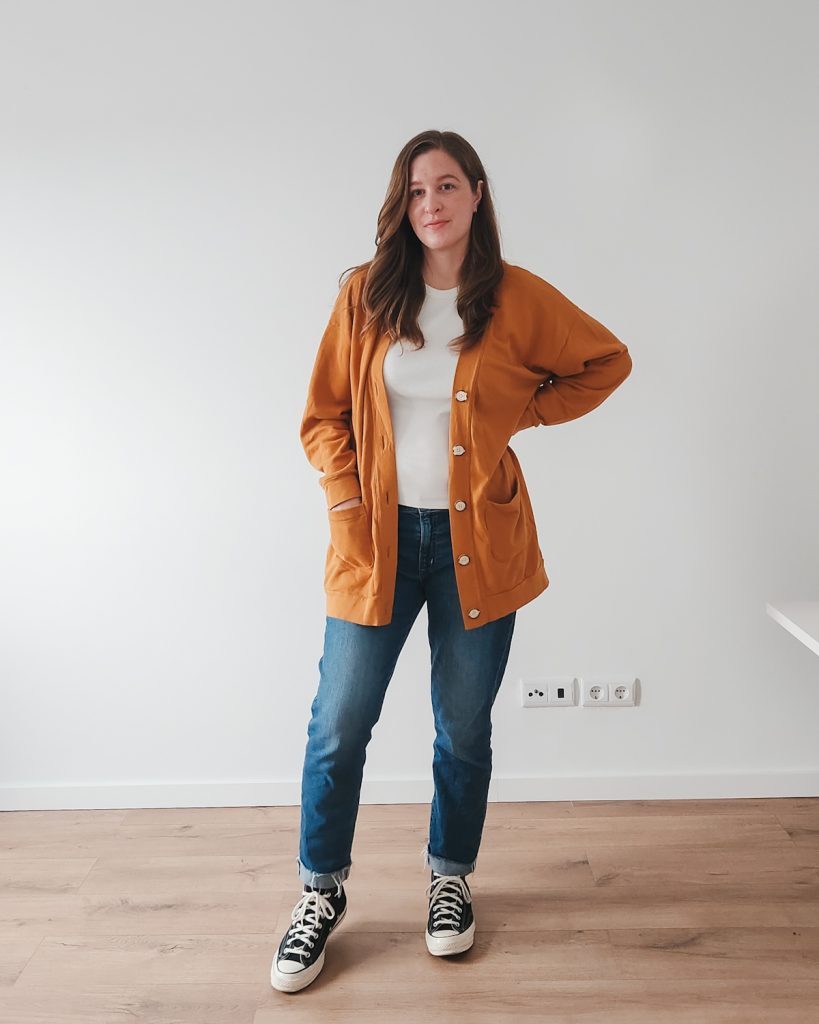
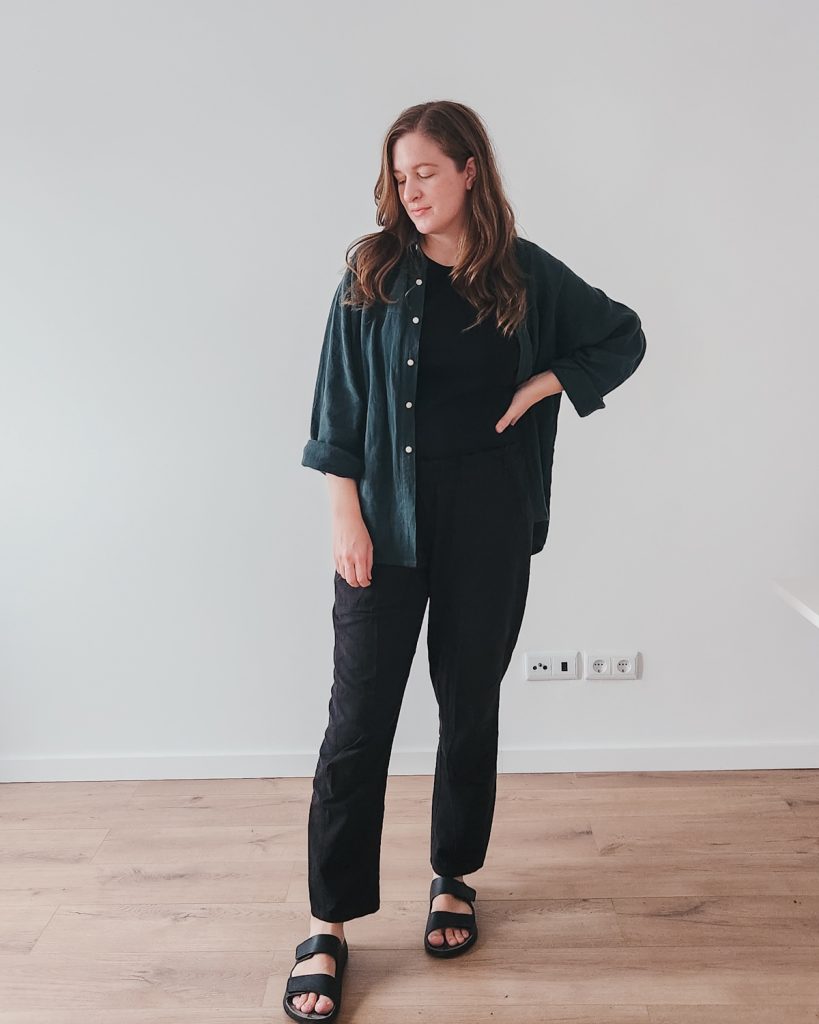
They were so nice during the summer when it was hot and I could wear them tucked into shorts. But even during the fall and winter, I’m still wearing them on warmer days under cardigans and button ups. I could even layer them with a sweater on colder days to help hold in some body heat.
This post was a little bit chaotic, and it might not be very helpful to anyone else, but it’s fun to share new things and small progress! I also have more of this ribbing in light blue and light pink, and I want to try again with a lower neckline in the future. So, the experimenting continues!
If you have any questions or comments, feel free to leave them below. Happy sewing! xoxo