I am way overdue on making another Willamette after making my first one in February of last year. My first one was view C, and I made it out of a cotton/linen that was borderline too thick. I lengthened it by 3″, but with mid-rise pants, it still just wasn’t quite long enough for my liking. So I knew for my second one I was going to have to add at least an inch AND be much better about my fabric selection.
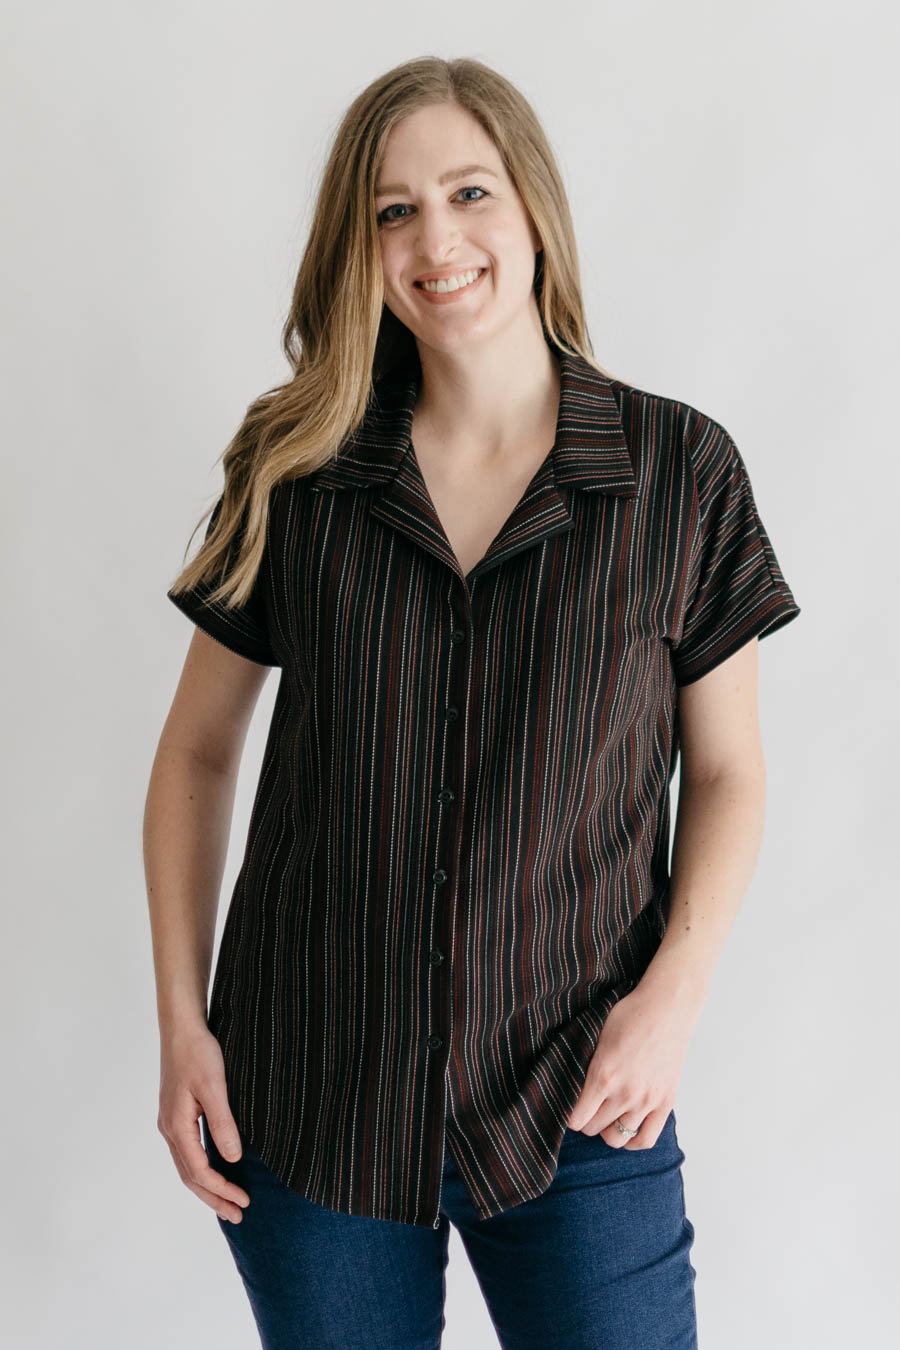
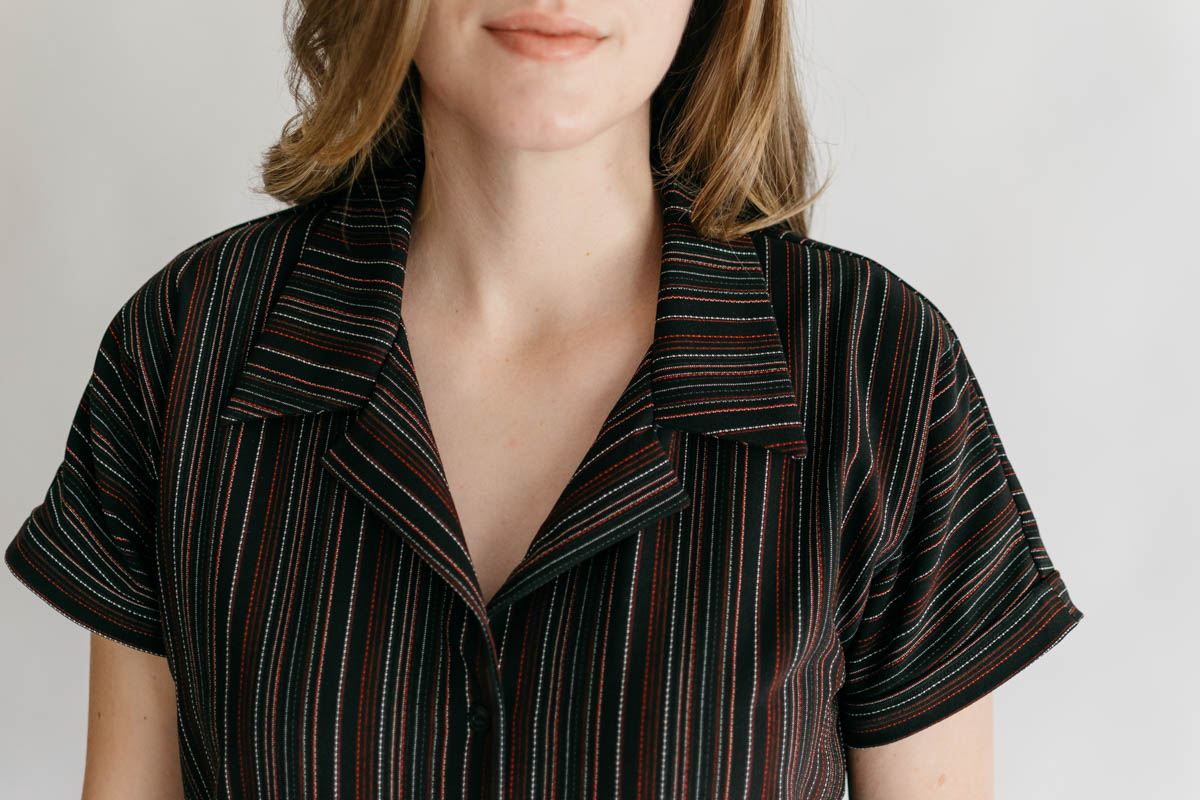
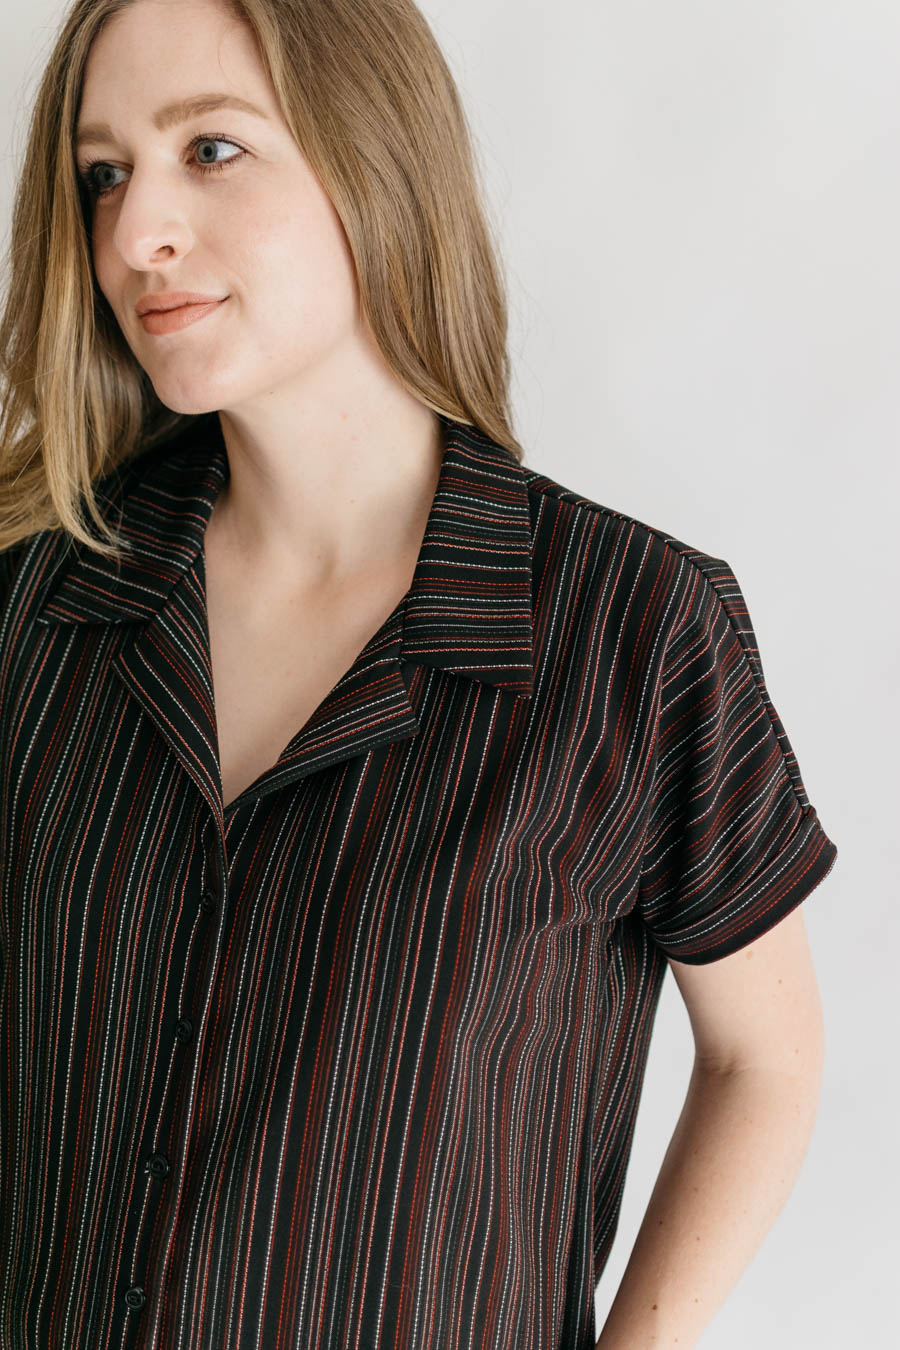
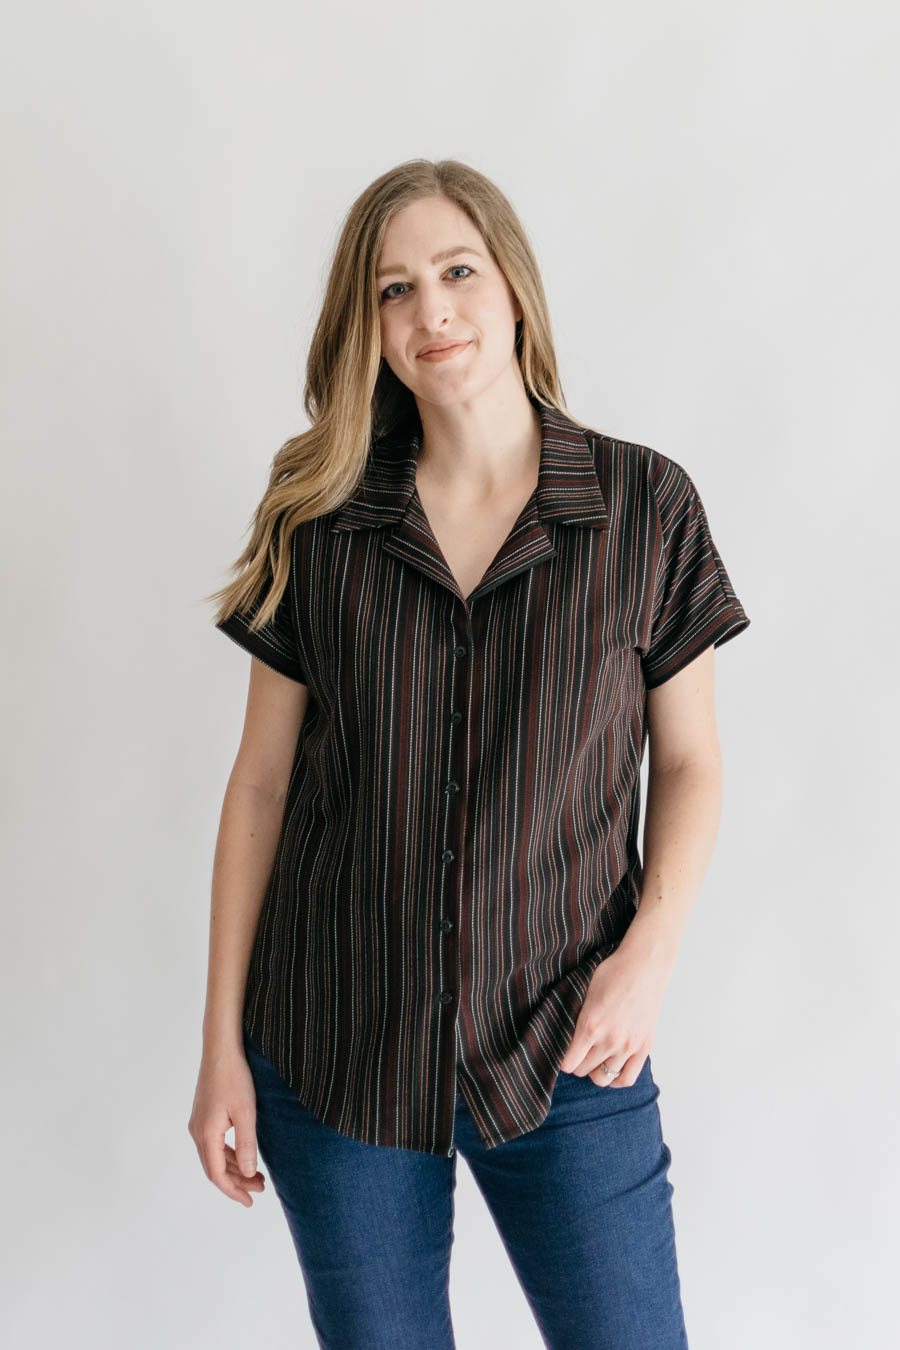
For those of you who don’t know, this is the Willamette Shirt by Hey June. It is one of my top favorites FOR SURE. I love the Willamette pattern because it is just so nice to sew. There aren’t any frustrating parts – even the collar is a breeze! The pattern is actually designed to be sewn up in front as a pullover style shirt, but I really just like it with buttons so much better. It isn’t hard to add them, since the pattern already has a facing inside, so it’s really just as easy as – ‘add button holes and buttons’. The pattern has one button hole already, but I started my first button about 1″ down from the provided button spot because I didn’t want any gaping at my chest line. Then I just added a button every 2″ after that until I decided they were far enough down the shirt.
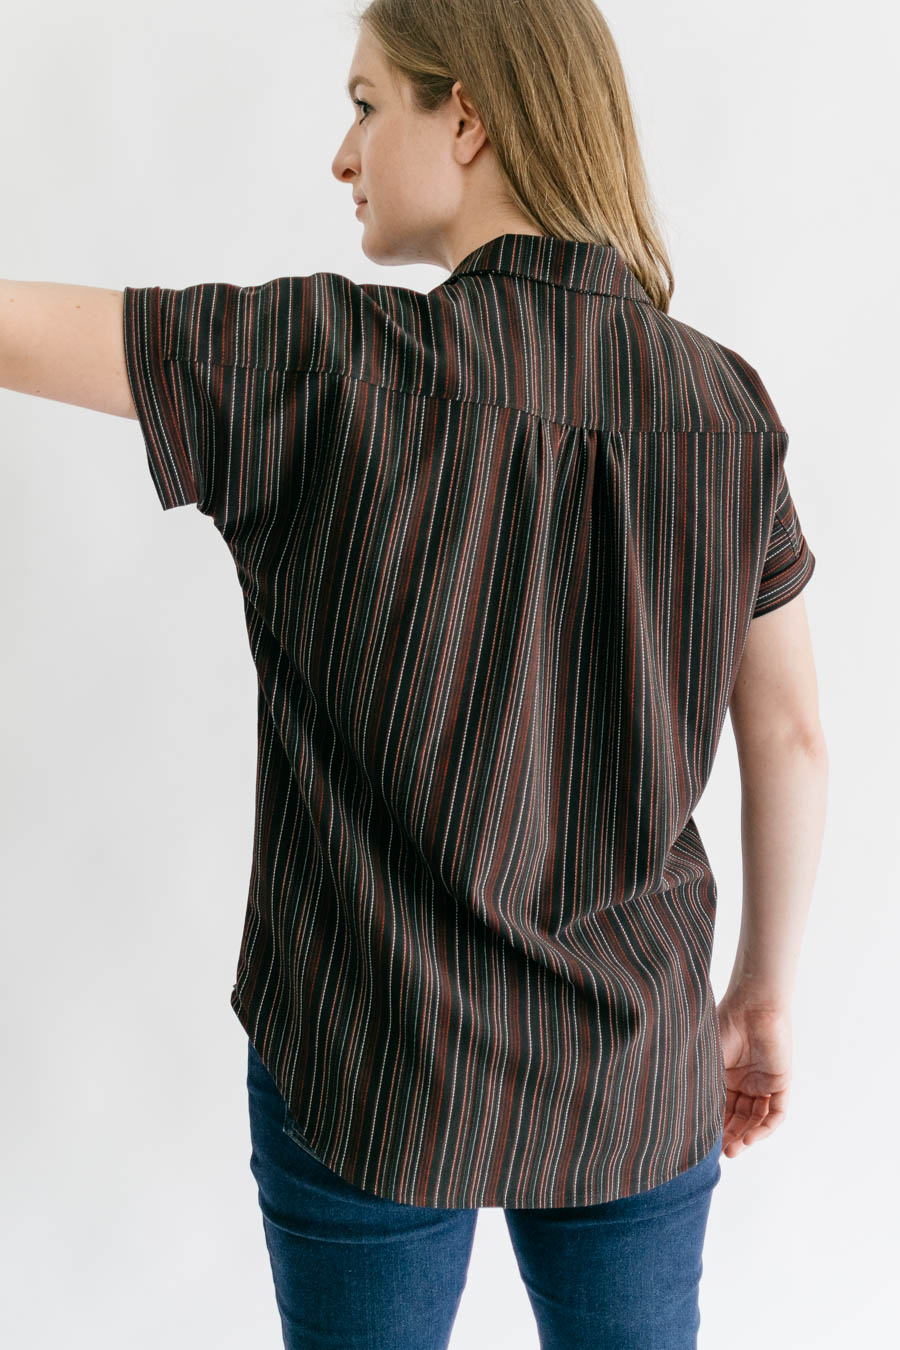
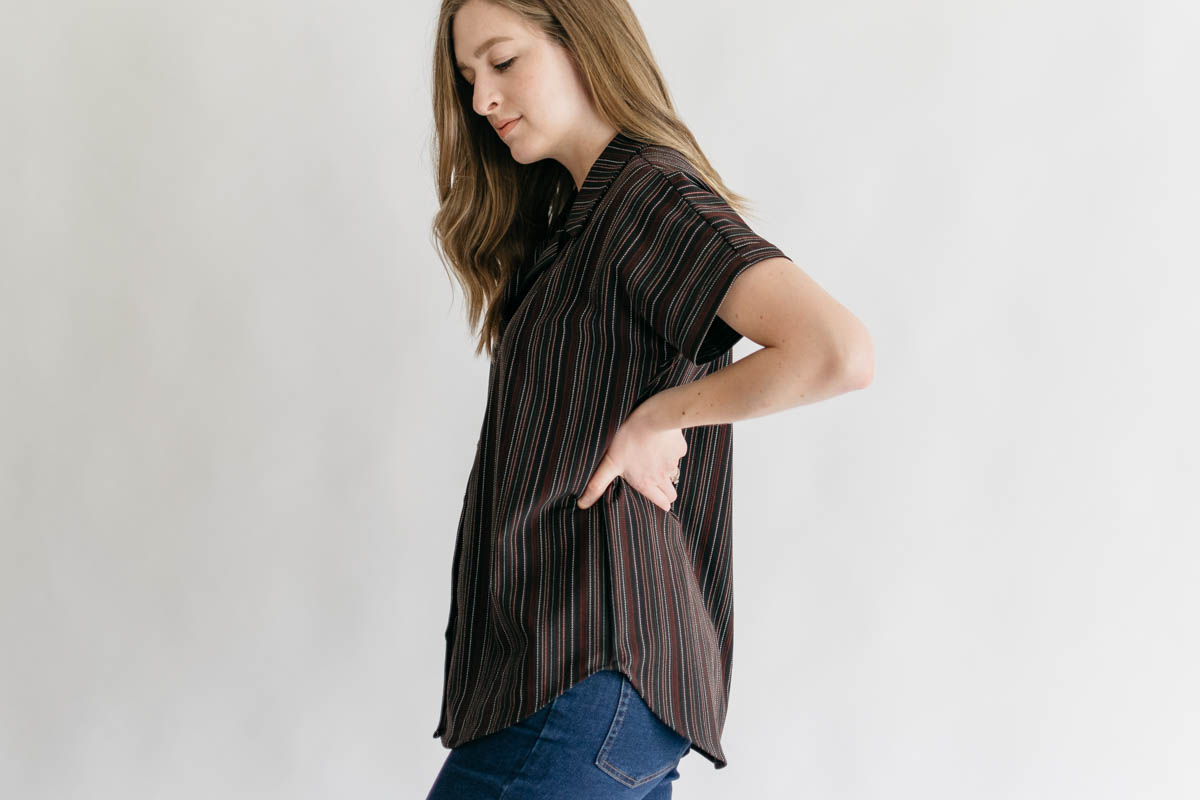
This time, I made view A of the pattern and lengthened by a whopping 4.5″. After sewing the side seams I decided I didn’t like the front as long as the back, so I cut off 1.5″ from the front. Now I feel like it’s the perfect length, and I LOVE wearing it. The only other adjustment I made was to gather between the pleat markings instead of making a pleat (to mimic the look of my inspiration shirt), which is as easy as it sounds. My fabric is a thrifted stretch shirting of some kind, which I actually cut on the cross grain so that the stripes were vertical.
The most game changing thing I did this time was to sew my buttons on with my machine! I have seen multiple sewists show and tell how they do it, but honestly I was just too lazy to take 10 minutes to figure it out – and that’s literally how long it took me from start to finish with this shirt’s buttons. So if you are lazy like me and you’re thinking, “It’s okay, I’ll just hand sew them during a movie, or while I’m traveling, etc.” — DON’T! Seriously, just save yourself the time and headache and find your manual, because it is SO EASY! And if you love hand sewing buttons on by hand with all of your heart, you can just disregard this advice – But maybe at least try it? 😉
I really like this style of shirt, but I want to also try making a shirt like this with set in sleeves, as opposed to the grown on sleeve. I know there are a few patterns like that, but none that I have heard raving reviews about yet. So if you have one you highly recommend, let me know. I might either try hacking the Caroline Pajama Top, or mixing it with this pattern somehow…It’s going to happen eventually.
I hope this has inspired you in some way, and if you like the look, you should definitely try this pattern! Happy Willamette Shirt sewing!
I love Reeta by Named patterns. It’s a dress but it’s easy enough to cut off at shirt level. I have made it so many times as a shirt. It has the same kind of collar as the Willamette but set in sleeves.
Oh my gosh, thank you so much for reminding me!! That would be so much easier! I made the dress last year, and I remember the collar on that one was VERY frustrating, so I might have to compare the two and see if I can make it a little better. Thank you, Jenny!
Your comment about having the stripes run vertical – you can just DO that? Cut the fabric the other way? If so I’m really kicking myself because I had some striped fabric that I cut out to have horizontal stripes, but I would have preferred vertical!!
Love your shirt, I love the Willamette pattern!
I wondered the same thing! When I asked in my Insta Stories, most people said that it just depends on the drape – AND my fabric had a tiny bit of stretch, so I had to make sure the stretch was the same in both directions. But I think as long as it still drapes well on the cross grain, you can cut it that way!
And thank you so much, Emily! The Willamette is a rockstar pattern!
Oooh I hear ya on the buttons! It also took me years to try it out and it’s so much faster!
The blouse looks awesome, love your fabric choice!
I’m so glad you’re on the “sew buttons with the machine” team now too! 😉 It is loads faster! And thank you so much, Karin! I am very happy I picked a better fabric this time around.
Love it! I. Just making my first Willamette and already love the style. Thank you for the fitting tips, next time I will also lengthen 🙂 Did you try the Melilot shirt yet? X
Thank you, Emma! I’ve found that since I have a long torso, I have to lengthen the Willamette and Key Largo (by Hey June) more than I do other patterns. It’s easier to make them shorter, than it is to go back and try to make them longer! 😉
And I had totally forgotten about the Melilot Shirt! I have seen it a few times and it’s very cute! I bet it wouldn’t be hard to adjust the round collar either. Thank you for reminding me!