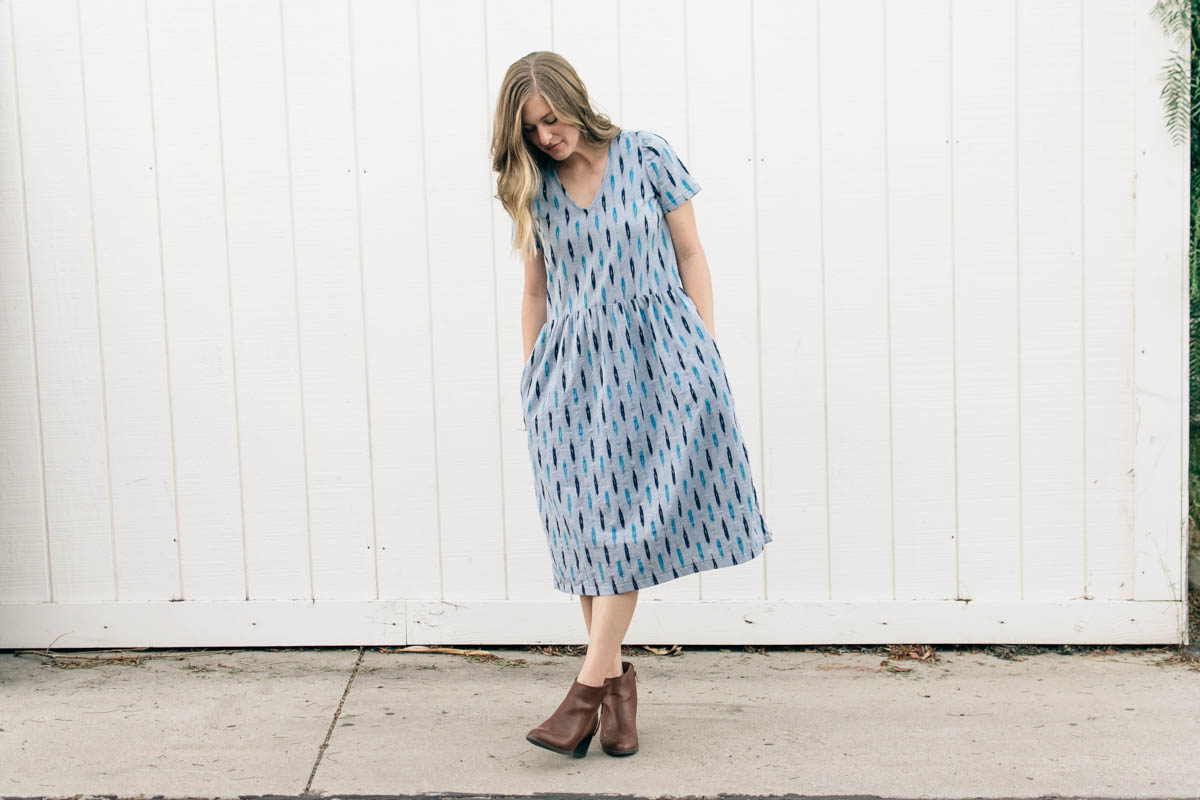
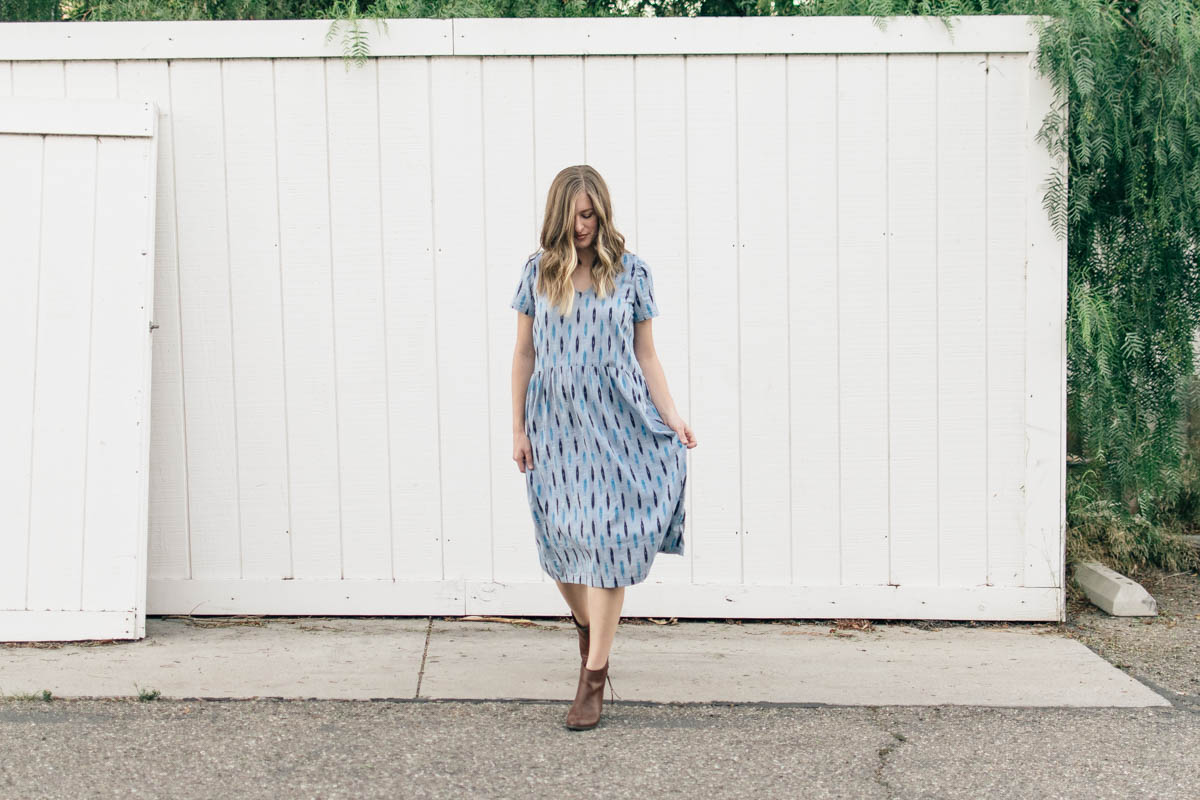
I’m so excited to share this dress today because it turned out exactly that way I hoped! Don’t you love when that happens? I used 3 different patterns to make this ‘frankenpattern’ dress (fitting since it’s almost Halloween!).
This dress was inspired by a dress I pinned years ago (photo below), and when I saw this fabric I knew it was the perfect match. I was scouring the internet trying to find more views of the dress or what company made it, and I discovered that the dress is from Ace&Jig. I’ve only ever heard the name Ace&Jig, but after looking around on their website, I found out that they source their fabric from India (which is where my fabric is from!). They are also very conscious about ethical labor and sustainability, aaaand that is why their dresses run between $300-400. So, if you are a sewist who favors and supports ethical and sustainable fashion, you can recreate this dress for MUCH less.
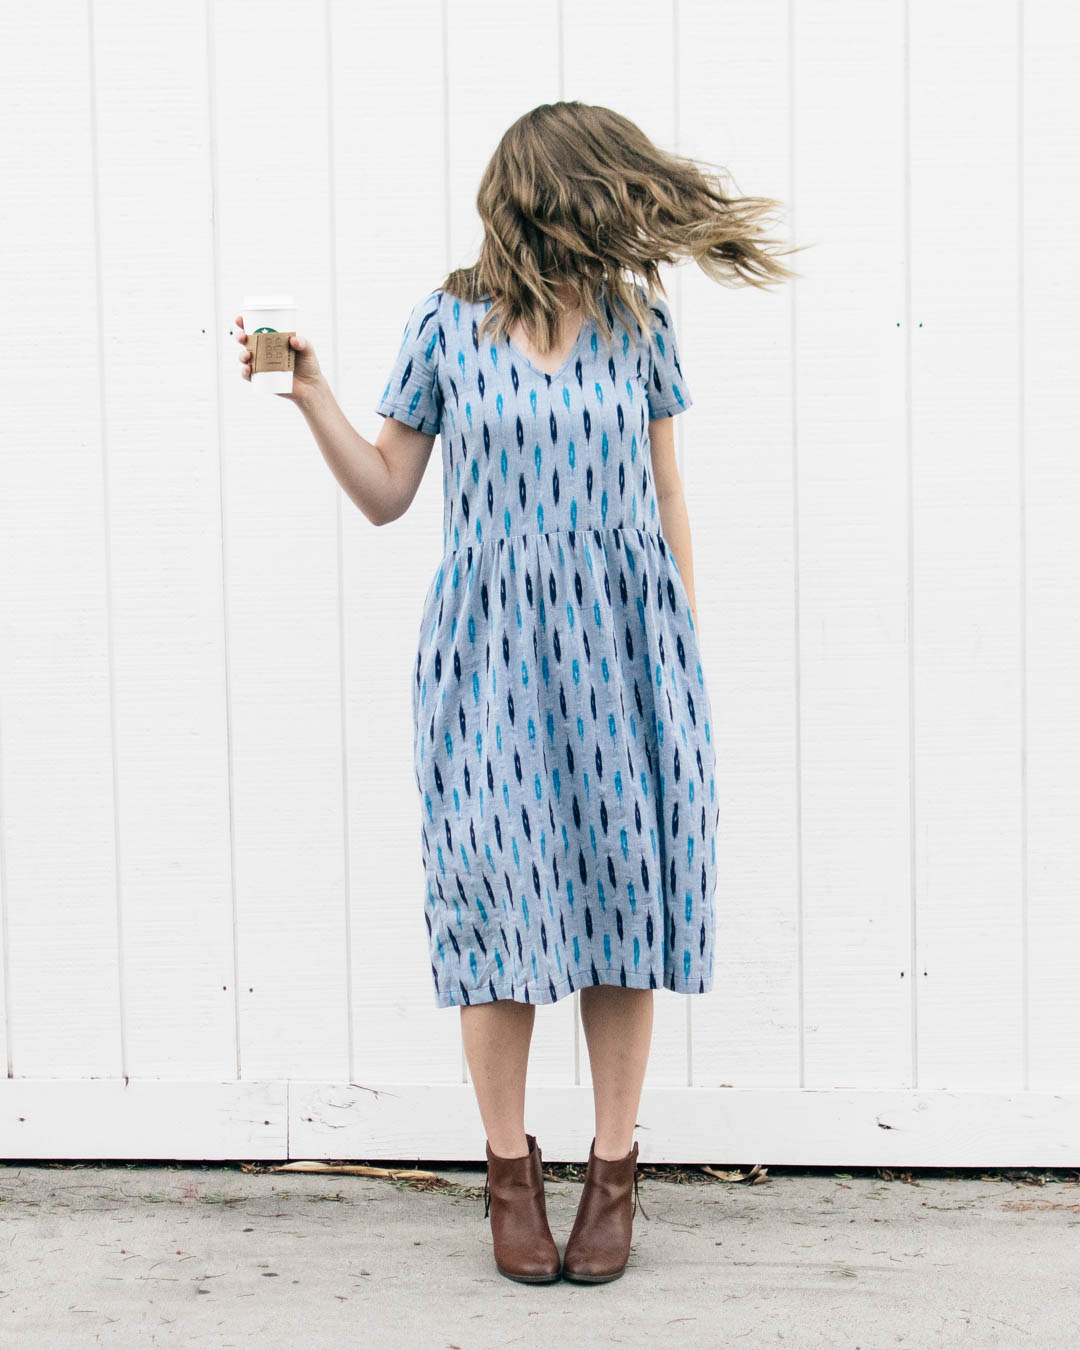

This fabric is a grey and blue ikat from Fibers to Fabric, based in Mumbai, Maharashtra. I love the fabric’s vibrant colors, and it was very easy to cut and sew with!
When I was inspecting this fabric before starting this project, I found a couple things that I haven’t seen in other fabrics I have worked with. There was a “weave break” in the fabric that was about 1×5″ on the fabric running parallel to the selvage. It was about a foot into the fabric, so it was a challenge to work around, but thankfully I was able to get it all cut out. The fabric also has some slub, but some of the slub was larger/more noticeable than I’ve seen in other slub fabrics. It won’t stop me from wearing this amazing dress, but when you buy hand spun and hand woven fabric, you will want to be aware that those things may appear in parts of the fabric.
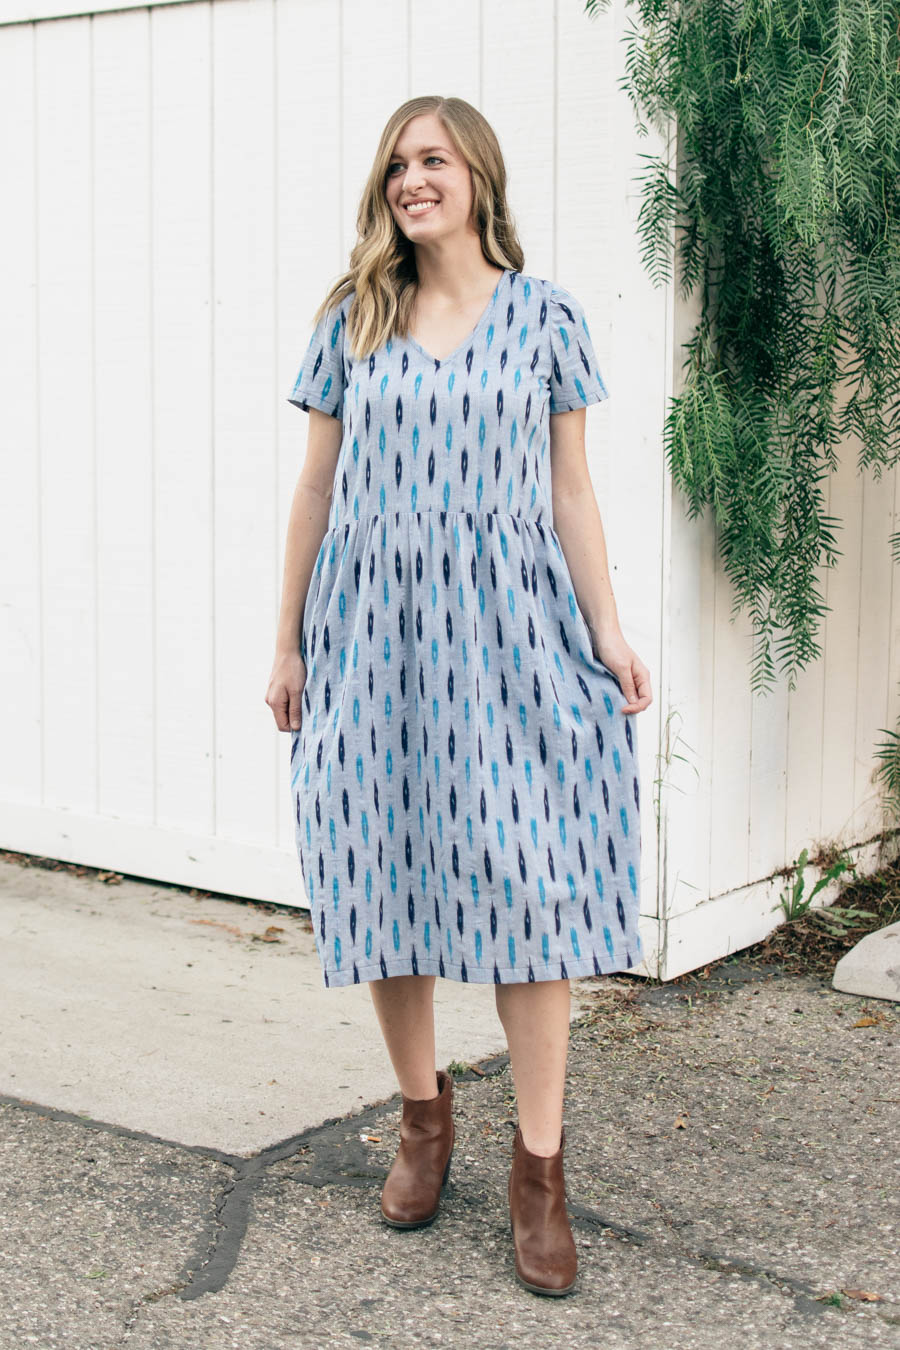
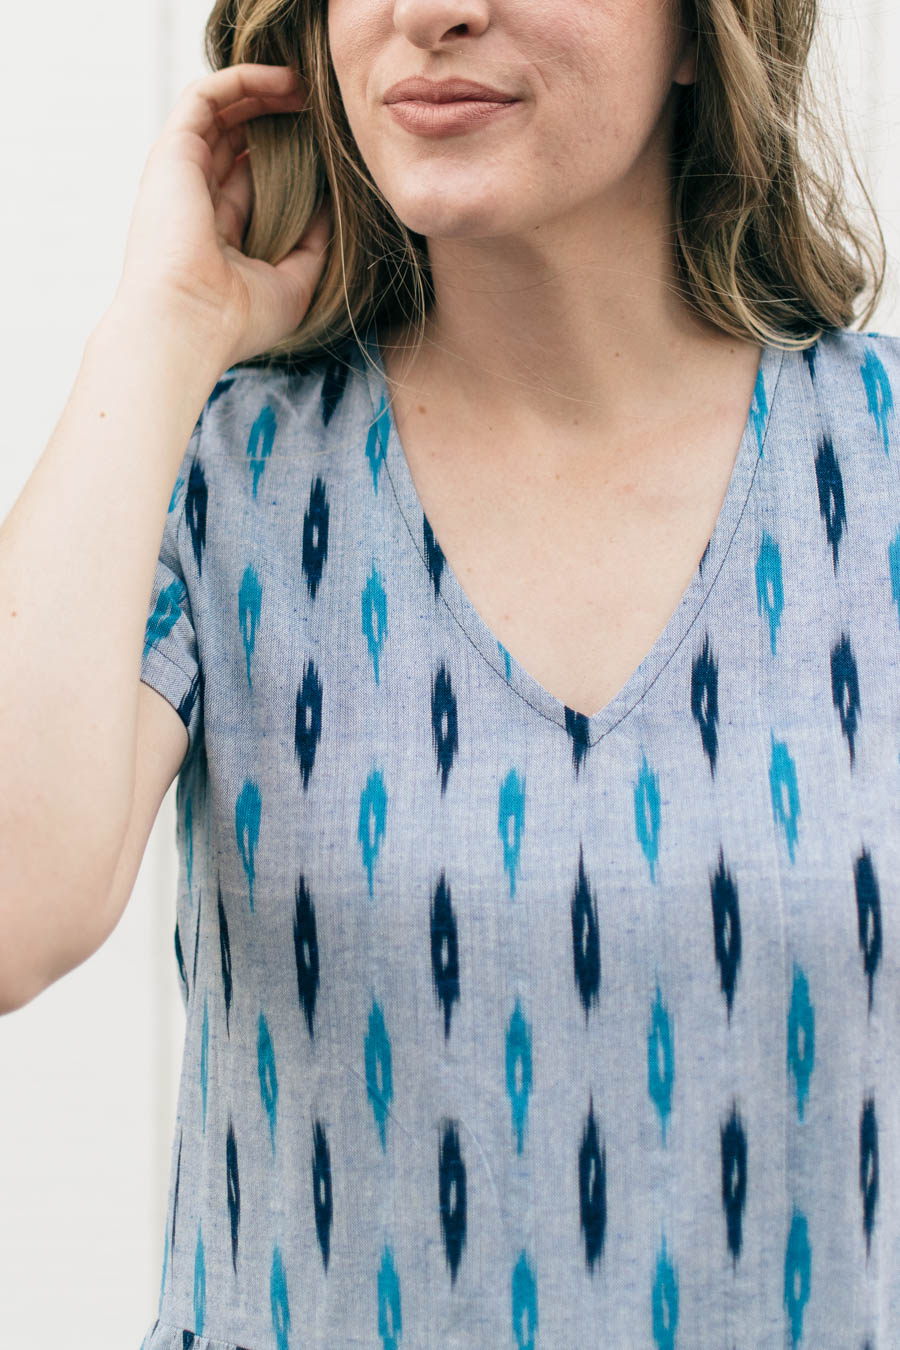
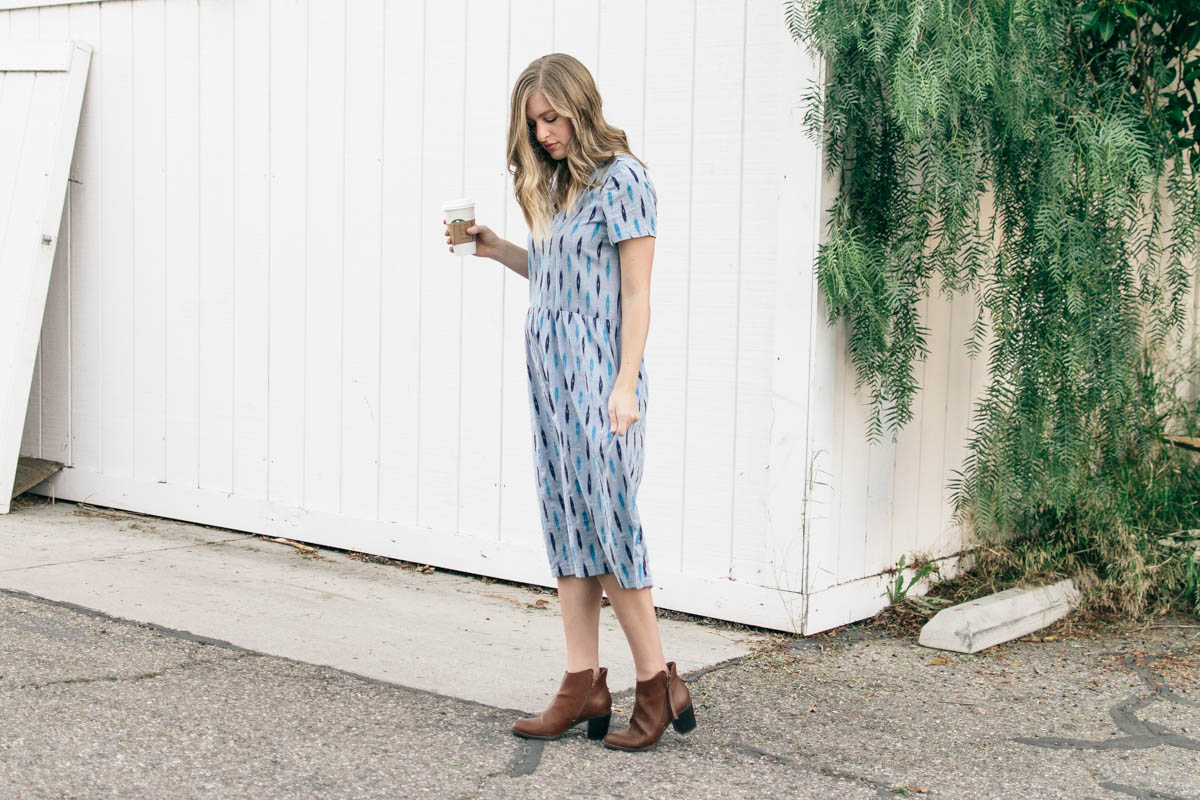
I had never sewn with cotton ikat before, but I really like sewing with it, and I absolutely LOVE the look of it! When I was choosing which fabric to buy, I also really liked this mustard black and this black red and grey ikat. I was DYING over this rainbow ikat (you have to look at it!), but it was a little bit out of my price range.
The most amazing thing to watch is the ikat fabric being dyed and weaved. I loved going through Fibers to Fabrics Instagram and looking through the photos and videos where they show the different steps of the fabric making process.
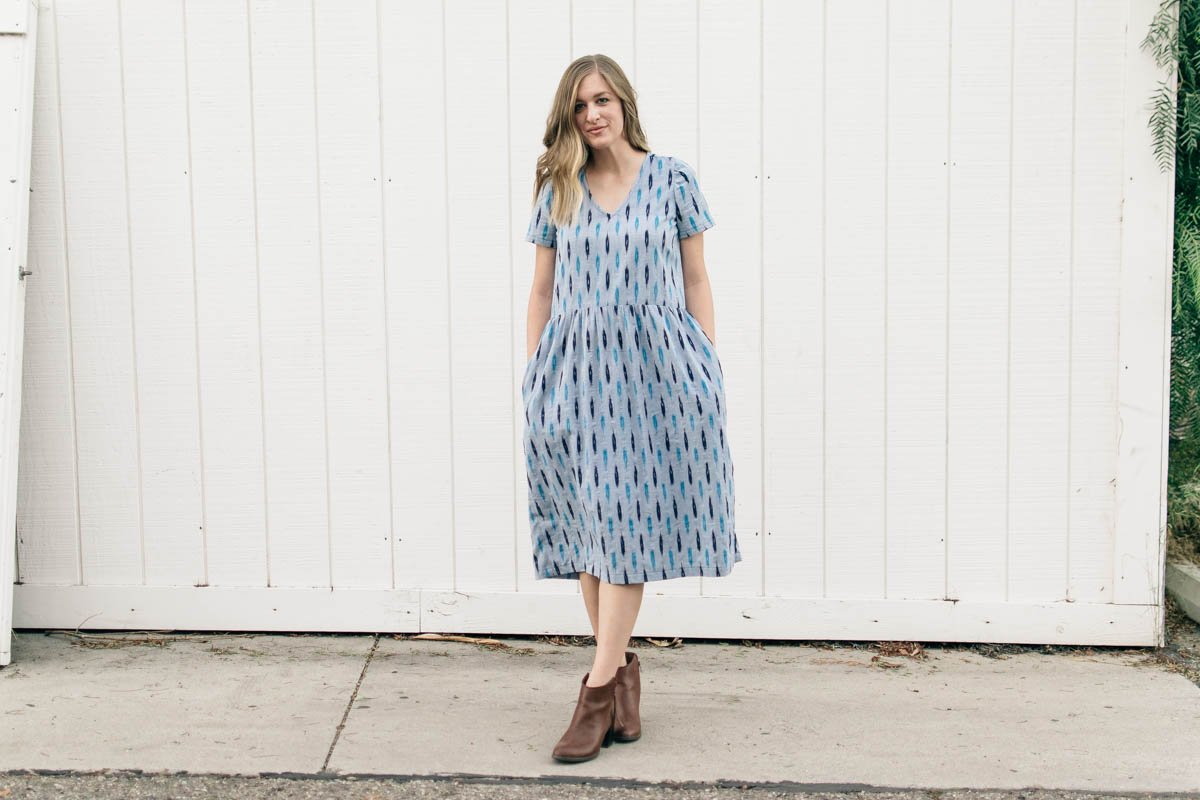
BODICE: I used the Key Largo by Hey June for the top because it is my FAVORITE woven top pattern – but it is a bit wide, and I knew I could slim it down a little bit and still be able to get it on and off without a closure. I recently made the Hinterland Dress, and it’s a little more slim fitting but still goes over my head easily. So, using my size of the Hinterland, I tried it up to the Key Largo decided to make the size 8 in the Key Largo, and grade to a 6 at the waist. (I measure at a size 10 in the Key Largo, normally.)
V-NECK: I used the Amalfi Dress pattern by Hey June because the neckline looks SO good. There are lots of different woven tops with a v-neck, so go with the one you like best. I decided to use the size 6 neckline because it was a little bit higher. Since I wasn’t making the whole dress, it didn’t matter which size I chose.
BIAS BOUND NECKLINE: Most woven shirts have you do a neck facing, but I personally don’t like them very much. I went to H&M recently and saw that they did a bias bound neck in the neckline on their v-neck shirts, and that inspired me to do something similar. I didn’t think it would be that difficult, because I really like bias bound necklines, and if the V was the only difference, I could figure it out. Wendy Ward’s tutorial is very close to exactly what I did. There are a lot of different ways to do a bias bound neckline, but Wendy’s method was is the one I liked best.
GATHERED SKIRT: When it comes to gathered skirts, it’s not rocket science. I used the skirt from my Hinterland Dress by Sew Liberated, but there are plenty of gathered skirt patterns and DIYs online, but chances are that you already have one you can use. Don’t forget POCKETS!
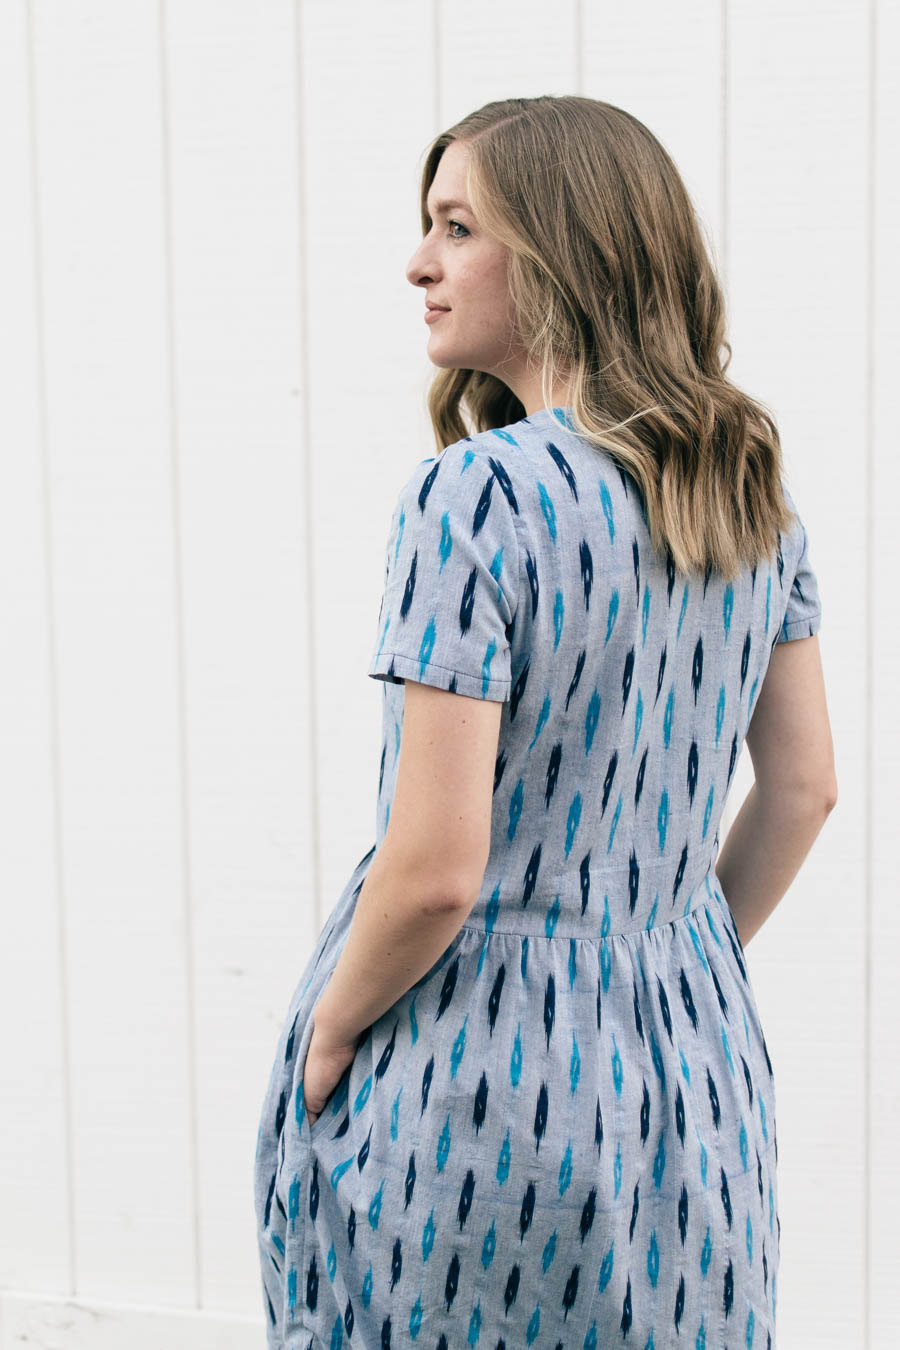
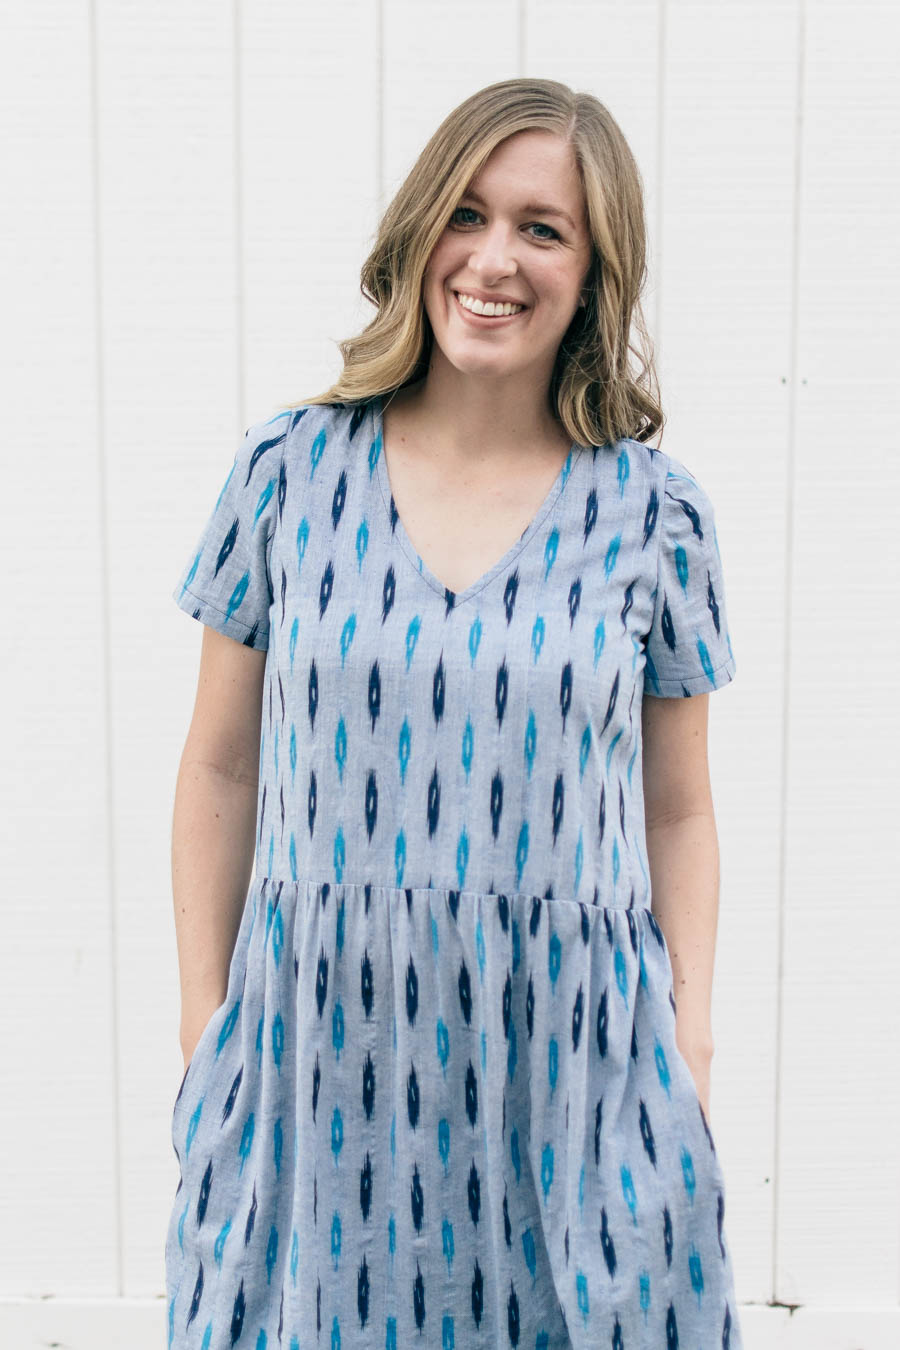
What I would have changed: I wish I would have had enough fabric to make the sleeves a little bit longer, like the Ace&Jig dress, but I also like the sleeves the way they are, too. I forgot that the Key Largo goes a little bit longer in back, and I forgot to trim it to be even before I attached my skirt (a little bit of a high/low effect going on). Another reason I should have trimmed it is because the waistline is about an inch too low, so my pockets are lower than the rest of the dresses I own (good thing I have long arms!).
Other than those minor things, I’m really happy with how it turned out! I think that any sewist could make it any way they wanted to. You could use your favorite patterns for the bodice and neckline, or you could use one pattern and make changes so you don’t have to use 3. You could alsow make it more fitted and add darts and a zipper, or add ties to help pull it in at the waist.
There are so many possibilities, so get creative! I really love my version, and I would not have chosen any other patterns because I LOVE these ones. If you make a similar dress and post a photo of it, tag me! I love to see when my DIYs have helped another sewist.
Have you made a frankenpattern before and was it a success? How would you recreate this dress?
This is a Indiesew Blogger Team post. Part of the fabric for this post was provided by Fibers to Fabric. All thoughts and opinions are my own.
So glad you found my bias faced v-neck tutorial useful. What a beautiful dress ❤
It was SO nice to see that someone else had done a binding like that and it had worked! So thank you for assuring me that it was possible with your blog post. 🙂