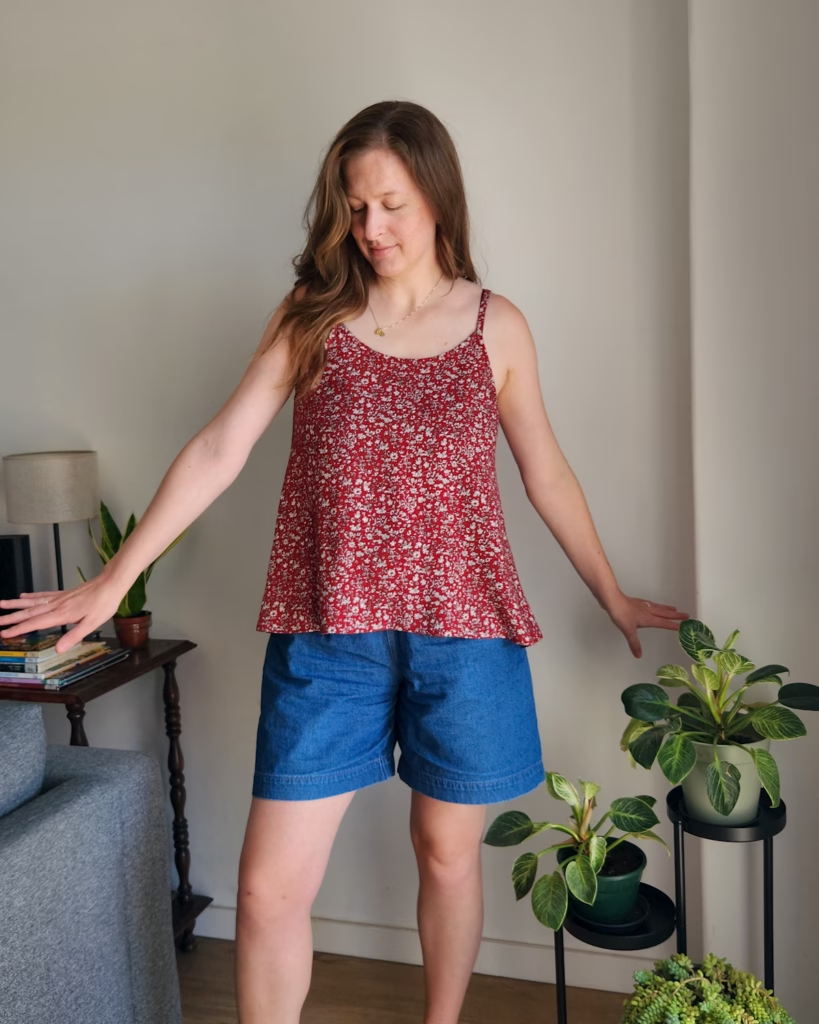
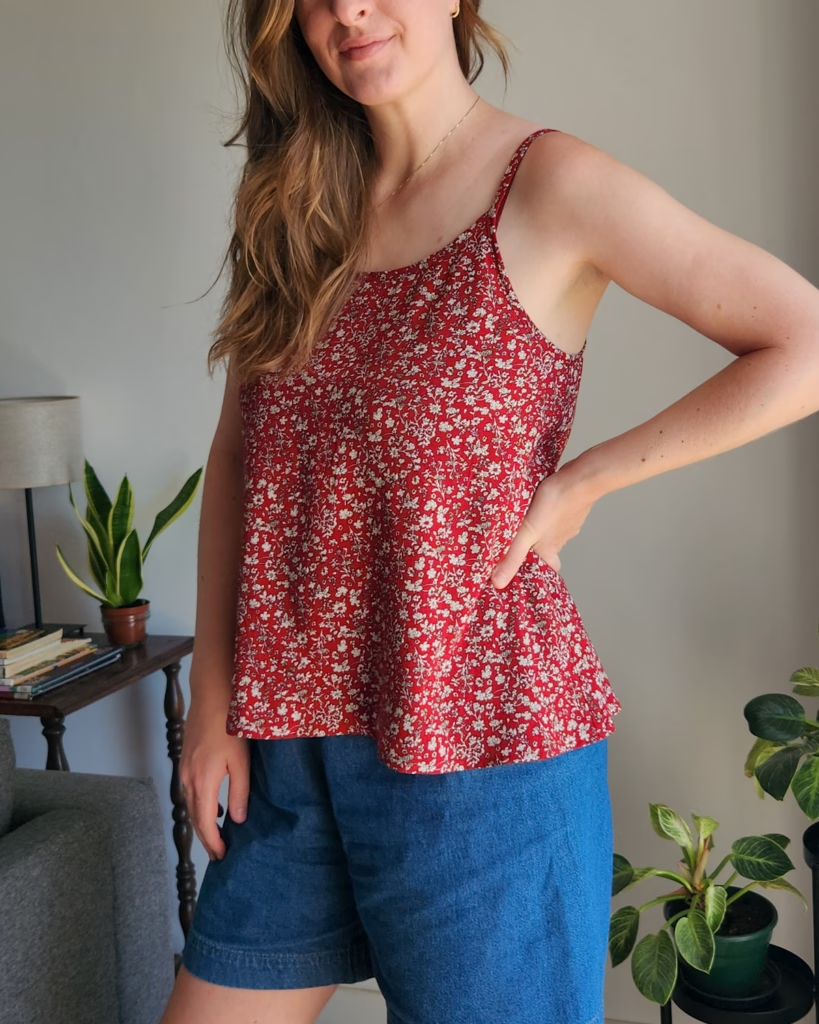
The heat has been unrelenting, so I’ve accepted the fact that I’m probably going to be wearing tank tops for another month or two. Which gives me the excuse to make a few more!
I’ve been really wanting to make the [free] Orchard Top & Dress by Helen’s Closet. Which I keep wanting to call the Orchid, but I have to think really hard to remember that it’s the…Orchard. English, man.
My bust measurements put me in-between the size 12 and 14, so I traced the size 14 neckline and armscye, but made a new line right in-between the 12 and 14 for the side seam. I think it worked well, but I could probably just make the straight 14 next time. This is view B (no length added) which is the longer version of the top. The angle of the side seam is perfect; nice and flowy without feeling like a tent.
The cool thing about this pattern is that the front and back piece are the same. Of course, it’s cool until you forget and then spend a solid 5 minutes looking for the back piece only to finally read on the pattern piece that it’s for the front AND back.
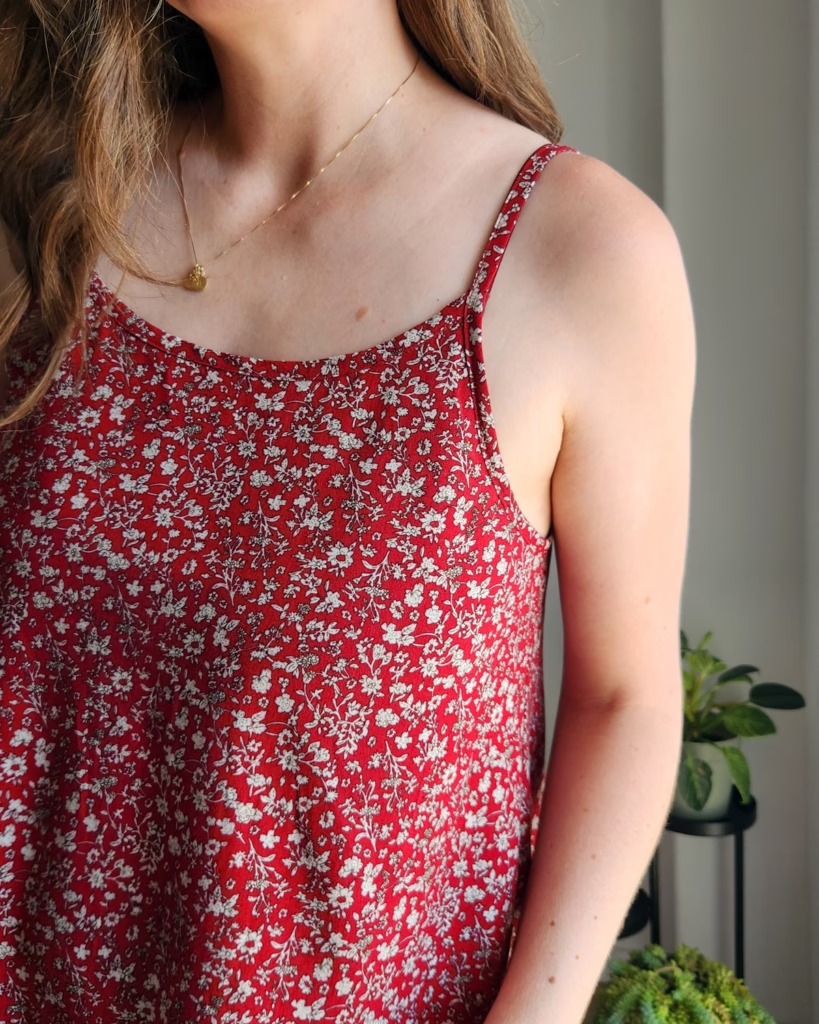
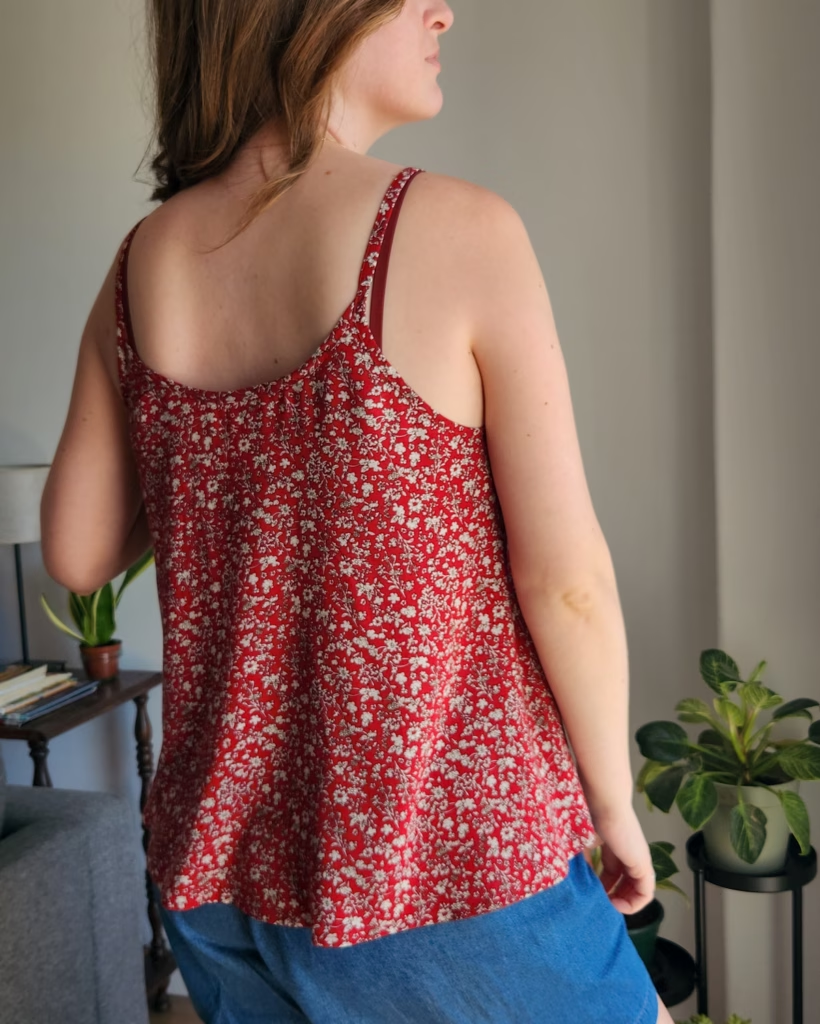
If you’ve seen any of my recent blog posts, you’ll know that I’m obsessed with the Sommar Camisole this summer. The Orchard Top is constructed basically the same way, but without the built-in bra. It would certainly be useful to have one, but a bra in a similar color that isn’t too obvious is a good alternative.
Making rayon bias strips and ironing them were my least favorite part of the process. I did appreciate that the pattern pieces remind you not to cut notches and mark them instead. I think that’s because the seam allowances are smaller, but also because on rayon it’s more likely to keep ripping where the notch is and eventually make a hole. Something I’ve learned from experience.
Attaching the neckline binding went well, but the binding for the straps was pretty stretched out. I carefully added the thin woven interfacing in-between the notches like the instructions say to, but the fabric that attaches to the top had grown a lot, and I had to cut a bit off of each side.
I thought about adding interfacing to the whole binding strip, but then under the arm would be weirdly stiff. So, if you make this top, make sure to pin the binding at the notch marks and remove any excess binding at the seam under the arm.
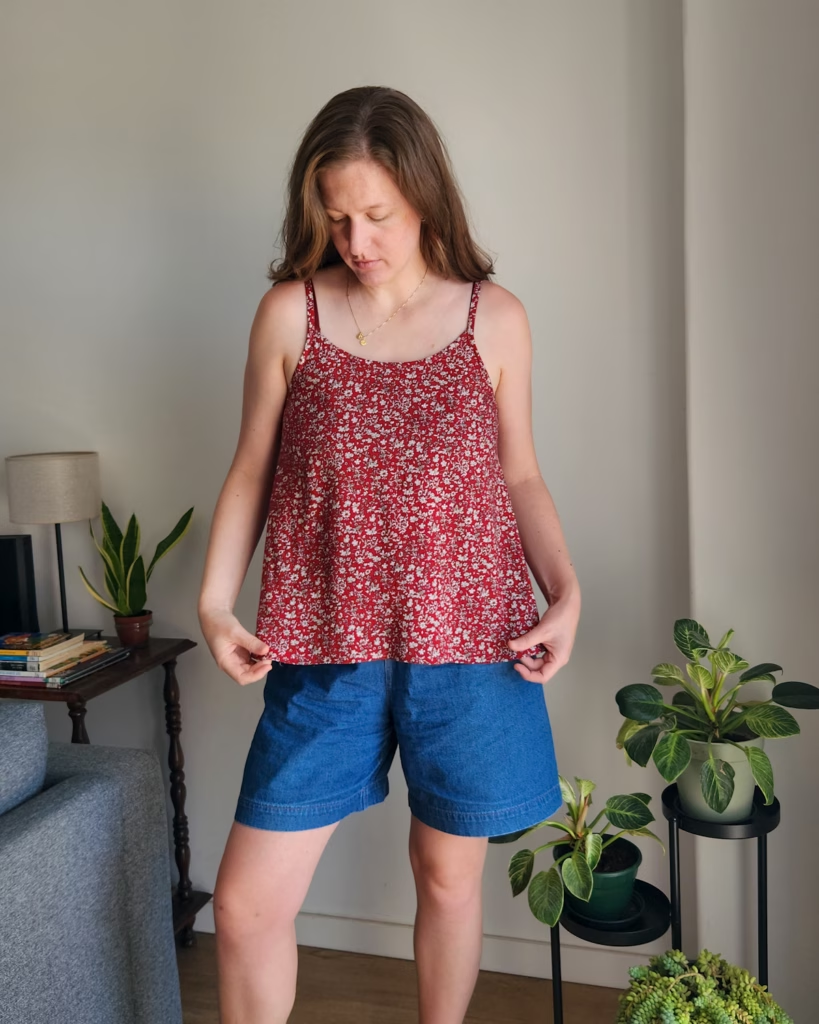
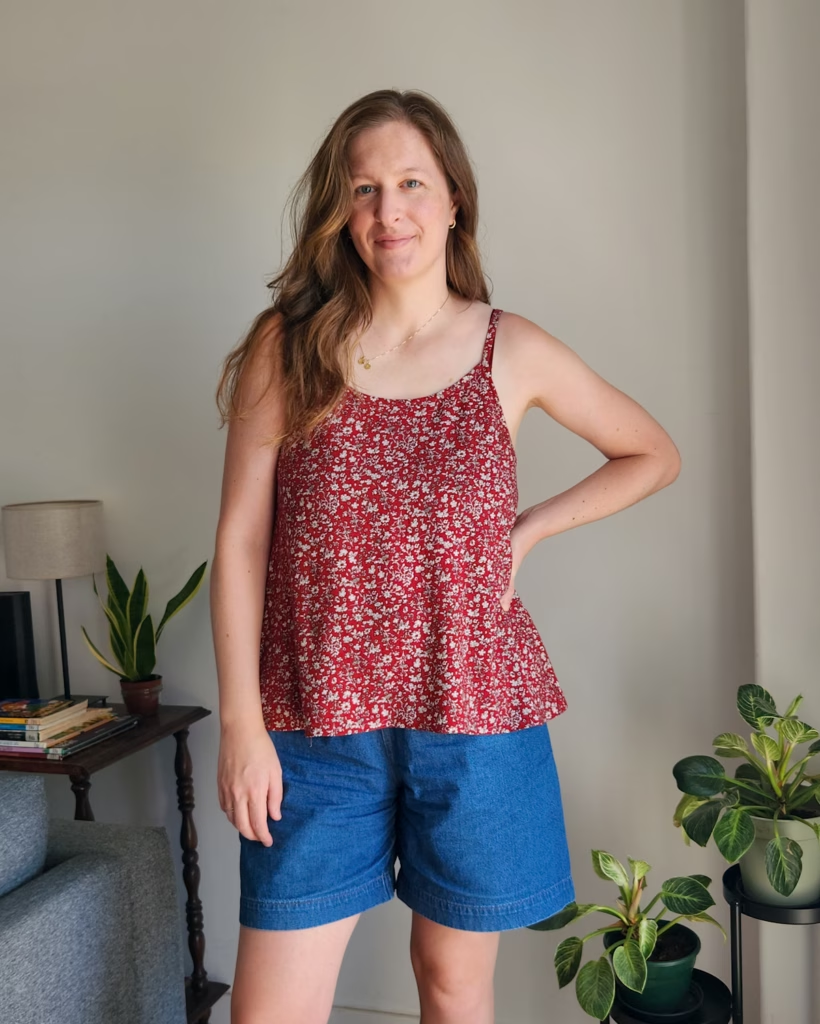
This fabric is leftover rayon from yeeeeears ago when I made my Shelby Dress. I’m so happy to have finally made something with the leftovers. I’m looking forward to wearing this top often. Other lightweight fabrics would work well for this pattern too, but cotton or linen would be a tiny bit heavier and drape a little differently.
I finished this top on my kids’ first day of school, so I think it was a bit of a stress sew, or maybe I finally had the brain space to make something with some quiet time to myself. I finished it at night, so I was very excited to wear it the next day. I even wore it to get thread from the fabric store! (Worn with my Pomona Shorts and Tether Pouch)
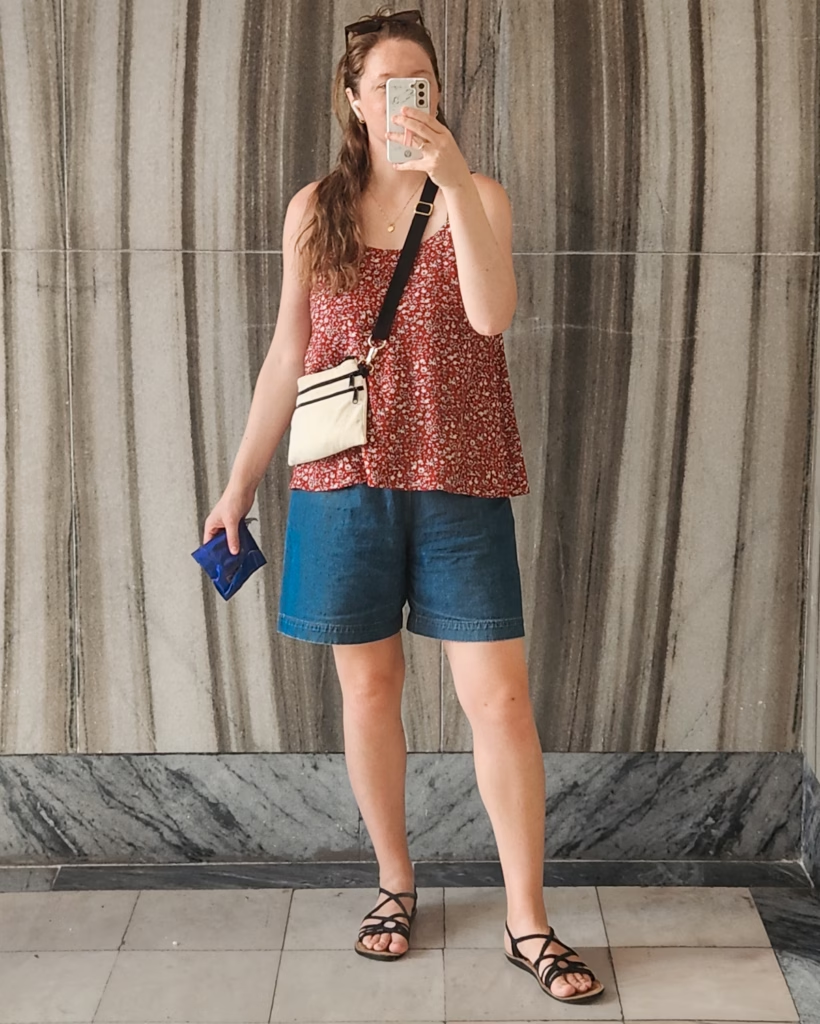
Overall, I love this pattern, and Helen’s patterns are always immaculately designed and explained. I would love to make another one on a day when I have the patience for rayon bias tape again.
Thank you for reading today’s post, and happy sewing! xx
Sharing Joy:
There is a bit of waiting involved when I go to the fabric store because I have to wait for trains and then wait on trains to get to my stop. So, this time I remembered my headphones and listened to an audiobook. I’ve been listening to the Unselected Journals of Emma M. Lion (my library only has the audios), and I’m on volume 3 so far. I think they just keep getting better. The narrator is fun to listen to, and it made my trip to the fabric store so much more enjoyable and less stressful.
Haha I do the exact same thing with the name but I don’t know why! This turned out so cute and I bet it’s so breezy!
It’s so hard to keep straight! Thanks, Kim! The rayon does make it extra breezy and nice when it’s so hot.
This is way more like an Orchid than an Orchard – summer/petal-like. I blame them. 😂 It’s beautiful! I have this freebie downloaded but I haven’t printed it yet. As always when I see your versions I want one too…
I’ll go pee up the side of a barn before I make rayon bias tape though.
I agree! The design is more like a flower and that might be why I also confuse myself. I’m so excited to see yours in the future! I’m interested in the fabric you end up choosing too because yes, rayon bias tape is a beast.
I have this pattern, but haven’t tried it. It’s great to see your version, which turned out really nice. I think this is the length I would pick, too. I don’t know about making those straps though…doesn’t seem fun. Also, way to go on using up your fabric! I often have trouble doing that. Overall a great project!
Thanks Lisa! I think a lot of people have it since it’s free but also haven’t tried it because of the uncertainty of it turning out very good. The straps aren’t all that bad, just make sure you’ve had something to eat so that you can have a little bit of patience. 😉 I think it would also be nice in a rayon twill or light cotton fabric, which would make the straps a bit easier to handle.