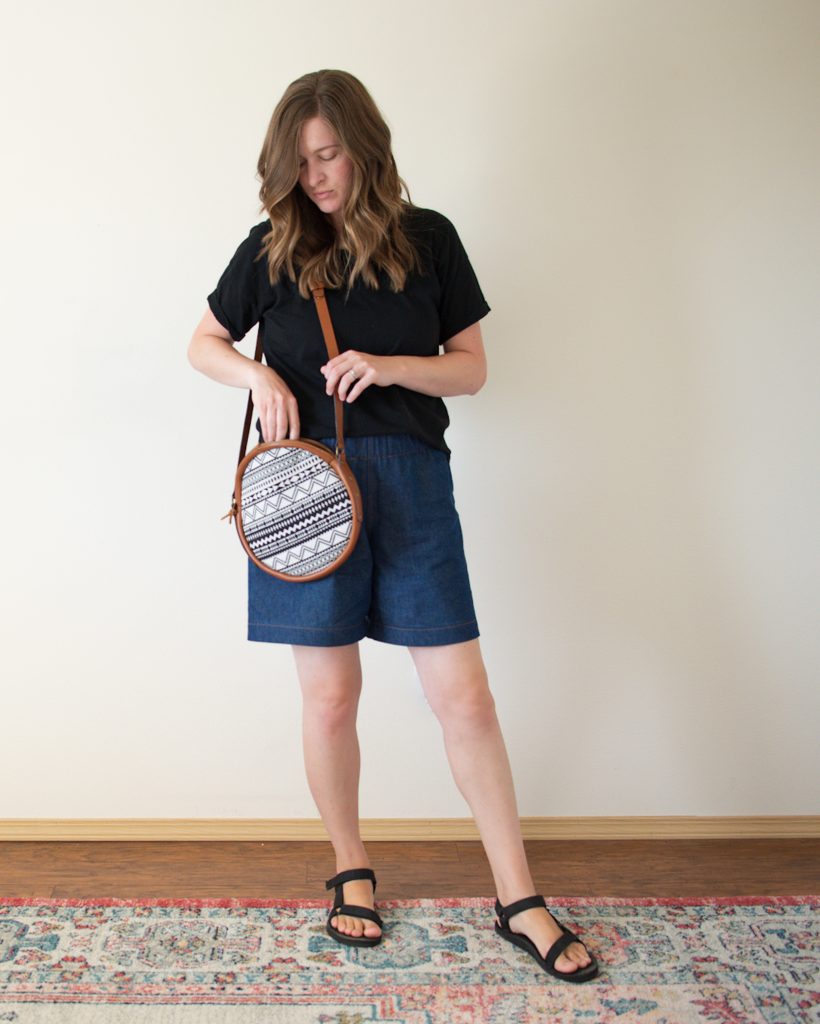
I finished sewing these shorts late Thursday night, and I was really on the fence about how I felt about them. Then I tried them on again Friday morning, before going to the thrift store, and decided they weren’t all that bad. And I proceeded to wear them for the rest of the day, and Saturday too!
I think the reason I feel unsure about them is because I’m not used to shorts and pants being so voluminous. After wearing skinny jeans, joggers, and jean shorts for basically my whole life, these shorts take a little bit of getting use to. They are super comfortable though and were so nice to wear during the warm weekend (until I got them soaking wet in the lake. haha.).
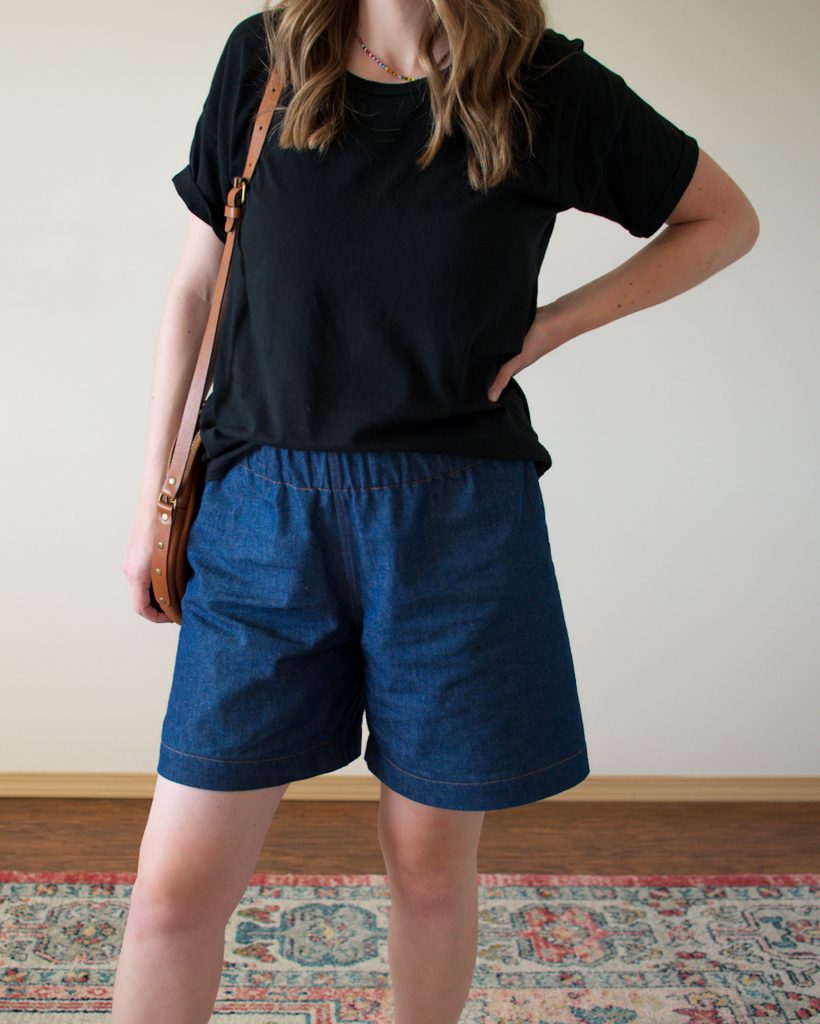
I made these with a light weight denim that I got from Indiesew a few years back. I originally made the Chi Town Chinos with this fabric, but they were a little too tight, and after only wearing them 2 times, they started pulling apart at the crotch seams. So, with my leftover fabric, I wanted to make sure I was making something much more loose that wouldn’t pull apart.
I decided to try the Pomona Pants pattern one more time, since I kind of botched my first ones. This time I was determined to get the rise right, and decided to leave off the pockets since my pants just fall down if I put anything in them anyways. (Does anyone else have this problem with elastic waist pants?) I think I might put an inner draw string in my next pair, because pockets for only my hands seem a little bit pointless…but maybe that’s what they’re for? I would love to know if you have a solution for this.

Since I couldn’t shove everything into my pants before heading to the store, I brought this beautiful bag that I bought from Treasure, of Nikki and Mallory. She is seriously the most inspiring person, and I have loved keeping up with her over the past few years. She makes the most amazing bags, teaches classes, and does a million other things that I am always watching for.
Now to fill you in on how I made these mid-rise! It really is just as easy as cutting 2″ out of the rise, but some people really like the visual, so I will share that below.
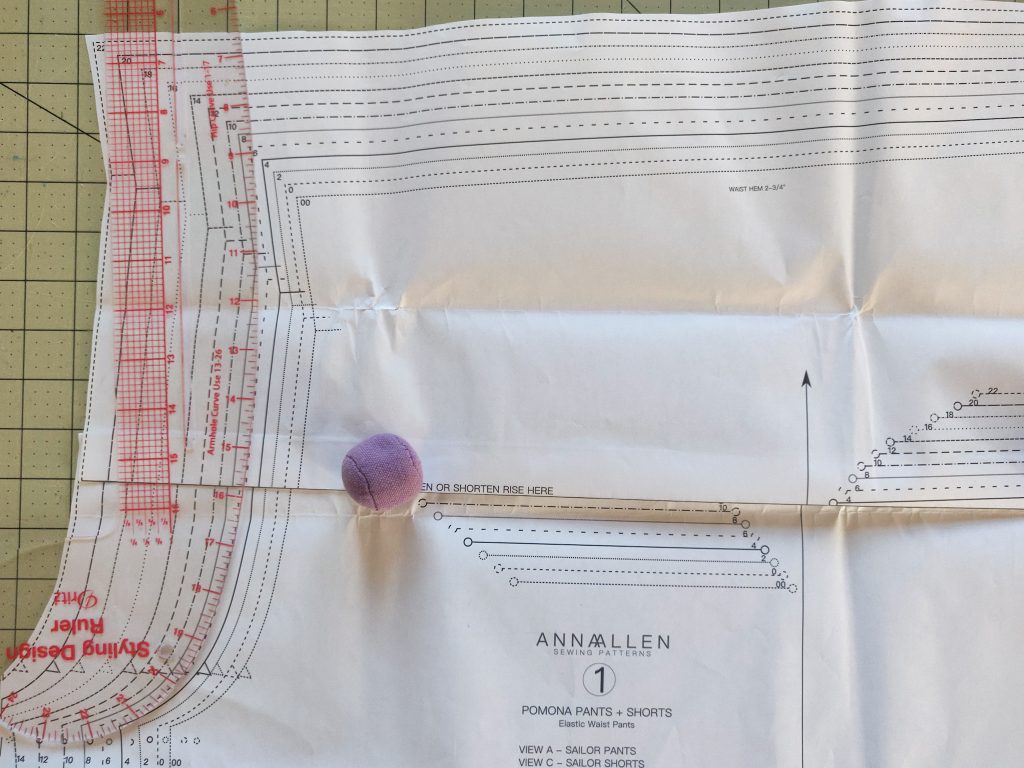
Here is what the pattern looks like without any changes. You can see that it has creases, and that’s where I’m going to fold it to take out 2″.
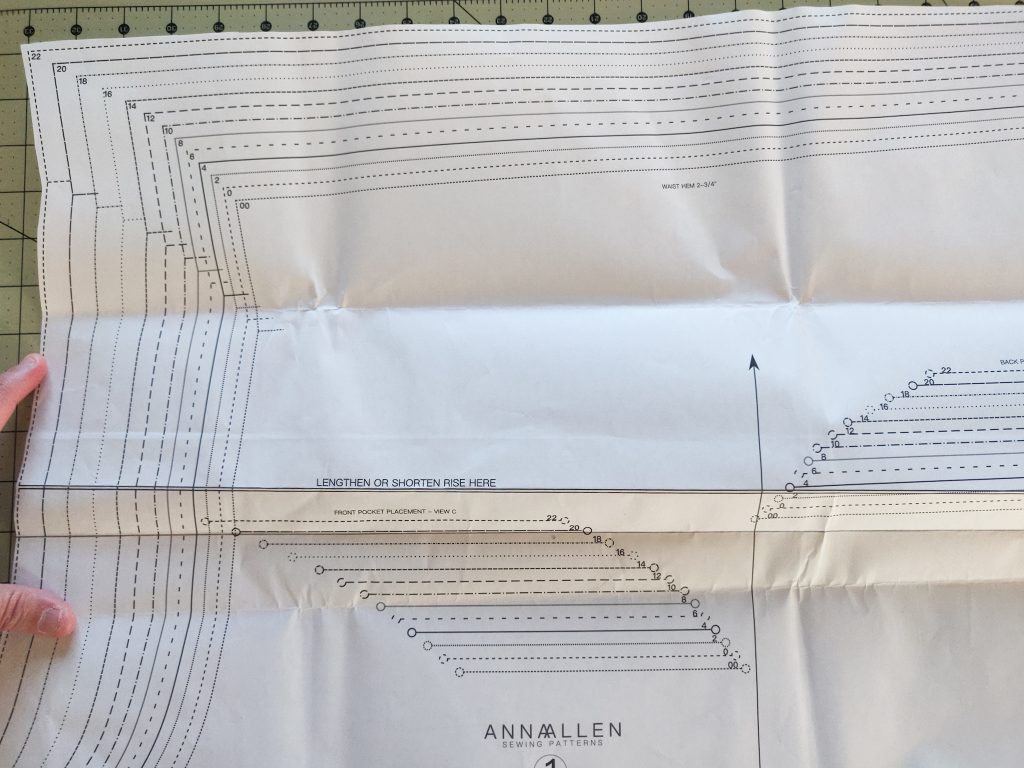
Below is what it looks like folded straight down. You can choose to cut it, just make sure you have a reference point (like the grain arrow) so that you keep it straight vertically, and don’t move it at all horizontally. (The top of my arrow look like it’s to the right, but it’s just because of the angle of the photo.)
Once it’s all folded or taped together then you just have to fix the crotch curves on both sides. I’m just going to show one side, but they’re both pretty easy to fix. *Update: In this example I folded the pattern downward, but in the future, I should do it more centered on the lengthen/shorten line or above. It might affect the crotch curve less that way too.*
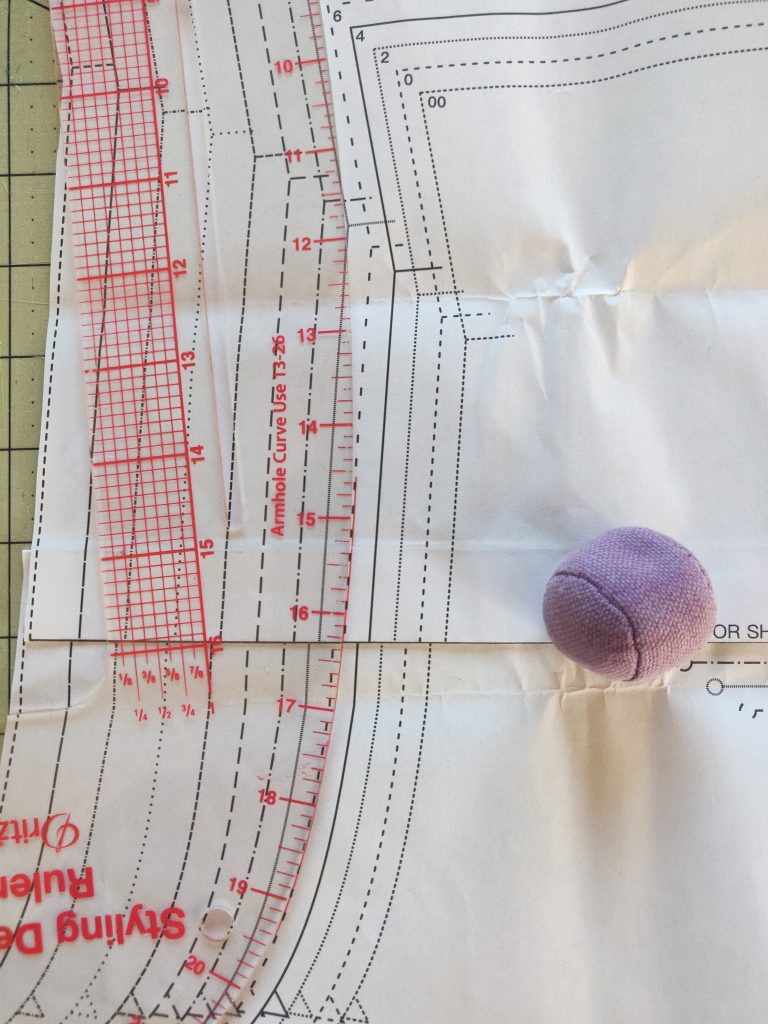
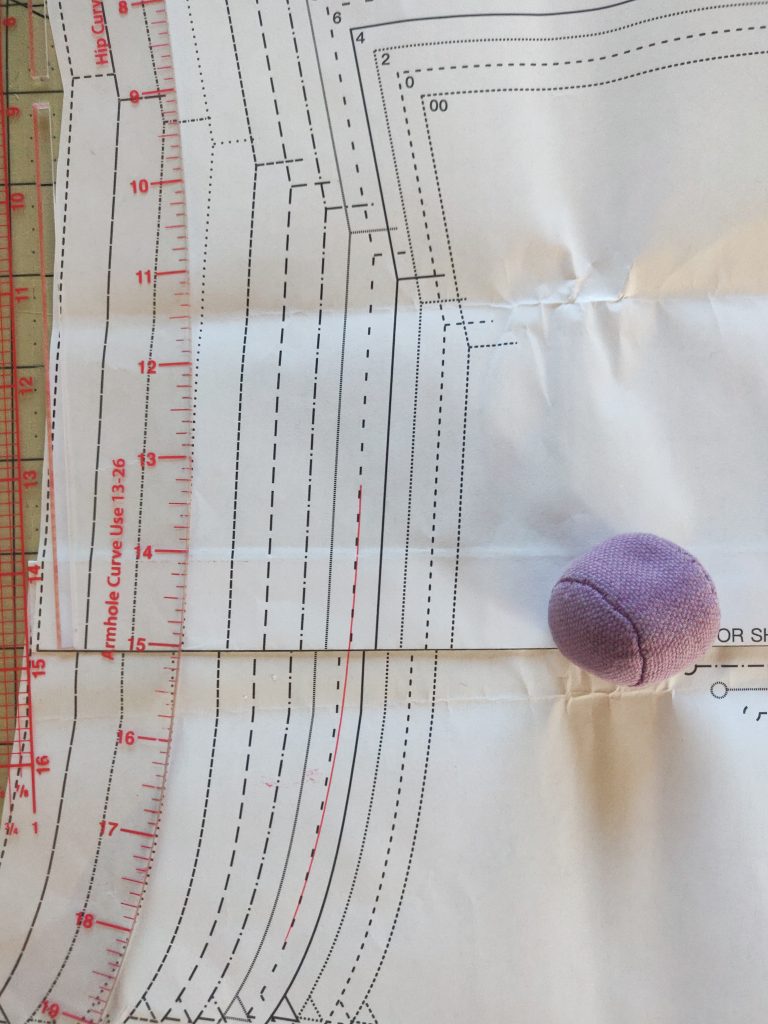
In this example I used the size 6 dotted line (5th line in). You can see in the left photo I just lined my styling ruler up with the curve, and in the photo on the right you can see the very subtle new curve that I drew in red. The other was crotch curve was just as easy.
This is the same thing that I did with my Free Range Slacks, and it worked out great! That pattern required a little more work since there is more than one pattern piece, but don’t let that intimidate you. As long as you keep everything in line vertically, it should all go well.
For reference, these now hit 1″ below my belly button (instead of 1″ above like they would have been with no adjustment). I made these one size up from my usual size because I was afraid I wouldn’t be able to get them over my hips, but I definitely could have just made my regular size. Besides fixing the rise, I lengthened the inseam by 2″ at the ‘lengthen/shorten’ line.
I’m so relieved that these turned out well, and I’m excited to wear these the rest of the summer! I hope the short tutorial was helpful, and let me know if you have any questions in the comments.
Happy sewing!
I too prefer mid-rise pants & shorts. Thanks so much for the photos and explanation. It doesn’t look scary at all!
I’m so glad you found the photos helpful, Lodi! It really is pretty easy, and now I can finally fix all of these high-rise pant patterns that I’ve bought. Haha!
I’ve always drooled over the Persephone pants, so I might give them a go! (Shorts?)
The Persephones are so pretty! They’re fitted shorts, so they don’t have an elastic waistband like these though. So you would probably want to take out the rise from the top, instead of the middle, and then transfer any notches, and lengthen the waistband. I would definitely do a muslin first since that might get a little bit tricky. But would be worth it if you really like them!
Hi! These look great on you.
Is it correct that you shorten the rise in a downwards correction? I just did this for my Pomona shorts but I took the length out above the ‘shorten/lengthen here’ line. Why did you choose this method? I’d love to learn!
Hi Dora! Thank you! I didn’t realize that I did that on my Pomona Shorts until you pointed it out. lol. I probably could have folded it more centered on the lengthen/shorten line, and then it wouldn’t have gotten so close to the crotch curve. That was my first time doing that, so I think I did it a bit unconsciously (and a bit lazy since I didn’t want to cut it). You should definitely keep doing it the way you are doing it!