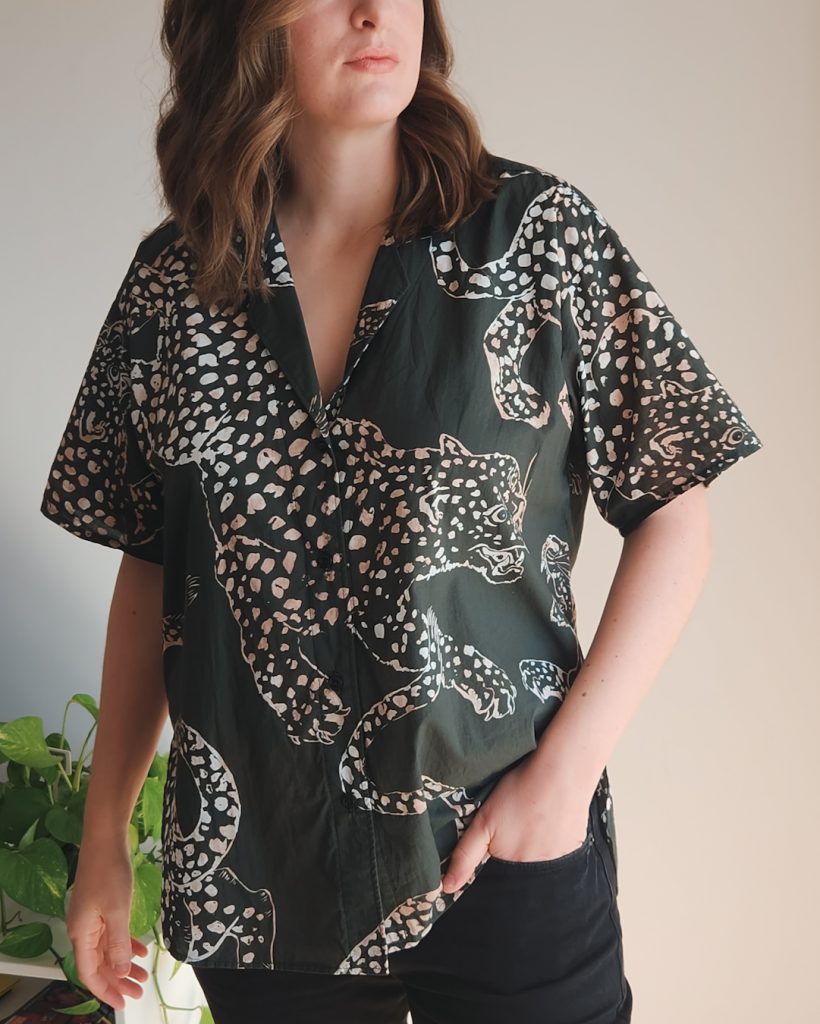
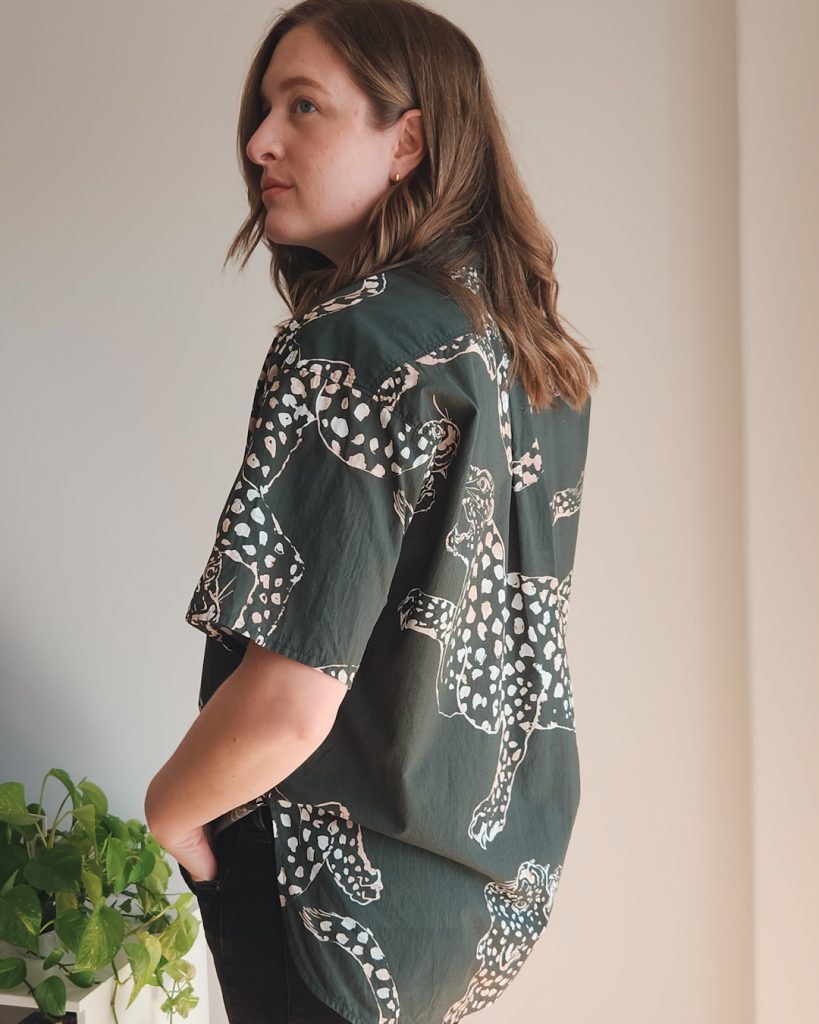
I think this just might be one of the coolest things that I’ve ever made.
I found this fabric on the Divazus website a few months ago when I was looking for unique animal prints. I fell in love with this large Panther print right away. I thought it was really cool but also…borderline terrifying. The coolness outweighed the terrifying, so I ordered 1.8 meters. It turned out to be the exact amount of fabric that I needed. I love when that happens, although it does make the cutting process a bit more stressful since there’s no room for error.
Luckily, I didn’t make any cutting mistakes and I was able to strategically line up the Panthers exactly where I wanted them for the front and back. After that, I did what I could to get the sleeves and yoke in cool spots on the rest of the fabric. [Side note: This fabric is labeled as black, but it’s actually a very dark green, which you can kind of see in the photos.]
I used the cool pattern matching technique that I learned from Karen (@intostiches) to match the center front placket (Here’s a Youtube video that explains it in under 2 minutes). It worked out really well, and I’m so relieved that it did. Thankfully the pattern pieces show where the center front is, and that helped a lot.
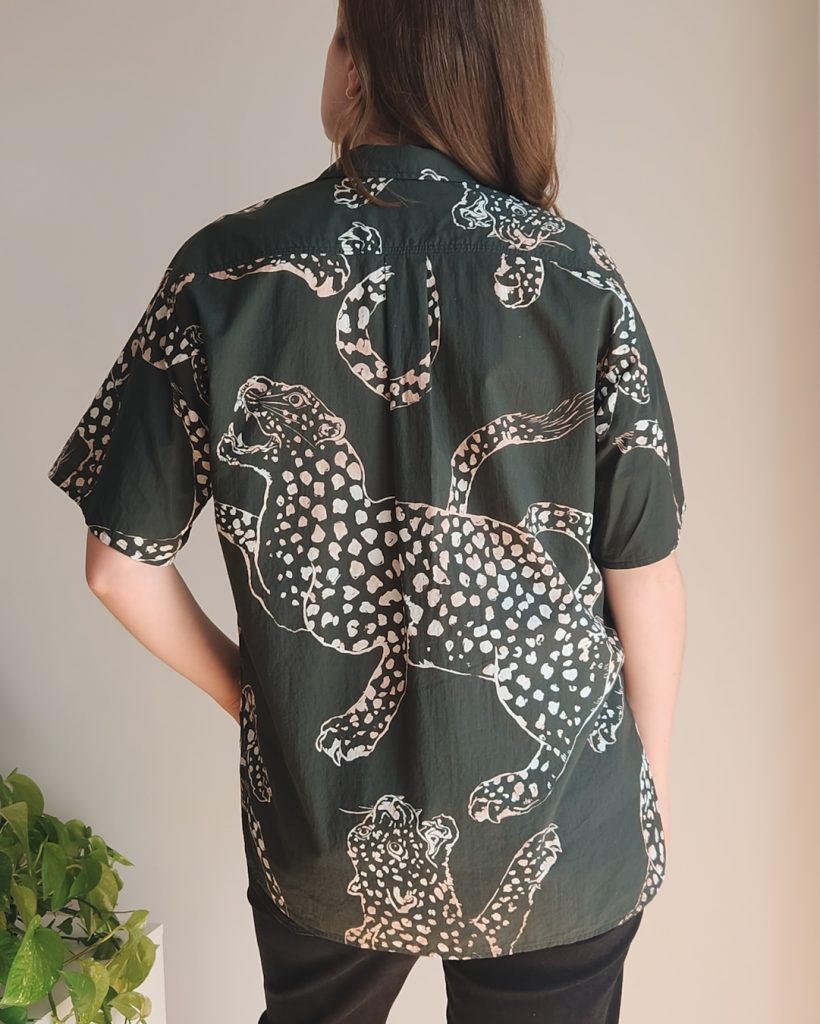
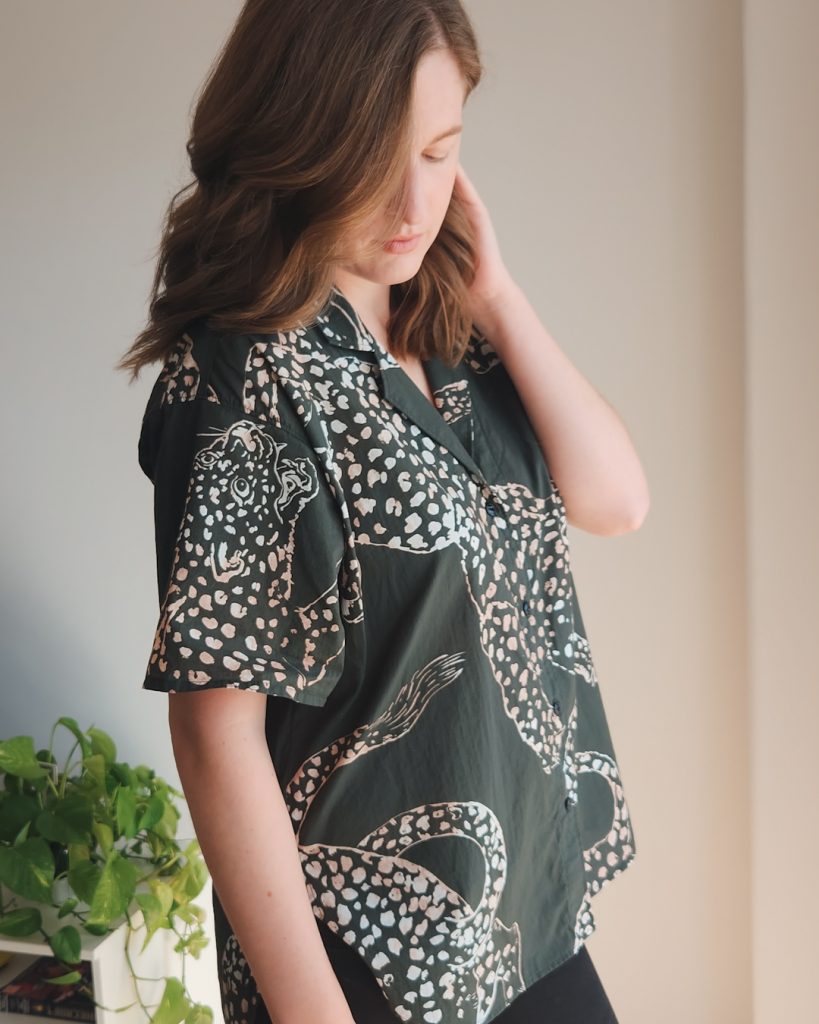
This pattern is the Genra (pronounced ‘genre’) Shirt by Daughter Judy. I’ve been following the hashtag on Instagram since it got released a year ago and I’ve loved all of the short-sleeved Genras that people have created. Plus, making a short sleeved version is a good way to see if you like a pattern without having to do all of the work on the sleeve plackets and cuffs.
I only made a couple adjustments, and they worked out really well! For my height (5’11”), I lengthened the bodice and facing pieces by 2″. I think that was the perfect amount for me, but I’ll decide after a few more wears if I want it a tiny bit longer.
For the sleeves, I cut 1″ shorter than the horizontal lengthen/shorten line on the pattern piece. Then, to hem, I folded up twice by 1/2″. I originally cut at the lengthen/shorten line, but it was just too long, and I hate when sleeves get all bunched up and sweaty in my elbow.
I made the size Large which is pretty close to my measurements, and I’m really happy with the fit. The instructions and illustrations were good, but I really love the construction method of the Willamette Shirt better. The Willamette has the same style collar and uses the burrito method to close up the inside seams really nicely. Even if you just buy that pattern to use those instructions, I found it totally worth it.
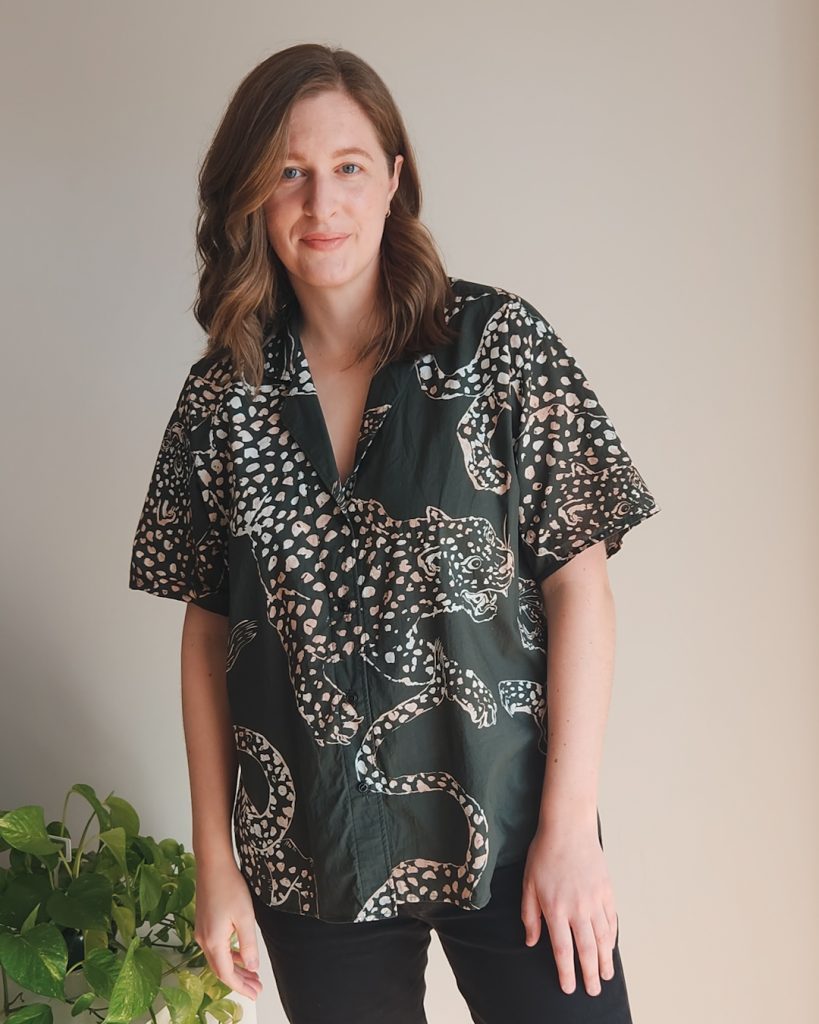
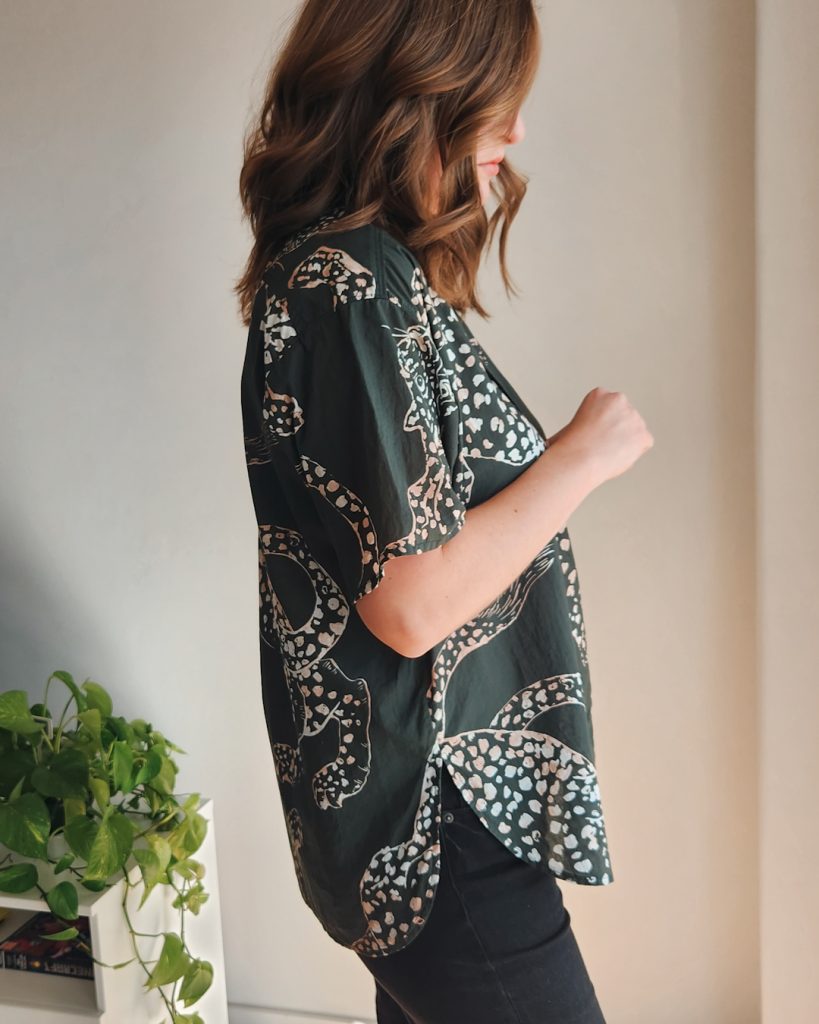
My favorite parts of this shirt are the collar and cool scooped side seams. Normally, I don’t really like doing a double fold on a curved hem like this, because thin bias tape is just so much easier. But this fabric was pretty easy to work with and the method shown in the instructions worked surprisingly well.
Sewing patterns have really gone up in price in the past few years, so I don’t find myself buying as many anymore, but I’m very happy that I made this purchase. I have one other button up pattern that I bought recently, and hopefully I’ll get around to making it out of Barbie pink fabric soon. Crossing my fingers that it tuns out as good as this shirt!
Feel free to subscribe if you want to keep up with my posts and find me on Instagram and Pinterest too.
Thank you for reading and happy sewing! xoxo
Hi Tori,
This shirt is great! I love the fabric and how you used it. Thanks so much for sharing all the details and your process for making it.
Hi Sue! Thank you! I hope reading my experience is helpful for you. 🙂
I love it! It looks so good on you! Very easy to understand comments. Another win!
Thank you, Grandma! I was so happy to bring this idea to life!
Such impressive fabric matching! Congrats on such a great result.
Thank you, Monica! It was definitely worth the extra effort.
I’m quietly screaming inside because this is so cool, I love it, I covet it. Also you’ve done a beautiful job putting the shirt together. That sinuous center front tail placement! I mean!! 🔥🔥🔥
Thank you, Lia!! I also screamed inside and a little out loud when I realized I hadn’t screwed it up. This fabric was a lucky find!
What an awesome shirt! The fabric is the heart of the party – what a find! Your panther placement and pattern matching are fabulous. 👌 Thanks for the much appreciated info/tips!
Thank you, Lodi! This fabric definitely steals the show! I’m so glad you found the post helpful. 😘
Really lovely! May I know how much fabric you used and the fabric width for short sleeves? Thank you!
Thank you! Yes. I used 1.8 meters of fabric that was 150cm wide.