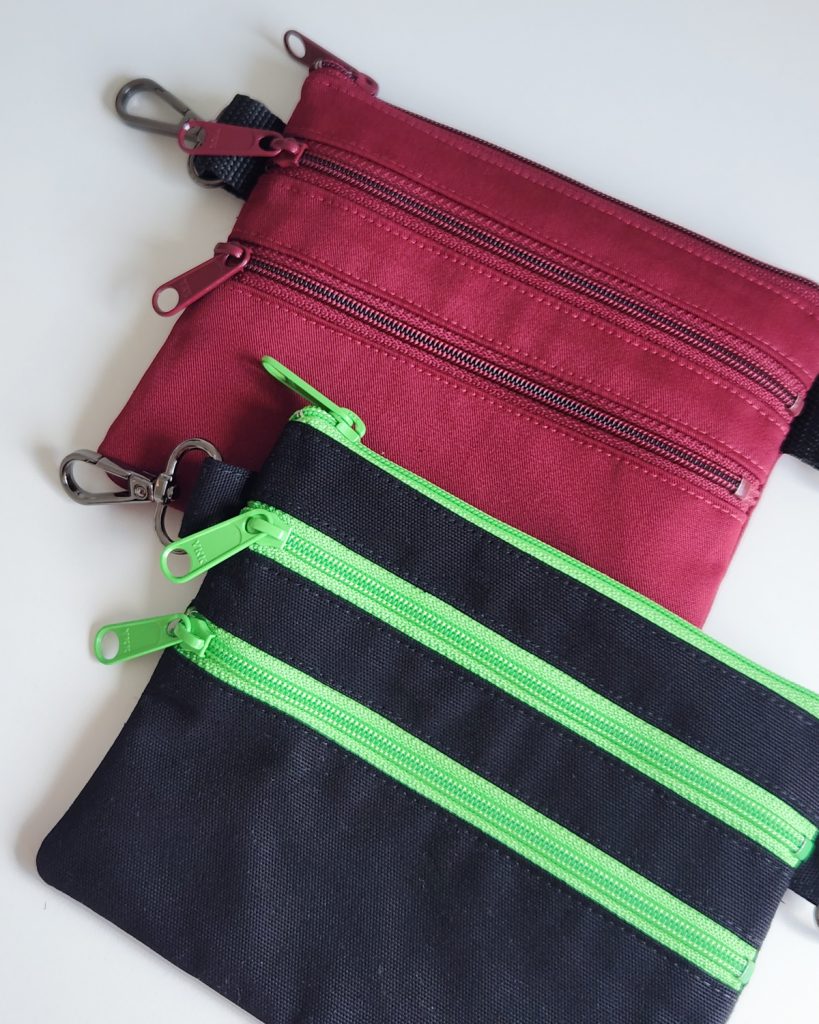
Hello friends! I’m back with the last of my bag making spree, (for now). These cute zipper bags are the Tether Pouch by Wholecloth (both in the medium size) that I made for my two kids. I’ve been eyeing the pattern ever since Kristi released it, but when I signed up to make the new Fairmount Bag, I decided to fully commit and make these, too.
When I was younger, I had a black leather bag like this with lots of zippers. So this design made me feel very nostalgic, and I knew my kids would love having so many little pockets for their treasures.
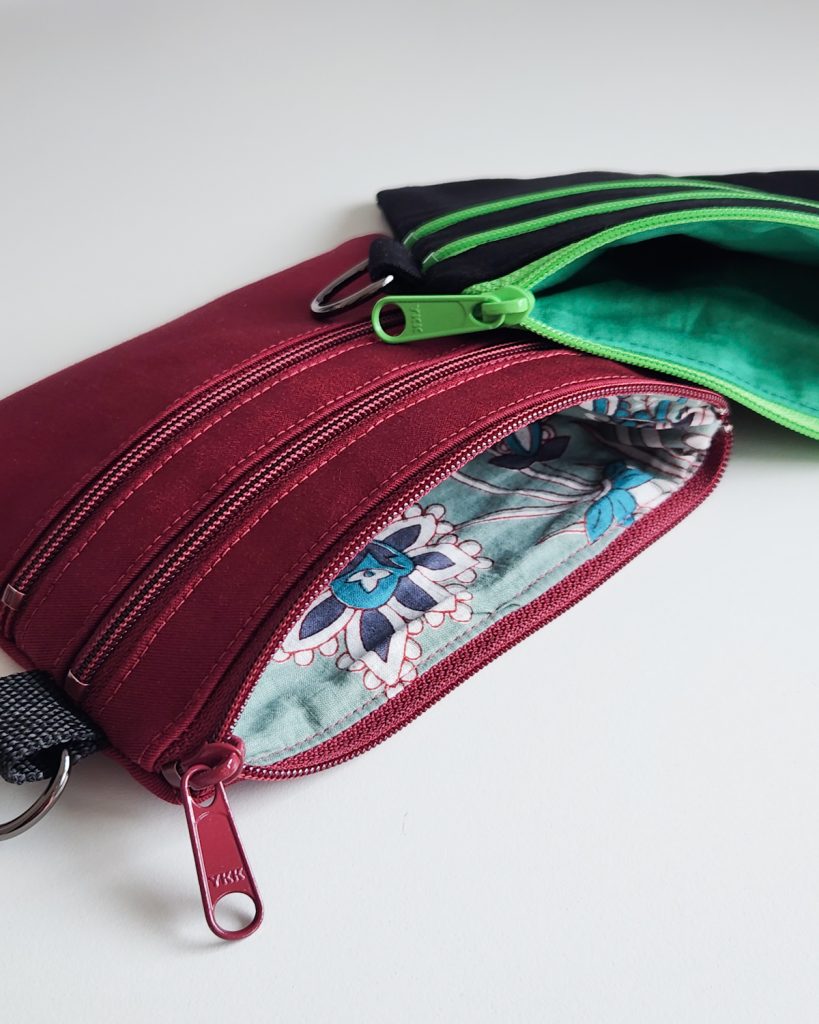
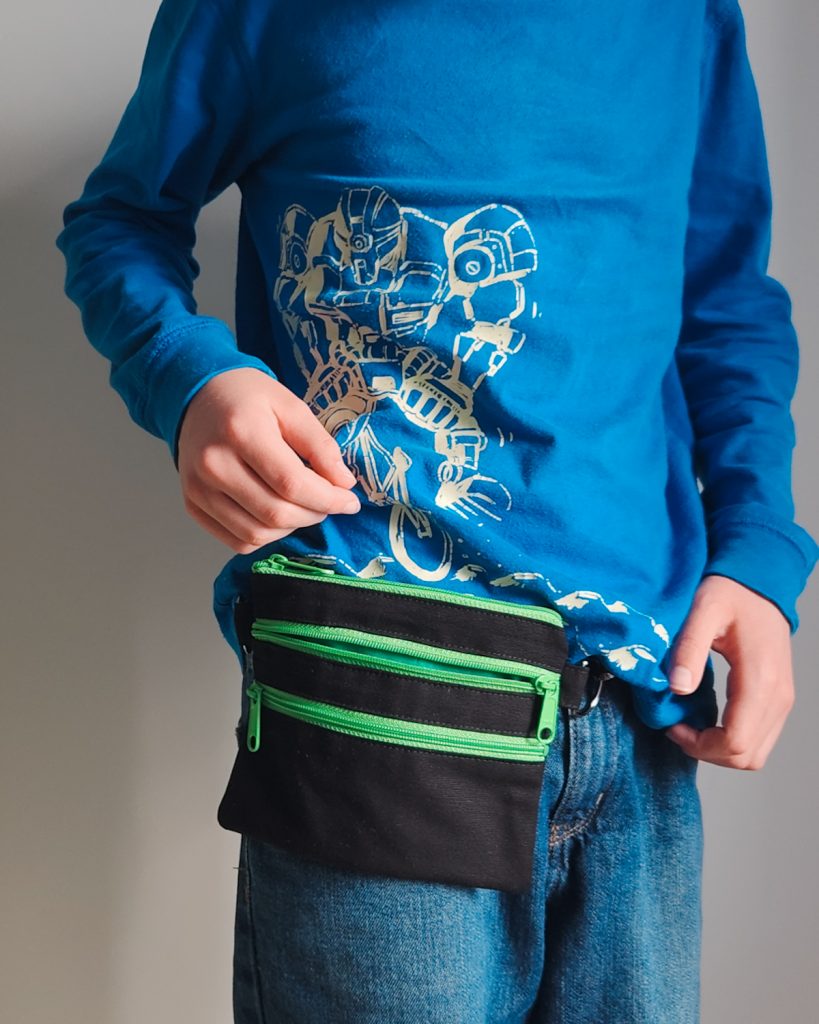
These are all fabrics leftover from past projects, and I was very happy for the chance to make my scrap pile smaller. The maroon bag is twill (which I interfaced) and floral cotton lining. The black bag is canvas and green cotton lining. All fabrics are from Divazus, except the floral cotton that’s from Fibers to Fabric.
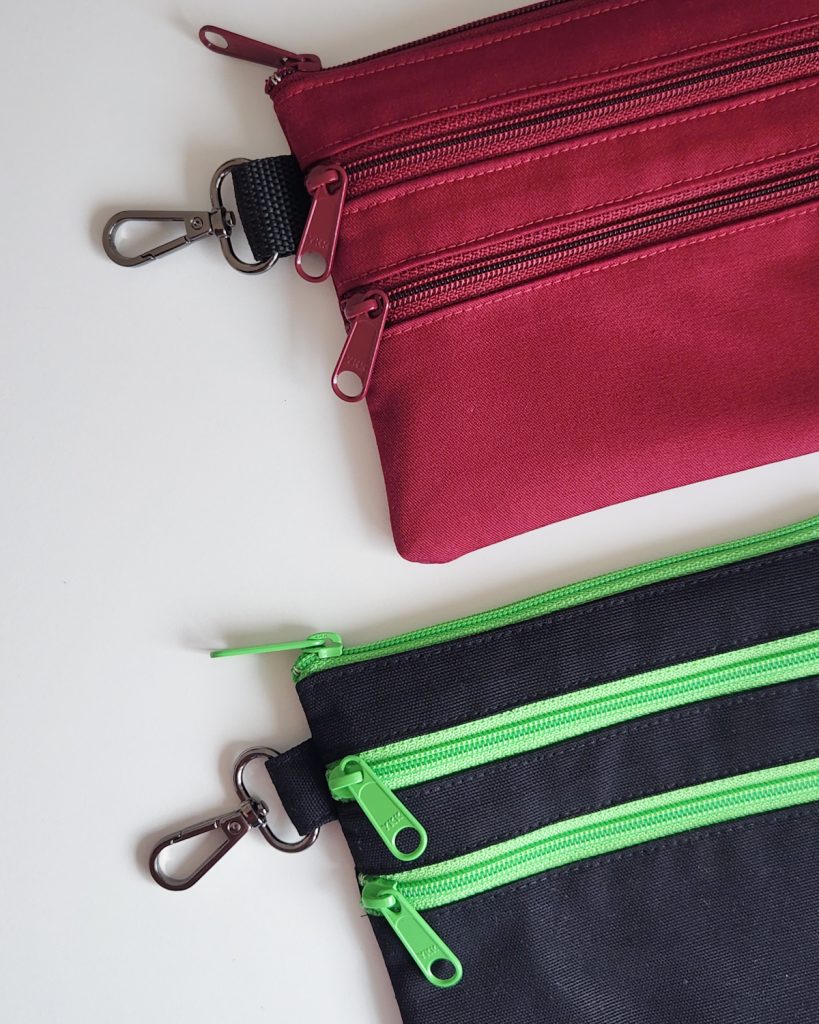
I did really good making these, until it gets to the part where you have to baste the tabs with the hardware in place. My machine really didn’t want to sew with the zipper by the feed dogs, so I had to flip it over and blindly sew them on the other way, and it was difficult. When I made the black one, I decided to just hand baste them on. I also made the tabs longer than they’re supposed to be, so that the hardware wasn’t so close to the seam line. I would love to have made them shorter, but I was losing my patience.
Then, sewing all the way around, through all of the layers, past the zippers, and past the hardware tabs was very stressful. I am still really new to making bags, and I feel like sewing through all of the layers and over things that can potentially break your needle really heightens my anxiety. But I think that will probably be something that gets better with time.
In the meantime, if you’re a seasoned bag maker I would LOVE any tips you have for me.
I made the maroon bag first, so when I made the black one, I made a few changes. I realized that the fabric tabs for the hardware were easier to deal with than the webbing. Then at the end when I had to sew all the way around, it was easier to sew half of the bag and then go back and sew the other side in the opposite direction. I also trimmed the seam allowance down so that the edges weren’t quite so bulky before I turned it right side out. Those things seemed to make it a little bit better, but I still think I have a lot to learn.
The instructions and illustrations were excellent, and I’m looking forward to making more Wholecloth patterns in the future.
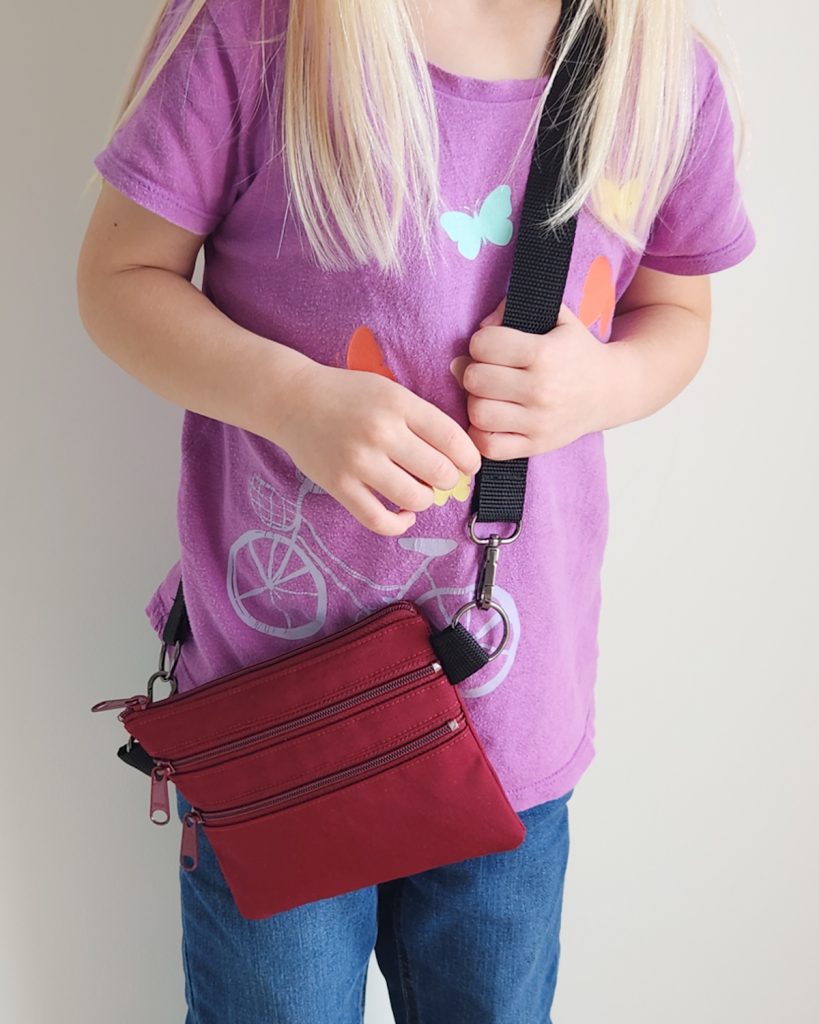
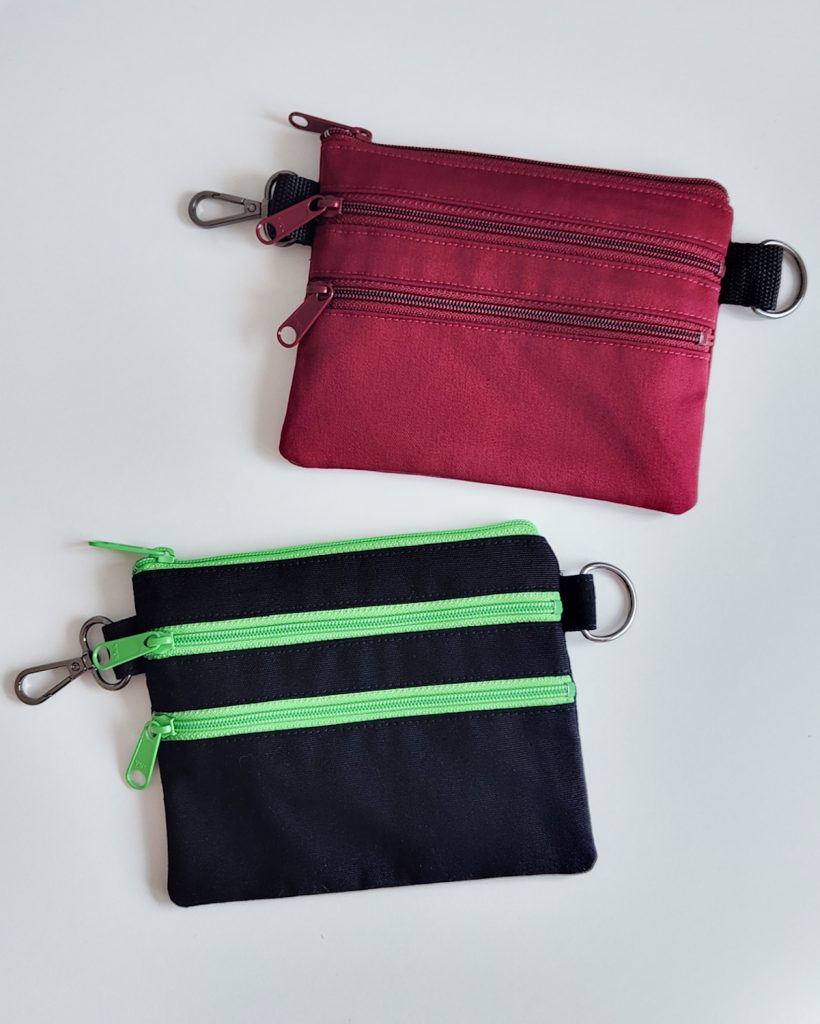
Vanessa loves pink. I was glad she was happy with this maroon fabric, and she picked the lining. She decided that she wanted hers like a crossbody bag since that’s how my bag is, and she’s always begging to wear my bags. She takes it everywhere we go and even requests to hold the keys in her bag, so she feels grown up. She fills her pockets with seeds, rocks, or seashells that she finds outside.
Braden is fully obsessed with Minecraft, so he was thrilled when I showed him the green zippers and that the bag is square shaped. He wanted his like a belt, and he has worn it to school every day that he wears jeans with belt loops. He keeps his Pokémon cards sorted by type in each separate pocket. It’s worked much better than him getting his cards all crushed in his pants pockets.
I’m currently debating on what fabric and zippers to use for mine, and I think I’ll make the large size. I think it would be great for trips to the store or cafe since the bottom pocket is great for coins. How would you make yours?
Feel free to subscribe if you want to keep up with my posts and find me on Instagram and Pinterest too.
Thanks for reading and happy sewing! xoxo
These look great, and I’m sure your children are delighted with them. I’ve never made a bag, and I’m not sure I’d have the patience, but I very much admire the results you’ve achieved here. I love the colours too.
Thank you, Ann! It definitely took some extra patience, but it was all worth it since the kids are so happy with them. 🙂