
If you haven’t realized by now that this is a Roscoe Blouse fan page, then you haven’t been paying attention. 😉
I bought this cool double ikat cotton fabric from Fabriclore last July, and I thought I wanted to make a classic button up shirt with it. But then I made 2 other classic button ups in almost the exact same color, and I figured I should probably switch it up a little. I was on the fence about what to do with it for a while, but when I saw this shirt from Emerson Fry (below), it was an absolute no brainer.
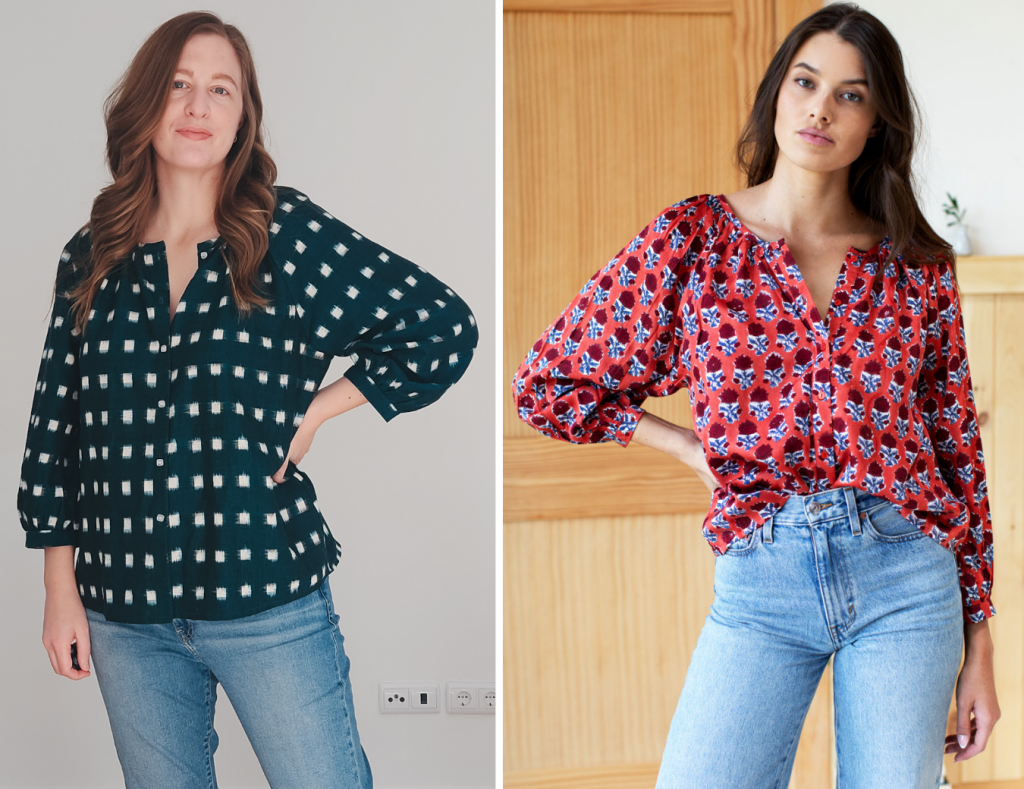
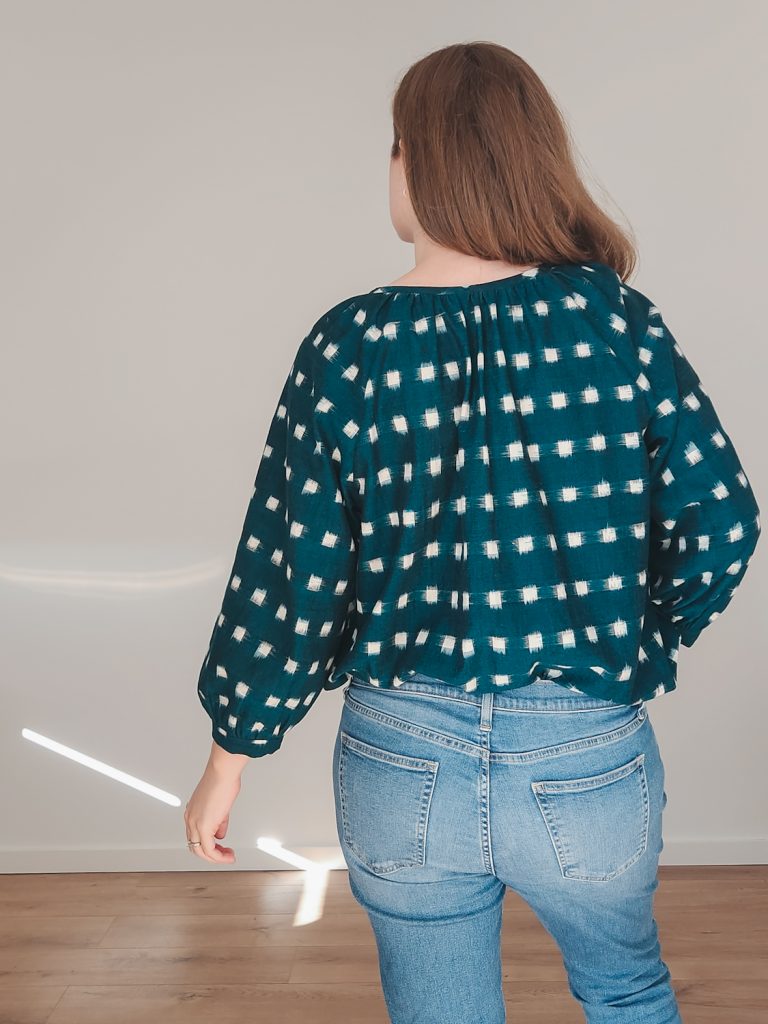
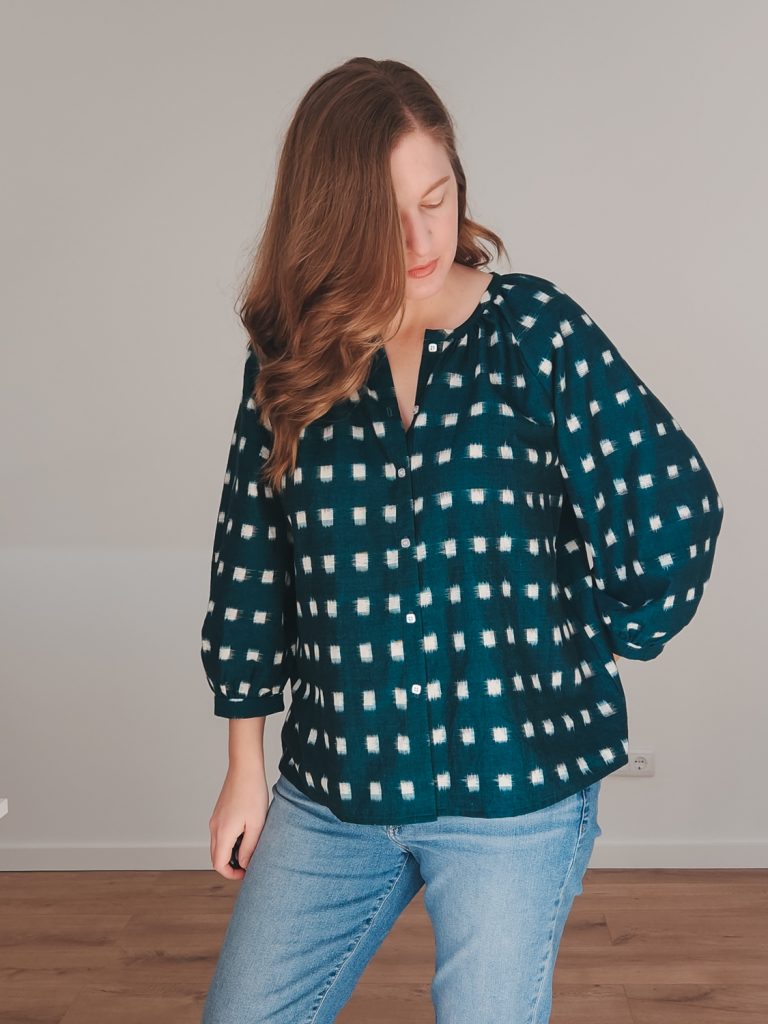
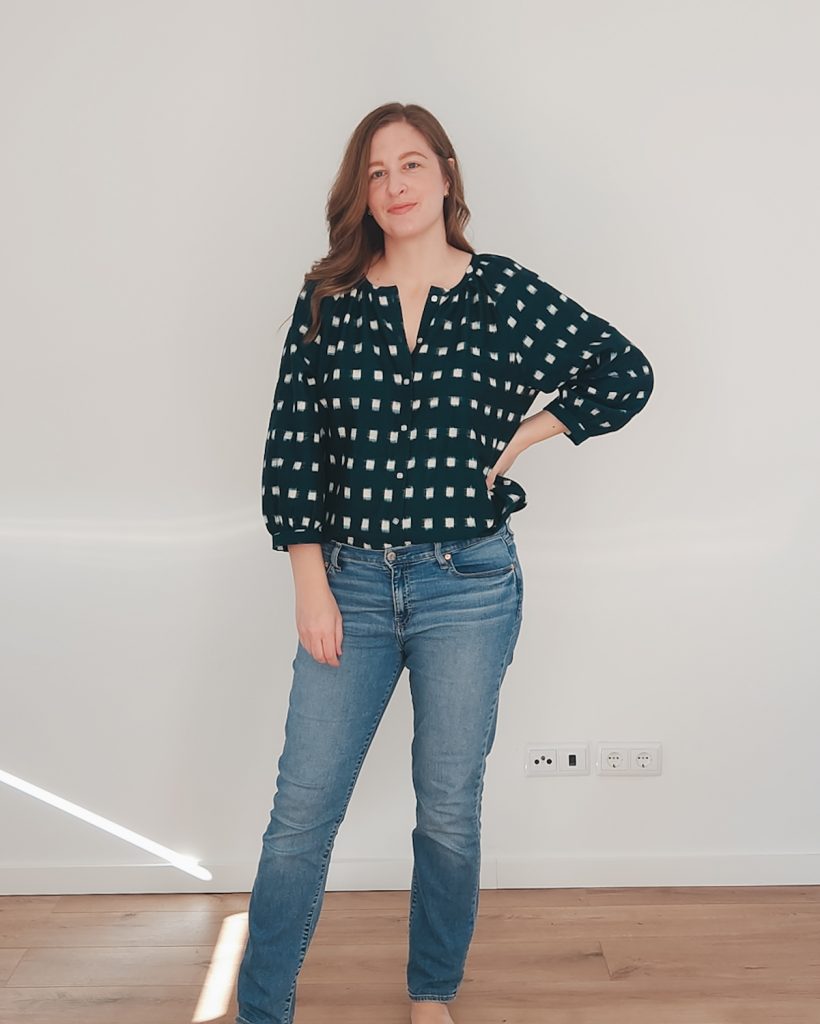
It was a perfect match for the Roscoe Blouse. Most of the recent Roscoes that I’ve made for myself, I’ve made the sleeves short, but I really wanted to try these 3/4 sleeves again. My very first Roscoe that I made was 3/4 sleeve, but I ended up giving it to my mom, so I really wanted to try again with the longer sleeves.
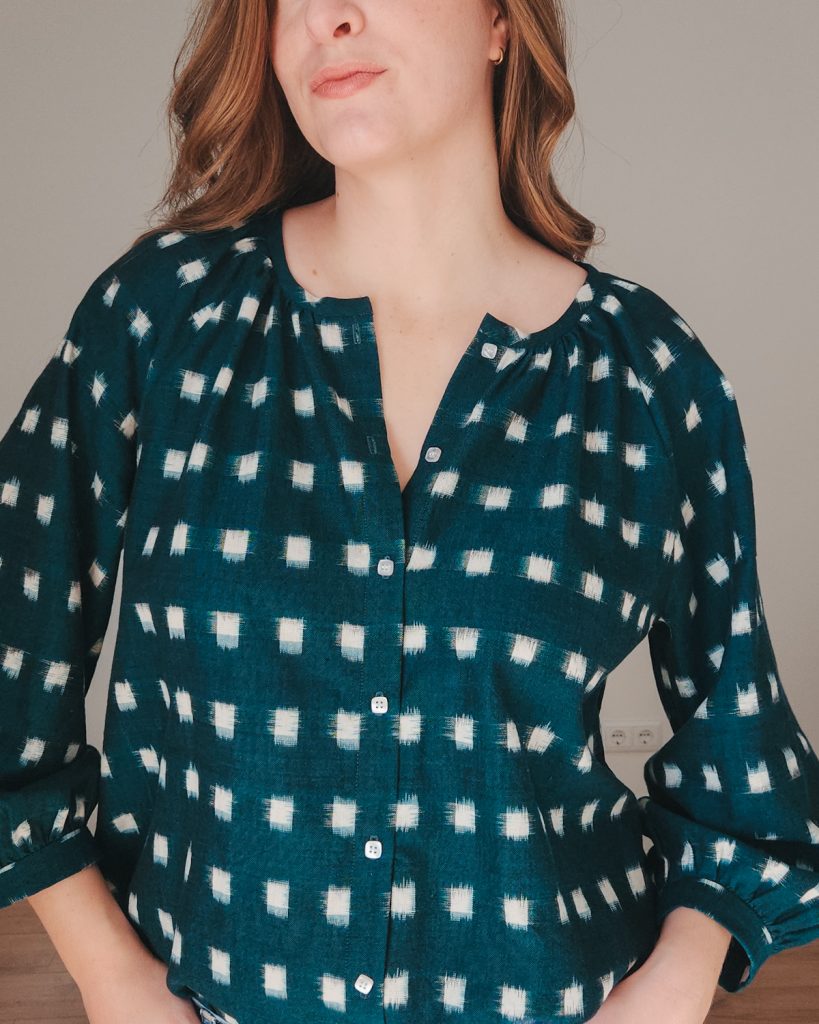
The two changes I made to get the look of the Emerson Fry Blouse were to add a 1″ button packet to the front and to increase the width of the sleeve bindings by 1″. I also made a size 12 according to my measurements and shortened the original bodice length by 1″.
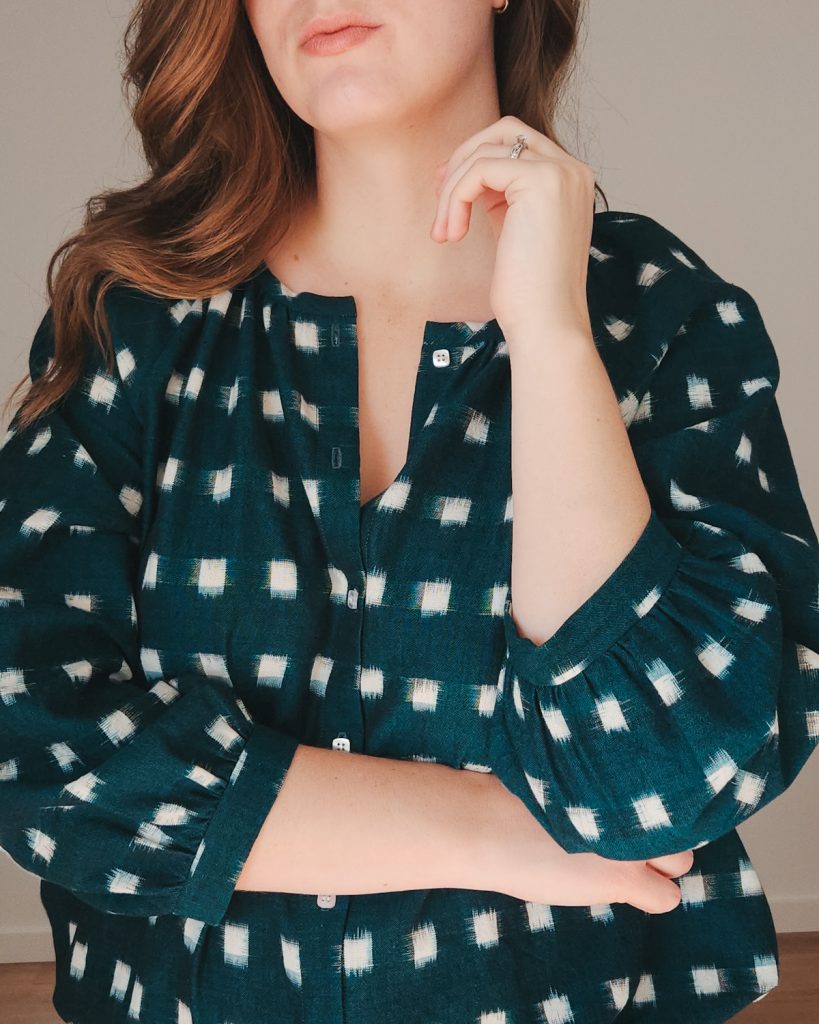
To add the front button placket, I added 2 inches to the front center (both sides). Then I cut a piece of interfacing 1 inch wide and the same length of the center front and fused the interfacing to the center front. Then I folded over twice to create the placket and edge stitched. This should be done first before gathering and adding the collar.
Something that I hadn’t realized until making this is that when you add the front placket, the neck binding should be lengthened as well. I was reading a blog post by the designer, Kelli, and she mentioned that. I noticed that the front has to be gathered a lot because of the placket, so it makes sense. I usually wear these unbuttoned anyway, but I will do that in the future and lengthen it by about 1 inch, since I like the thicker button placket.
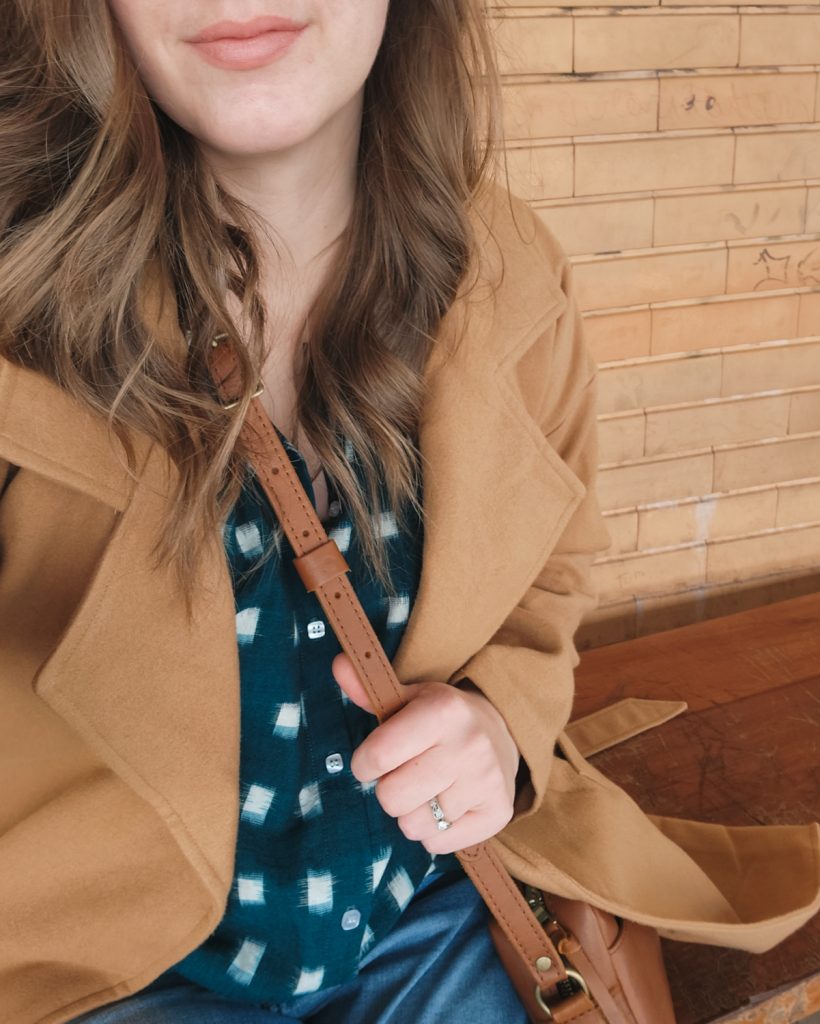
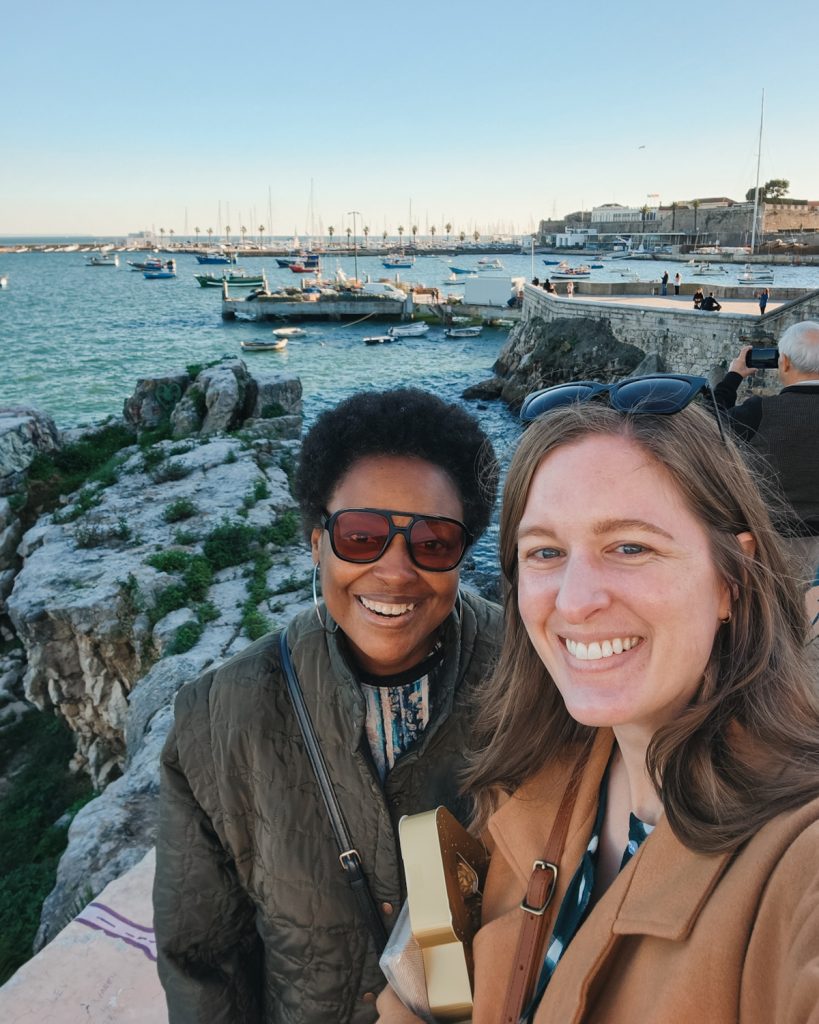
I’ve already worn it on an outing with Pauline (@sewuthinkucan) and paired it with my Pona Jacket that I made at the beginning of this year. It’s perfect for the weather here and I know it will get worn a lot.
I really wanted to make a button up with this fabric so that I could use these white square shirt buttons. They’re just so perfect! I’m really happy that I went with this pattern and love how it all came together.
If you have any questions or comments, please let me know below. Happy sewing! xoxo
I love your look in this Roscoe blouse! So nice with the jacket, too! Fun to wear for your friend outing. Love you!
Thanks Grandma! 🥰 It was so nice to have somewhere to wear it before we all got sick. Love you!