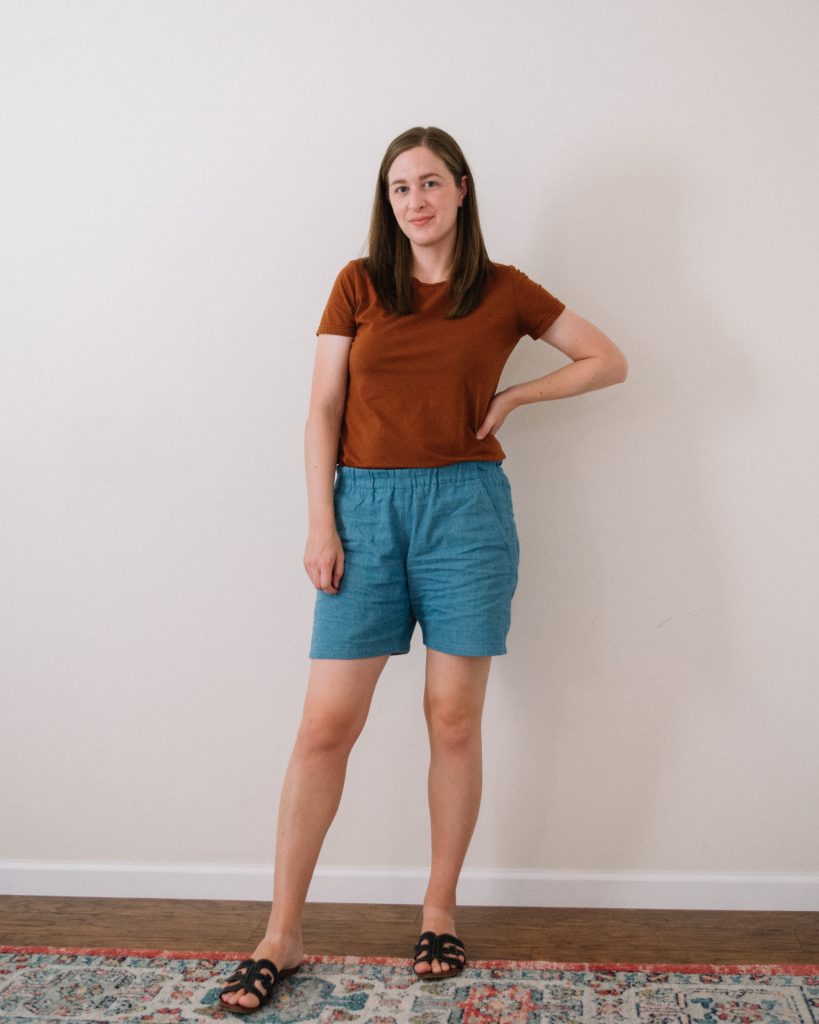
If you saw the Free Range Slacks that I made a few months ago, don’t panic, these are not those! This is the same Free Range Slacks pattern by Sew House 7 (up to 65″ hip) though. The pattern pieces for this pattern were smaller than my other shorts pattern, which meant I could more easily play pattern Tetris (AKA use more of my leftover fabric).
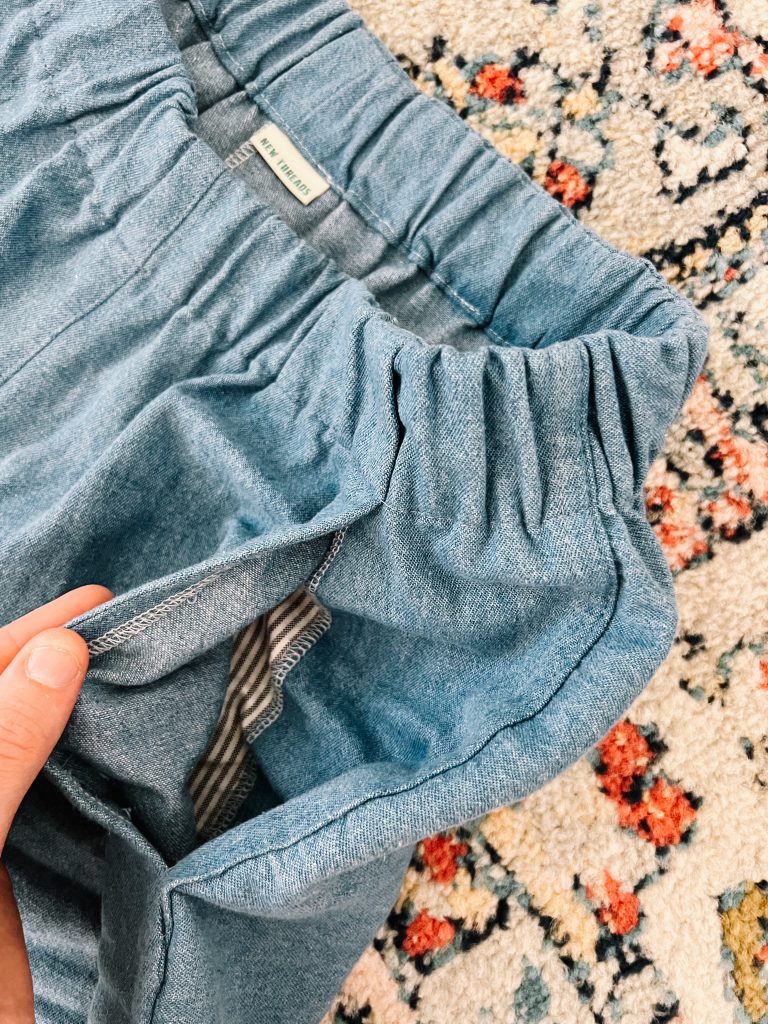
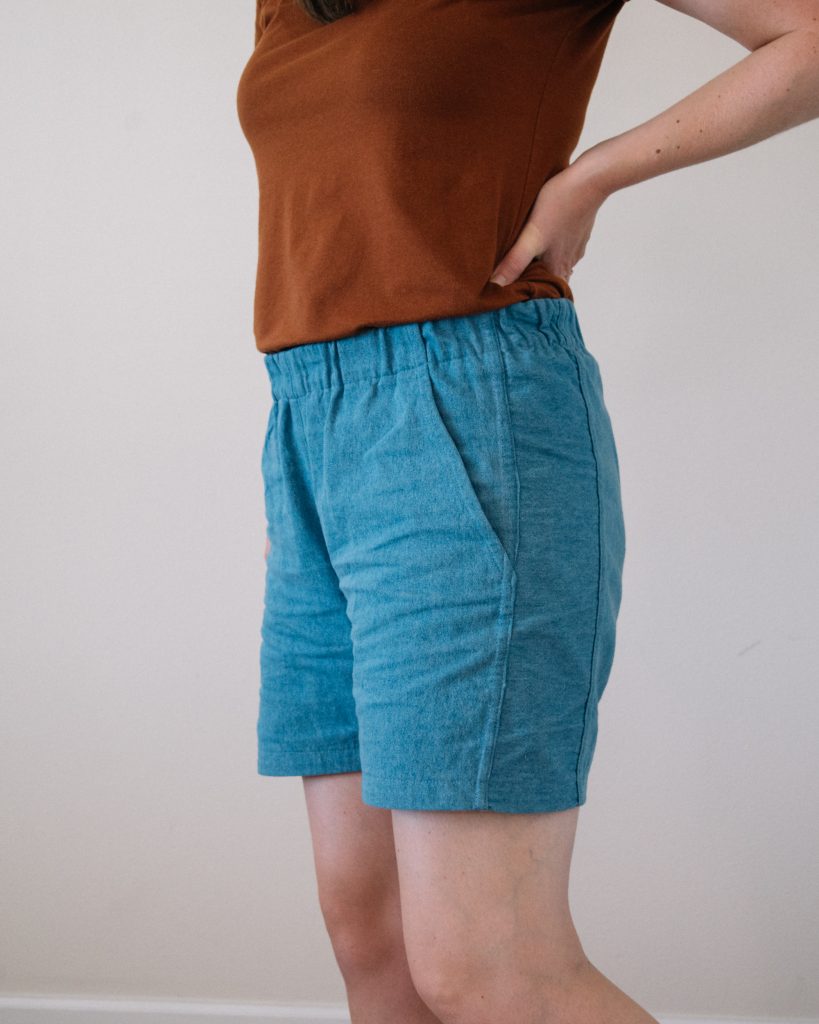
Every time I make this pattern, I make it mid-rise, so these have a 10.5″ front rise. The inseam is 6.5″ because that’s just where I like mine. I originally cut them to have a 9″ inseam, but after sewing them together the hem line was pretty jagged and they were too long. So, I cut roughly 2″ off to straighten the hem, and the bias tape made them go .5″ shorter. The hem of this pattern sort of angles in, so I couldn’t just fold the fabric up and hem. Instead, I used the tutorial from Helen’s Closet and cut bias tape. The fabric I used for the bias tape is an oxford cotton shirting and it worked really nicely!
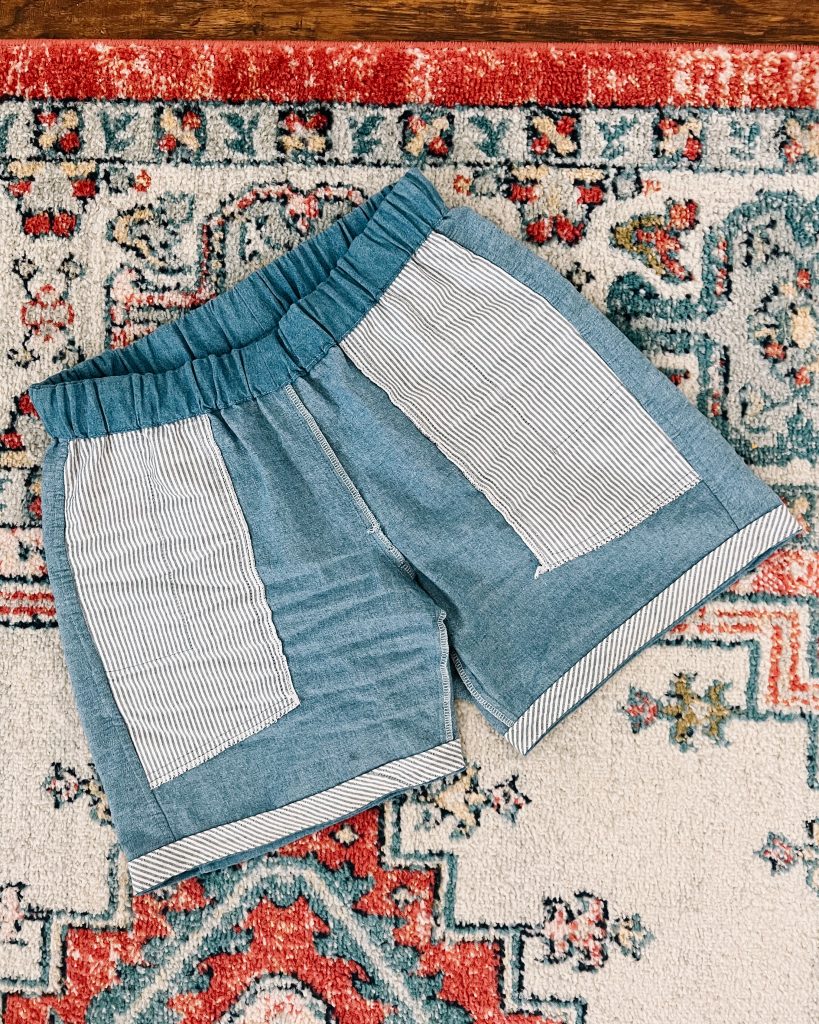
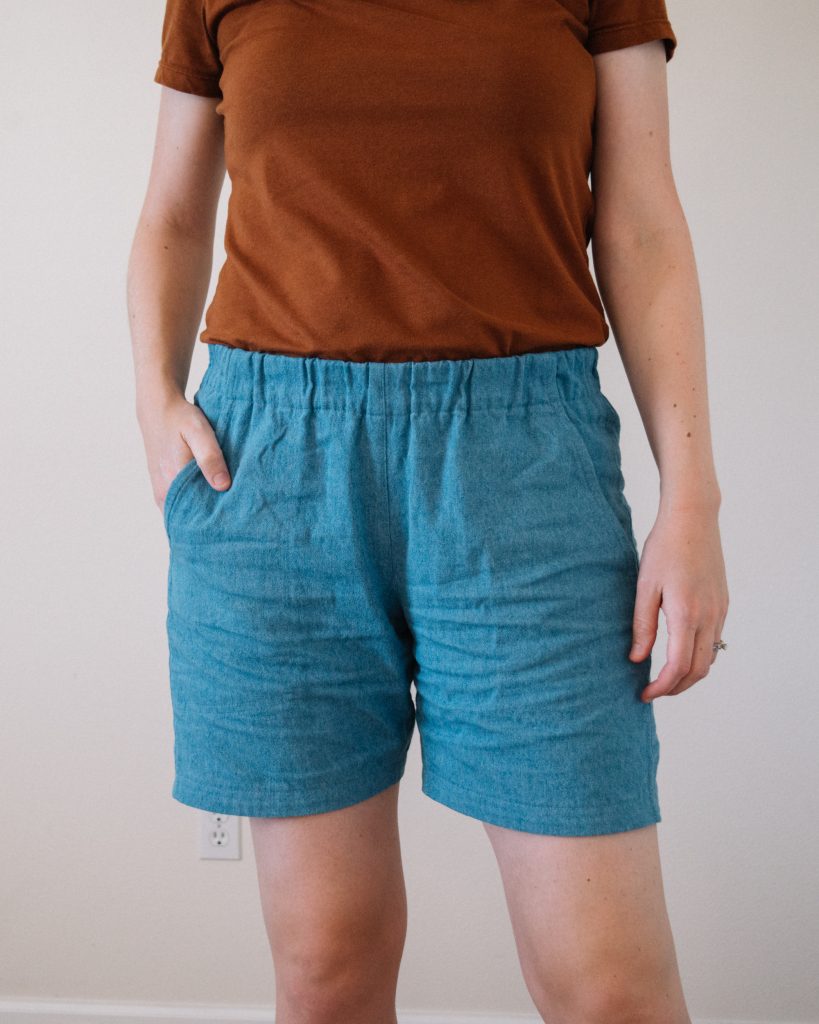
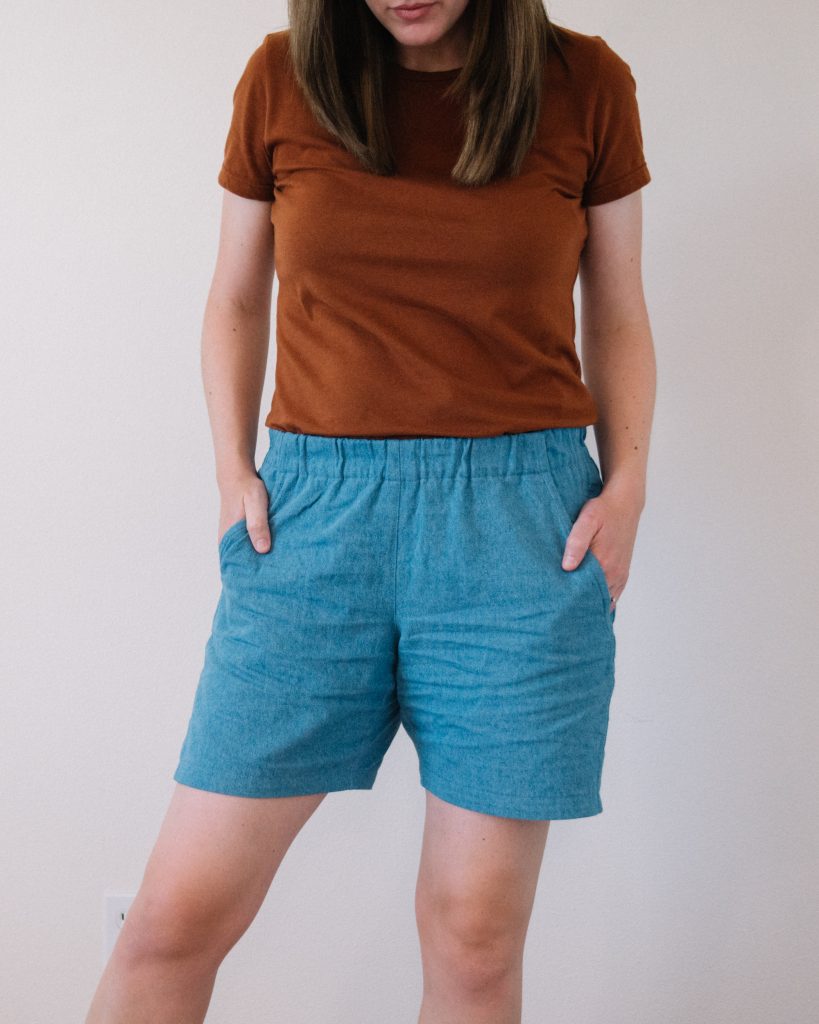
I wanted to show a detailed photo of the pockets (above), because I didn’t have enough fabric to cut the pockets and I had to get creative. As you can see, I cut the inside pocket using the same shirting, but I didn’t want that to show from the outside. So, with the denim scraps that I had leftover, I cut two pieces big enough that would cover the part that would be showing. I just serged the edges of the denim and stitched it right to the shirting pocket piece before sewing them to the front pattern pieces. It took a bit of brain power, but I was determined, and it worked out great!
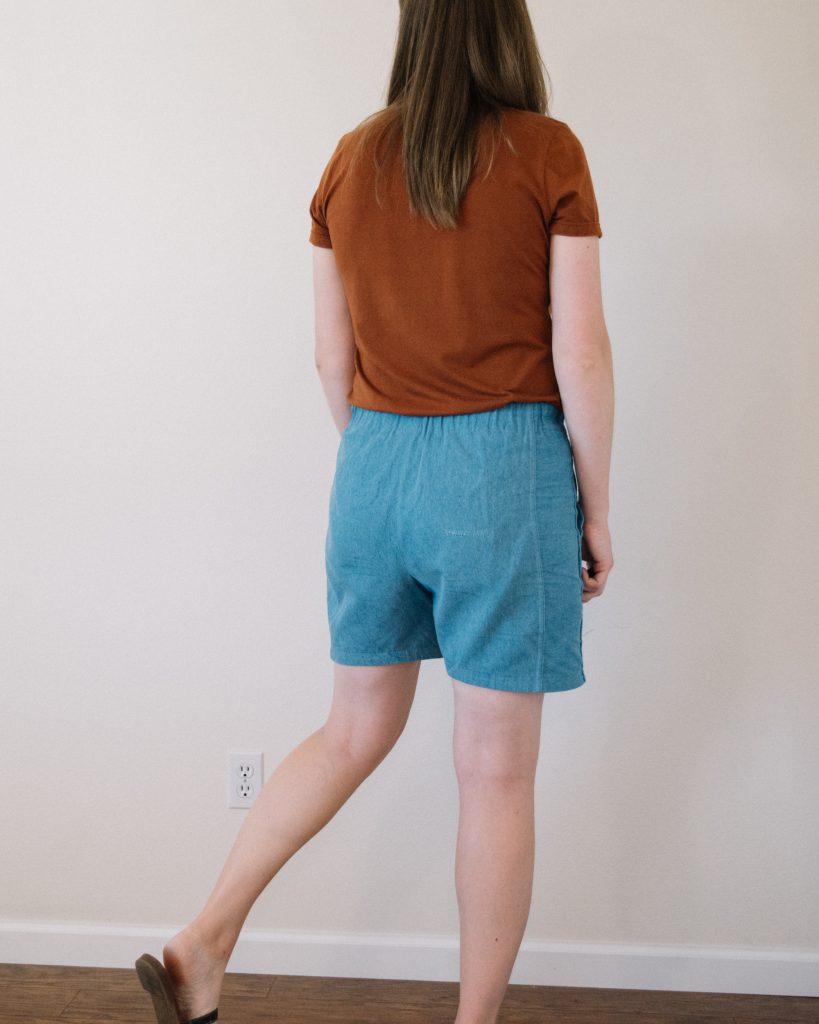
I love these shorts so much that I basically wore them every day for 3 weeks until I had a VERY sad mishap with the barbeque in my backyard. I was picking up toys on the back porch and snagged my shorts on a metal piece that was sticking out, and it ripped a pretty big hole right across the back. Usually, the barbeque is covered…But the piece has since been fixed so that no more clothes or body parts are harmed.
It took me a few weeks before I could get more matching thread (I finished these by playing thread chicken, so I had used it all), but I was able to find a small piece of the fabric and stick it behind the hole. They are finally mended now and have been worn A LOT even though you can still see where they were mended (shown in photo below on the right middle section). Oh well. I did my best. And I am wearing these shorts because I LOVE them.
Since I cut the hem in a little haphazardly, I thought that maybe the front was cut too long. It still very well could be, but after wearing them for a day, the fabric relaxed a little and it didn’t feel like that anymore. So, if I make these shorts again, I’ll be a little more intentional about how to cut the hem.
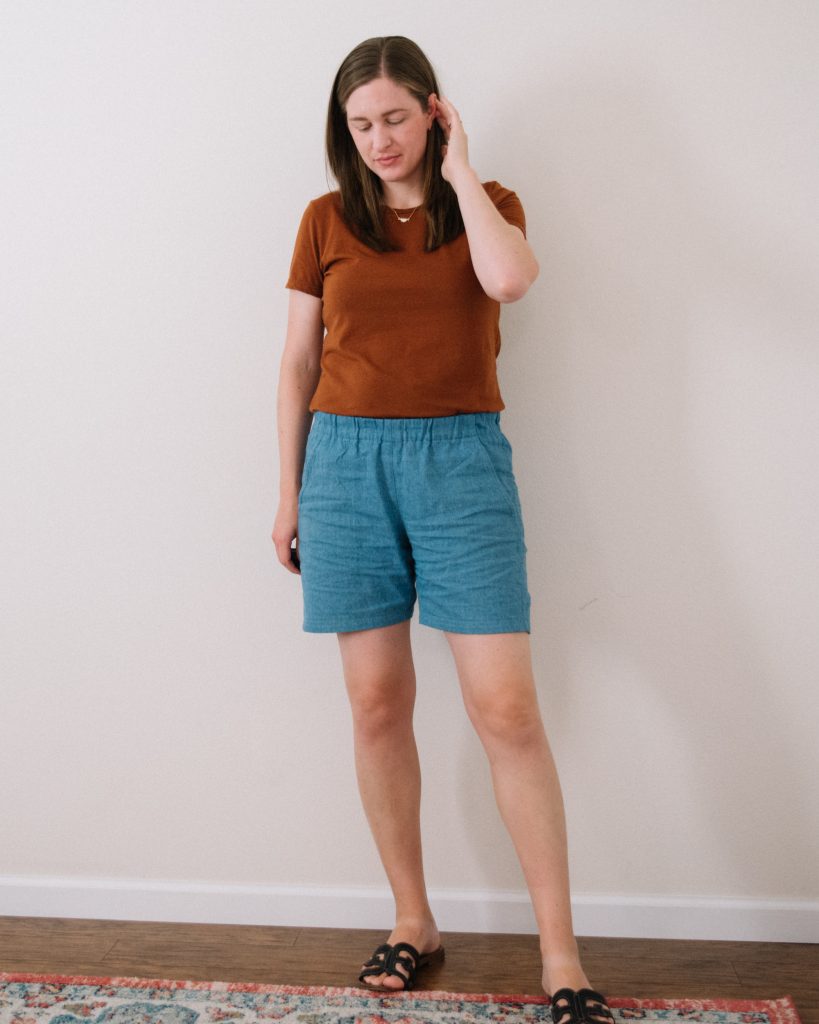
I’ve only made two elastic waistband shorts patterns before, so I’m no expert, but I love these so much. The Free Range Slacks have less ease than the Pomona Pants, so these are much more my style. I’ve had my eye on a couple of other shorts patterns as well. I’m currently in the middle of making the EA Saturday Shorts, and I’m really tempted by the Essential Shorts and the Vero Beach Shorts. So even though it’s getting late into the summer – stay tuned!
I hope you’re all enjoying your summer and getting outside in the sunshine! Let me know if you have any questions or comments, and happy shorts sewing!
The short fit you perfectly. I can understand why you would want to repair them so you could continue wearing them. They’re a great color too.
Is that pattern made with a waistband that comes up to the natural waist? That’s my preference for pants.
Thanks Jeanette! They are such a great color. I’m tempted to buy more of the fabric so that I have more when they inevitably wear out! This pattern does come up to the natural waist. I took 1.5″ off of the rise to make them more mid-rise on me.
You are making all the shorts I’m considering! I’m staying tuned!!!
Yay!! They all look so good!
Just made the pants, and had the thought of how cute these would be as shorts. Thank you for the inspiration! These look fantastic.
I’m so glad this has inspired you, Kerrie! I’m so excited for you to make some too!
How did you alter the waistband after taking off 1.5” from the rise? Did you need to draft a new one to match the contour?
Great shorts! I just made them as pants.
Hi Monica! I’m so sorry it’s taken so long for me to respond! We just moved to Portugal and I finally had the chance to check comments. To answer your question, I just took it out at the lengthen/shorten line. If you take it off the top, it makes it much more complicated. But if you take it out in the middle, then it doesn’t change the pattern/drafting all that much. Here is blog post where I did the exact same thing, but just on a different shorts pattern: https://thesewingthingsblog.com/2021/07/mid-rise-pomona-shorts/
Let me know if you have any other questions and I promise to get back to you sooner!