*Important Update* – I have made this coat again and it turned out MUCH better, so after reading this post make sure to check out the new one.
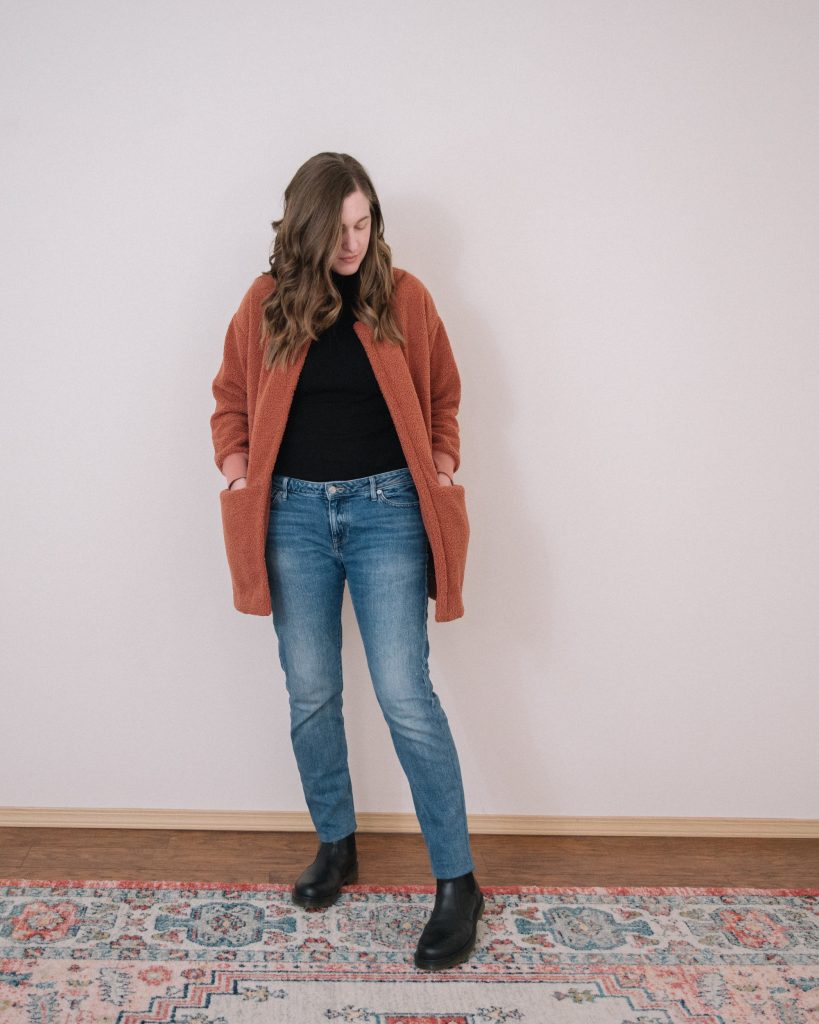
Hi friends! Okay, I want to preface this by saying that if you really want to make a coat like this and/or use this fabric, you need to read the tips in this post so you can avoid making the same mistakes that I did. I LOVE how this coat turned out, but it isn’t perfect, as you will soon read. So, let’s do this!
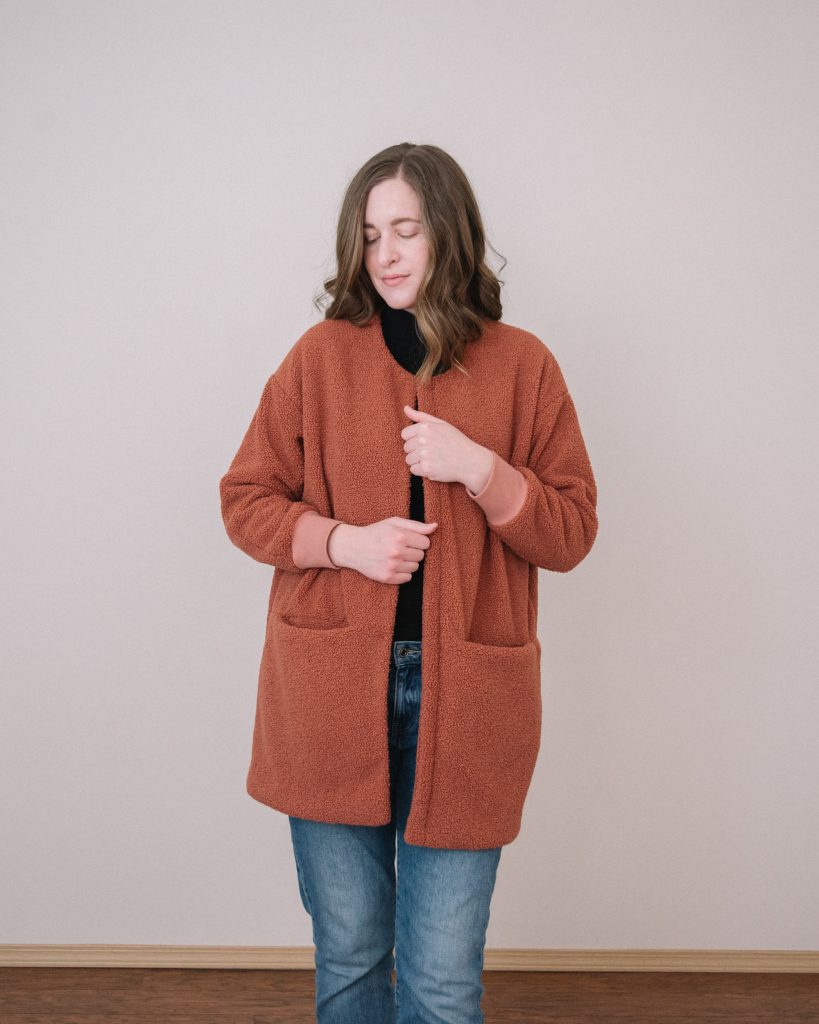
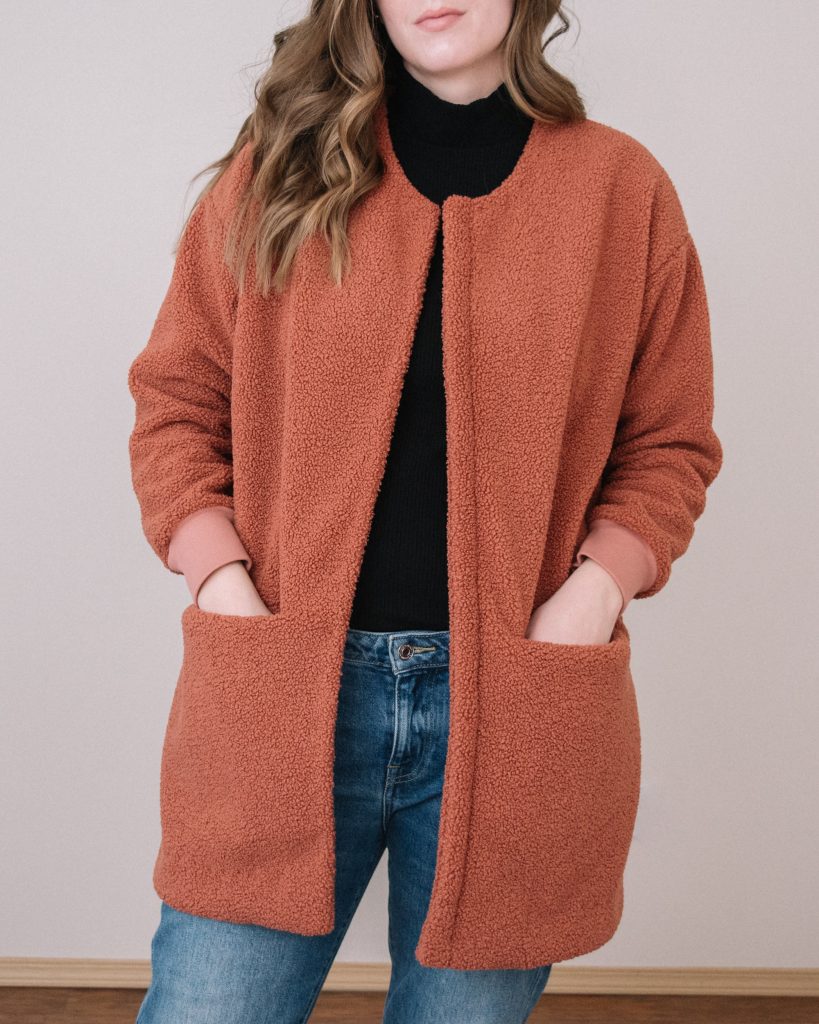
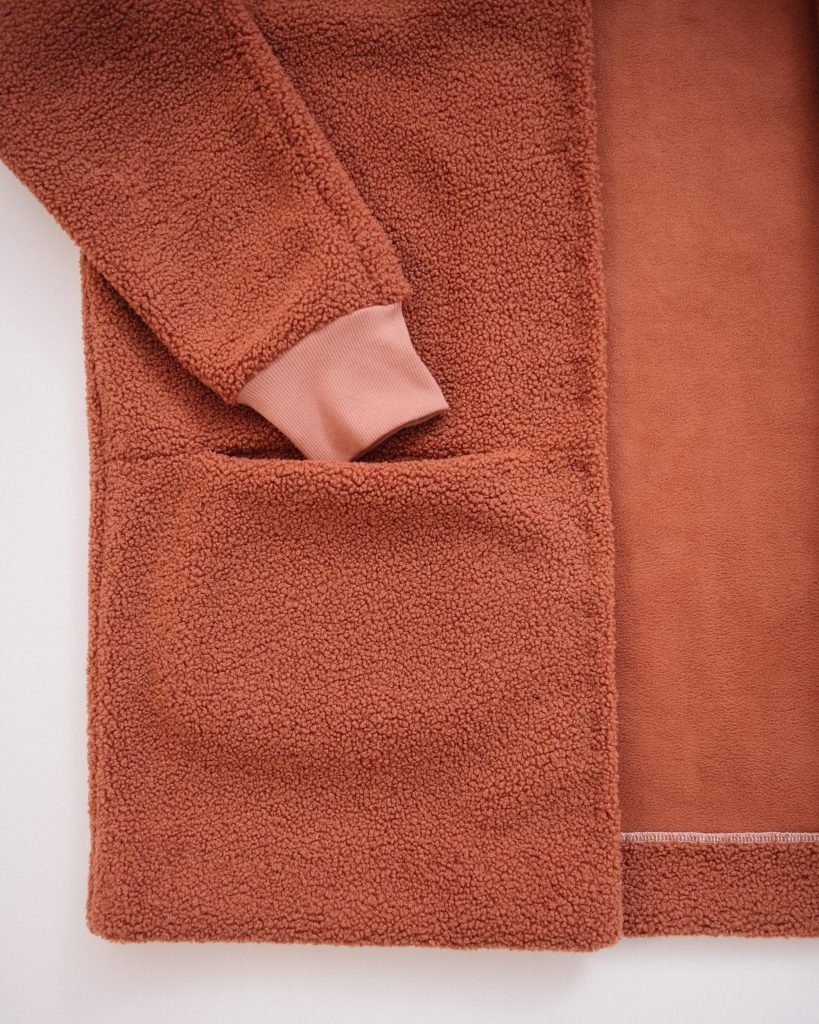
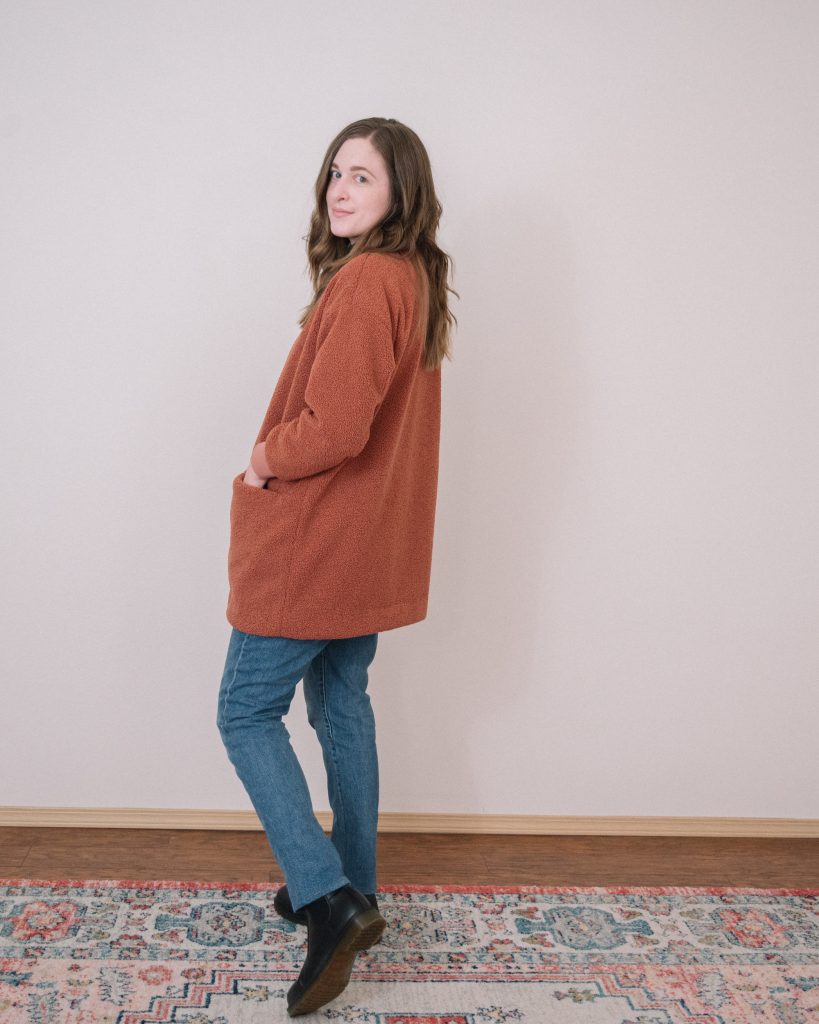
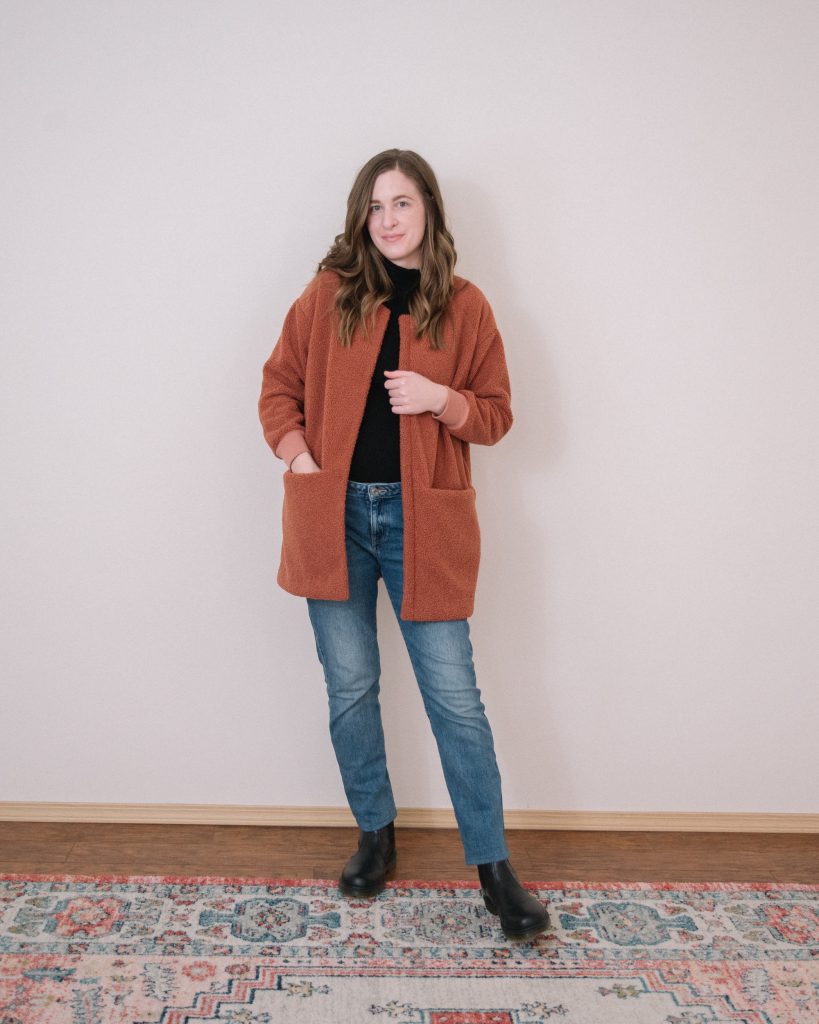
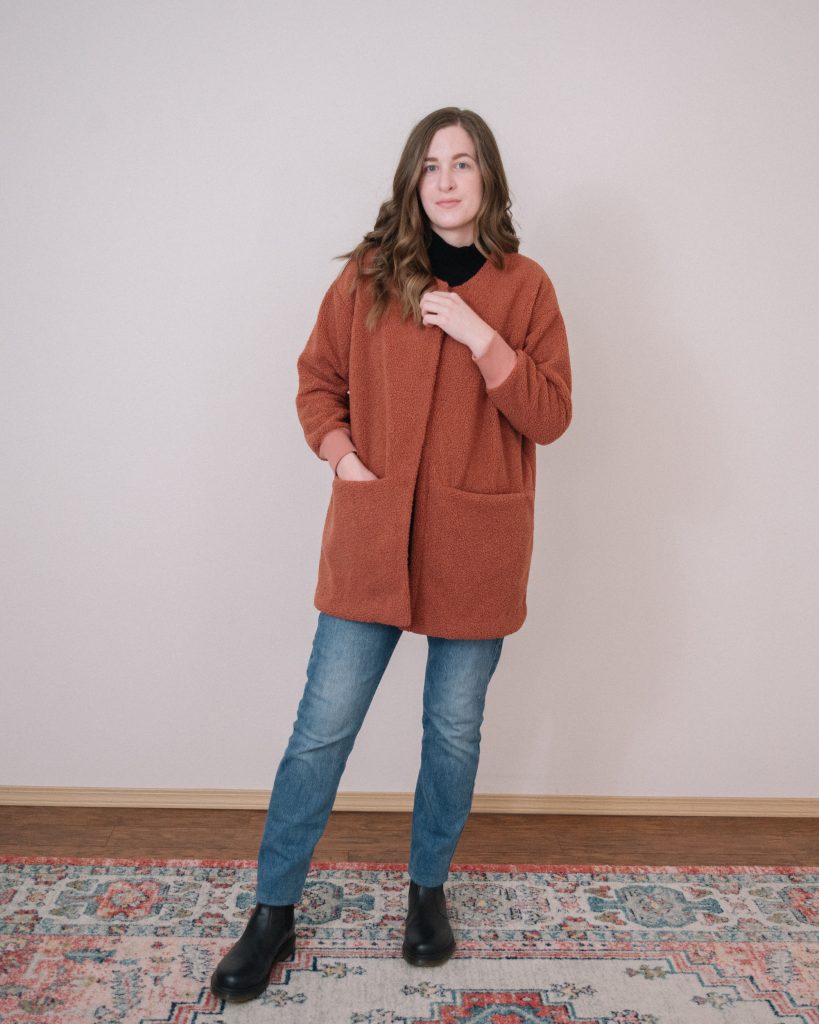
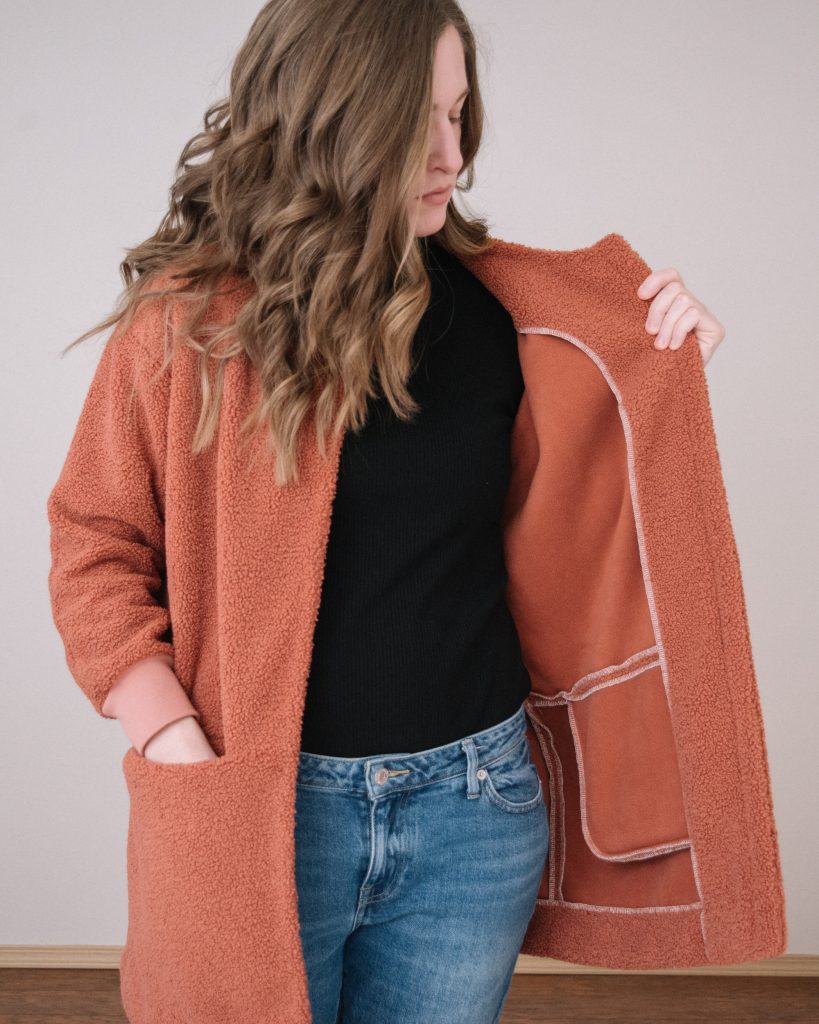
Pattern – This is the Esme Cardigan by Named. I love this pattern, and the pockets are my favorite! I’ve made it once before with a plush sweatshirt fleece, and I’ll be honest, I didn’t like it as much as this version. This pattern calls for medium to heavy weight fabric with 20-40% stretch, but it needs to be a very stable knit. You could even sew it in a woven because there isn’t any stretch required when you’re sewing the seams. Also, if it has too much stretch or isn’t stable enough, the pockets get floppy and annoying. The pockets also hang pretty freely on the inside, so my advice is to tack them in place, or I’ve dreamt of making an Esme with woven fabric and adding a lining to completely enclose the pocket bags.
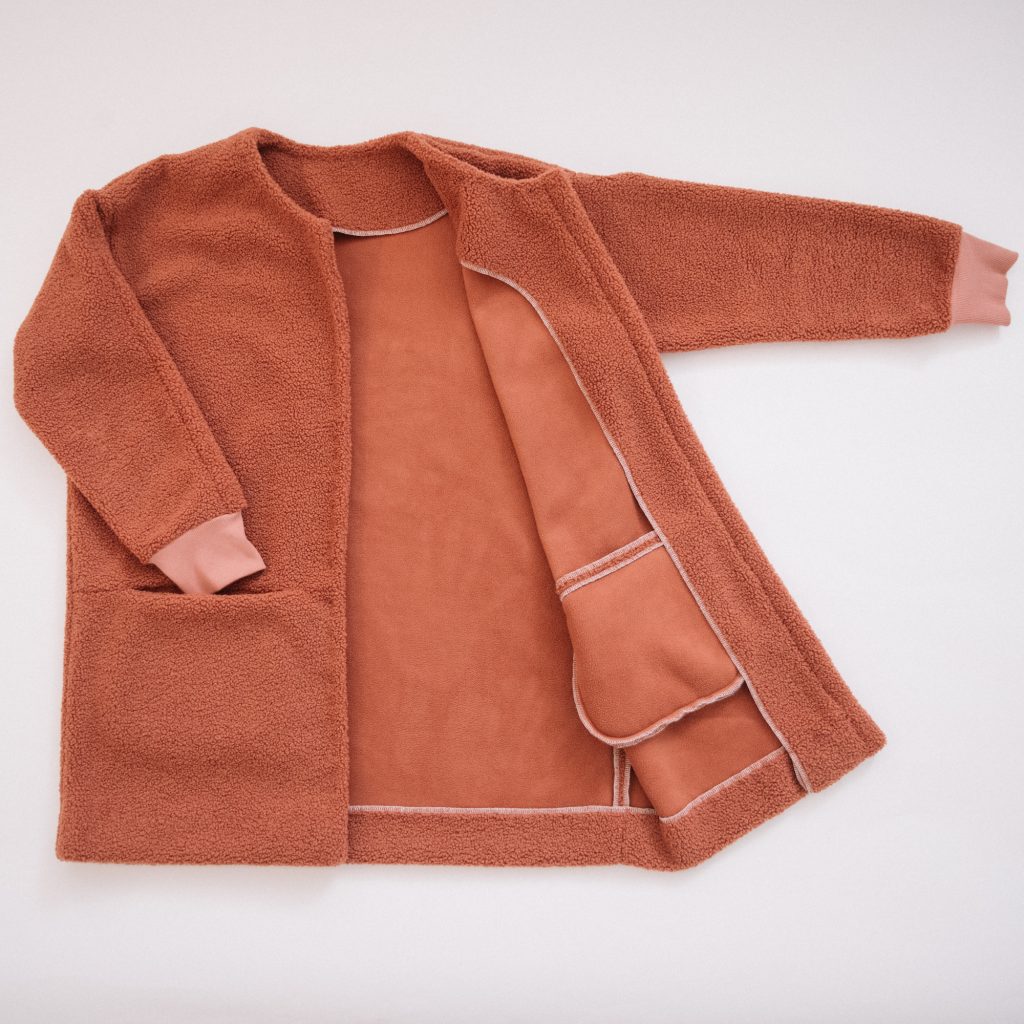
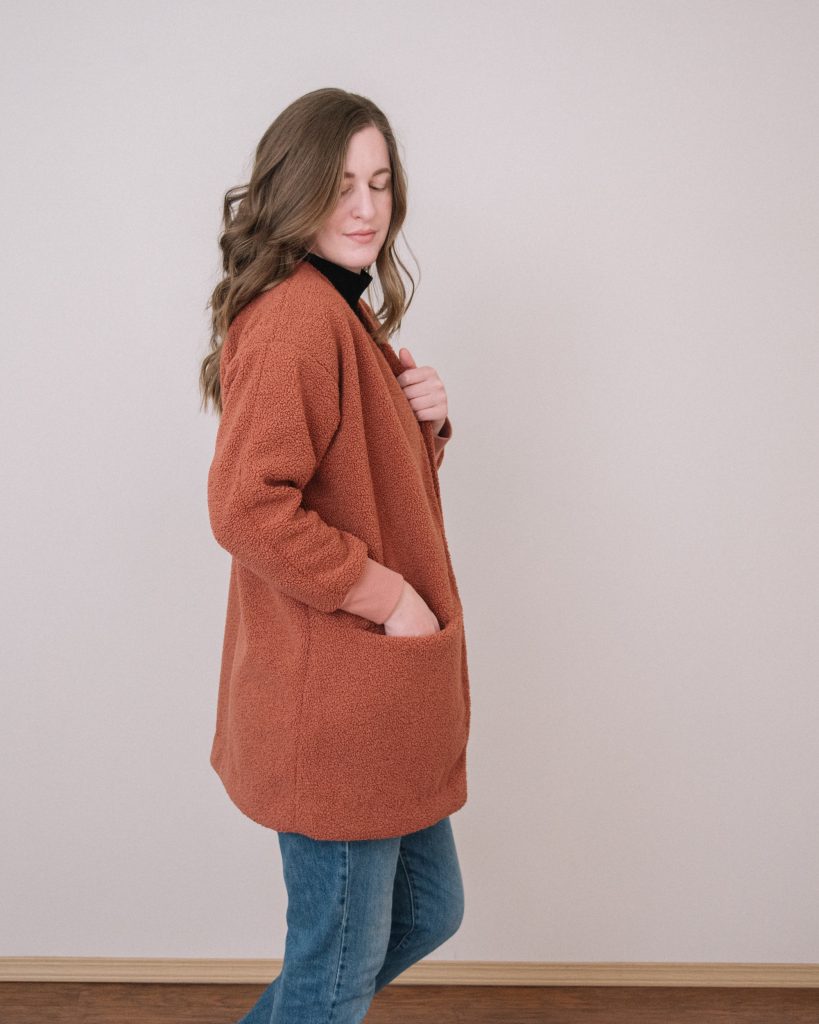
Fabric – This is an amazing reversible sherpa fleece from Style Maker Fabrics. They are sold out of this color (Rose) at the moment, but they’ll be restocking within the next month. If you’re serious about this fabric, make sure you get on their mailing list so you get the email when it’s restocked (email goes out every Sunday afternoon). This fabric is a very quality fabric and I keep trying to come up with reasons that I need more. One side of the fabric is sherpa and the other side is fleece, and both sides are equally soft and plush.
The ribbing that I used for the cuffs is from I See Fabric. It’s the 2×1 rib knit in the color ‘Fig’. It isn’t the exact same color, but they are a very similar shade, and I love how well they go together. Depending on the color of sherpa you get, Style Maker also has a selection of ribbing that would work for a similar look.
Sizing – For reference my measurements are B38 W33 H42. I made the size 8-10 since that’s what size I made for my first one, but I should have sized up to the 12-14 with this fabric. This fabric is about 1/4″ thick and that definitely affects the fit. So, no matter what pattern you use, you may want to size up if you are using this specific fabric.
Sewing with this Fabric –
Serging the seams isn’t necessary because the fabric doesn’t unravel, but it really helped with the bulk. I serged around every pattern piece before sewing it together and it really made things go together easier. I found that my serger liked to serge it much better when the fleece side was down/sherpa was face up. I used a zigzag stitch to attach my cuffs and it worked great.
I used a 3.5mm stitch because the thickness of the fabric, and that worked really well for me. This fabric was honestly really easy to sew! I was a little nervous, but after test serging and stitching a scrap piece, I realized that I didn’t need to be nervous at all!
I didn’t iron this fabric at all. That’s probably a no brainer, but after serging the edges and then sewing the seams, they laid pretty flat on their own.
Adjustments to the Pattern-
I made my sleeves a bit too short because I thought that the cuffs would make up the length. I wish that my sleeves where about 2″ longer (I cut my pattern piece to 18″ long, and I wish I had left it at 20″). I also wish they were wider, but I think going up a size would have fixed that issue. I would err on the side of them being too long because you can always take the extra length off.
I used the size 24 cuffs from the Page Hoodie pattern by Chalk and Notch. I’m not a size 24, but I wanted them to not be quite as fitted, but still be more close fit than the Esme’s cuffs.
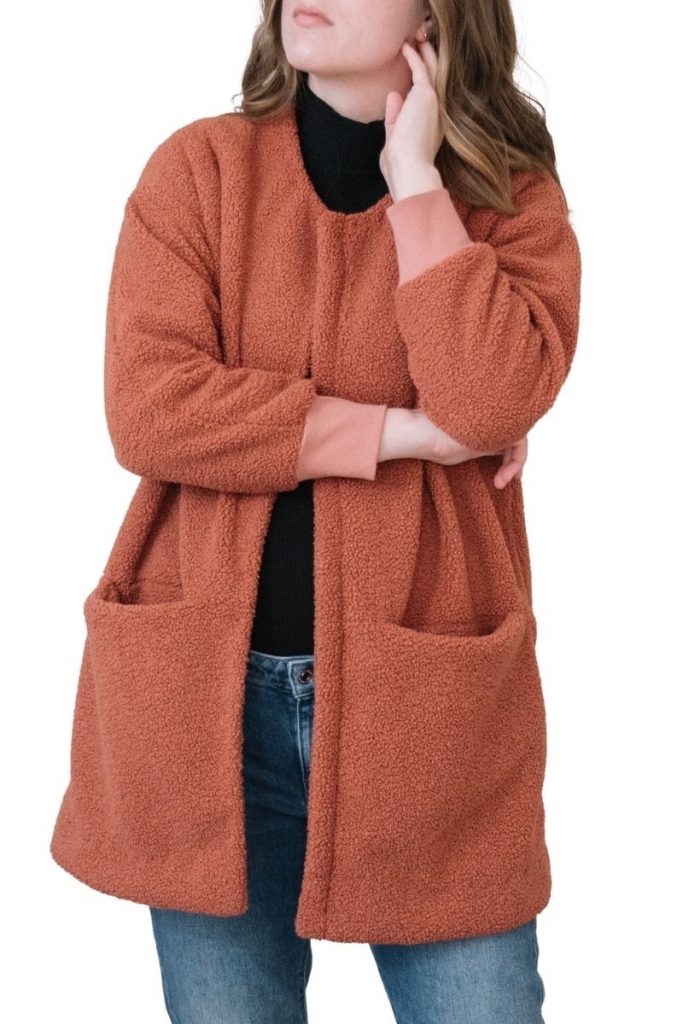
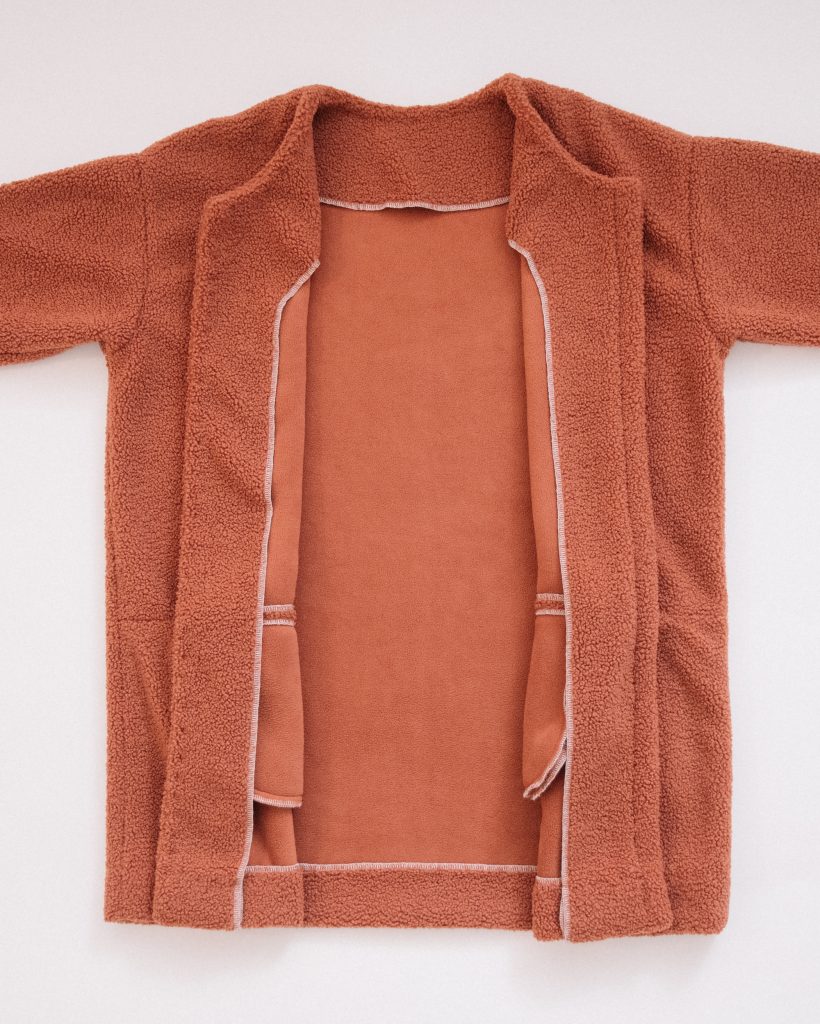
I didn’t used the neckband piece from the Esme at all. I also didn’t add any width to the front to make up for it, because I find the Esme is already pretty wide in front. I made my own facing (shown below) for the back and front that was 4″ wide + seam allowance. I tacked down the facing at the shoulder and pocket seams, but to keep the rest of the facing and hem in place I handstitched. I found this video VERY helpful on different couture hand stitching techniques, but I didn’t do a very good job with the hand stitching before finding the video (you may be able to see in these photos), so I’ve cut the stitches out and I’m going to try again with a blind hem stitch.
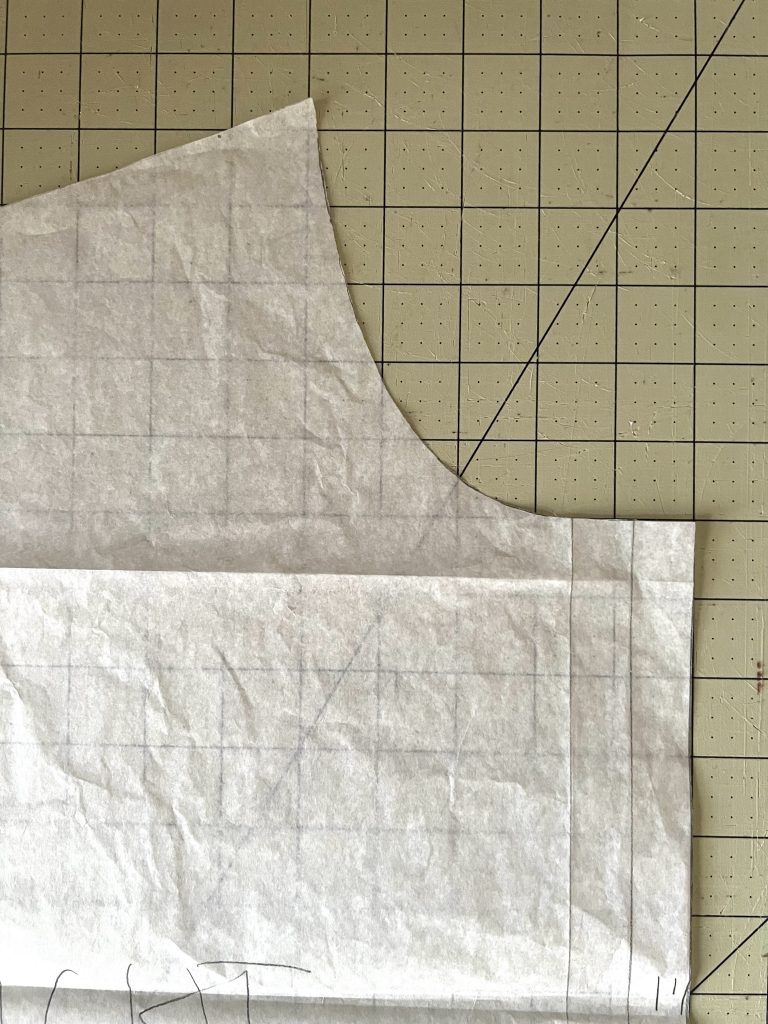
Here is a picture of the front right bodice piece (shown above), so you can see how far I went in to make the curve of the neckline. You could probably use the curve of a scoop neck t-shirt pattern if you wanted to. This was before I realized that I made a mistake, so I had to take about 3/4″ off from the center front of this.
For panel on the left side, it’s 1″ + seam allowances wide, and then the length of the front. I just sewed the panel to the left front and then sewed the facing on like normal. Once I sewed the front corners at the hem and turned them right side out, I went over the seam of the panel and topstitched so that the seam was more noticeable.
This pattern is very long, so I shortened the bodice by 11″, but if I were to do it again, I would only shorten it by 9″. I folded up the hem by 2″.
One last thing I did differently was to make the pockets without using interfacing like the patterns suggests, because on my first Esme Cardigan, I used cheaper interfacing, and it wasn’t hidden very well and looked kind of strange. I used a straight stitch so that the top of the pockets wouldn’t stretch out, and it worked out really well.
Mistakes – My first mistake was that I forgot to cut one of the sleeves, so I pieced together two large scraps to make the other (shown in the photo above). Luckily, it’s not all that noticeable (thanks sherpa!), but then everything spiraled from there…
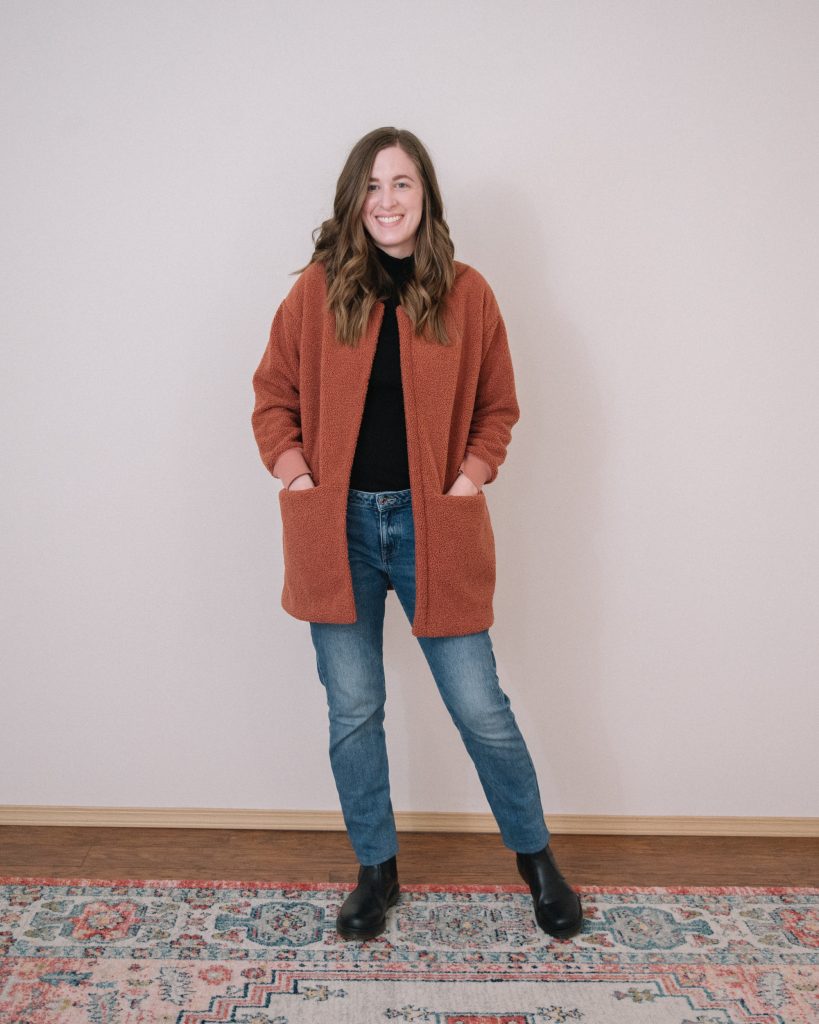
I made so many changes to the front top piece so that it would be about 1″ wider in the front, then I forgot (because the front piece has a top and a bottom) to adjust the bottom piece! Uuuuuggghhh. It gutted me while I was undoing all of my adjustments (I had to cut all of the width I added to the top piece), and I was so afraid it was going to turn out looking way off, but it actually turned out pretty good! It really turned out so close to my inspiration, and I’m thrilled about it. But learn from my mistakes!
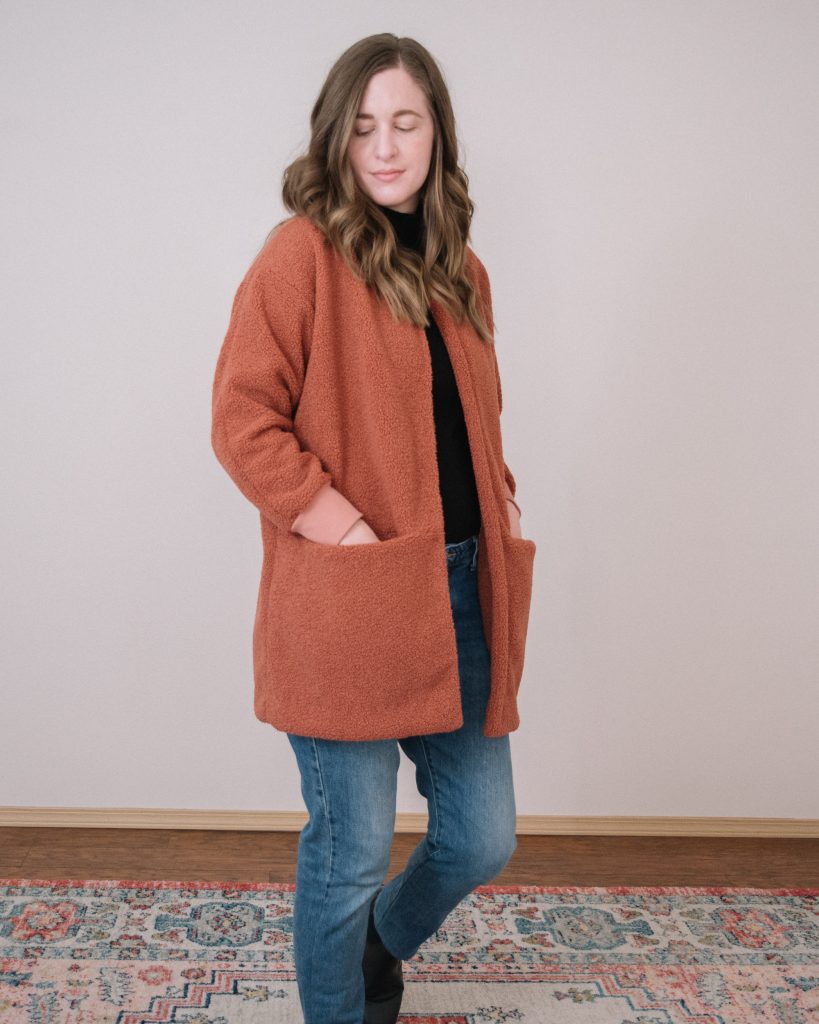
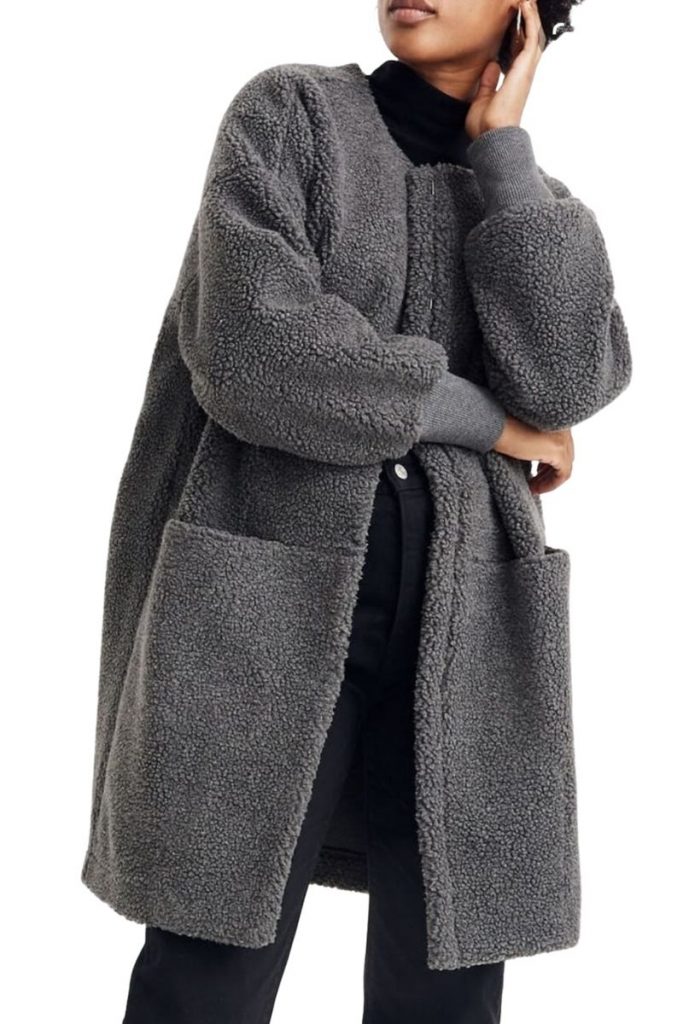
I really feel the urge to buy more of the fabric when it’s restocked so that I can make it fit the way I want it too, but we’ll see. It won’t look extremely different, but I think it would make me feel better to do it the right way now that I know what to do. My inspiration also had extra-large coat hook & eyes, and after I realized I messed up so many things, I rushed through getting it finished and didn’t add them. So, I might add those if I make it again.
I know this was a very loaded post, so if I missed anything or if you want something clarified — please let me know in the comments! Happy teddy coat making! xo
Tori,
You did a lovely job on this coat… inspiring me to maybe make one for myself or daughter(s).
Thanks so much,
Cate
Thank you, Cate! It came together pretty easily, so I hope yours do too!
I just bought some burnt orange sherpa and I’m trying to figure out which pattern to use with it (and how to adjust for this fabric, ie using ribbing or hems instead of bands in self fabric). Thanks for all the tips, I will be referencing this a lot as I go forward with my project!
I’m so glad you read this before cutting into your fabric! The fabric really is so nice and you are going to love whatever you make with it. So excited for you!
Could you work this pattern with a fleece fabric? I accidentally ordered fleece instead of a cotton and have had two yards of the stuff I can’t figure out what to do with!
Definitely! This sherpa teddy fabric is fleece, they just did something to the right side to give it the sherpa look. Fleece makes it so cozy and the perfect layer for fall/winter!
Soft fabric? Check. Pockets? Check. Such a nice Autumnal color as well! Really impressive that you made this!
I’ve made a Teddy coat and it came out great, but needs to be topstitched cause the color and front edges slip around. Please tell me how to topstitch such bulky fabric – length of stitch, needle.
Thanks so much – Liz
p.s. I love your jacket!
Hi Liz! I’m so glad you made one! I handstitched mine. I started from the inside and just snagged a little bit of fabric from the front (don’t go all the way through the teddy fabric or it’s more visible), then back down to the inside. It might take some trial and error to make sure you don’t pull the thread too tight, otherwise the fabric has a kind of puckered look. I hope that helps!