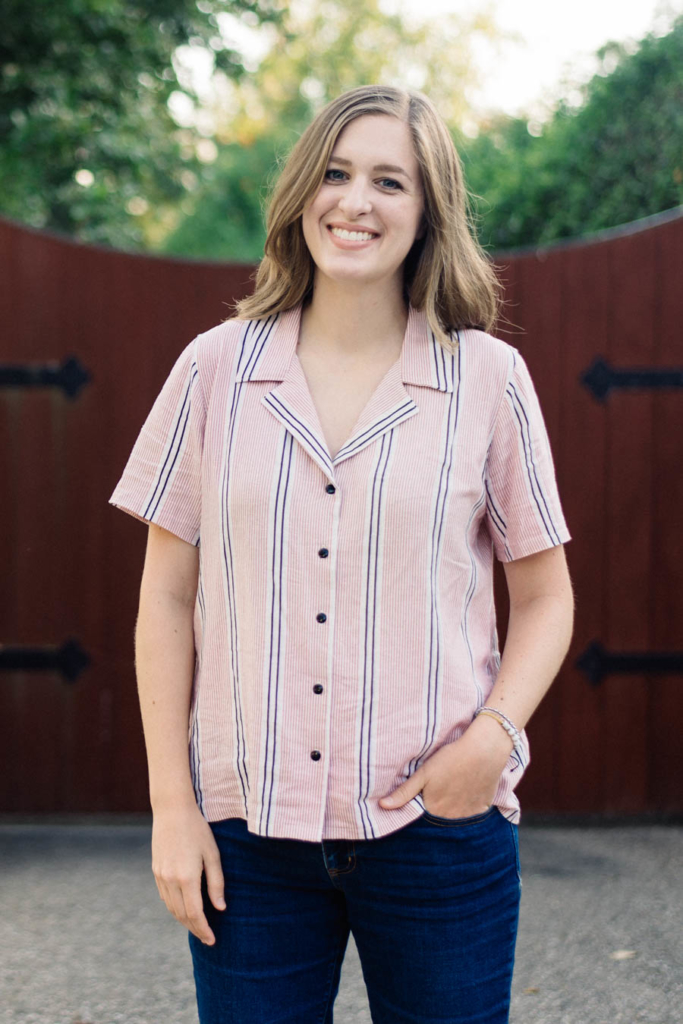
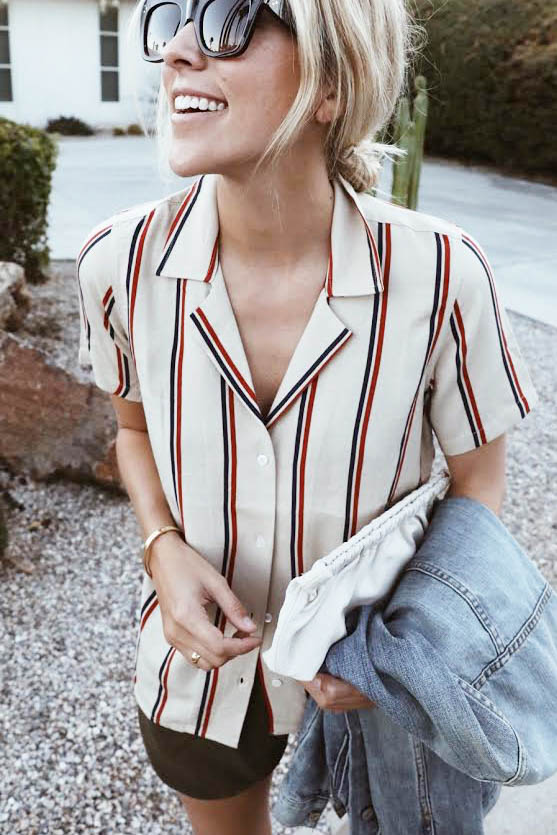
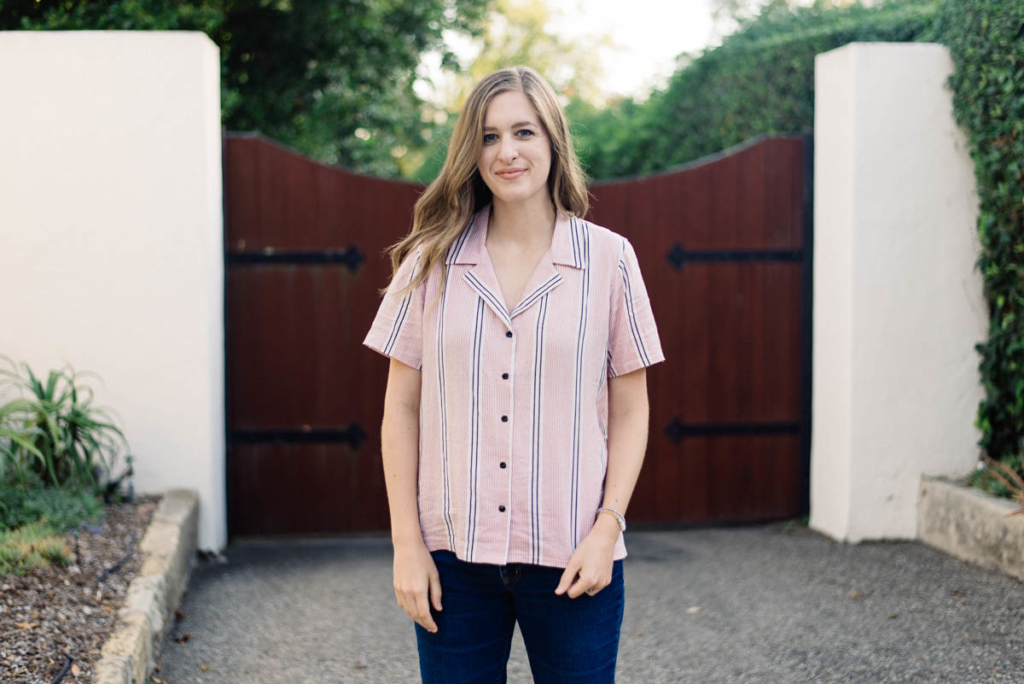
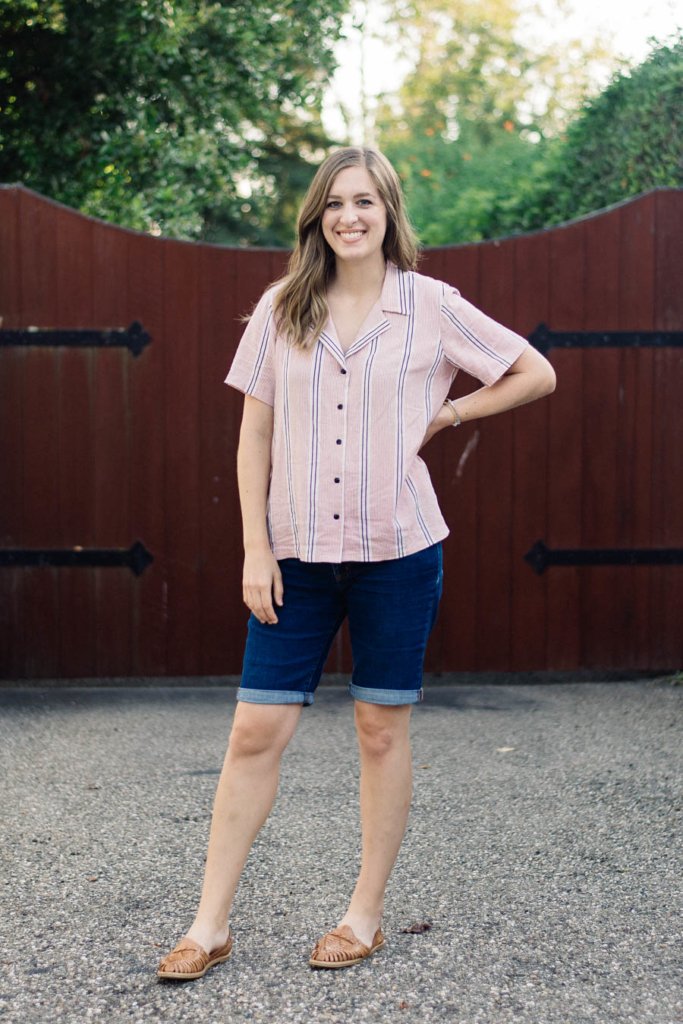
When I was fabric shopping in LA in May, I saw this gorgeous linen blend fabric and immediately thought of a shirt on my Pinterst board that I wanted to recreate (inspiration photo below, via Damsel in Dior). At first, I thought I would take it easy and just make a Willamette Shirt, but the more I looked at my inspiration photo and thought of patterns to use for the shoulders and sleeves, I thought, “okay, I’m going to figure this out.”
So I got the Willamette Shirt, Carolyn Top, and Reeta Shirt Dress out and compared them all. After comparing and thinking it though, I like the construction of the Willamette better than the other two. And I like the fit of the Carolyn Top, but it doesn’t have a yoke. So I used the Reeta as a reference to see where the yoke hit on the back, but I really didn’t need to use it to actually make the yoke.
While I was making the pattern pieces, I video recorded the process in my Instagram stories, and I saved it to a highlight called “mashup”. But I have the process typed out below here, too! Watching and reading these instructions will probably help them make more sense, but if you have any questions, please send me a message!
The gist of it, is that I used the Willamette neckline, collar, front center, and front facing. And I used the Carolyn shoulders, sleeves, and bodice shape, and hand drafted (super easy) a yoke.
Front Bodice: From the Willamette, I traced the neckline to where it meets the shoulder, and then traced just 1″ of the shoulder for a reference of the angle and where it would meet up with the shoulder of the Carolyn. The Carolyn Top curves out a bit at the top of the placket for the rounded collar, but I didn’t want the rounded part, so I matched the front-center of my pattern piece with the bottom part of the Carolyn placket where it’s straight.
Then I traced the shoulder, armscye, and side seam of the Carolyn. Instead of the curved hem of the Carolyn, I drew a straight line all the way across and trued side seams to 90 degrees.
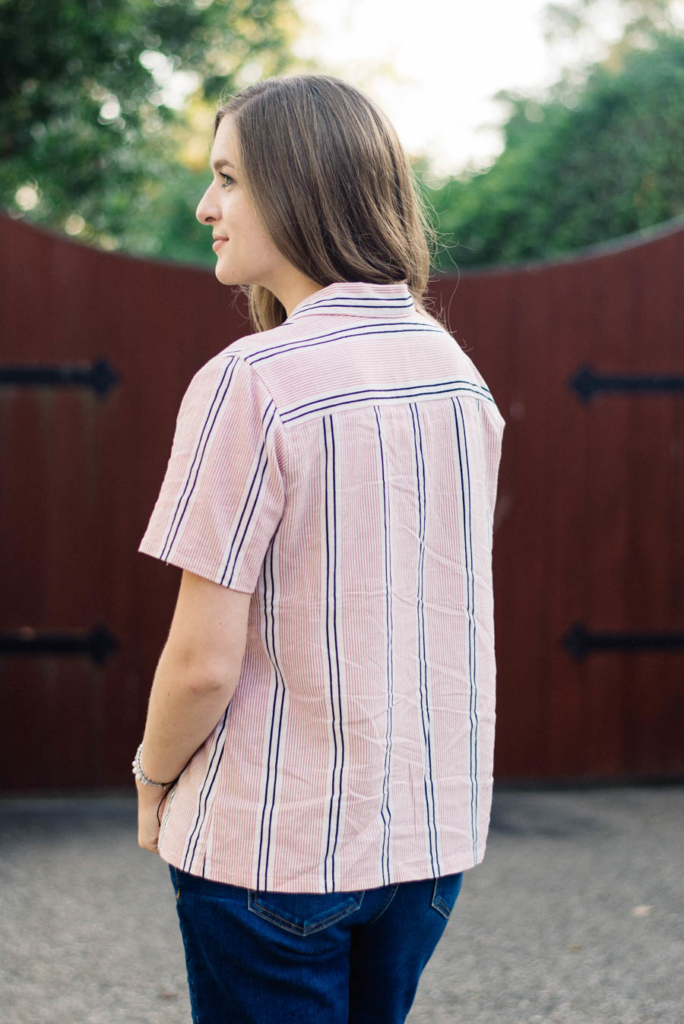
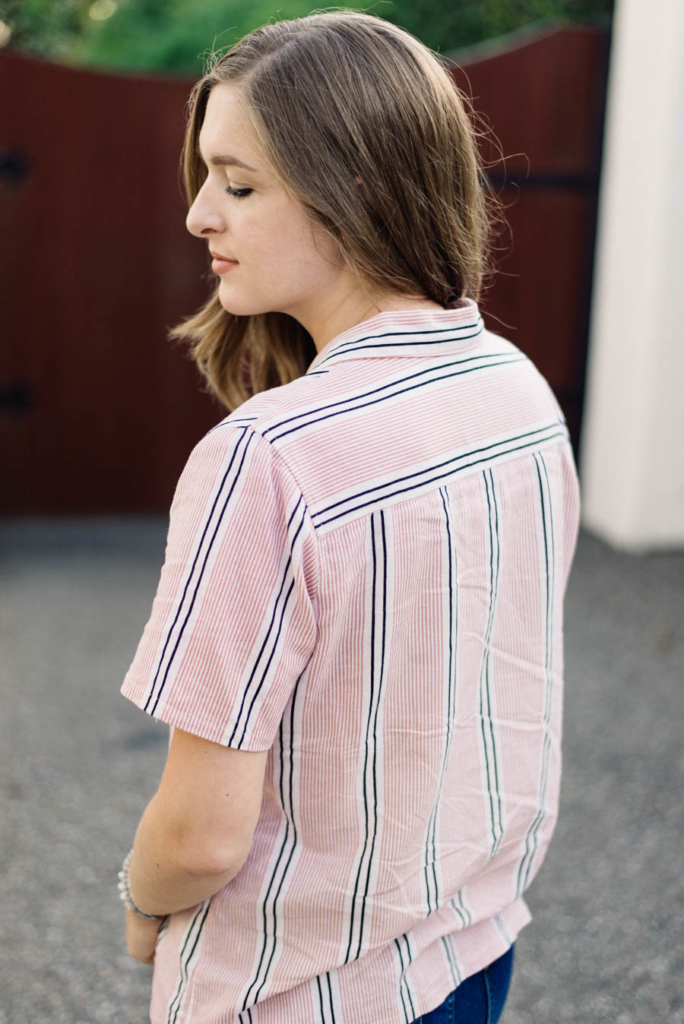
Back Yoke: On the Carolyn pattern piece, I marked 1″ above the two notches in the armscye and decided to have that as the base of my yoke. From that mark, I drew a straight like all the way to the the center back seam. Since you sew the yoke and the back bodice piece together, I added a 3/8 seam allowance above and below the line I marked for the base of the yoke (for a total of three lines).
Then, to make my yoke pattern piece, I traced the back neckline of the Willamette and 1″ of the shoulder to get the angle (just like I did on the front). Then I lined up the yoke pattern piece to the back center seam + angle of the shoulder of the Carolyn. I traced the shoulder, down the armscye to the bottom of the three lines that I made on the Carolyn pattern piece, and drew the line across.
Back Bodice: I started tracing from the very top of the three lines that I drew on the Carolyn pattern piece, down the rest of the armscye, side seam, and drew a straight line across (because I didn’t want a curved hem). Make sure to true side seams to 90 degrees.
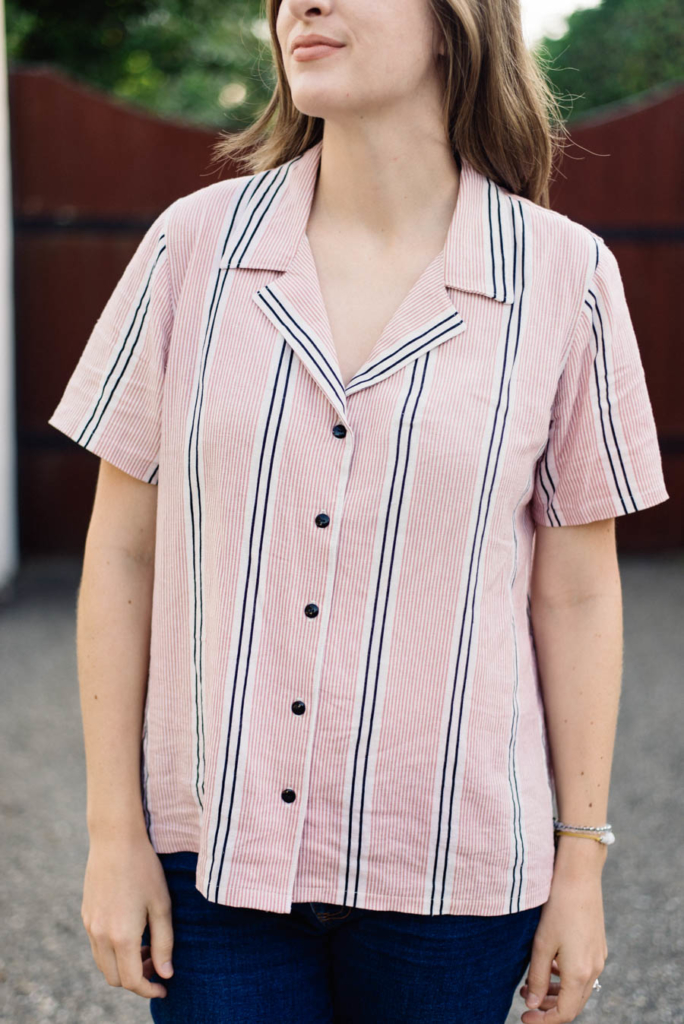
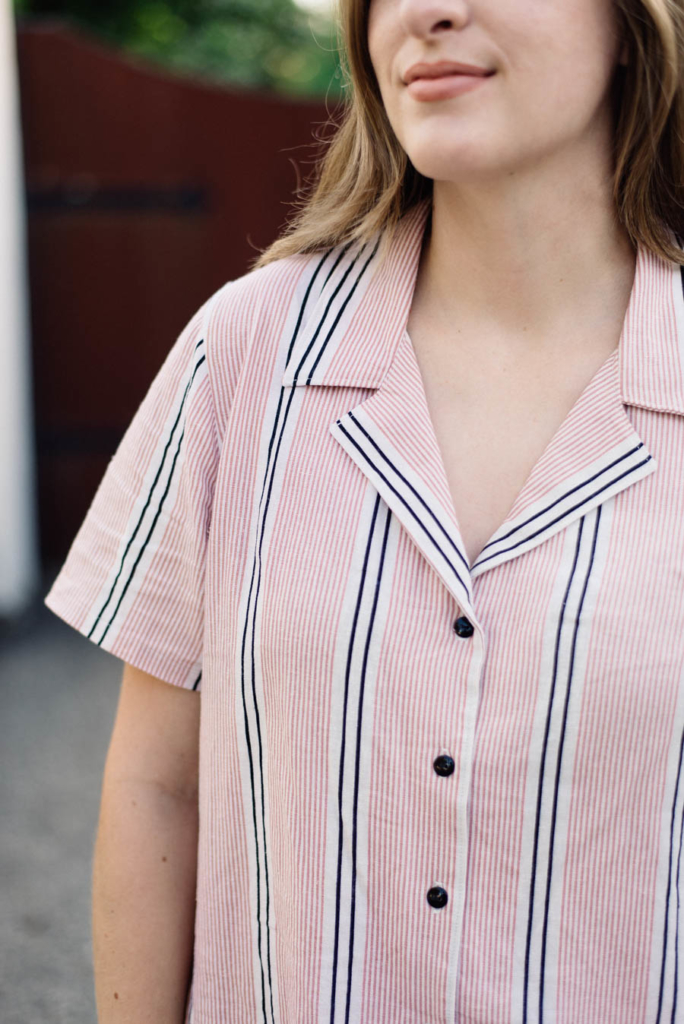
Collar: I used the collar from the Willamette and traced it like normal, but then I decided that I didn’t want it to jut out/be as pointy. So I marked 1/2″ down from the sharpest point and drew a new straight line back to the center fold line.
Front Facing: I checked the angle of the shoulder with my front bodice piece and had to fold it down to be at the correct angle. Then I made sure that it was the same length as my bodice piece, and only had to add 1″.
Sleeve: I used the Carolyn Top’s sleeves, but those sleeves have a cuff, so I had to lengthen them by a few inches and angle the sleeves out for my hem. I added 3″ TOTAL, and hemmed the sleeves by pressing up 1/4″ and up again by 5/8″.
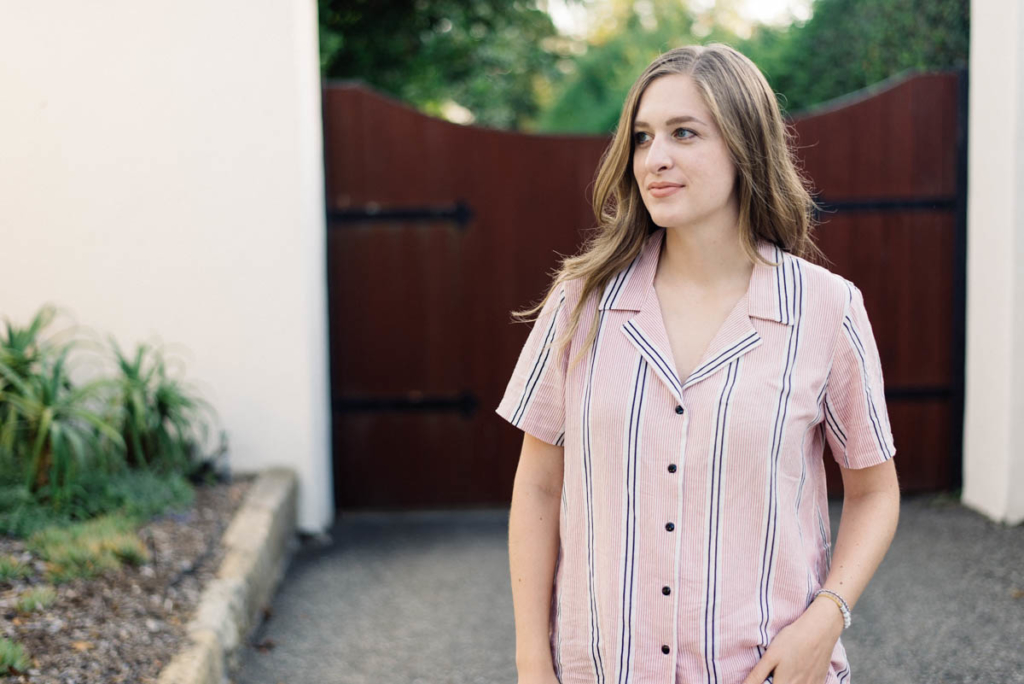
CONSTRUCTION: I followed the complete construction for the Willamette up until step 28. I sewed the sleeves in the flat and then after finishing the edges with my serger and pressing them to towards the bodice, I topstitched them 1/4″ away from the seam on the bodice. I sewed the side seams, hemmed, and added button holes and buttons like normal. Since the Willamette has you topstitch the collar piece, I also topstitched at the front where the bottom collar folds over and down the placket. I started sewing a little under the top collar and kept sewing all the way down to the hem.
Ta-da! If that sounded complicated, I’m really sorry. Lol. If you’ve made the Willamette and other button up shirts before, this shouldn’t be very hard for you to get. I didn’t muslin because I avoid that at all costs, and it worked! 😀
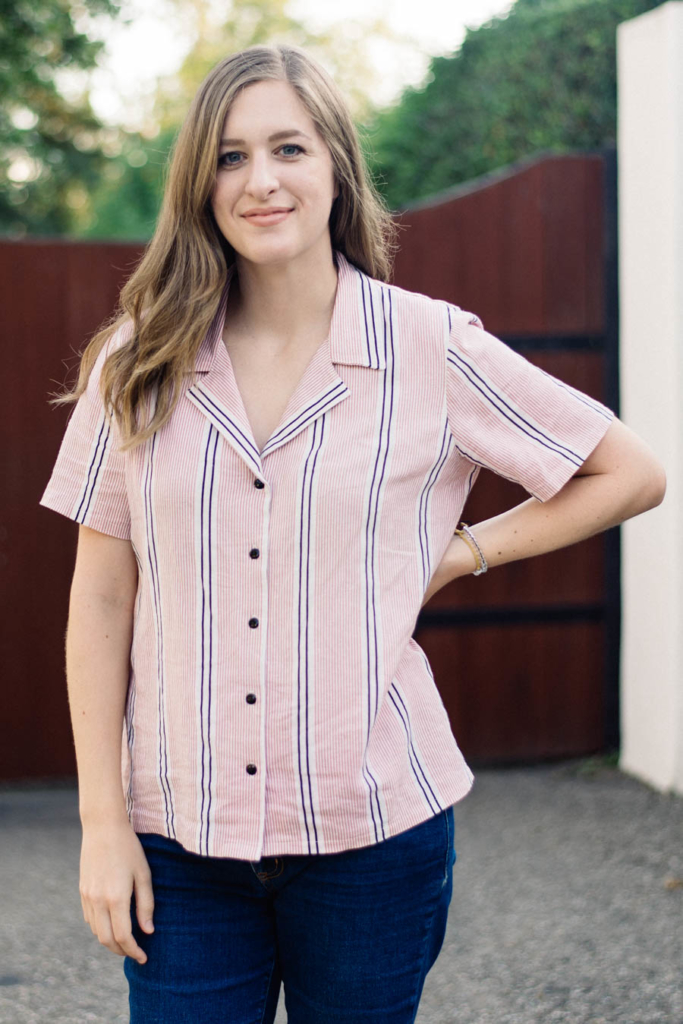
I have worn this shirt SO much already, and I fall more in love with cotton and linen the more I sew and wear it. People really aren’t joking around when they say that it keeps you so much cooler than anything else. I took this shirt with me to Puerto Vallarta, Mexico, and it was SO hot and humid there, but this shirt didn’t stick to me and left me way more cool than my husband who was wearing a knit polo made out of cotton/poly. Haha! We actually bought him some 100% cotton Hawaiian-style shirts (A LOT like this shirt) while we were there, and he LOVES them because he couldn’t believe how much cooler they made him in the heat and humidity!
I’m so happy to have another #SewRTWStyle piece recreated from my Pinterest board! Remember that if you make something inspired by ready-to-wear, use the hashtag! If you can share the inspiration image for others to see the comparison, that’s even better! So many people have used the hashtag already, and if you haven’t had the chance, you should go browse the hashtag and get inspired!
2 thoughts on “Willamette + Carolyn Mashup”