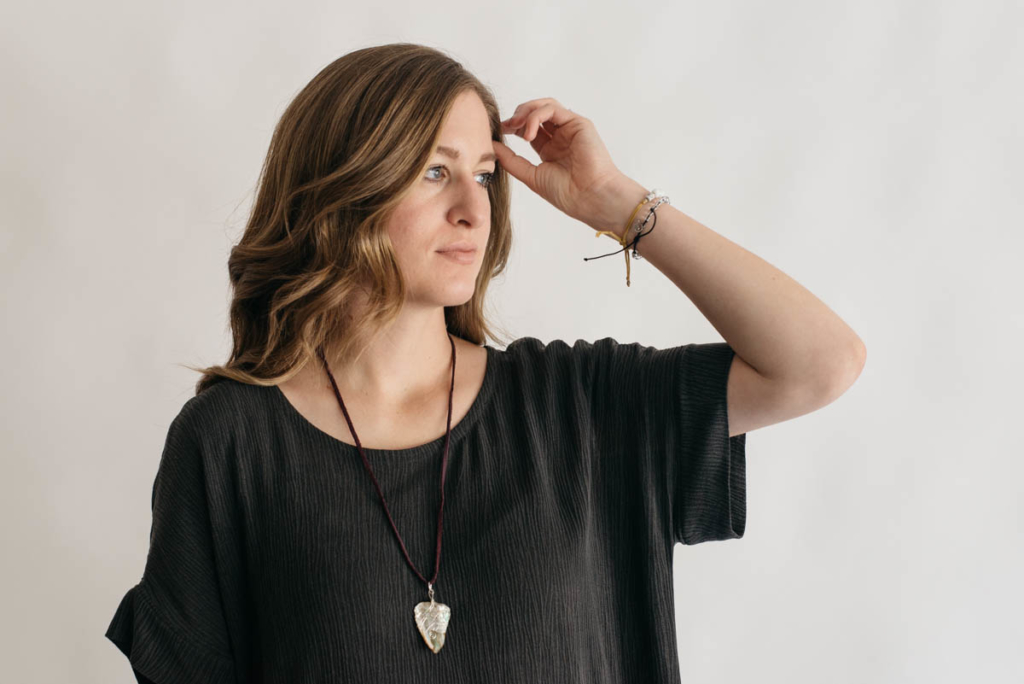
If you’ve followed what I’ve made lately, you know that I’ve been favoring the more over-sized garments. I honestly just really like things that don’t cling to me, and since my body runs warm, I tend to get hot/sweaty easily (tmi?). Even as I look at my fabric stash, every project I have planned is over-sized (at least for the woven fabrics). Haha!
The Lou Box Top is a very well known pattern in the sewing community and has been tagged on Instagram over 2000+ times, so it’s a good one! When I saw the Lou Box Dress 1 & 2 get released, I was a huge fan of the Lou Box Dress 1 for it’s cuffs and over-sized cocoon shape.
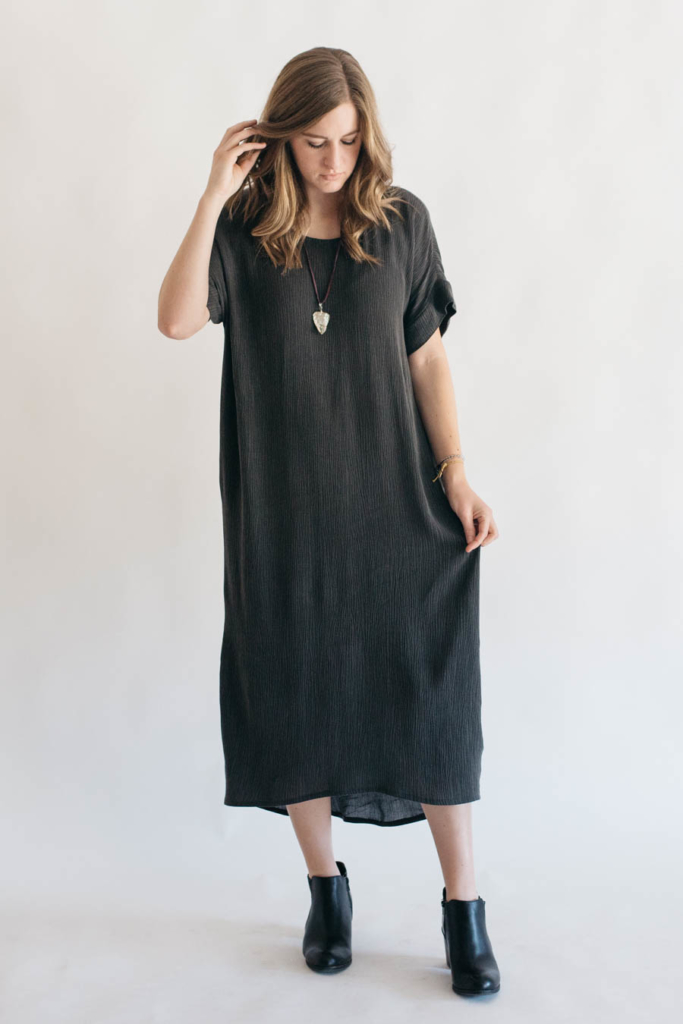
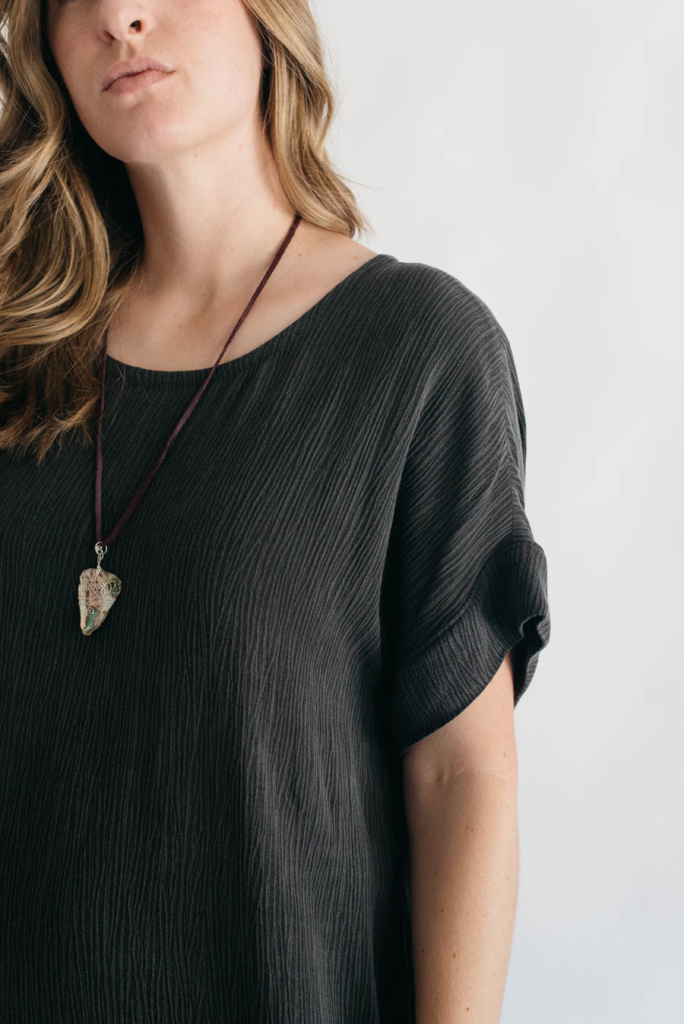
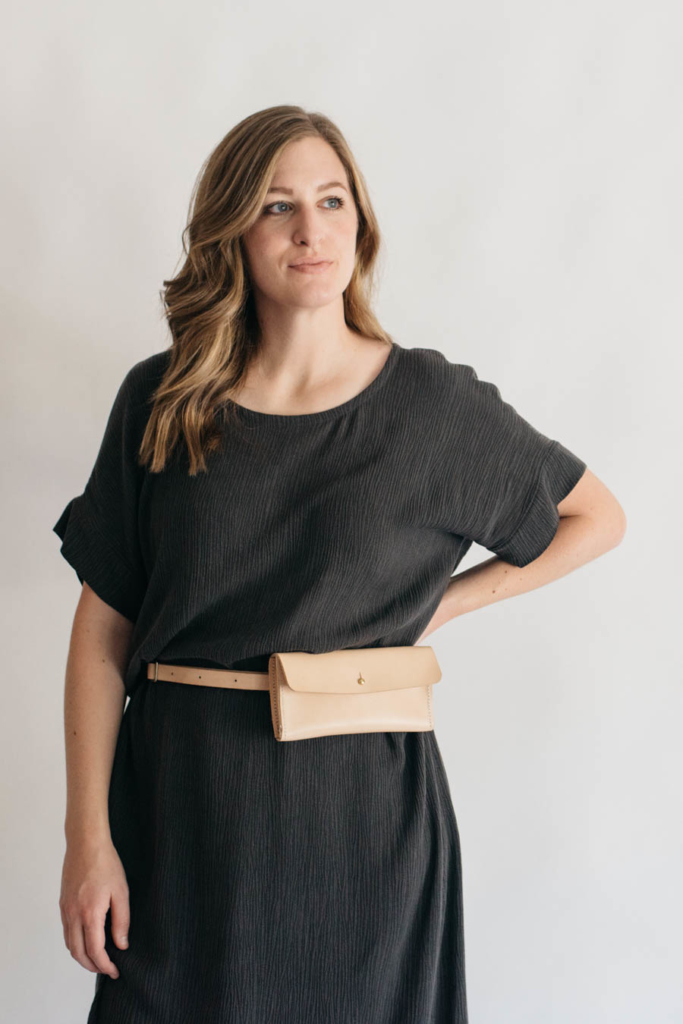
Beth (of Sew DIY) and I signed up for a leather bag-making class (to make the Nikki & Mallory waistpack that I’m wearing in outfit #3!), and a week before the class, she asked if I wanted to sew up one of her patterns in one of the fabrics she has in her new fabric shop, and I gladly said yes! I immediately went to my Pinterest board – because that’s just what I do – and because I remembered that I had pinned a few inspiration images that would work perfectly for the pattern.
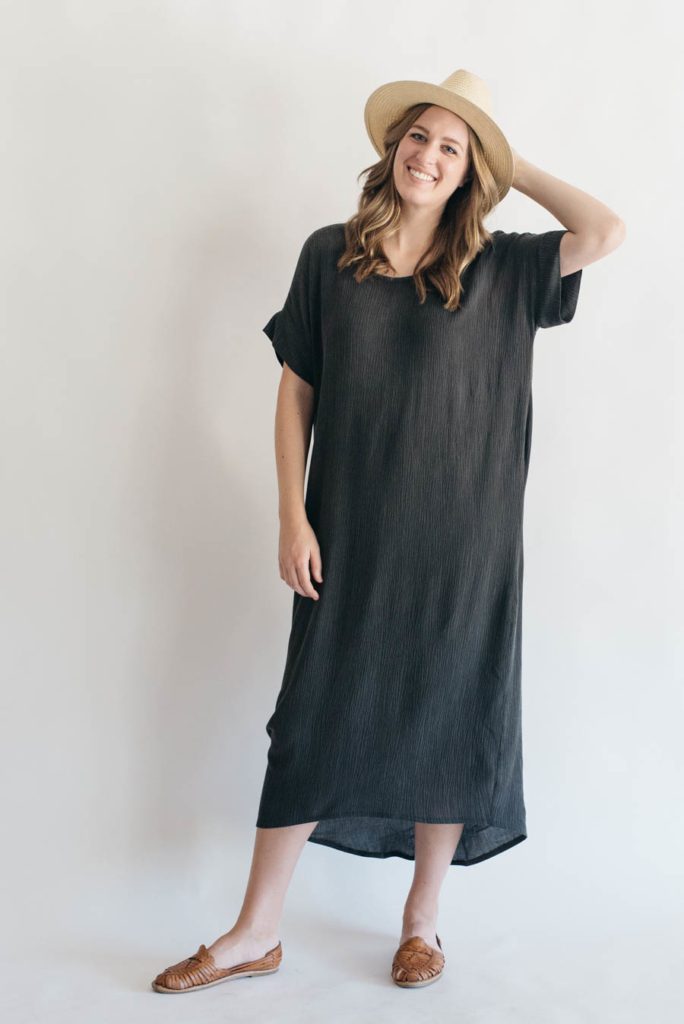
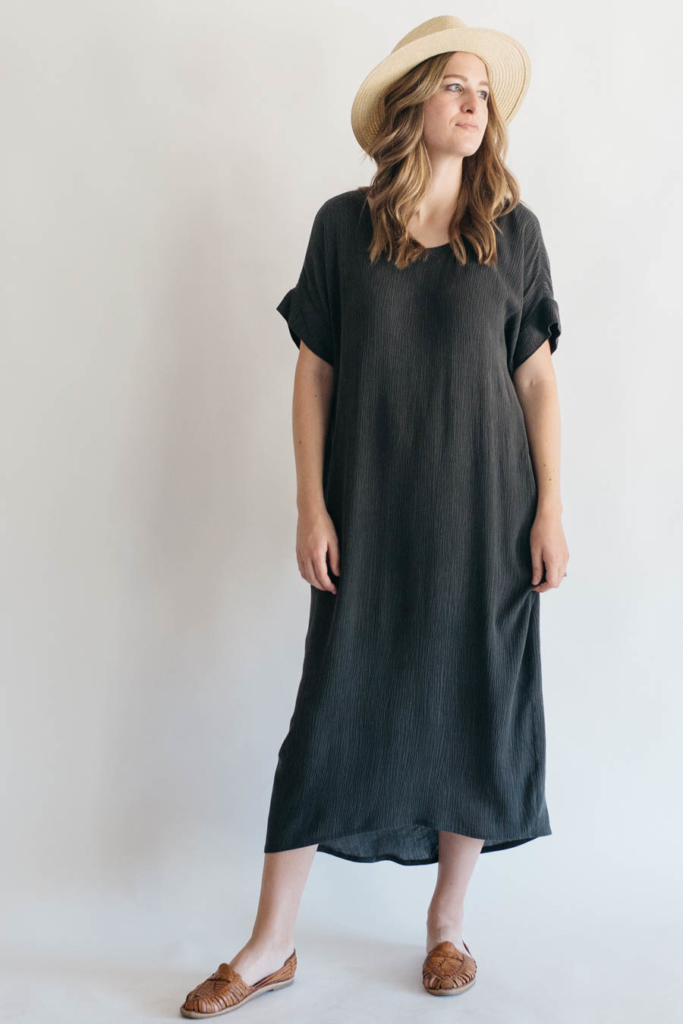
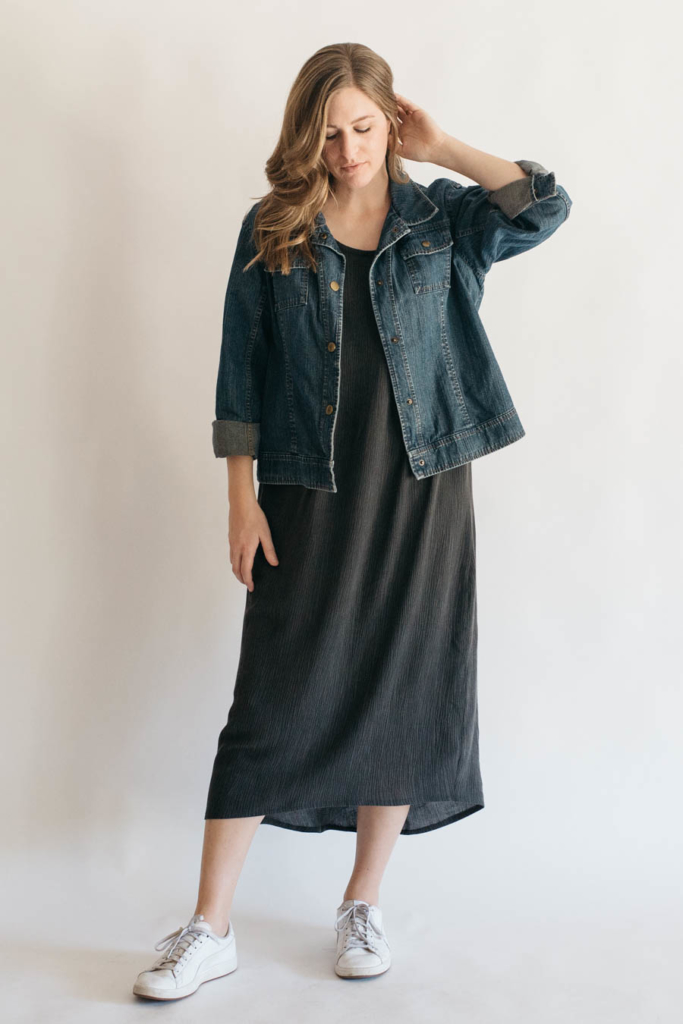
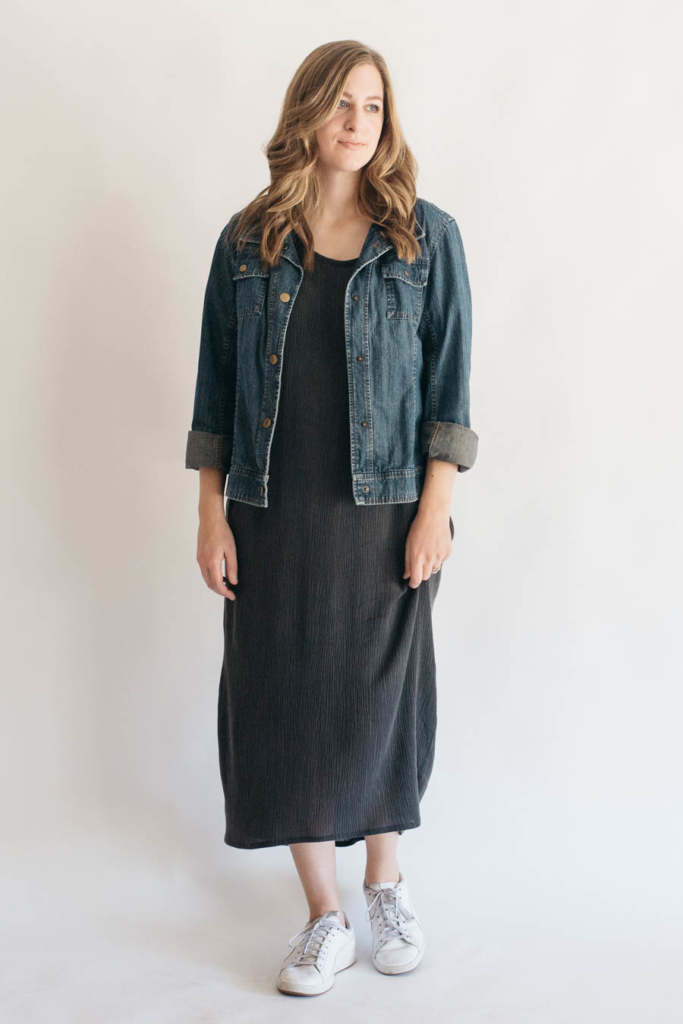
The inspiration I loved the most was an Elizabeth Suzann dress, styled a few different ways by Lee of Style Bee. Lee has such beautiful, polished style, and I loved how she showed the versatility of the dress! So, since my style is a little bit different. and I have different items in my closet, I decided to try doing the same thing! I came up with 5 variations that are my style, and that I would actually wear out in public. 😉 (Each look will be paired together throughout the rest of this post.)
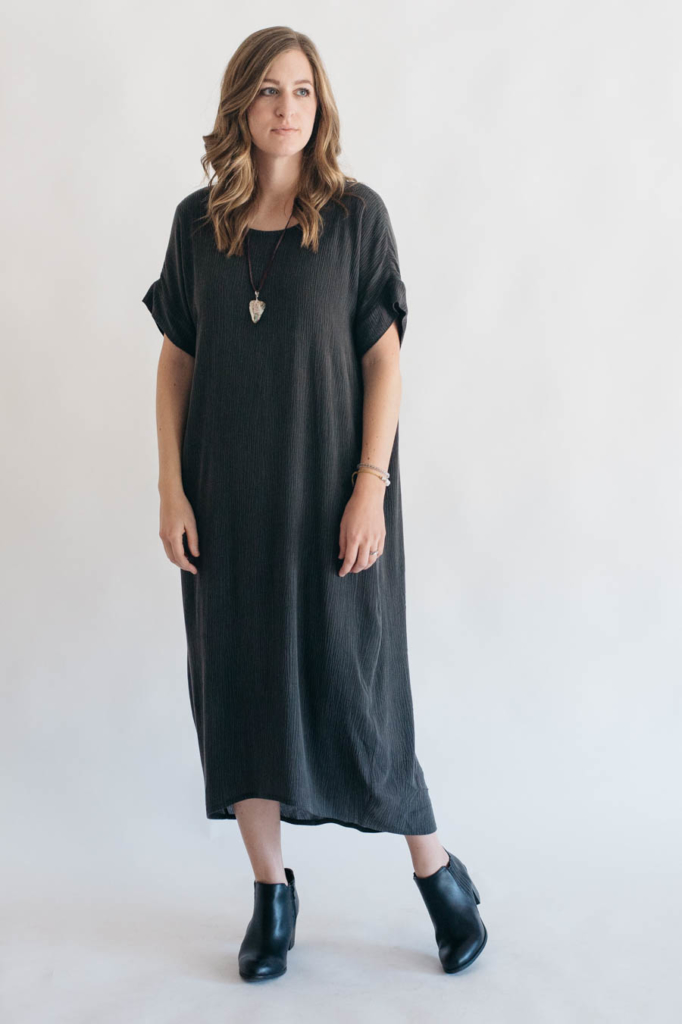
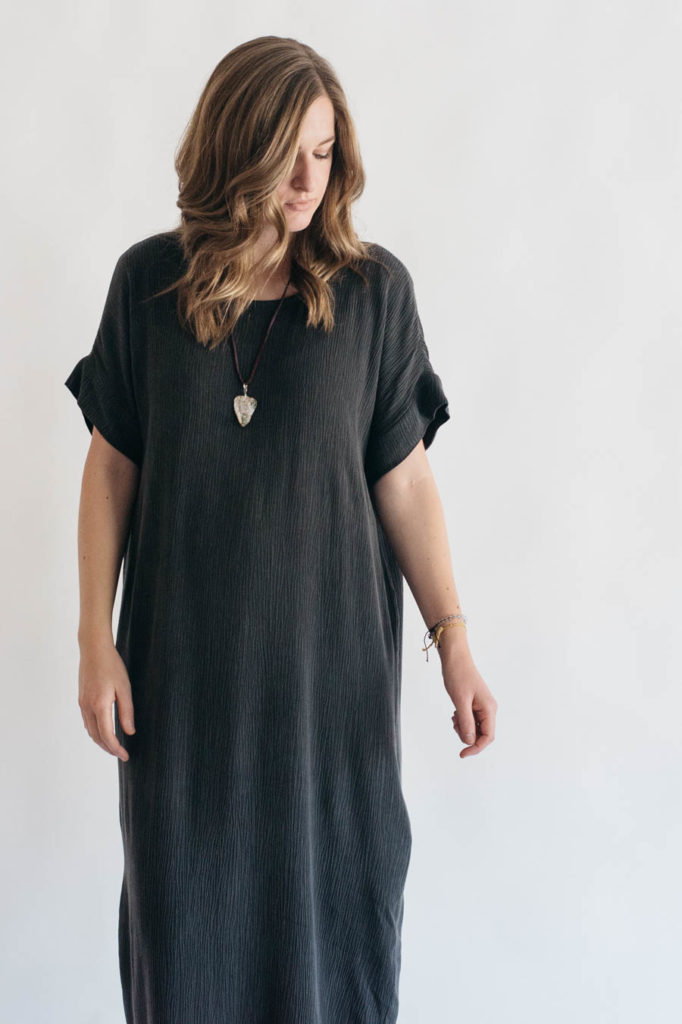
PATTERN & FABRIC
The neckline, cuffs, and high/low hem made recreating my inspiration a total breeze! I made my regular size, and the only change I made to the pattern to get it even closer to my inspiration was to lengthen it by a whopping 10″. I also decided to not do the button back closure. I compared the neckline to another woven scoop necked pattern that I have that doesn’t have a closure, and it was similar, so I took the small risk of skipping it.
The dress slips over my head with no problem (and I have a big head!), but I cut the back bodice on the fold, and I forgot to eliminate the extra fabric for the center back seam. (Dang it!) I wore it all day one day and it slipped towards the back a bit during the day, so I safety pinned the back neckline by about 2″ and it didn’t slip nearly as much (and it still goes over my head). I really need to remember not to make that mistake next time. I have heard of sewists adding a forward shoulder adjustment to their dresses and tops that are like this, but I think the sliding just comes with the territory since there’s no actual sleeve to hold the garment in place…? If you have more knowledge on this, I would love to know what you think!
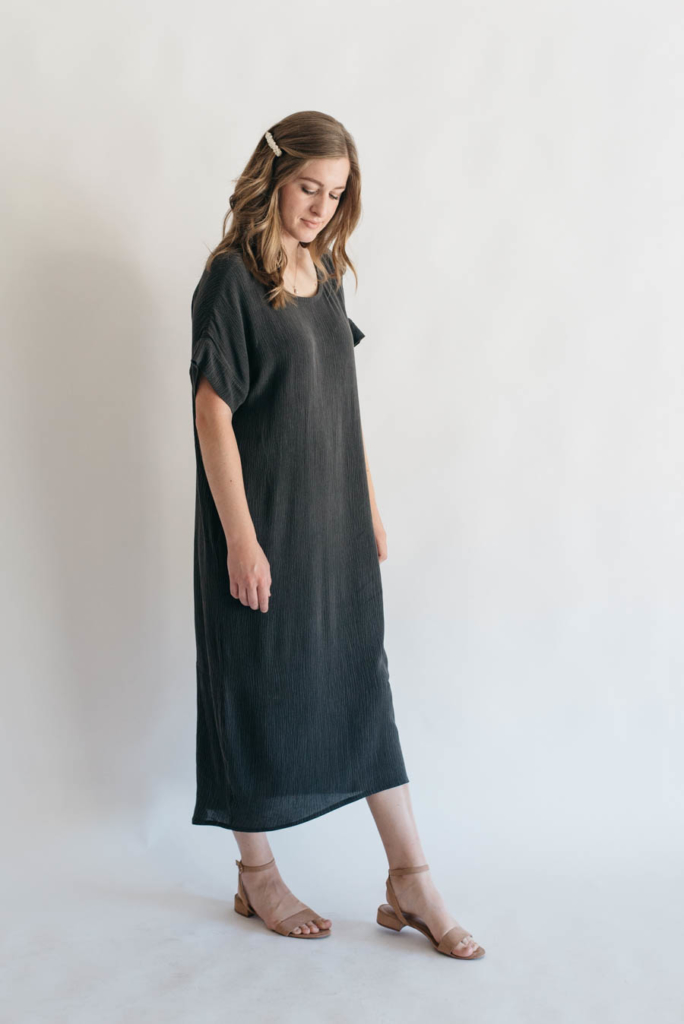
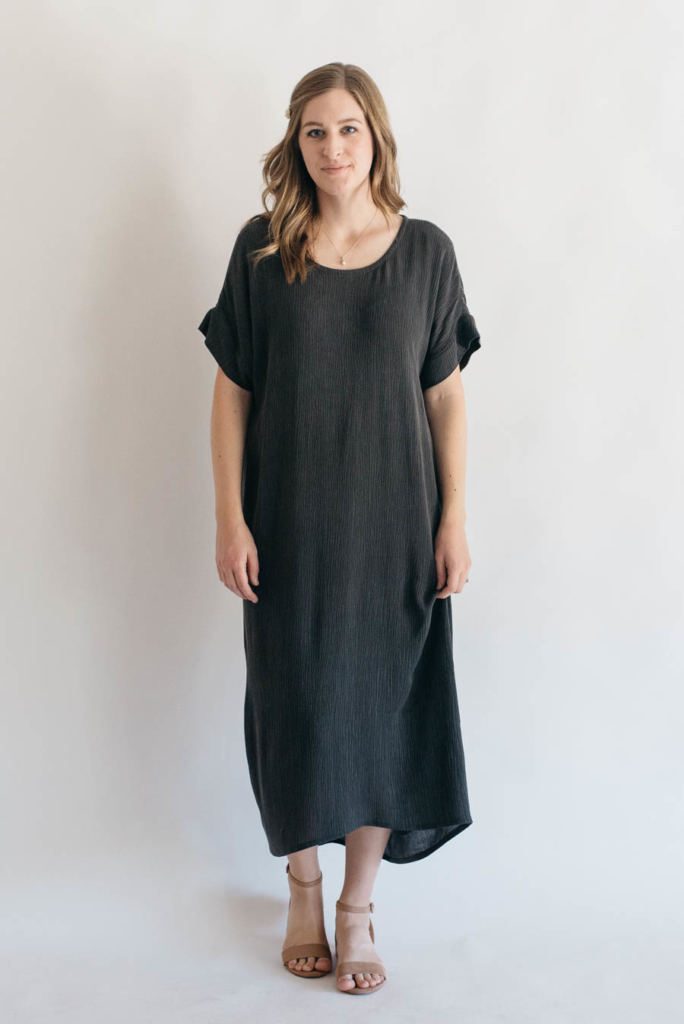
This fabric is a charcoal crinkle rayon from the Sew DIY Fabric Shop. I’ve never sewn with crinkle rayon before, so I read all about the fabric on the Sew DIY Blog where Beth gives lots of helpful information about it. After reading and laying out my pattern pieces, I decided to iron the fabric completely before I cut everything. You kind of have to let your inner perfectionist go on vacation when cutting and sewing this fabric, because it’s not going to do exactly want it to, and that’s okay! I cut my fabric on the fold, but in the future, I will cut crinkle rayon flat so that I can pay better attention to the direction of the crinkles and if certain spots are stretching or crinkling more than others.
Since this fabric is very light weight and stretches (from the crinkling), I decided to skip the pockets and the hem facings. This made sewing the dress together a very quick process, and much less stressful. I can honestly say that I didn’t get frustrated with any of the steps because I skipped the things I knew would be the most tricky. When I finished sewing the side seams, one side of my dress was a few inches longer than the other side, so I hung it up and trimmed it to be even. That probably came from me cutting on the fold and not being able to control the bottom layer very well. I hemmed the bottom using a 1/2″ double fold and then topstitched it down.
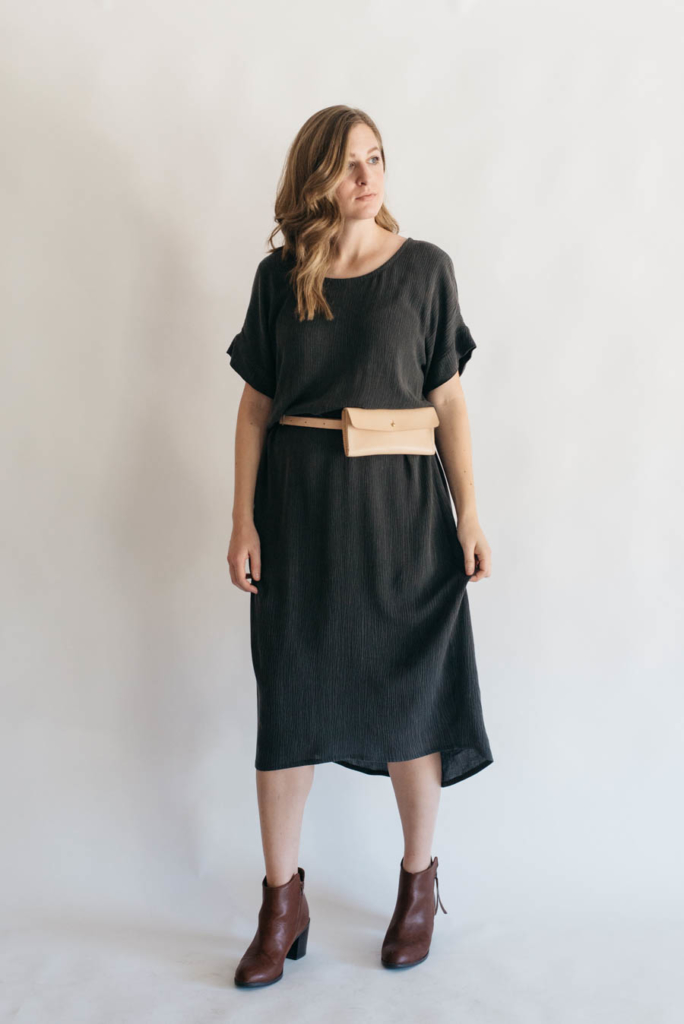
One thing I did to make sure my cuffs and neckline would behave well was to cut the pieces out of a section of the fabric that crinkled the least and had been ironed the flattest. Since I did that, the neckline and cuffs worked just fine! I basted my cuffs in first (like Beth suggests in this video), and that made sewing them in much easier.
FINAL THOUGHTS
I have about a yard of this fabric left, so I may make a Lou Box Top and not make the mistake of having the extra fabric in back. Once I do that and test out if it slips as much, I will report back! One thing to note is that I did pre-washed this fabric, but while I was wearing this dress all day, the gray color was transferring to my fingers (like denim sometimes does). So I’m going to make sure to wash it separately from things until I know the color is completely set.
Beth has this fabric in two other beautiful colors, and six other fabrics that all work for this pattern! Different fabrics will behave in differently, but she has designed both patterns to be made in either knit or woven fabric.
I love the Lou Box Top and LBD1 pattern for their boxy-ness, but if you are one that likes a little more shaping at your waist, the LBD2 is another beautiful pattern! If you already have the Lou Box Top pattern and love the sleeve options, but don’t see yourself needing the dress patterns, you can get the sleeve expansion pack from the Sew DIY for $6! Those two things alone will give you options galore!
I hope this has been helpful and/or inspiring in some way, and happy Lou sewing!
I love positive ease in my clothing too! It’s nice to know I’m not the only one. 🙂
It’s definitely a matter of preference, but I think it’s much more comfortable too. 🙂