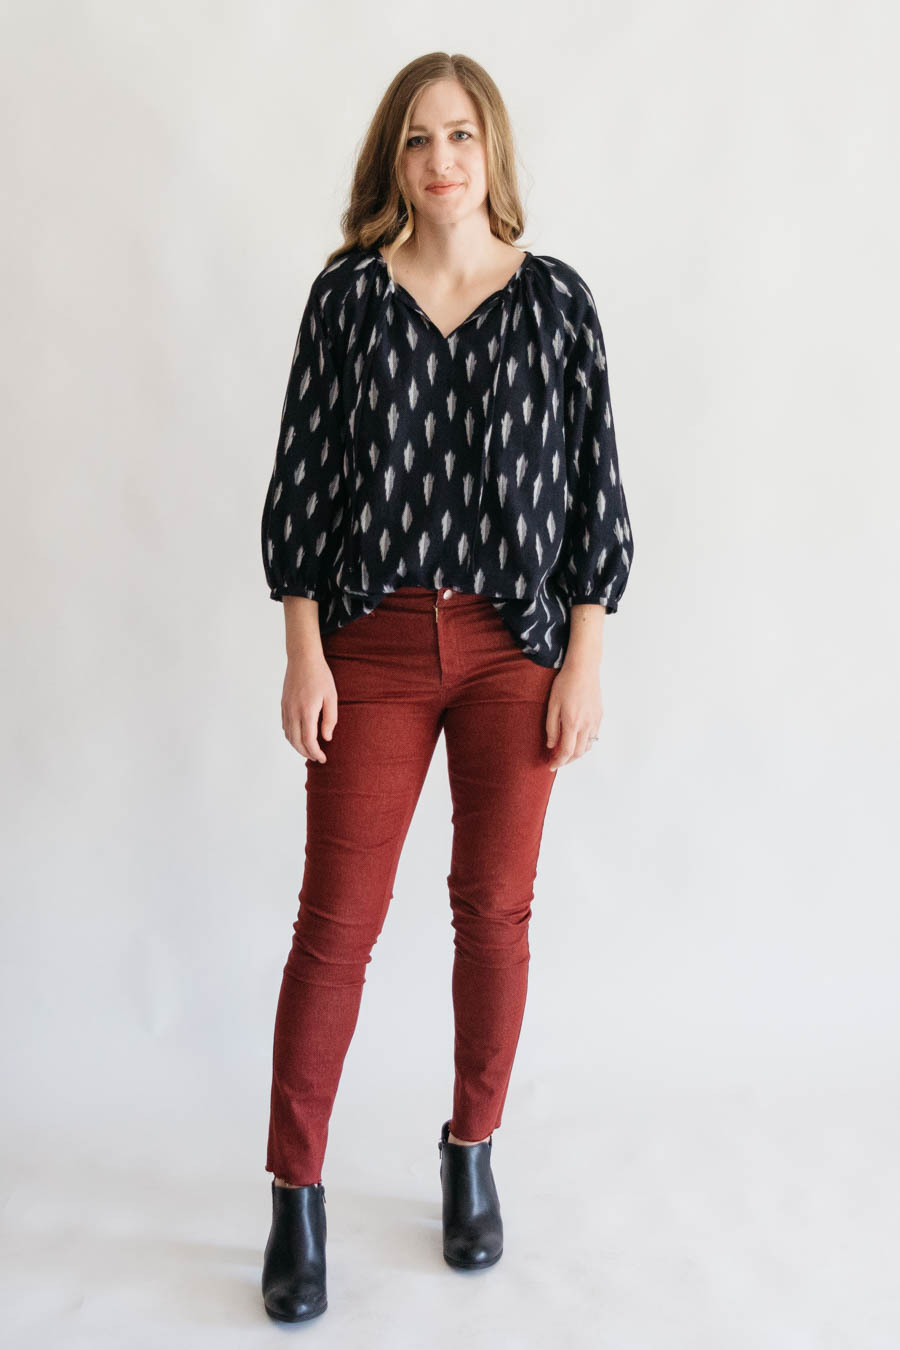
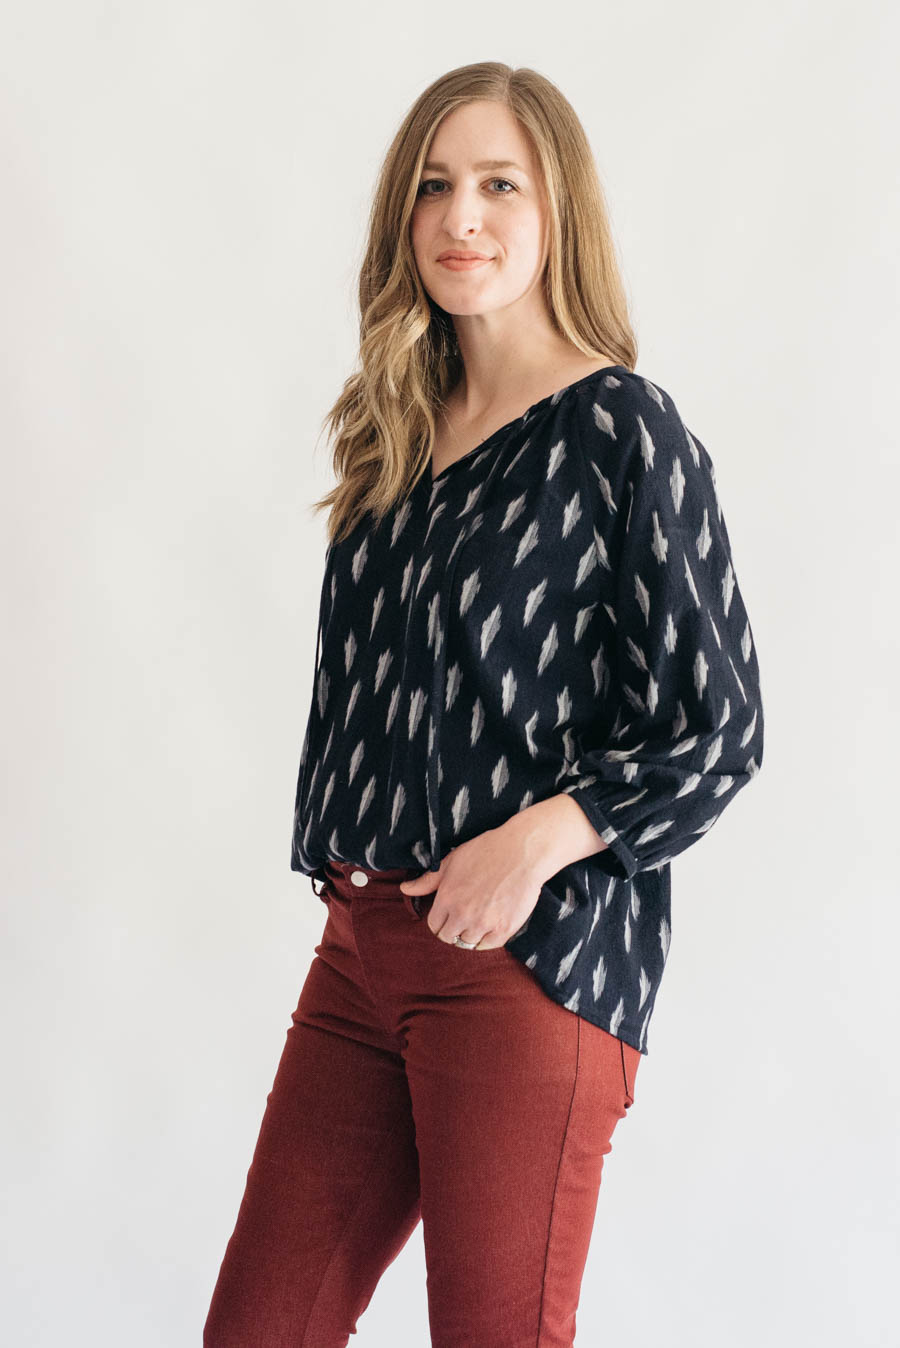
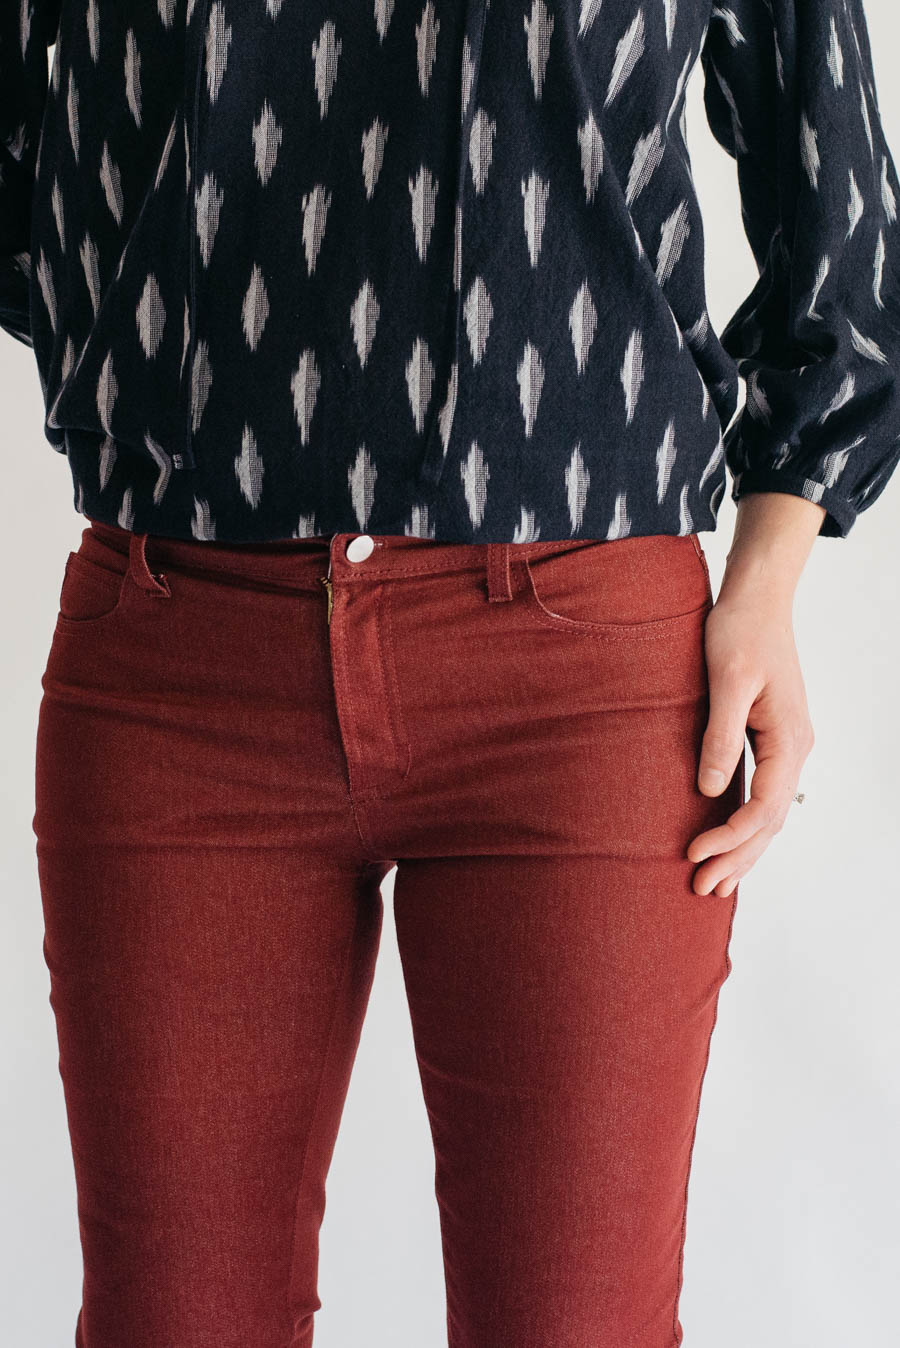
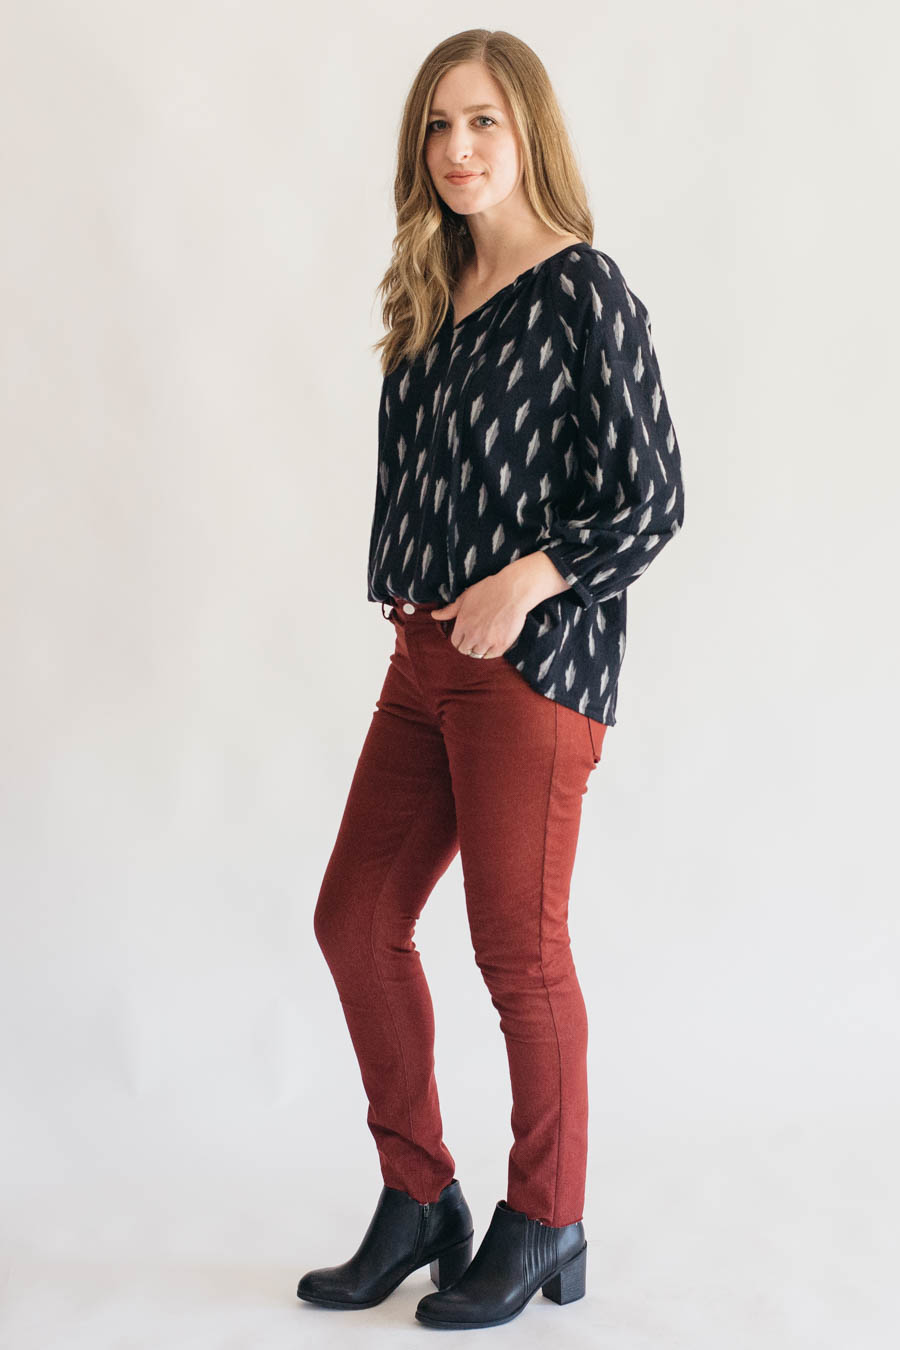
I’m coming at you today, writing this blog post wearing my new jeans!! I am still slightly in shock that I actually did it and that they fit! These are the Mid-Rise Ginger Jeans by Closet Case Patterns. I made a straight size 12 with no adjustments, except that I cut 2″ off of the hem when I was all finished. They are a bit on the tight-ish side, but I’m really hoping they will relax and stretch out if I wear them a few days.
When I found 3-4 yards of this stretch denim at a local recycled art store in January, I knew it was time for me to learn something new even though the thought of being a beginner again wasn’t very exciting. Since I got all of the fabric for under $10 (?!) I knew there was zero pressure in getting them perfect, so I feel lucky enough that I can even put them on and button them!
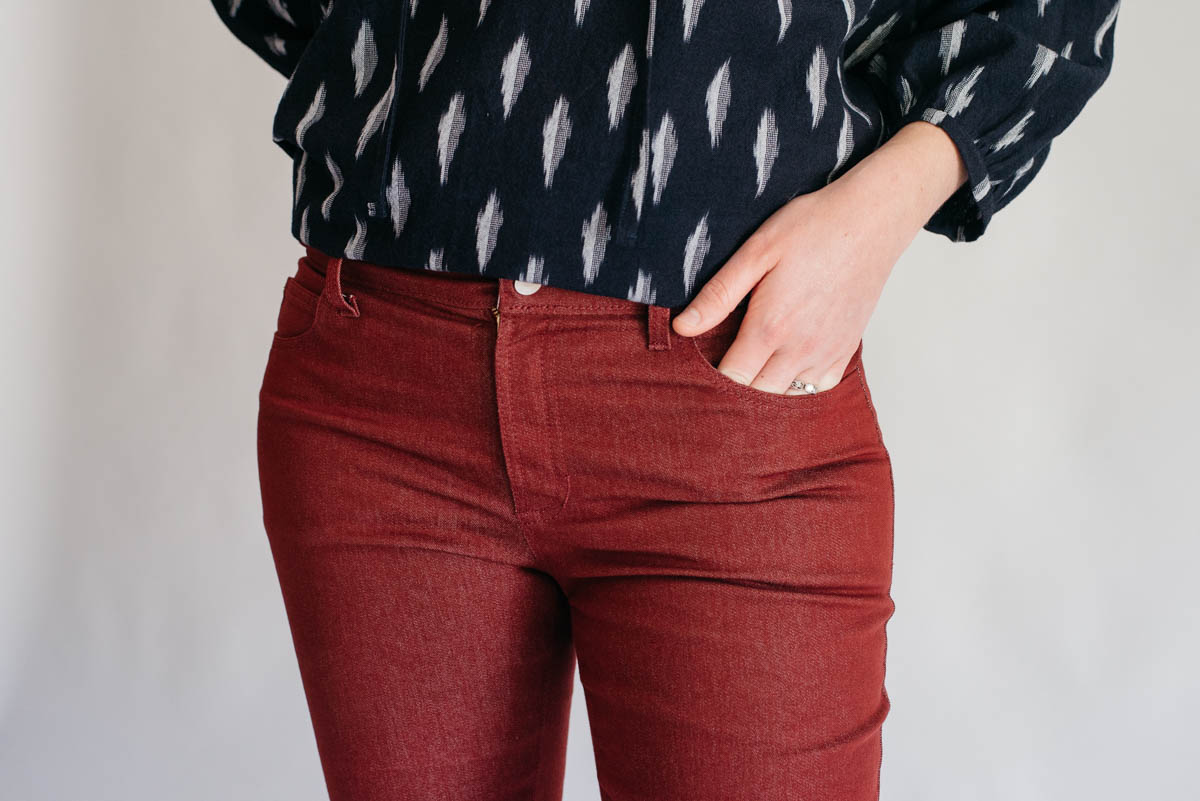
The whole process of making them really wasn’t as frustrating as I thought it would be. The Ginger Jeans pattern and instructions are very clear and easy to understand. I didn’t get stuck at any steps, and having the sew along up on my computer to skim during each step was really helpful. I struggled the most with top stitching/back stitching, the button hole, and the belt loops, so I’ll start by explaining how those went and then talk about the other steps.
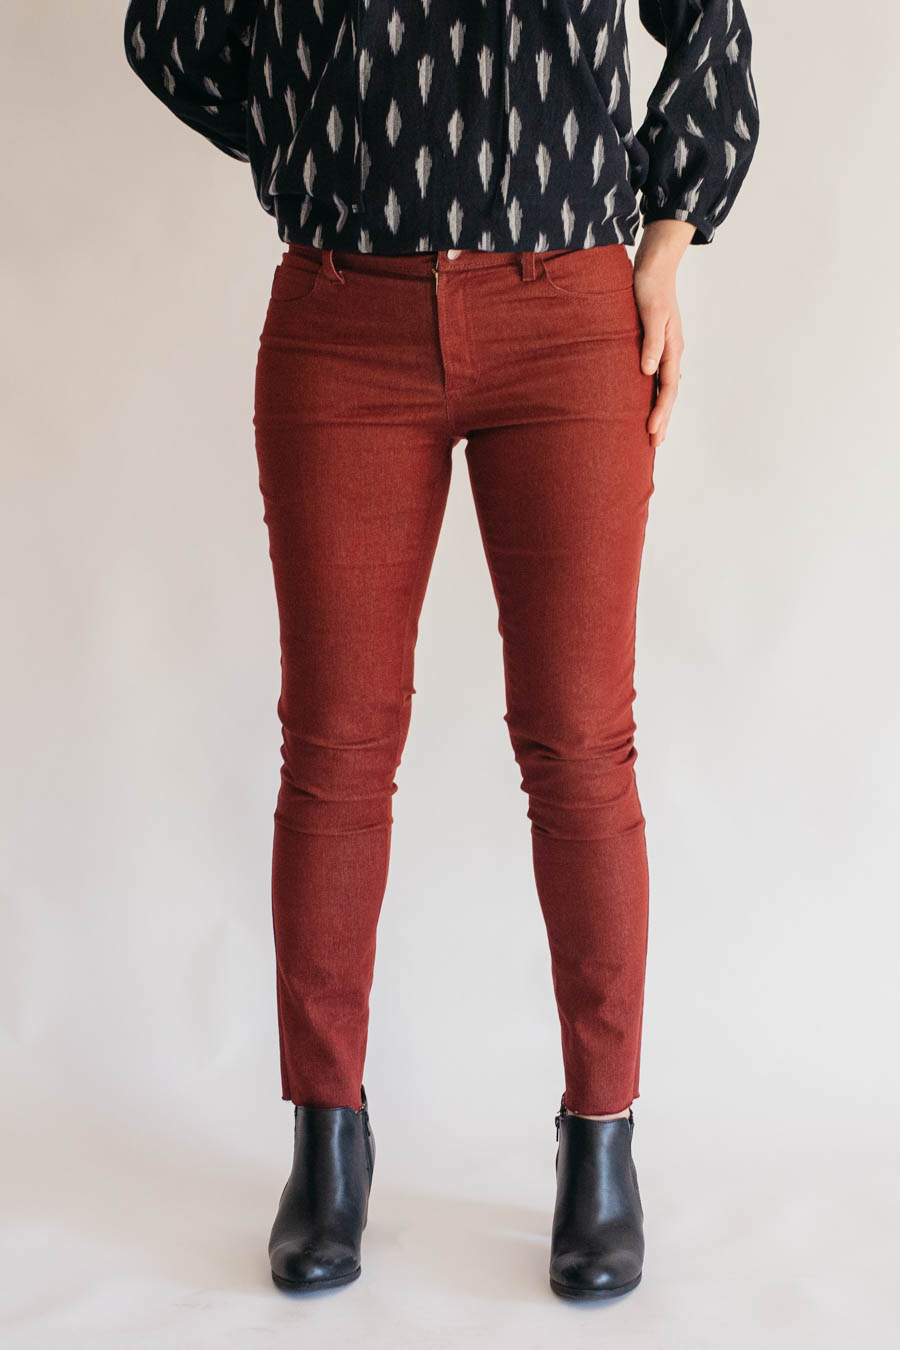
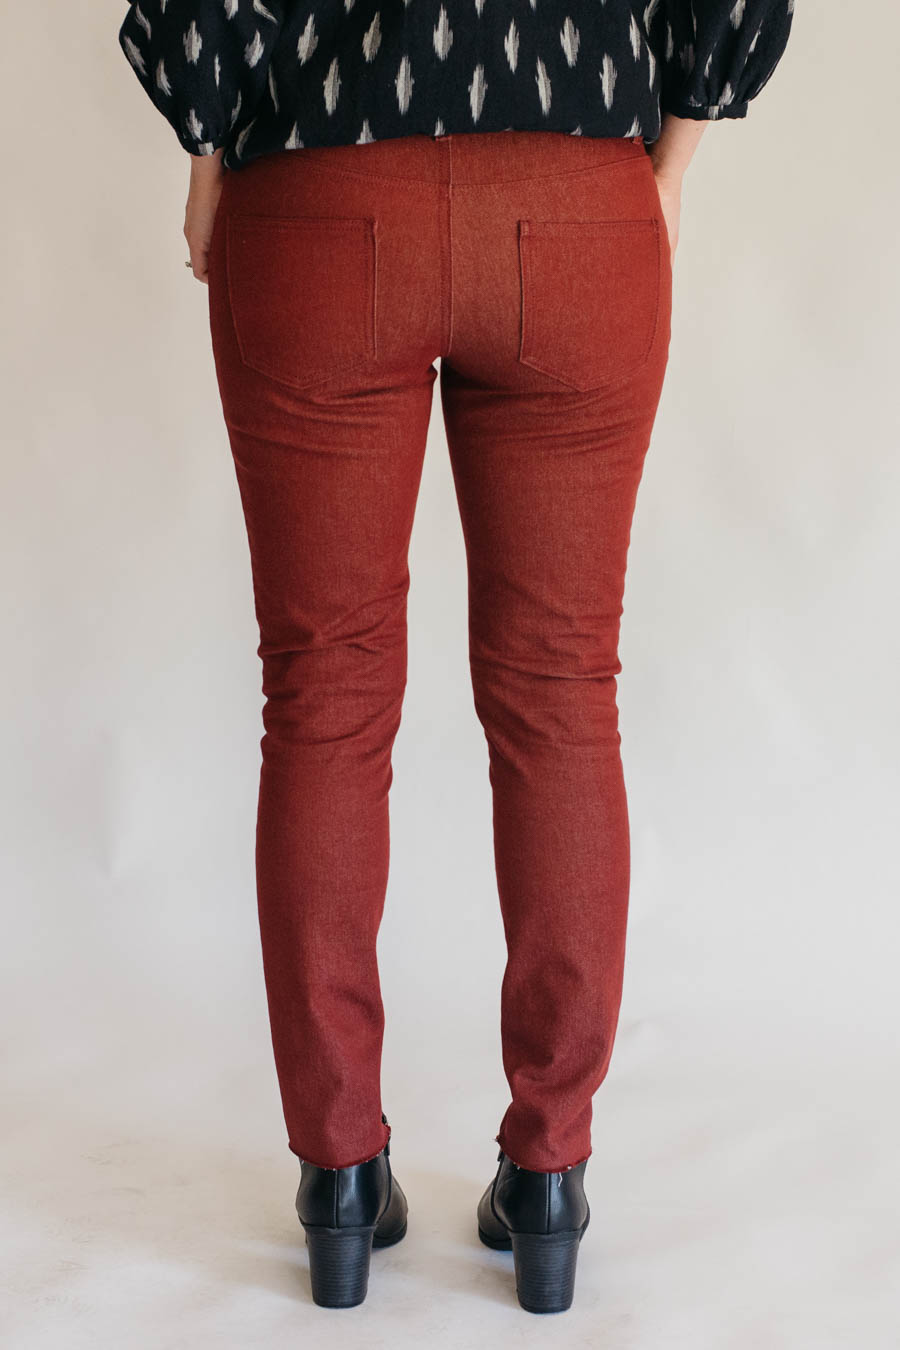
Top stitching was a little bit tricky. I figured out the tension after a few practice stitches, but I had to make sure I was holding the end of the threads when I started stitching or else it would get into a tangled mess at the starting stitches. I also really had a hard time with back stitching with the top stitching thread.
The button hole was tricky because I don’t have a hump jumper. My machine usually doesn’t have problems with button holes, so I was pretty confident it would be fine, but after one try and it getting stuck I knew I needed to do something different. My husband knows how to crank up the feed dogs so that they grab the fabric more aggressively. I also noticed from my test button hole that the button hole doesn’t look very different on the backside, so I actually did the button hole from the wrong side of the waistband to make it so that the excess fabric was more out of the way. Hey – it worked! I also made sure to trim the seam allowances inside of the waistband waaay down where the button hole would be.
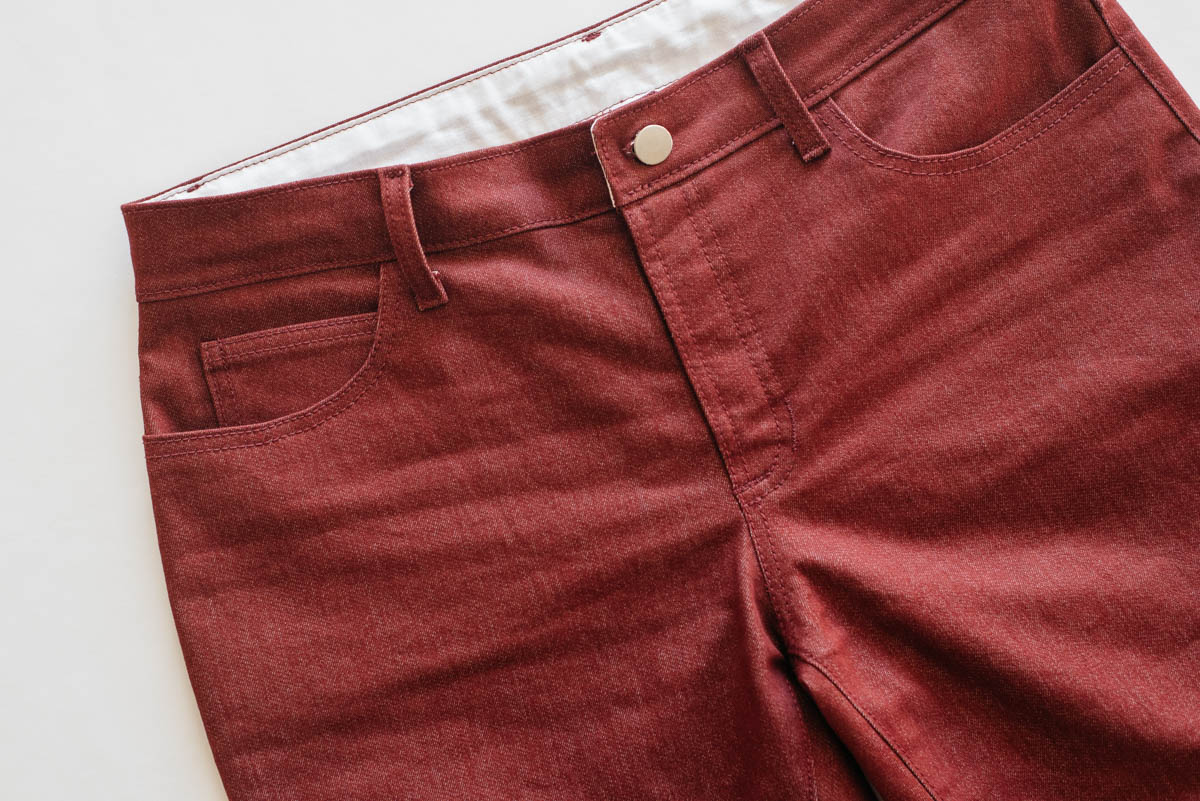
Belt loops were a bit of a struggle because of the top stitching thread + beginning stitching issues + back stitching. So there were a combination of things making this step difficult. I did get them done, although they aren’t super pretty on the inside. I went back and checked to make sure they were on good, and had to go over a couple of them with regular thread.
The zipper wasn’t too hard, but I think I might have placed it a little bit to far towards the center instead of further to the right, so I think that’s why the zipper pokes out a little bit when I wear them. I also didn’t put the zipper shield on far enough, because I can’t catch it on the bar tack that’s furthest from the center seam. So I just have to kind of shove it into place and make it lay flat when I’m zipping my pants up. Haha.
The front pockets were probably my favorite part because I liked the easy top stitching and it was just so exciting to see my pattern pieces start to look like pants in the very first steps! I kept stopping to show Dallas because it was amazing to me.
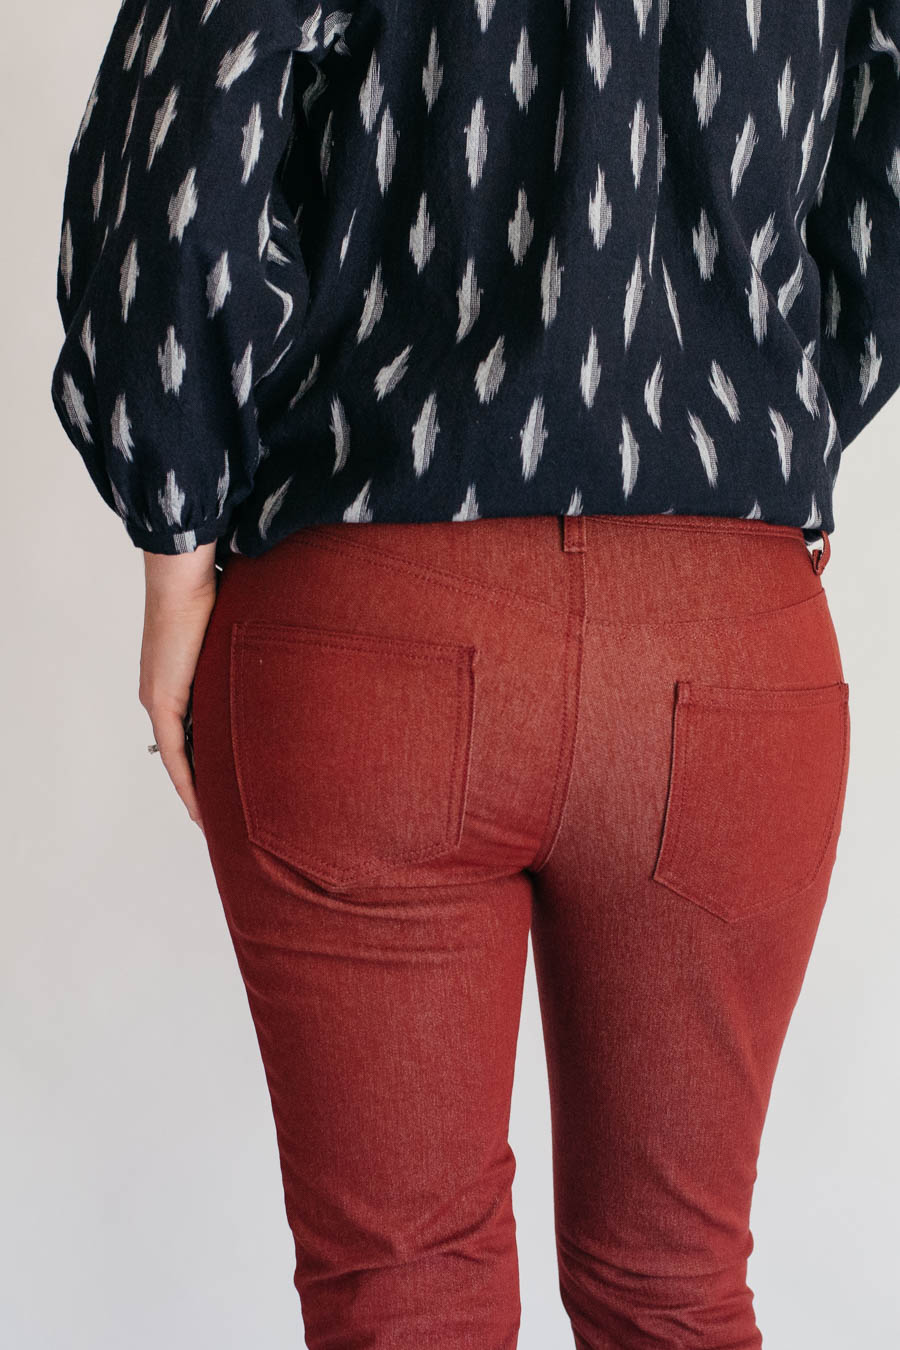
I was surprised that there weren’t any markings for the back pockets on the pattern pieces, so I completely skipped those until the end and had Dallas chalk mark the placement for me, because I had to idea where to place them. This post by Closet Case was helpful, but I couldn’t have put them on without Dallas’s help.
Other things to note are that I usually have my tension at 2.5 and changed it to 7 for my top stitching thread. I ordered my button from Wawak and it worked great! Easy to hammer in and I tugged on it pretty good and it doesn’t seem like it’s going to come out anytime soon.
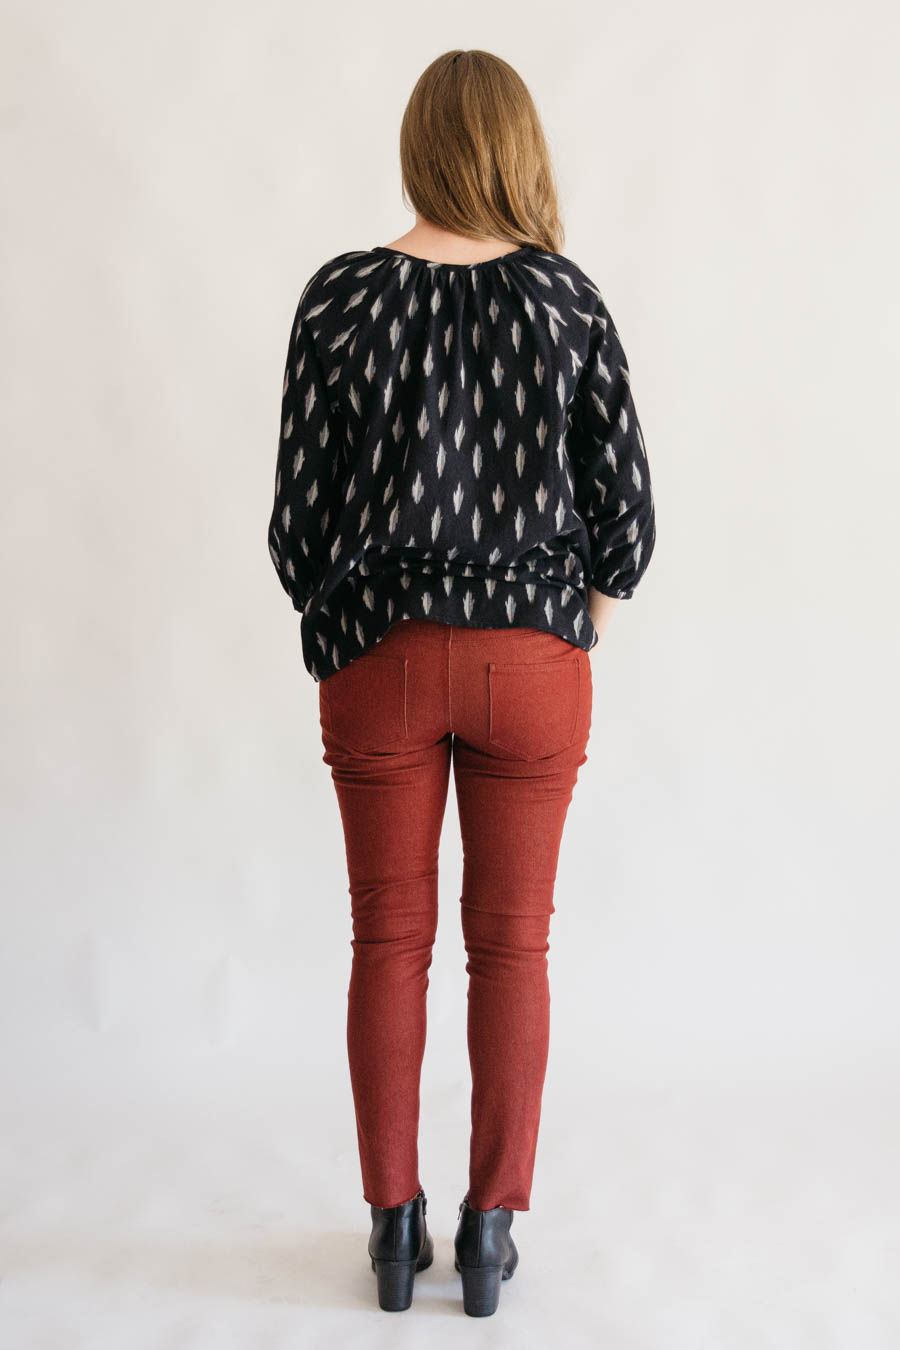
I ordered top stitching thread from Wawak, but I was trying to match my fabric and came nowhere near close with the colors I chose. So I went to my local sewing store and bought the Mettler top stitching thread, which is comparable to Gutterman Mara 30 – although the Mettler thread was a bit more coarse/not as smooth as the Gutterman. I only got a small spool and it lasted all the way until I had to hem my jeans, which is okay, because I’ve been wanting to try the frayed hem look and this was the perfect opportunity!
Tips from the sewing community that I’m going to try next:
- Gutterman Mara 70 thread is not as thick as Mara 30 and is more subtle, so sewing machines tend to like Mara 70 better.
- Jeans making queen, Lladybird (aka Lauren Taylor), highly recommends Mara 70 and the color #448 for blue jeans. It’s the copper color to make your blue jeans look like RTW.
- Two other top stitching options: 1. Sew with two spools of regular thread going through the same needle. OR 2. Use the triple stitch option for a thick look without your machine hating the thick thread.
- Use top stitching needles as opposed to jeans needles. (SO many people messaged me saying this!!)
- Don’t back stitch with top stitching – shorten your stitch length at the beginning and end instead so that the threads are less likely to unravel. (Tip from Cashmerette) Also in this blog post they say that an edge stitch foot is a game changer, so I need to find one for my machine!
Now for the ultimate question: Am I going to make more jeans after this?
I’m going to be completely honest and say that I will will probably not make anymore “jeans”. Jeans were just a big undertaking and took a LONG time to make. Plus, I LOVE my Everlane jeans that are $68 each. That’s only a little bit more than what it would cost me in nice fabric, so I am more than willing to spend the extra money to buy jeans, while still supporting ethical/sustainable fashion.
I just don’t think I would enjoy the process of having to find the perfect fabric, getting the perfect fit (I could probably go up a size next time), and RTW jeans fit me really well already, so I’m not very inclined to make my own. I DO however have some Chi-Town Chino shorts planned next, so I haven’t sworn off pants in general. Finding the right length of shorts for myself is a whole other story, and cutting off jeans just hasn’t worked well for me in the past. So I am excited to finally make some shorts for myself very soon!
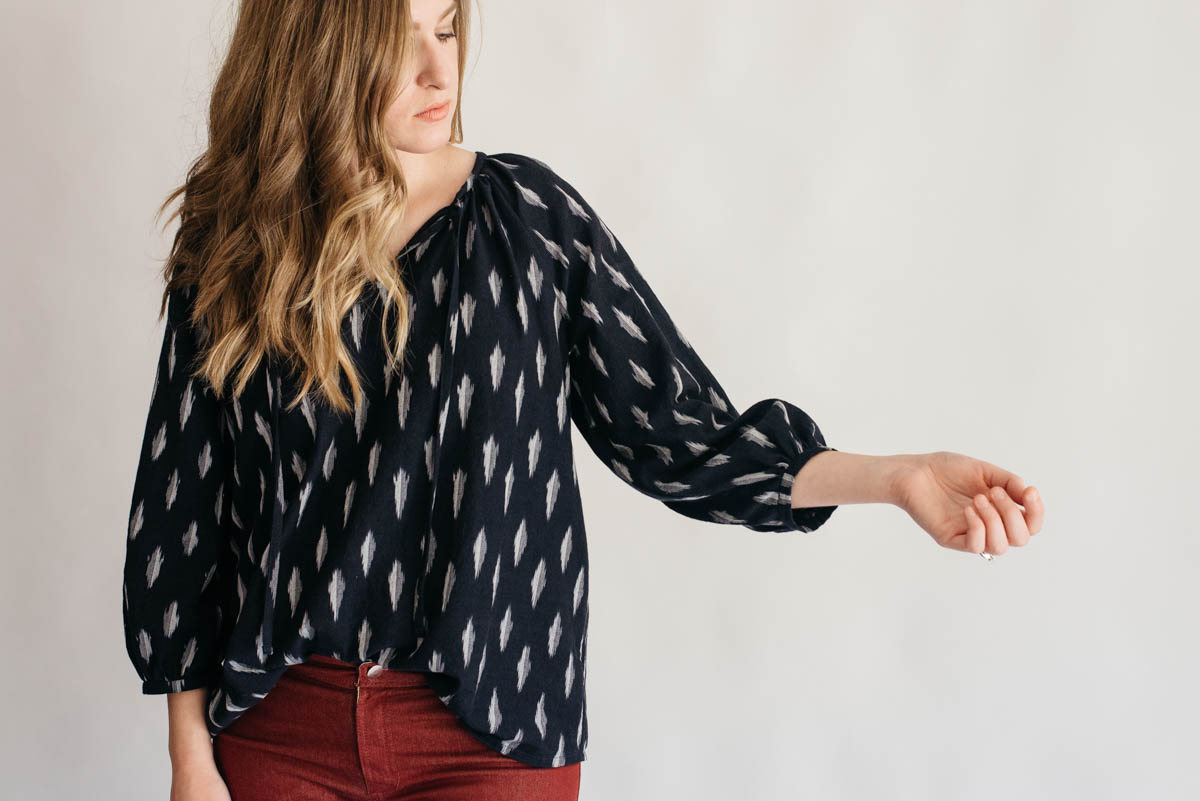
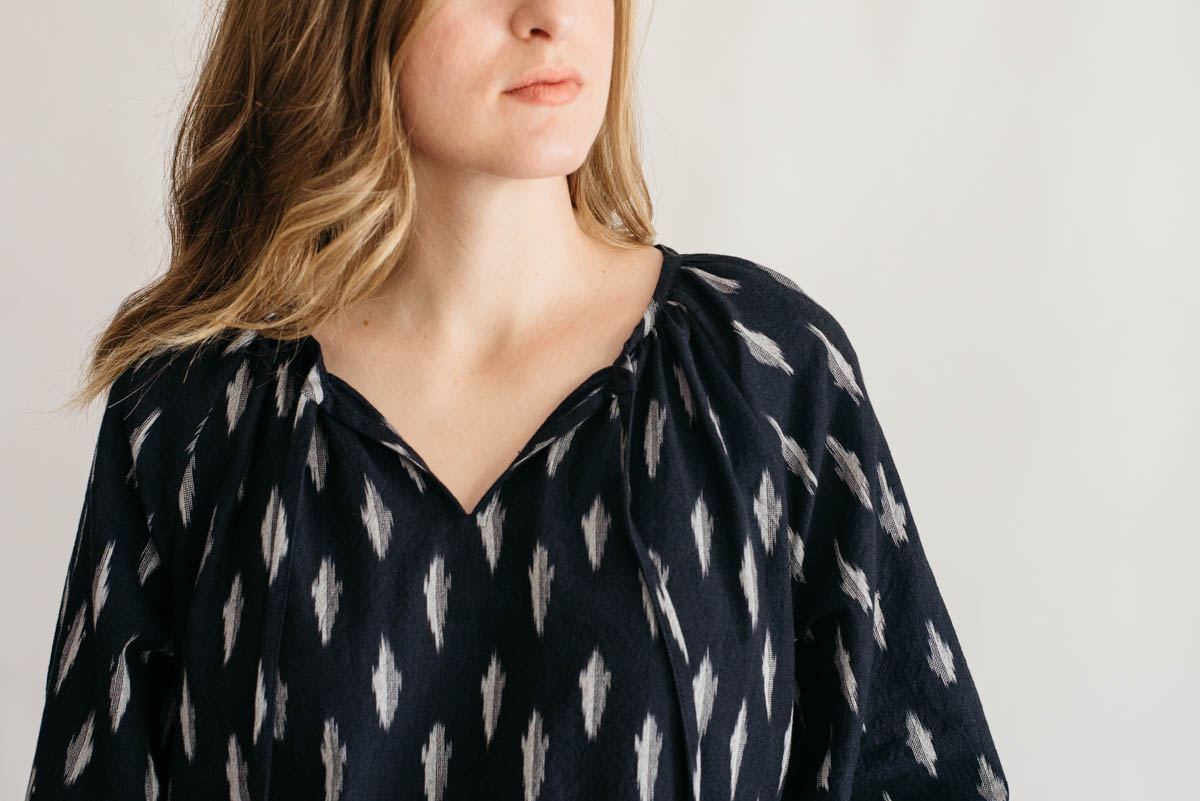
Now to talk about this gorgeous Roscoe Blouse! I have been very back and forth about making the Roscoe for a while, but I decided to go for it because I really do love the style and the fit. And once I got this ikat fabric from Fibers to Fabric I knew I just had to be a Roscoe Blouse.
I was NOT mentally prepared for hot much gathering there was. I mean – it should be pretty obvious, but I just didn’t even stress about it. That is until I had to start gathering the neckline and then my thought was, “Oh gosh, I still have two sleeves after this too.” So I had to just push through my anxiousness and get it finished. I do love the way it turned out, but I need to take a break from anything that gathers for a while. Haha.
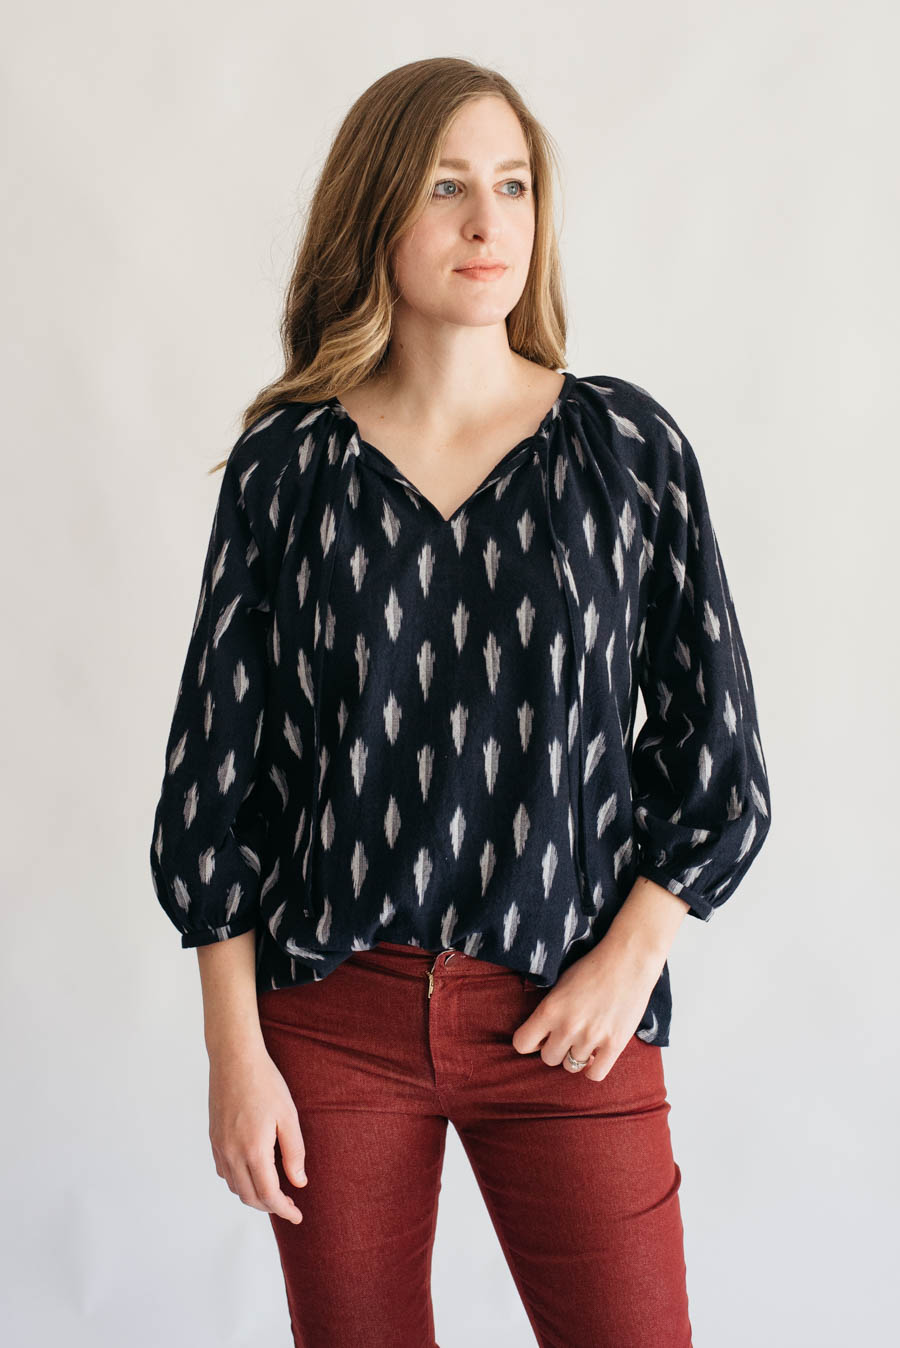
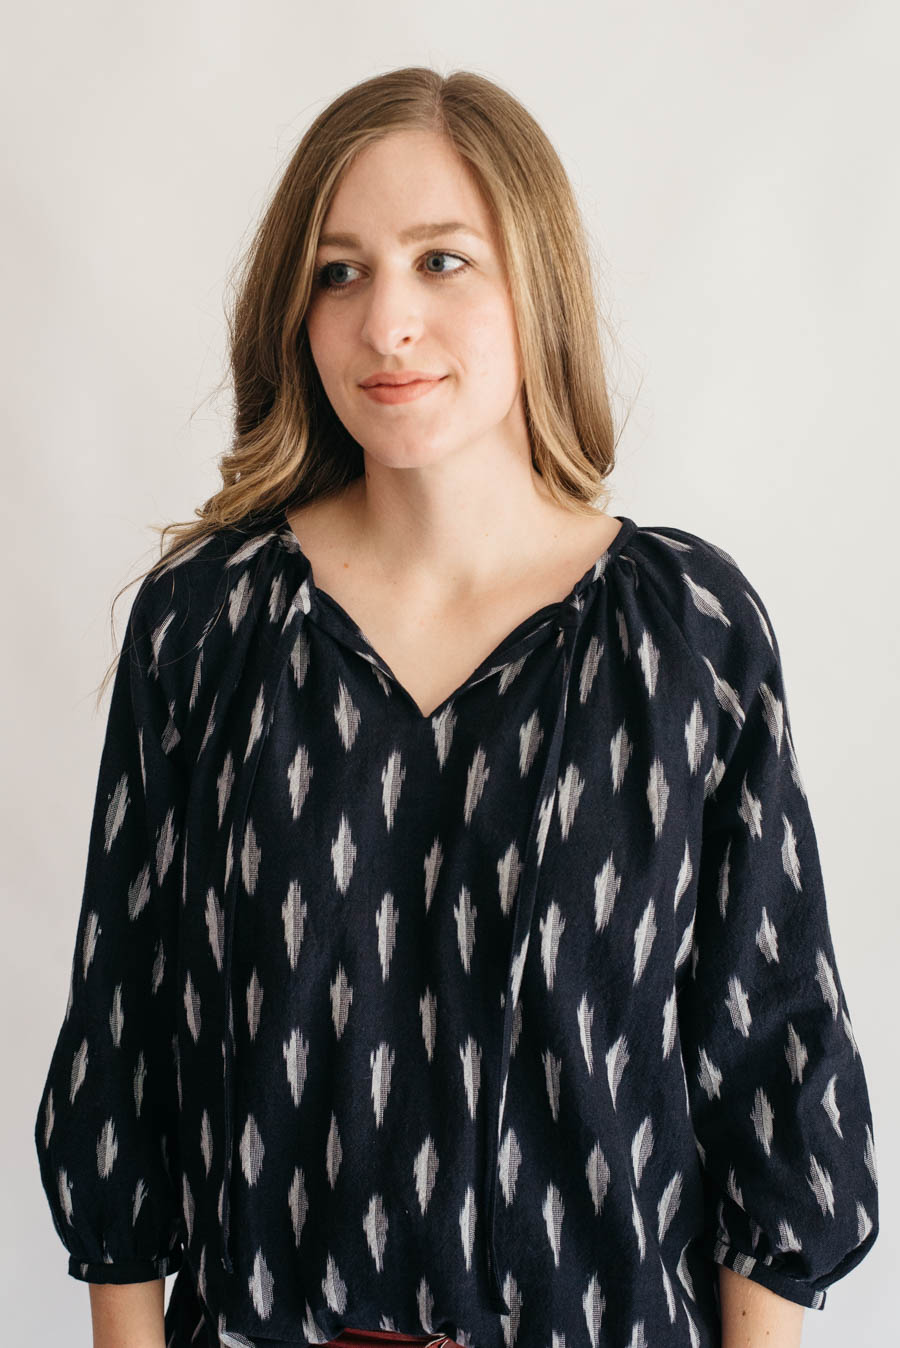
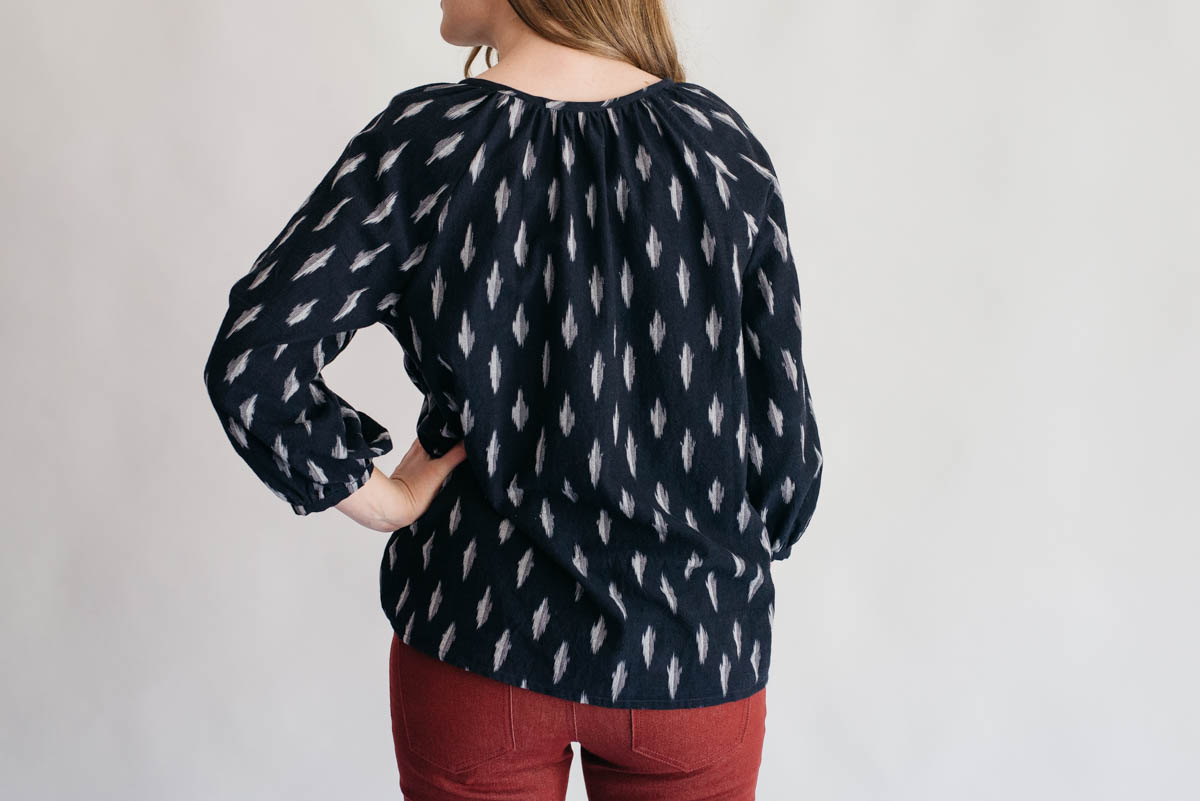
True Bias has amazing patterns and this is the fourth pattern of her’s that I’ve made. Kelli’s patterns have beautiful and clear illustrations and instructions, and this pattern was no different. I didn’t have any problems, and I didn’t get stuck at any point in making this blouse.
My sewing tall alterations were to add 1″ to the length, and 1″ to the sleeves. Per Kelli’s advice, I sized down 2 sizes because I was using a cotton, and the pattern is meant for a rayon or crepe that is much more lightweight and flowy. It fits really well and I’m very glad she watched my Instagram stories and suggested I do that! I also raised the neckline by 1″, which is really easy to do once you’ve read how to do the front center neckline.
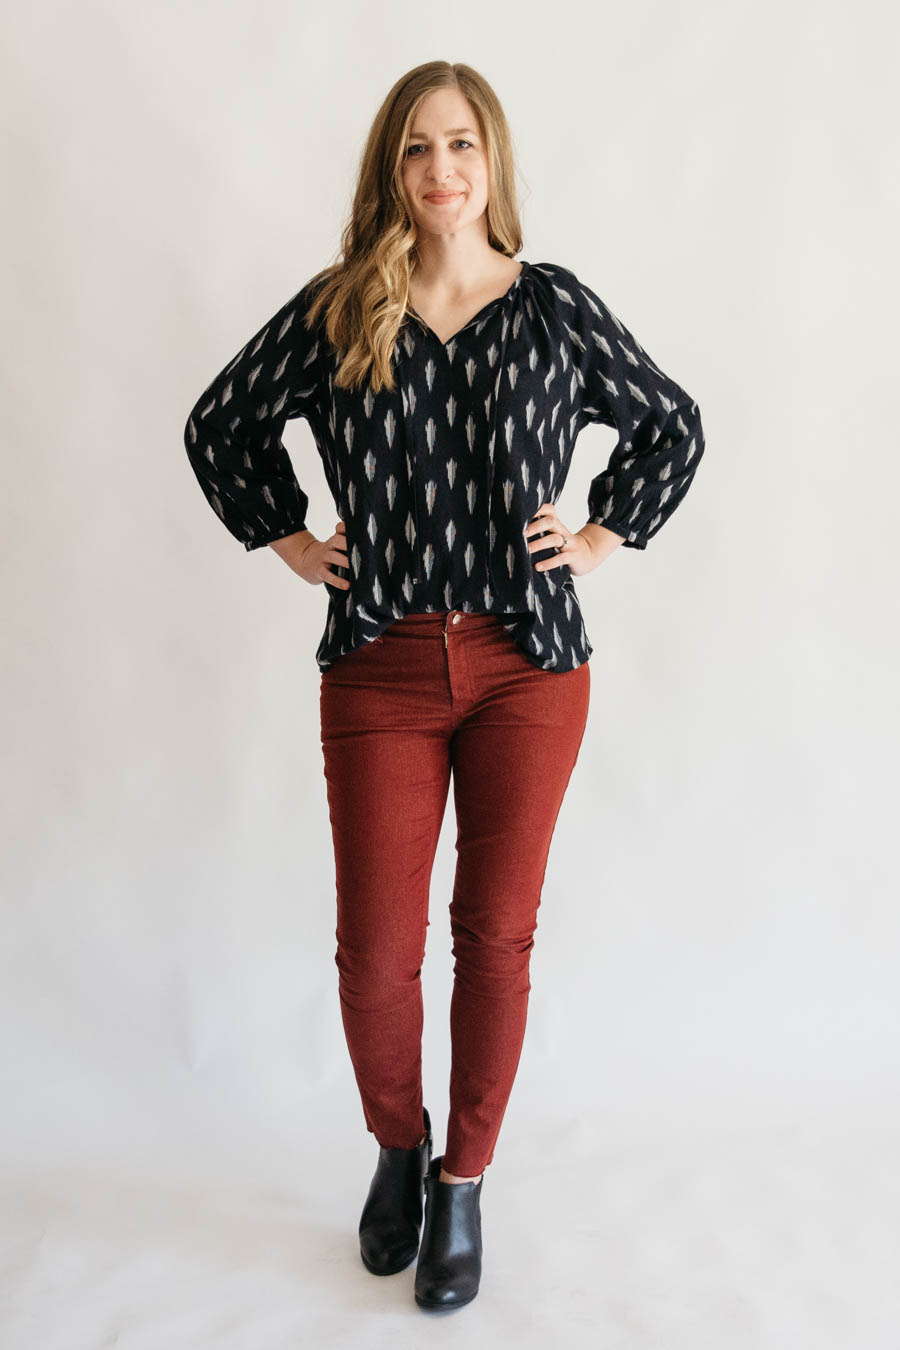
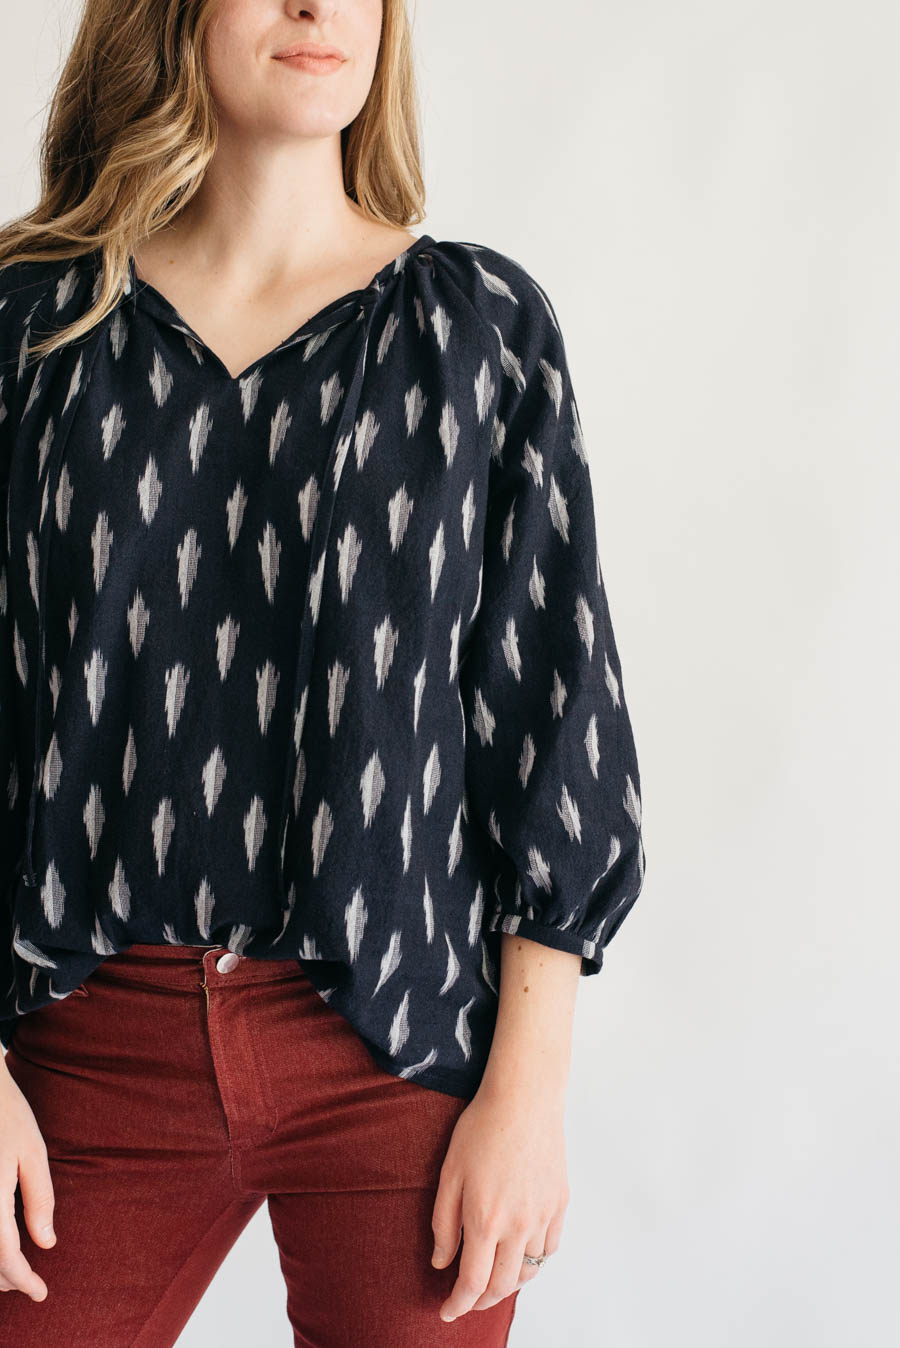
These are two really great patterns that I can finally say I have made! I’m hoping I will get to wear my Gingers more if they stretch out a little bit, and I have already worn my Roscoe out and about, and I love it! I do foresee having to make a Roscoe for my mom in the coming months because she is a fan too, but I will have a few months break from gathers until then. 😉
Have you made jeans yet? What is stopping you from trying? What other things are you nervous about making?
They look so great! I am so impressed! Jeans is one thing I have absolutely no desire to try making.
Thank you, Skyler! I thought the exact same thing, but finding this denim for super cheap made me figure I should try. I still highly recommend Everlane jeans though. 😉
I have fabric, notions and purchased a Megan Nielsen Jean pattern and the Ginger Jean course and still haven’t made Jean 😬
It’s all about putting your mind to it and saying you’re going to do it! Having confidence in your ability and patience with yourself both play a big key in getting them finished! You can do it, Andrea, but don’t put it off forever!
Wow, this was a fantastic post, full of good tips. I made Gingers a few months ago and even though I made them tight, I wish I had made them even tighter, because stretch denim continues to relax (I still wear them almost every other day). I’m betting yours will be perfect after a few more wears.
Love that Roscoe blouse too! I didn’t know the trick about sizing down for cotton, sooo helpful.
I’m so glad you found it helpful, Cindy! I am sure it has A LOT to do with the denim and stretch percentage, so you really have to figure out the fit on each pair. Mine have thankfully stretched out a good amount, but I’m hoping they do a little bit more.
And thank you! The Roscoe is beautiful, but you do have to be aware of what different fabrics will drape like and size accordingly.
Your jeans look terrific! It’s an amazing color too. You never know, you might find another denim that speaks to you and make another pair…
That’s true! I’m not saying never, but I love my Everlane Jeans. 😉 I am in the process of making a pair of Chi-Town Chinos out of denim, so that’s pretty close!