
I’ve had plans to make the Duplantier Dress (sizes up to 58.5″ bust & 60″ hip) since the pattern was released in 2022, but I think because of the princess seams, I put it off for as long as possible. I’ve already conquered altering princess seams for my low bust, but I think I just wasn’t up for the extra work it was going to require.
To get the fit exactly right, I knew I needed to do a muslin of the bodice pieces. I made a rookie mistake right at the beginning, though. The pattern piece has a ‘lengthen/shorten’ line already on it, but it’s in the completely wrong place-below the bust. So, after wasting time and fabric making a muslin with the bust still in the wrong spot, I finally woke up and did it correctly.
I did this exact same adjustment for my Charleston Dress in 2018, and it made a WORLD of difference. I did a tutorial in that blog post, but I didn’t take very helpful photos or use a dark enough marking tool, so I thought it might be helpful to do show it again here for the Duplantier Dress. I have a tutorial down below if that is an adjustment that you also need.
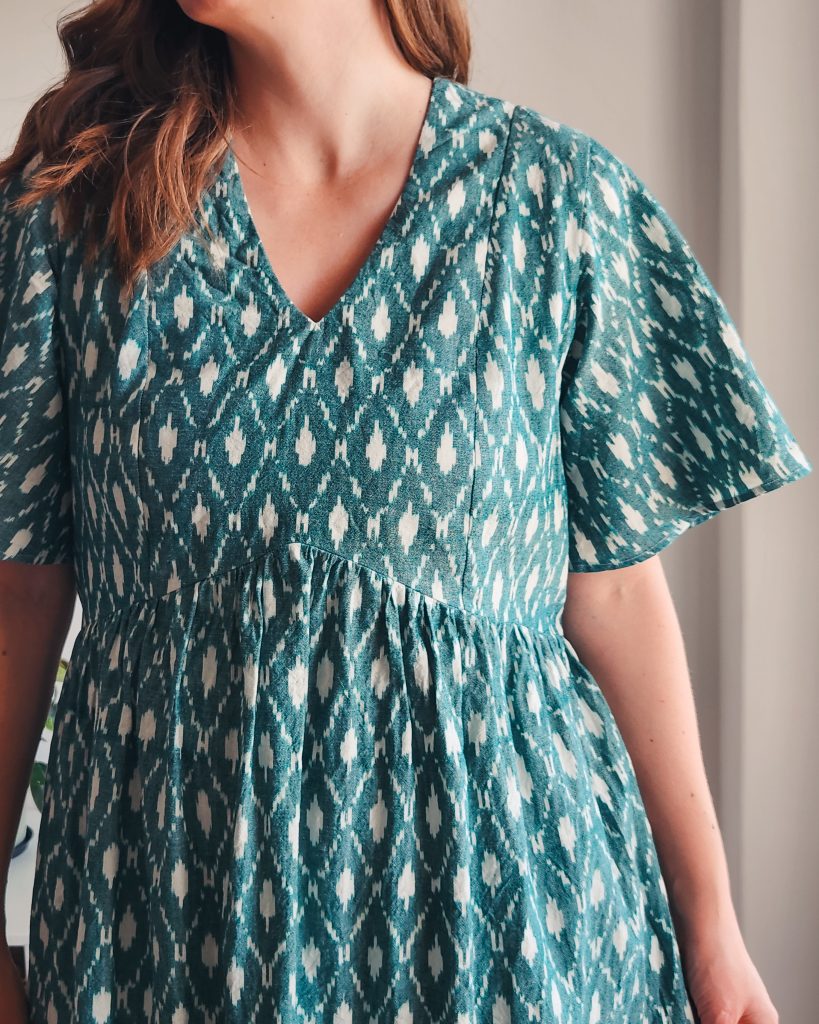
This fabric is a cotton ikat that I bought from Fabriclore in 2022 for this exact dress. I did try very hard to line the pattern up, and I’m glad that paid off. The front center pieces are lined, so I used a little bit of beige cotton fabric, and it worked well (although you can’t see it in the photos).
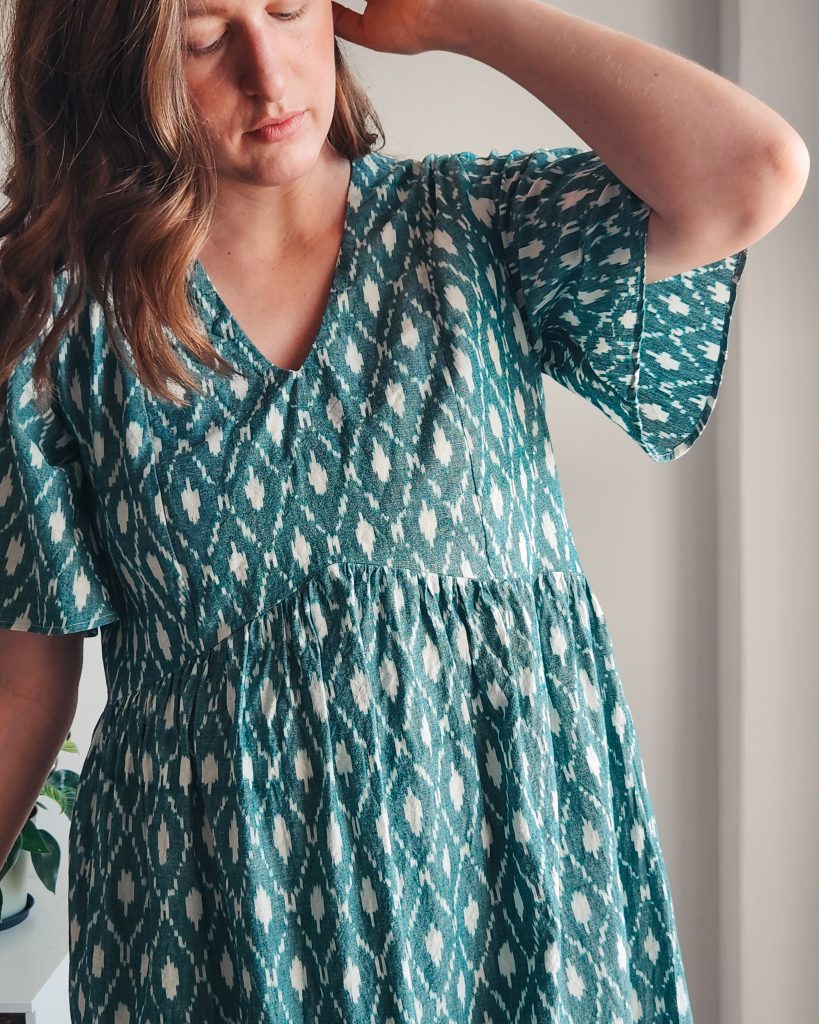
Aren’t these sleeves so pretty! I’ve never sewn anything for myself with butterfly sleeves, so I was a little bit nervous about them being too girlie feeling. I think since this fabric has a little less drape it helps it not feel too formal.

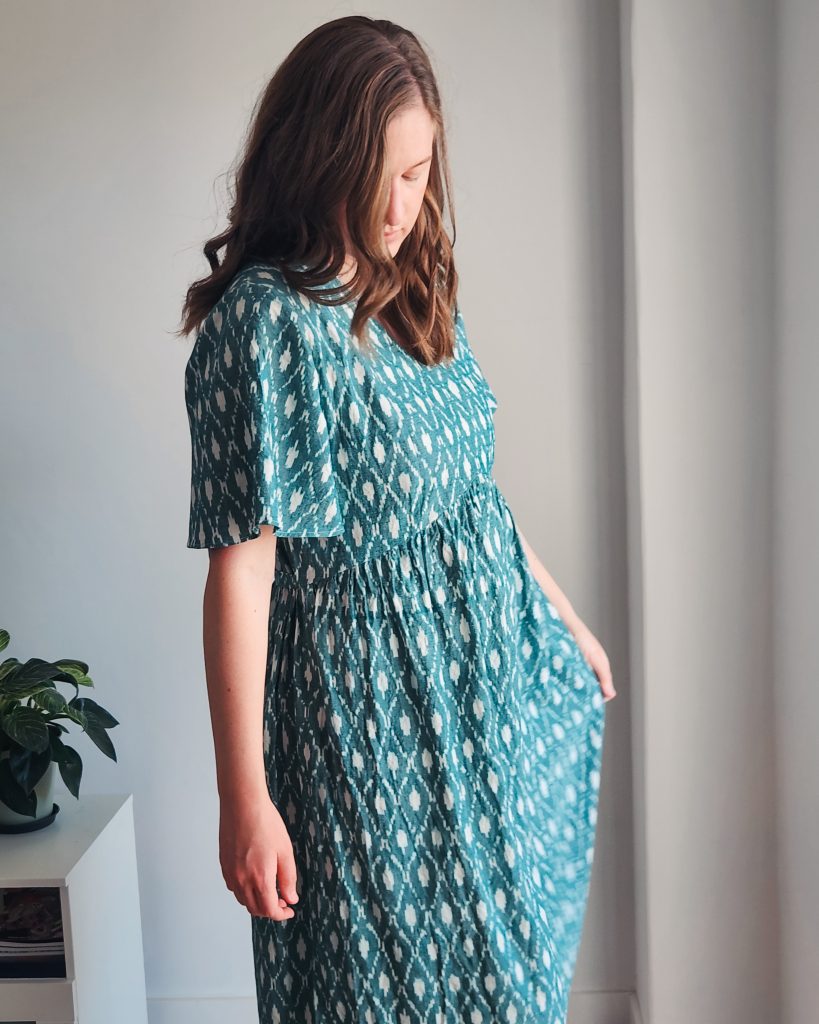
I’ve never sewn an Elbe Textiles pattern before, but I was happy with the instructions and illustrations. One thing you have to pay attention to if you’re above average height is that this dress pattern is very short. Since I’m tall and wanted this to be midi length, I added ~13″ to the skirt.
I’m very happy with all of the adjustments, and I’m glad that I messed up my muslin fabric and not this beautiful fabric! Ikat fabric is one of my favorites, and I know it’s going to be a loved dress for a long time.
Low Bust Adjustment for Princess Seams
Before we get started, this is what Adrianna of Hey June sent to me when I was making adjustments to the Charleston Dress (meant for a stable knit fabric), so this is the gist of what I did for the Duplantier Dress too. Let’s do this!
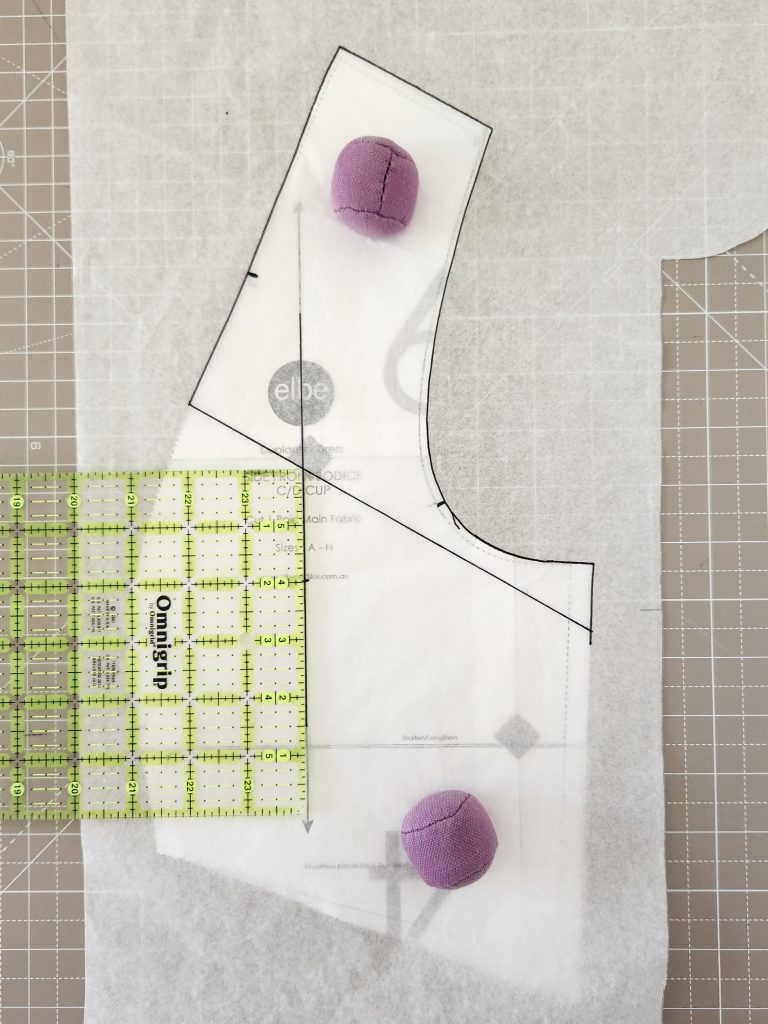
1 – Draw a diagonal line that goes from above the bust to just below the arm pit. Then draw a vertical line perpendicular to the lengthen/shorten line. I just connected the grainline arrows on the pattern which works too.
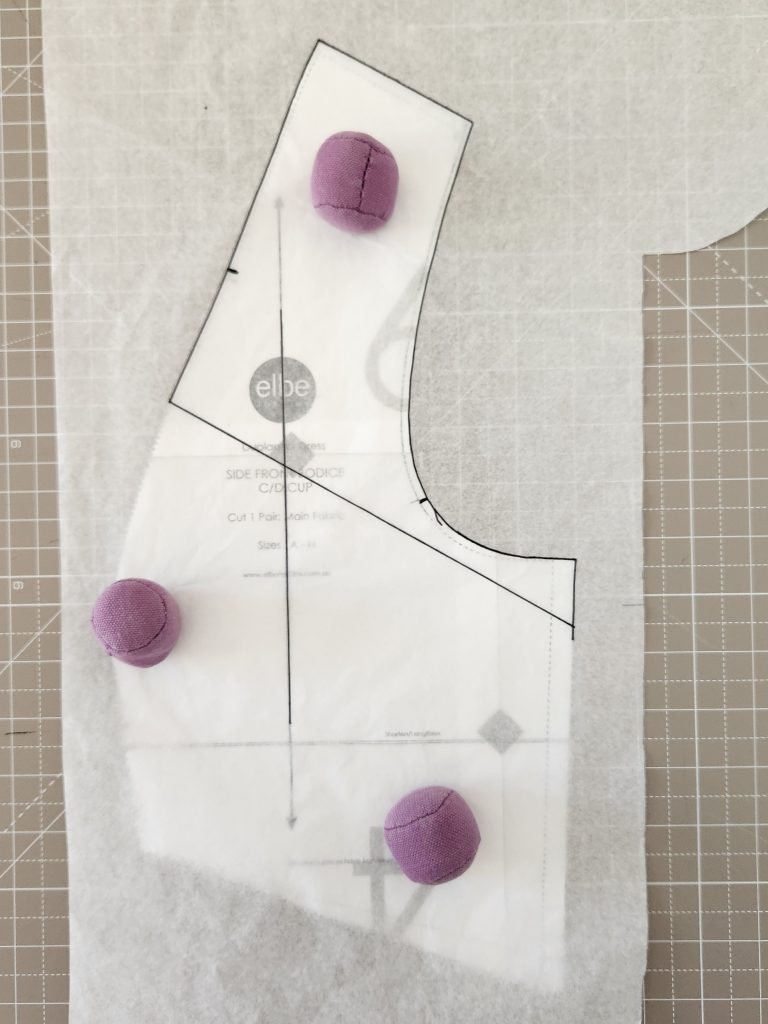
2 – Trace the top half of the pattern piece, pattern notches, and the horizontal and vertical line we just made.
3 – I made a mark 2″ down from the intersection of the two lines, but you should add whatever amount that you need to lower at this step.
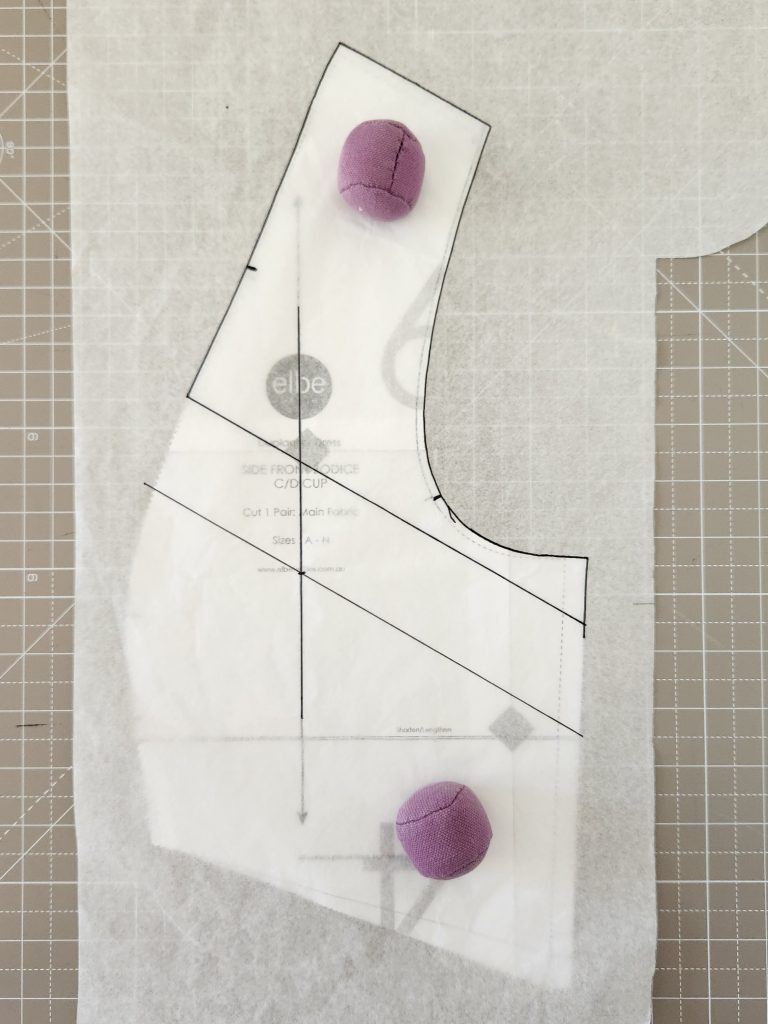
4- Draw a second angled line parallel to the first angled line going through the mark you just made.
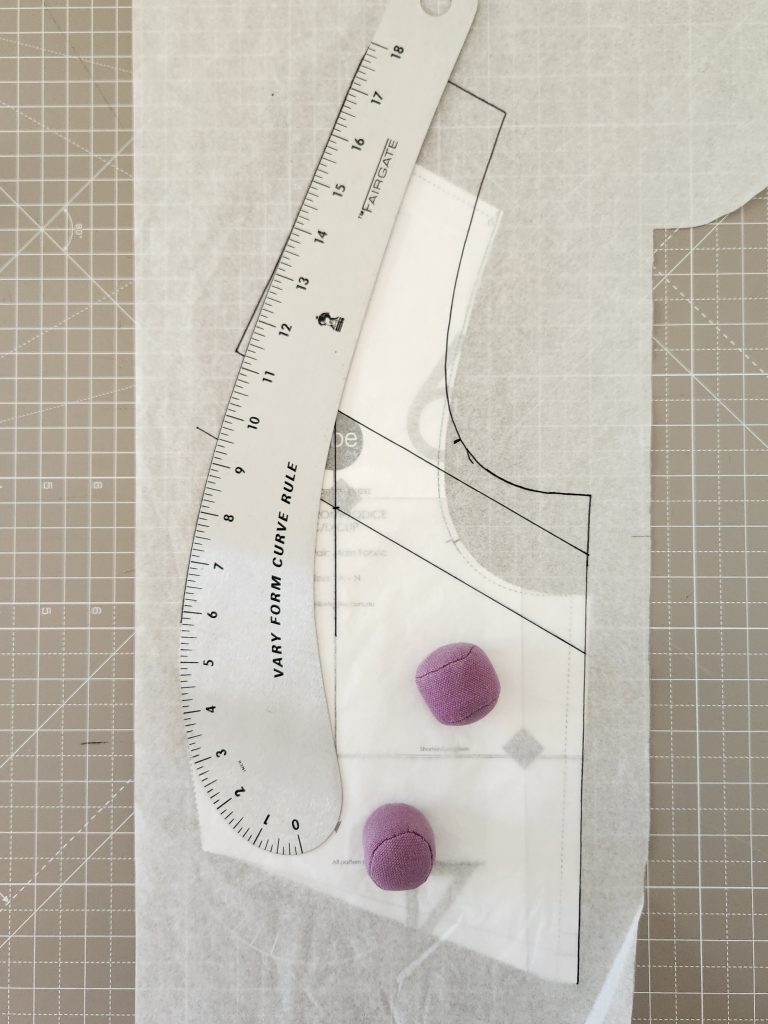
5 – Now you are going to move the tracing paper up so that the 2nd diagonal line that you just drew matches up with the diagonal line on the pattern piece. Use the vertical line to match it up perfectly so it doesn’t get shifted.
Then you can take your curve tool (here is the one I’m using) and create a new curve for the bust. You can see from the previous tracing I did on top, that the fullness is getting taken out above the bust so that there’s no bubbling where it shouldn’t be.
You can also straighten up the side seam with a ruler. You can see that it just took out a tiny sliver out of the side seam.
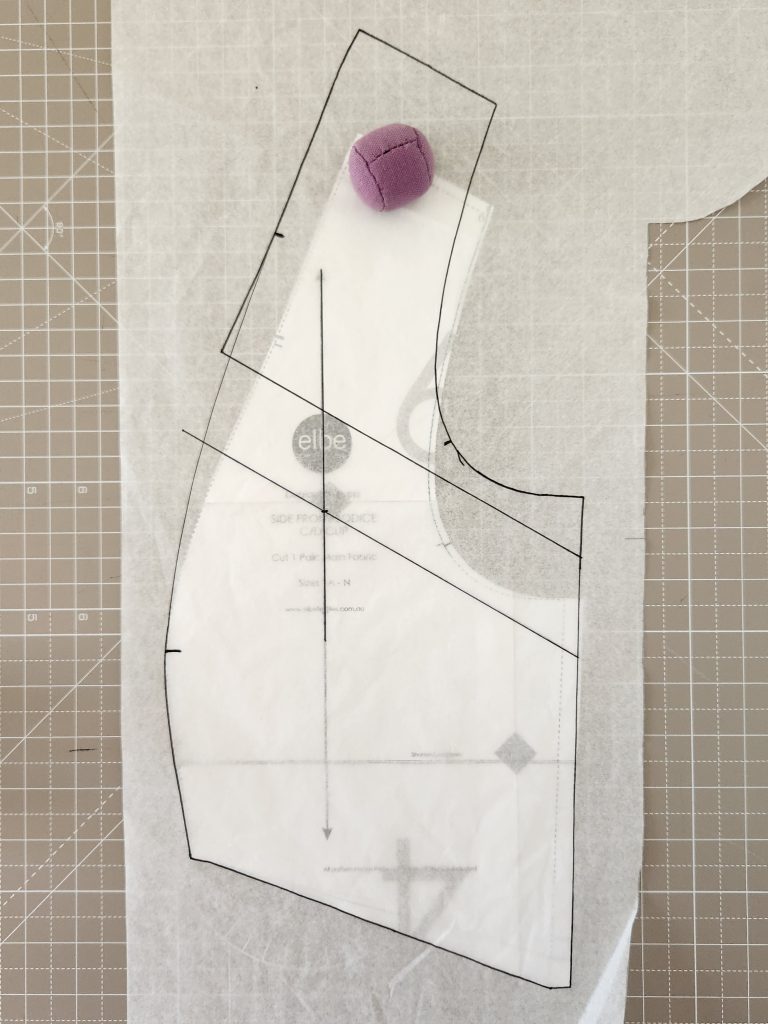
6 – Lastly, trace the rest of the pattern piece along and mark the notch.
Then do all of these same steps for the front center piece, although it won’t be as drastic, but the pattern pieces will end up fitting nicely together.
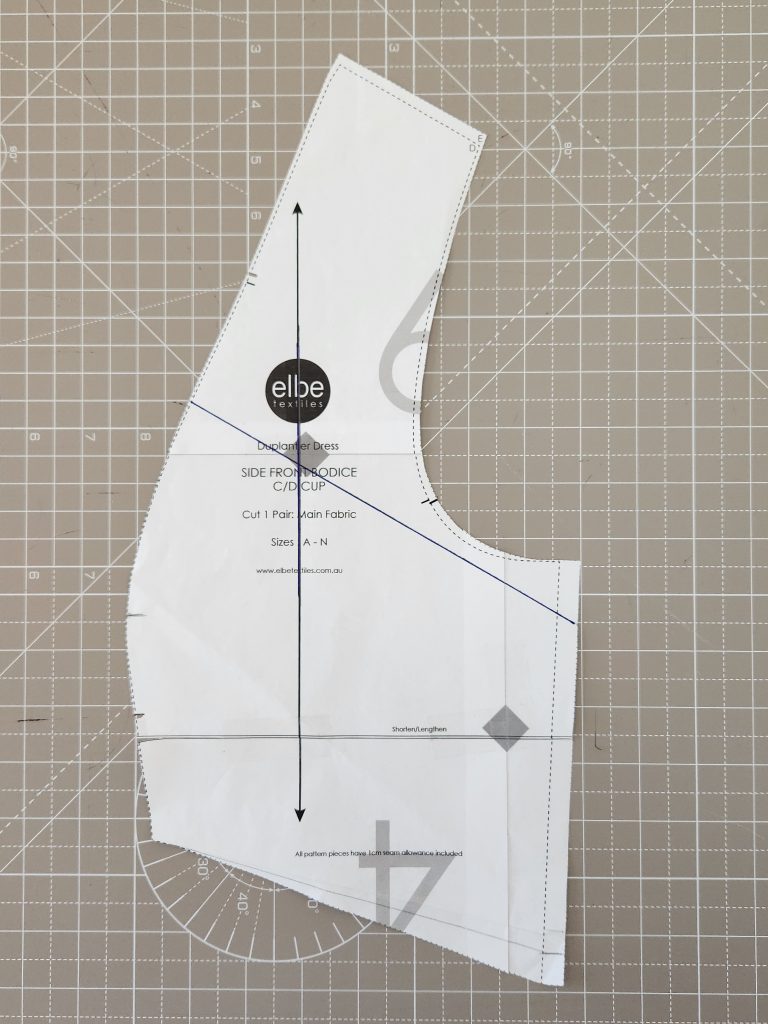
Here is what my pattern pieces looked like. While tracing my front center piece, I raised the neckline by 3/4″ and redrew the line.
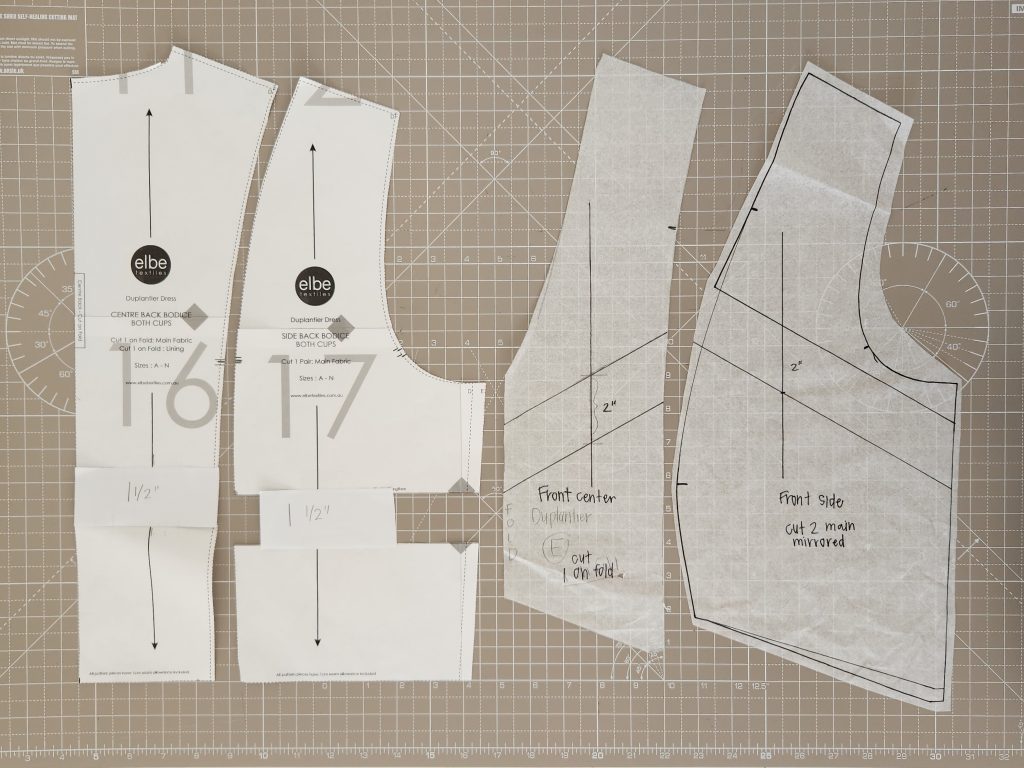
I lengthened the back pieces by 1.5″ so that the back tie hit at my natural waist, which was as easy as cutting at the shorten/lengthen line and adding that amount.
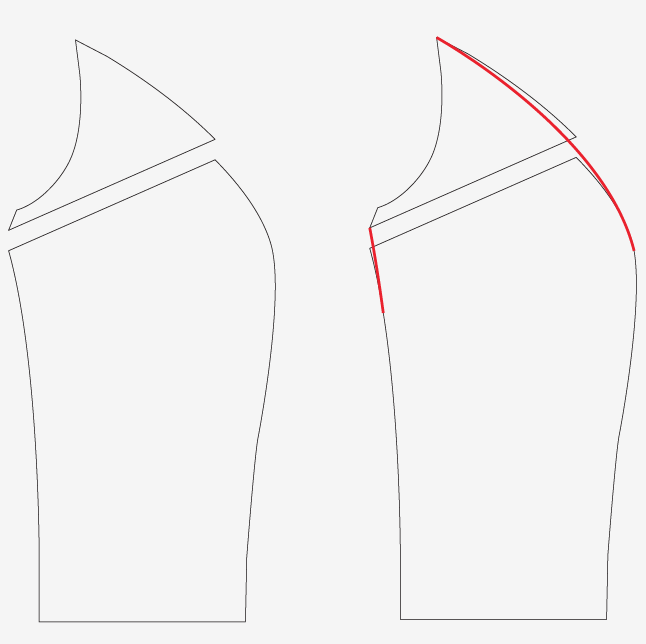
Since I lengthened the front more than the back, I needed to make sure they still matched up at the side seam. To do that I just matched them up next to each other and marked how much shorter the front side piece needed to be, then I redrew angle of the line (shown above on the right).

Once my pattern piece was all cut out, this is what it looked like, and it matched up perfectly with the back side pattern piece.
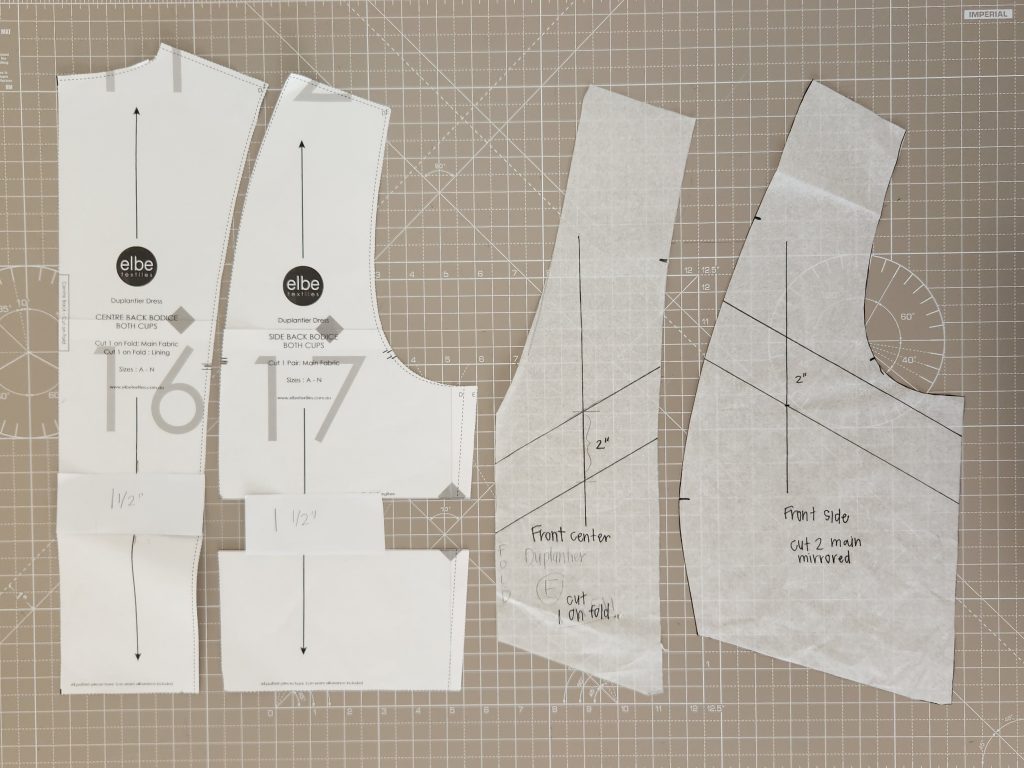
Here are all of my pattern pieces when they were completely adjusted and matched up. Then you can get right on to cutting your fabric!
Thank you for reading my blog today, and happy sewing! xoxo
Feel free to subscribe if you want to keep up with my posts and find me on Instagram and Pinterest too.
Super helpful! I need to lower the bust on a princess seam dress (Jennifer Lauren Handmade Kinfolk) so this is exactly what I needed. Thank you!
Great dress, btw!
I’m so glad you found it helpful, Martha! The Kinfolk Dress looks beautiful. I hope you have good luck with the fitting!
Great tutorial and step-out photos, Tori!
Thank you, Karen! I hope it helps others. It can be frustrating to now know how to do certain adjustments!
Great job explaining your adjustments! It was easy for me to follow each step! What a great sewer you have become!
Love you! Grandma Frame ????
Thank you, Grandma! ???? I’m so glad the tutorial made sense. I’m so happy to have this dress now! Love you too!
Thank you for taking the time to help other sewists by sharing what you’ve learned, Tori. Love your project recaps and helpful tips!
Thank you for your kind words, Monica! ???? I always hope that it helps someone!