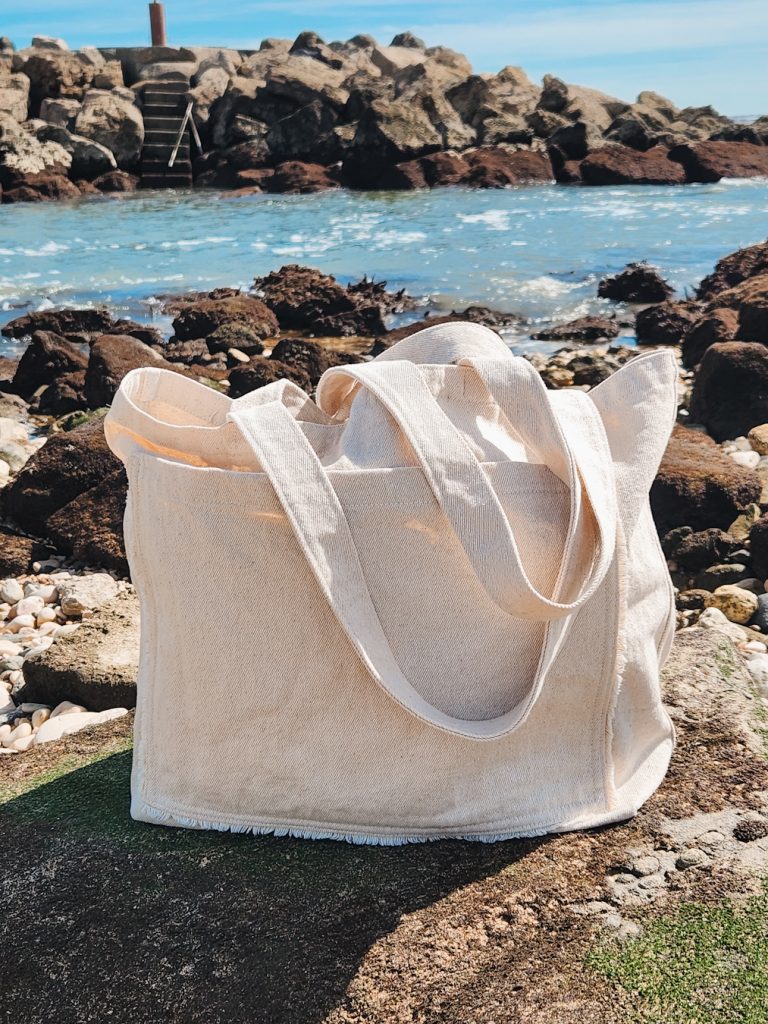
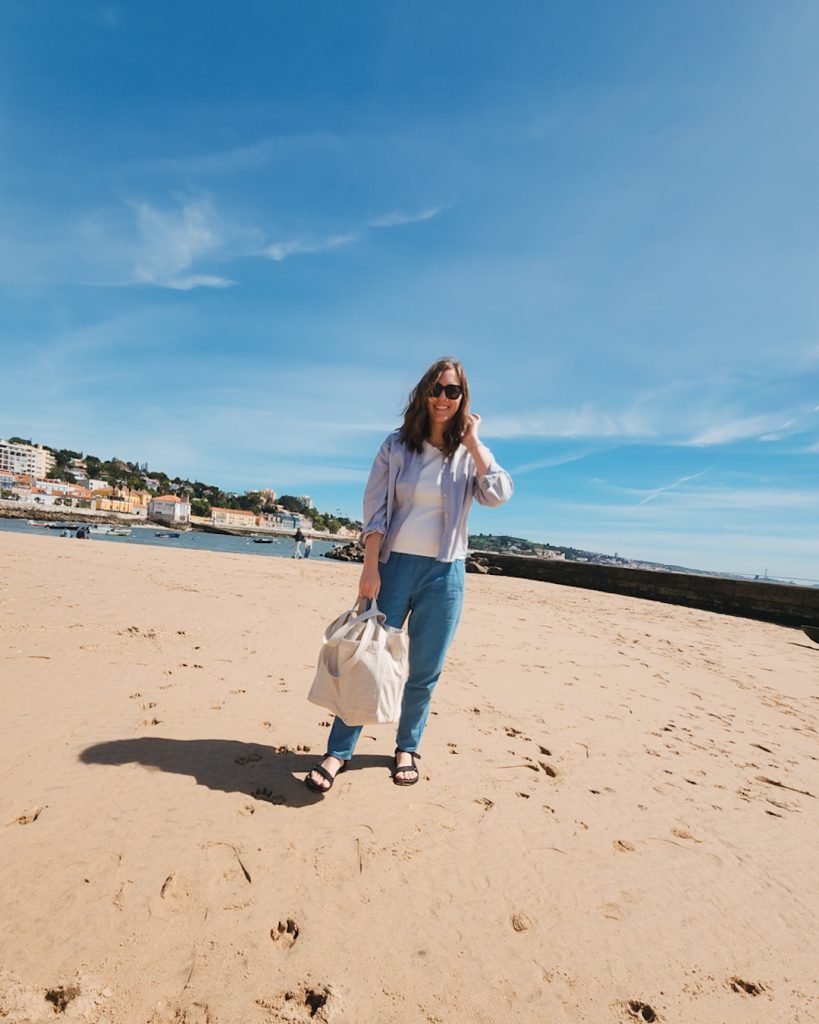
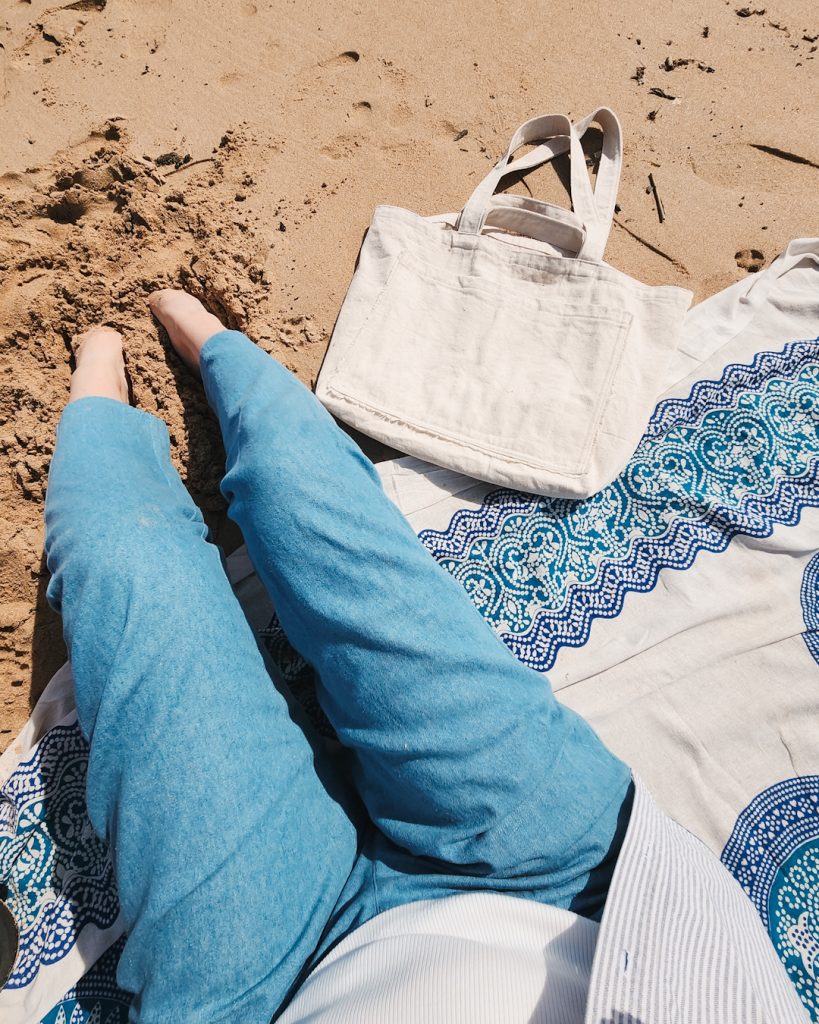
I’ve had good intentions of sewing a tote for the beach ever since we moved to Portugal last summer, but I didn’t get around to it before winter. This is the Sun Tote by Chalk + Notch and it’s a FREE pattern if you sign up for their newsletter.
I used a heavy weight cotton denim from Divazus. I don’t know if this is a denim that I would make jeans out of, but it worked well for a bag.
I was a little bit nervous about sewing through all the layers of this thick fabric, but my Heavy Duty Singer did pretty well. I was able to sew through most of it really easily. When I got to the last step where you are supposed to sew vertical seams through the bottom of the straps, I sewed one and it went okay, but my machine was pretty mad with the next one. So, I decided to just forgo that step, which isn’t a huge deal since the straps are already really secure.
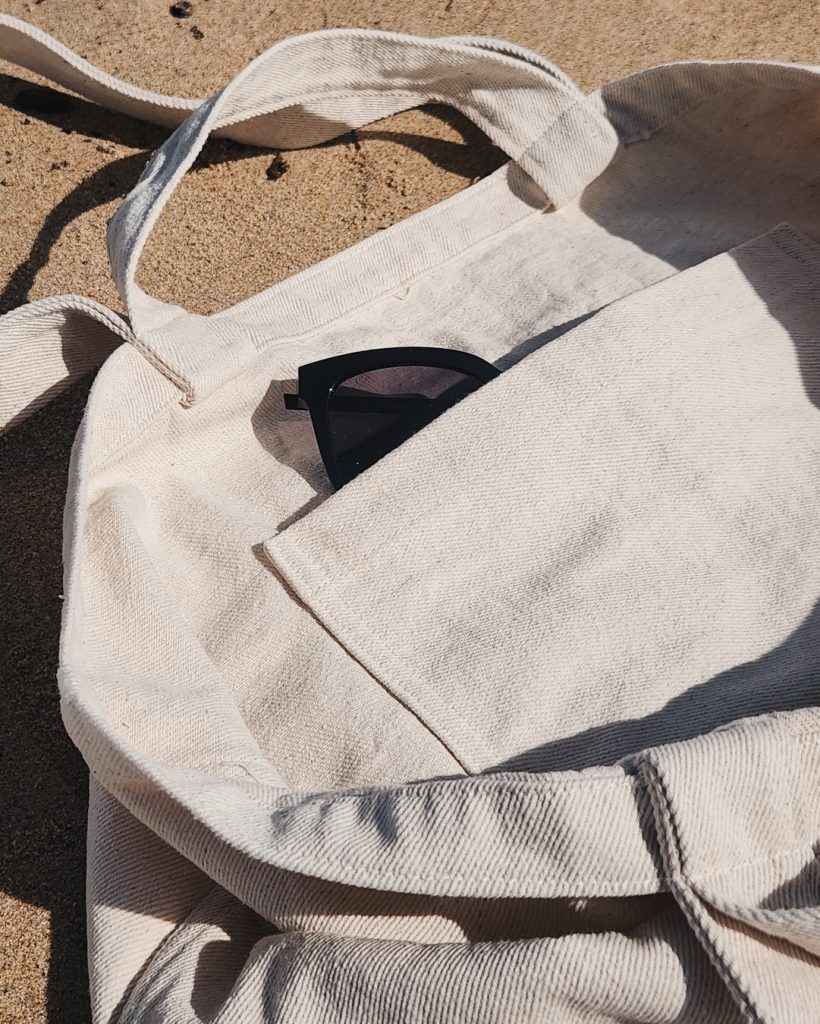
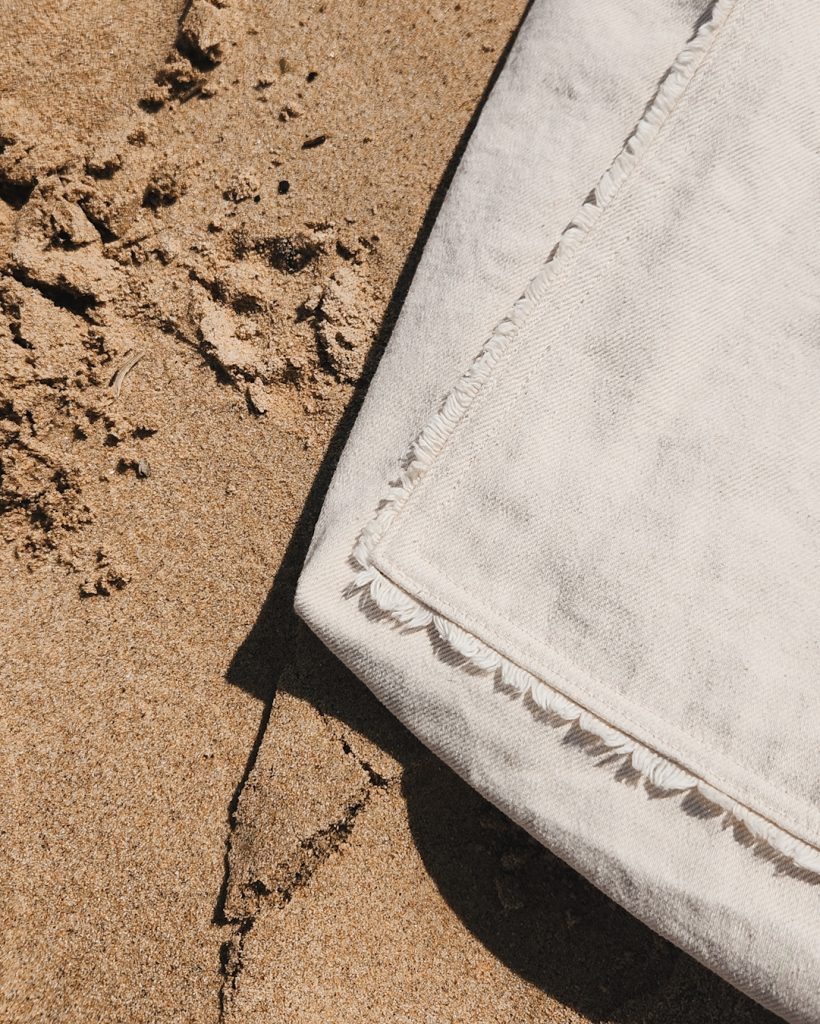
One little detail that I added was the fringe from the selvage edge. While I was cutting the fabric pieces, I couldn’t bring myself to throw away the edge, so I saved it in case I decided to do something with it. I decided it would be cute as an addition around the outer pocket and would be pretty simple. It made me think of my friend Karen (@intostitches) who is always thinking of cool details to add to her makes, and she has definitely used the selvage edge of her fabric on more than one occasion.
After ironing the pockets seam allowance down, I used my trusty Wonder Tape and stuck it around the three sides that would be sewn. After that I stuck the selvage edge to the Wonder Tape so that it would still stick out enough to show. Then I pinned the pocket to the bag really well and sewed it on. Easy peasy!
If I make another Sun Tote in the future, there are a couple of things I would do differently. The front pocket is really big, so they suggest adding a snap, but I think I would sew a line down the middle to make it two pockets. I can’t do that with this bag, because the small pocket is on the other side inside of the bag. Alternatively, I would make a smaller front pocket, since I don’t really have anything that big to put in it.
Then for the inside pocket, I saw a cool way to add a hanging inside pocket on Pinterest. This way you wouldn’t see the topstitching from the outside because you would just sew it into the hem of the bag! So clever. And you could sew it to either side that you want.
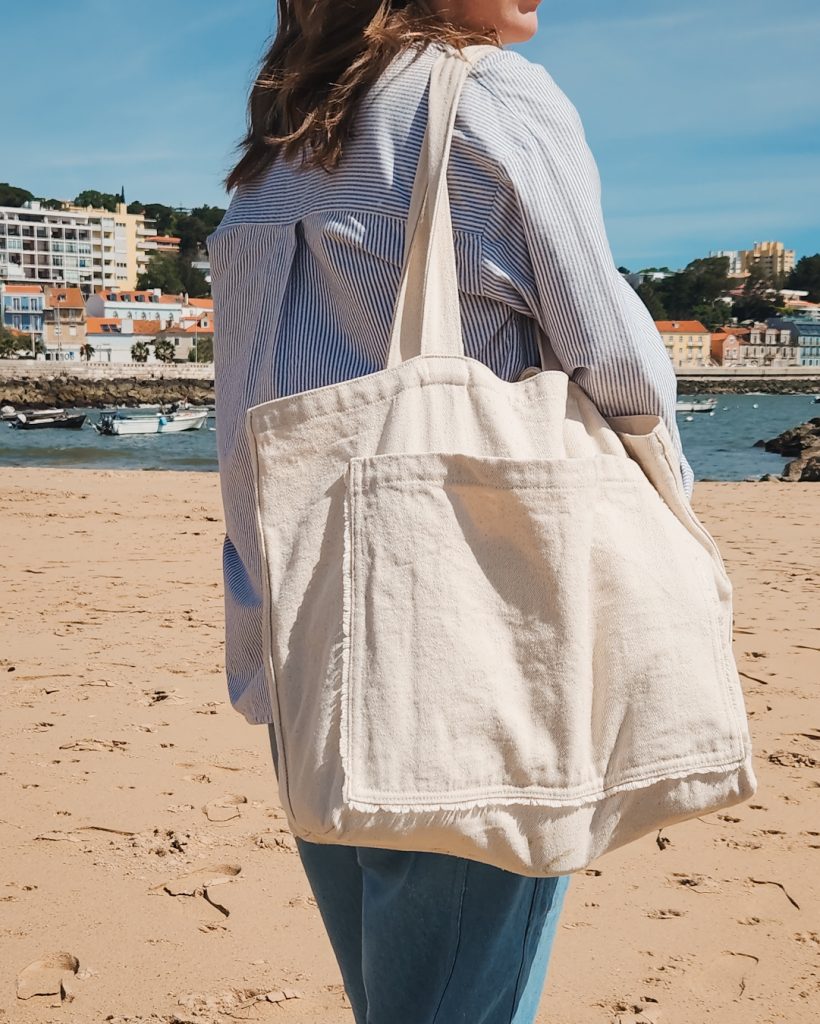
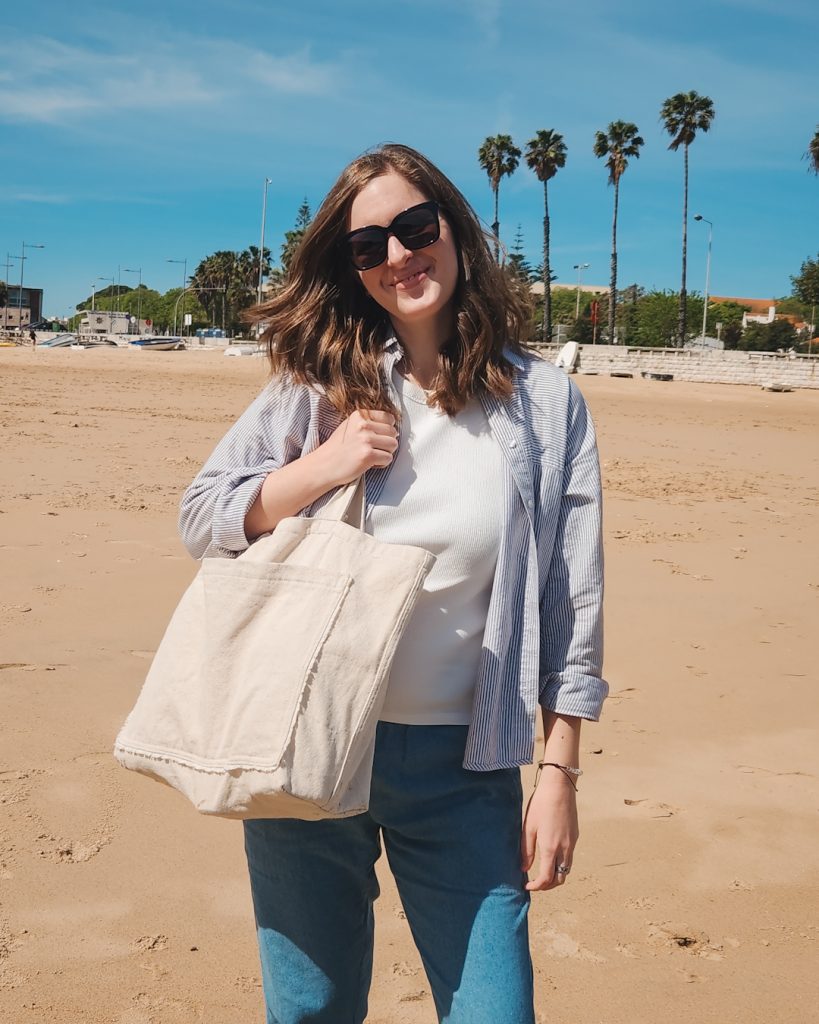
The Sun Tote comes in three different sizes, and I decided to make the medium. It’s large enough to fit our beach blanket, beach toys, my sun hat, and plenty of other little things. I’ve been using a reusable grocery bag the whole time we’ve lived here, so I’m very excited to have this to use now!
(Shoutout to my 3-year-old photographer who did a great job taking some of these photos for me and said, “Cachiga, cachiga, cachiga!” every time she was taking a picture. Haha.)
This post contains affiliate links. For more information see our Affiliate Links disclosure.
Feel free to subscribe if you want to keep up with my posts and find me on Instagram and Pinterest too.
Thank you for reading and happy sewing! xoxo
The tote looks so great! Also, Portugal looks dreamy!
Thanks Sky!💕 Portugal is really beautiful. I have to remind myself regularly that I’m not dreaming.