
I’m very excited to share my first make since moving to Portugal! We’ve been here for almost 2 months, but I needed some time to get settled and to wait until things were less chaotic.
A few weeks after we got here, the French fabric company, Madame Iris, reached out to me and asked if I wanted to help showcase their new collection. I haven’t done a collaboration with a company in a long time, but the fabrics were so beautiful, and I think being in a new place made we want to try something new.
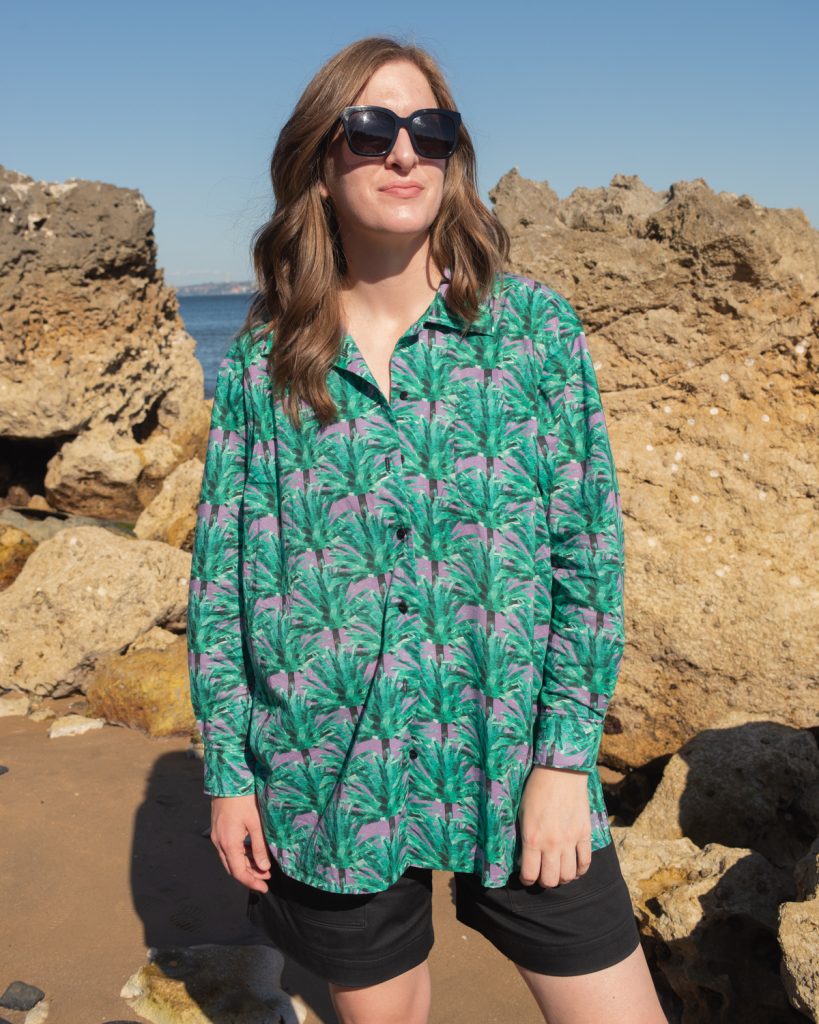
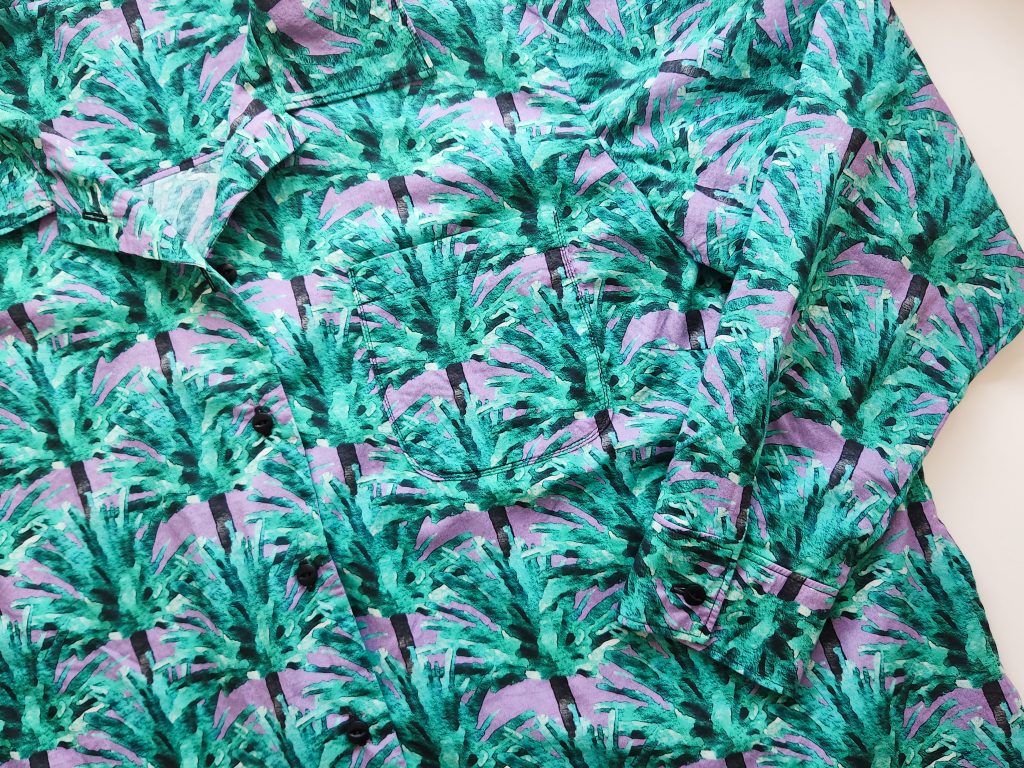
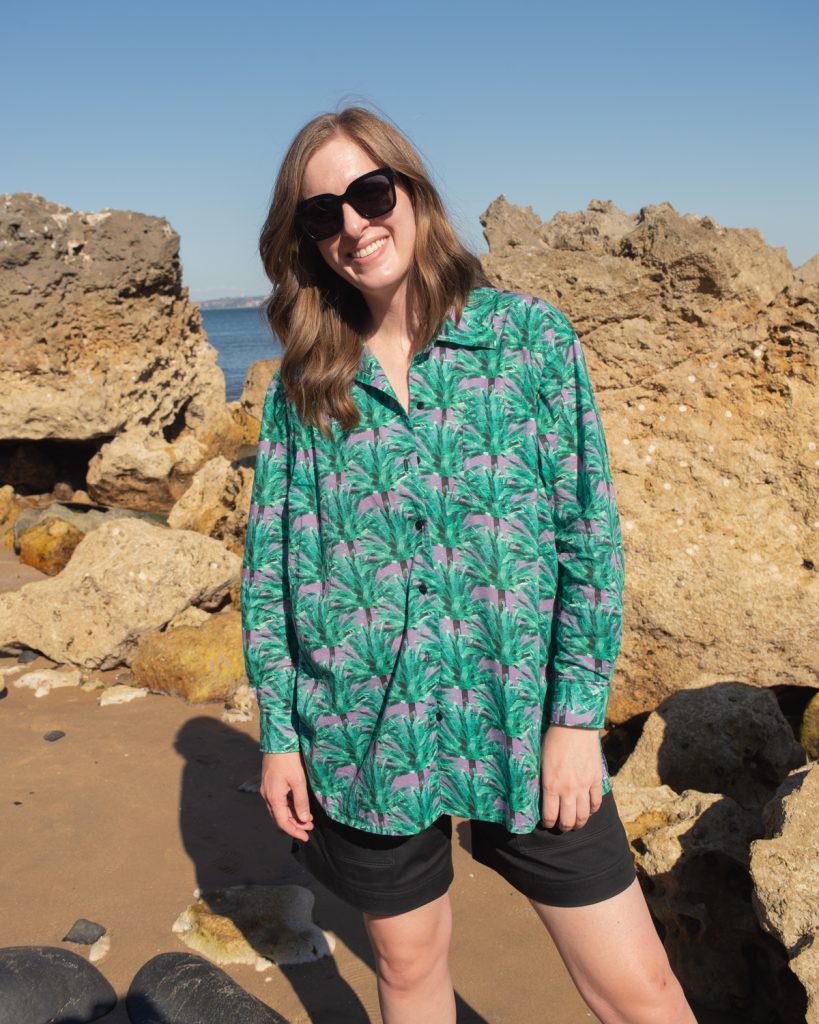
I love that the fabrics are all made in an eco-responsible way, and I especially love that the fabrics are printed in Portugal! I decided to get the Tessa print, which is this beautiful palm tree print on cotton poplin (organic and GOTS certified). The fabric is very high quality and lightweight, so I thought it would be perfect for the new Olivia Shirt (sizes up to 62″ chest/69″ hip) by Sycamore Road Patterns.
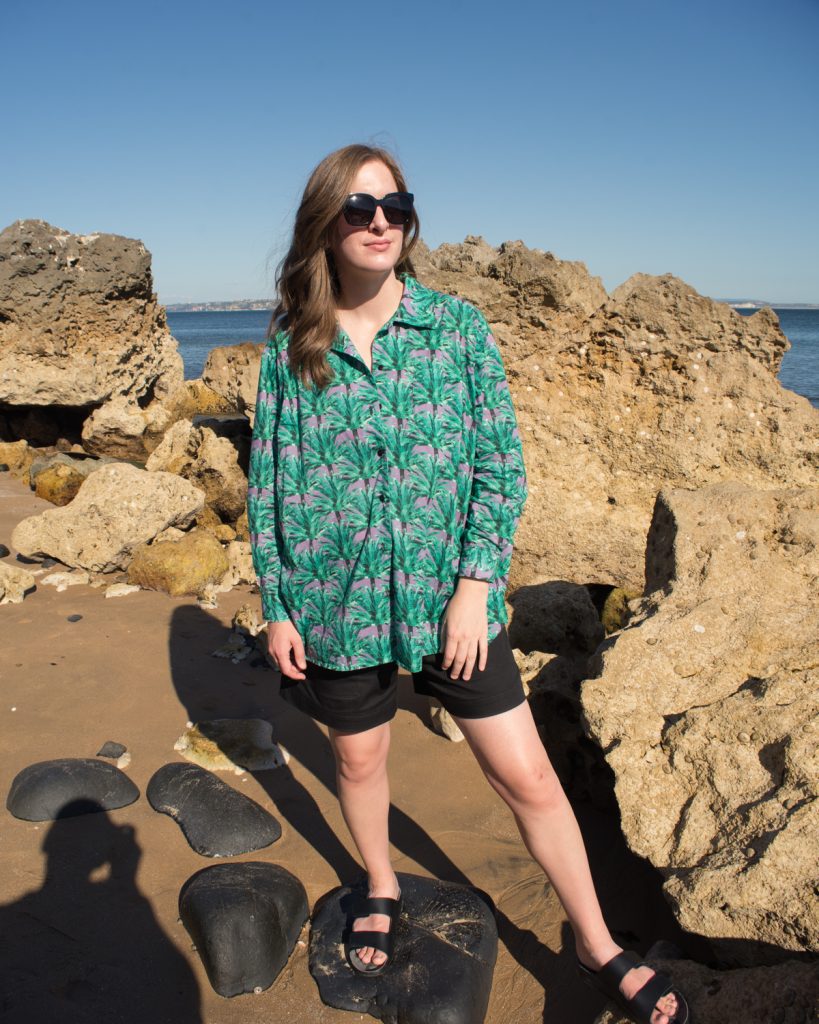
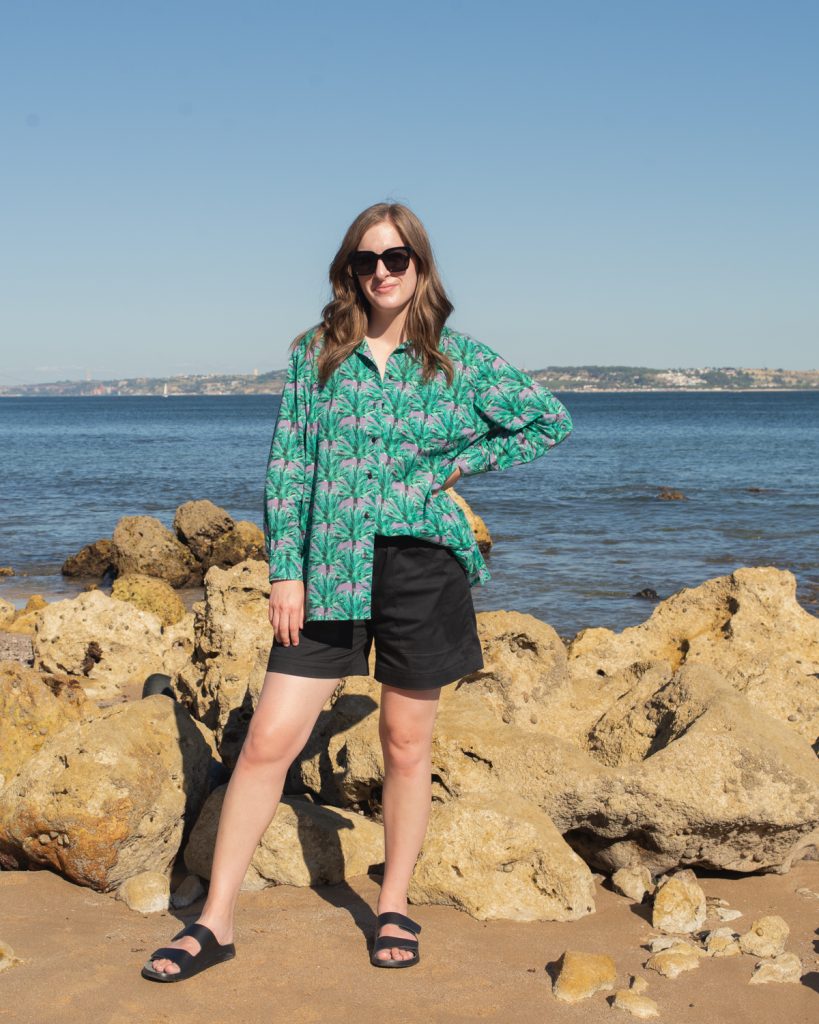
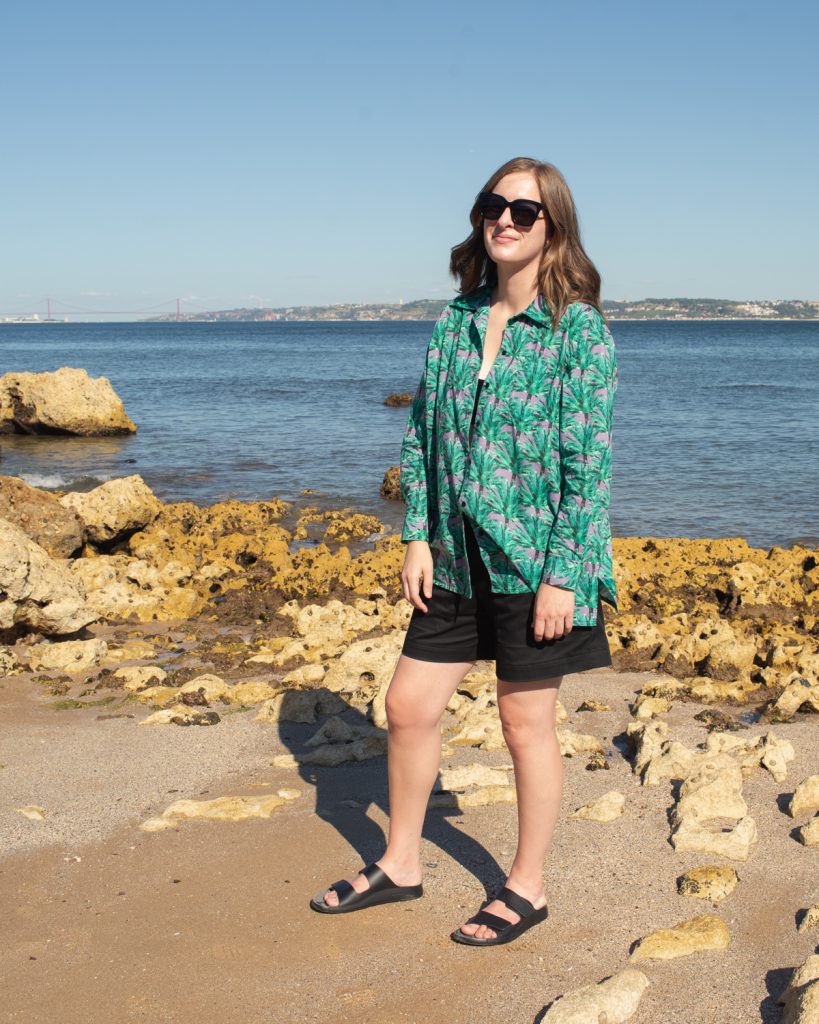
The Olivia Shirt came out at the end of June, and I loved the design. I envisioned the fabric and pattern combo being the perfect beach cover-up, but also a great overshirt, and also great to wear alone with pants or shorts. It came out exactly how I hoped!
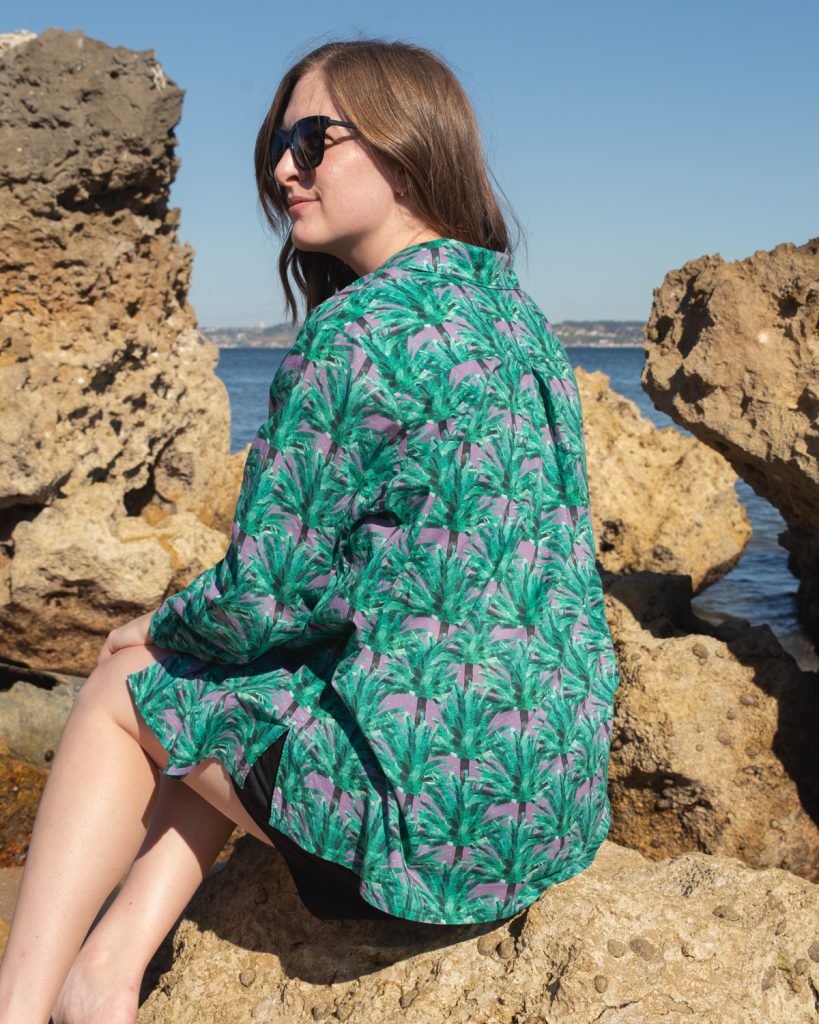
My measurements put me in-between the size D and E, but since the pattern is oversized, I went with the size D. I lengthened the bodice and facing pieces by 2 3/8″ and the sleeves by 2″. I’m really happy about the length on both, but I might lengthen the sleeves by another .5″ next time so that I have a little bit more mobility, since it’s a little bit tight when I have to bend my elbow all the way. I also lowered the pocket by 1″…can you see it?? (Side note: There are bust darts, but I didn’t change the placement. It could be moved down by about 1″ on me, but with the oversized design, I didn’t worry about it this time.)
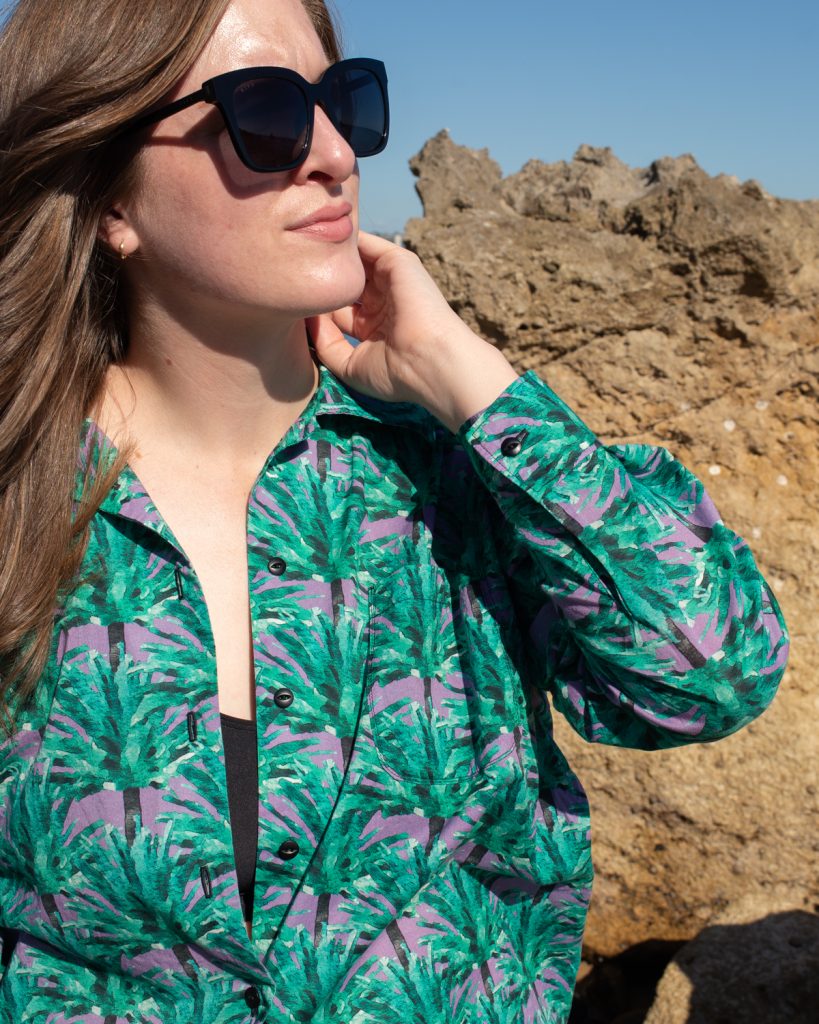
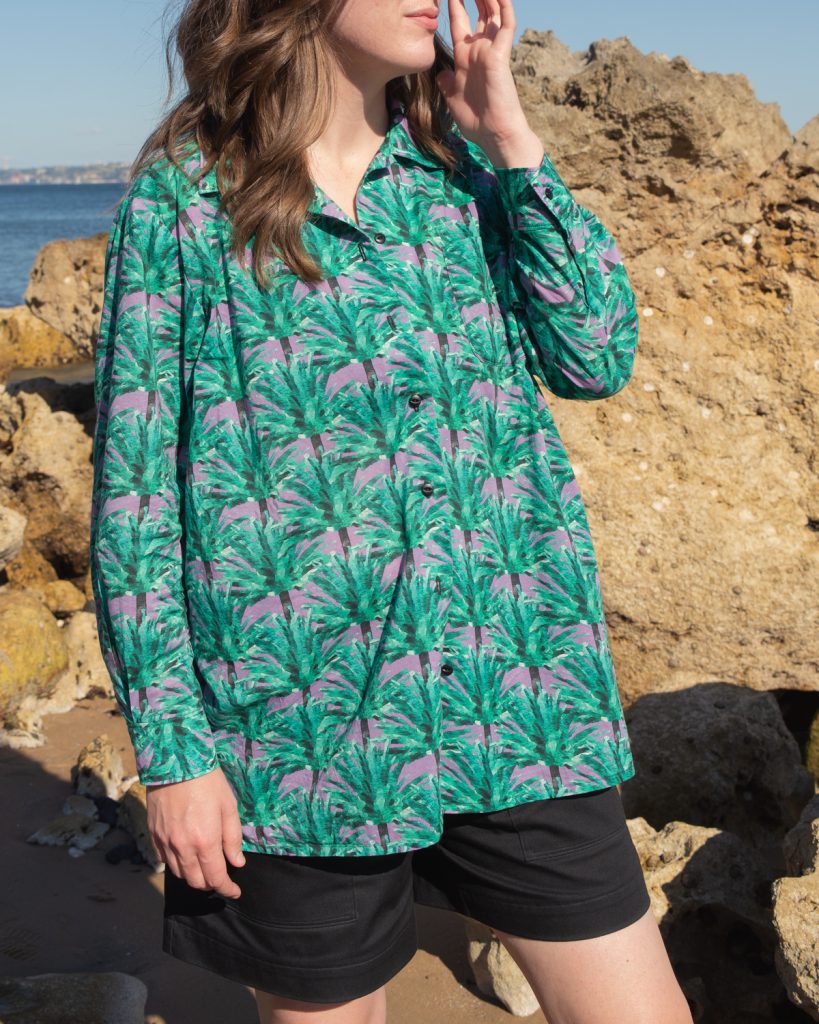
This was my first time making a Sycamore Road pattern, and it went pretty well. Since there isn’t a collar stand, it makes the construction really fun and easy. The finishing is all really nice and my favorite way to sew this type of design. I was really on the fence about which sleeve version to make, but a quick poll in Instagram stories showed that most people wanted to see me sew up the pleated version first. I plan to make the gathered sleeve in the future with a nice solid color.
My one major struggle was the cuffs. They ended up being quite a bit wider than the opening of the sleeve, and that really threw me off. I eventually just sewed them and trimmed the excess. Then when I was finished, I realized that the sleeve pleat was going the wrong direction (*face palm*). So, I unpicked that area and folded it the other direction, and after fixing one, I realized the pleat was also 1″ further from the placket than it should be. I was kind of tired that day, so the pleat errors were my fault, but I’m going to have to pay really close attention to the cuff instructions when I make this pattern again.
I would say this pattern is intermediate, because the instructions don’t fully explain/show some things that I think would be helpful. If you’re a beginner sewist, I would make sure you have a lot of confidences and patience, or have made another shirt pattern so that you understand the construction.
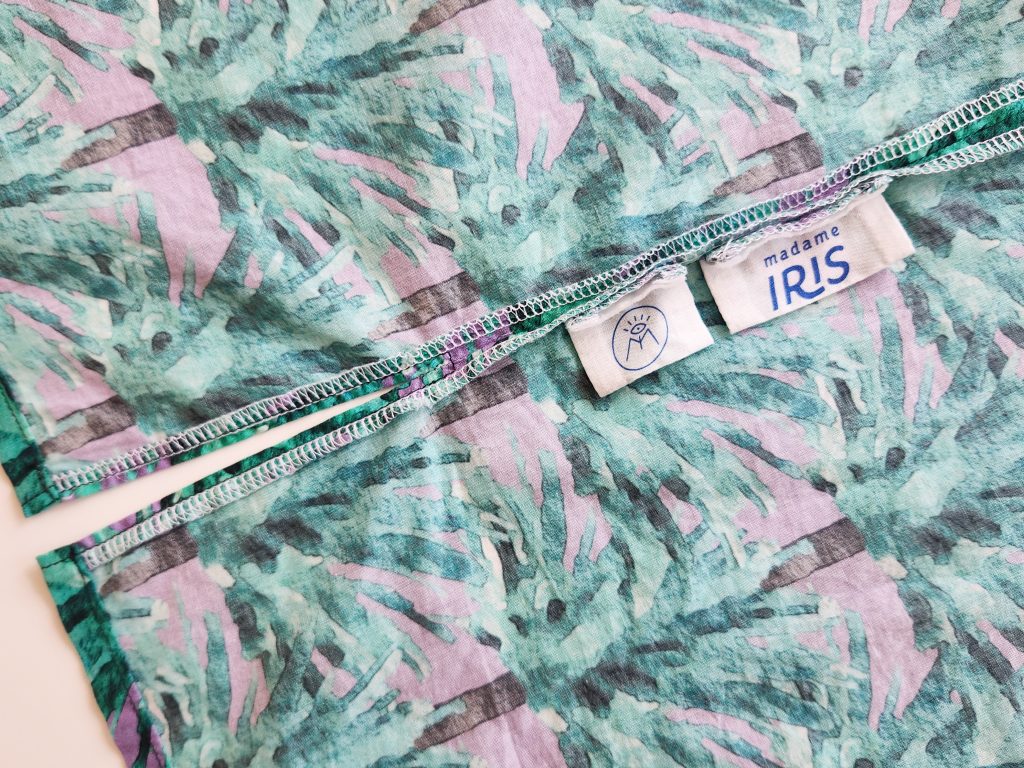
I really loved this fabric and wanted to use the selvage edge that had Madame Iris’s really cool logo, so I sewed it into the side seam. It would have been cool to sew it into the yoke somehow, but I didn’t think about it until after I was past those steps. I was also relieved to have these mat black buttons that I brought with me from the US, because I haven’t had the chance to explore any fabric shops yet. I love the way that these classic mat buttons let the print stand out.
And because this transition to using my sewing machine in a different country couldn’t possibly go smoothly, I started having buttonhole drama at the very end. My sewing machine has always been super reliable with buttonholes, but I must have bumped it on the way here, or maybe the electricity switch from my transformer is making it mad. I kept trying different things, but it seemed to just keep getting worse. Luckily, thanks to social media, I have a sewing friend who lives close by! Vicki was a total lifesaver and let me use her machine for my last 3 buttonholes.
I know many people like to suggest that I take my machine to a repair shop, but I did with this exact machine before, and it costed 1/3 the cost of the machine and broke again halfway through another sewing project. So, beware of the Brother CS6000i. I was weary to order another cheap machine, but prices for machines are much more expensive here, and I wasn’t ready to spend 1-2K on a new machine. So, I now have Singer Heavy Duty 4432. I’ve heard really good things from other sewists with this machine who use it pretty heavily and regularly, and I’m excited to sew on it! I’m also very excited to sew on a mechanical machine again. I really miss my vintage Berninas that I have in storage in the US, because computerized machines just aren’t the same.
That was kind of a tangent, but I wanted to share some of the realness of my life lately. 🙂 As always, if you have any questions or comments, I would love to hear them in the comments section below. Happy sewing! xoxo
I was sent this fabric, free of charge, but I have shared my honest opinion.
I love your comments. The fabric from Portugal is so beautiful! What a fun experience!
Thanks Grandma! I’m grateful that you always read my blog posts. 🙂
So glad you got this fun opportunity! Love your beautiful shirt ????
Thank you, Karen! ???? It was really fun and I’m excited to wear this shirt more in the coming months!