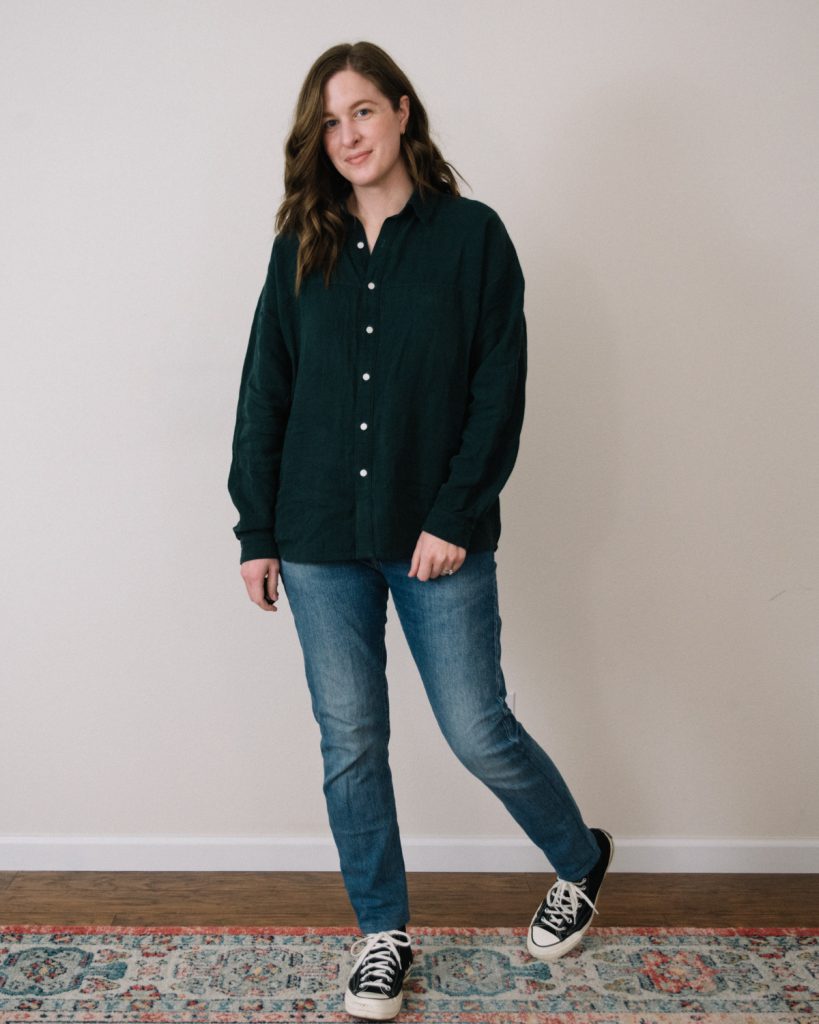
It took me years to work up the courage to make my first Olya Shirt (up to 57.5 hip), and I finally made it in August of last year. I just dove right in and didn’t make any alterations to the pattern, and it still turned out great. I loved making it, and when I was finished, I wanted to make another.
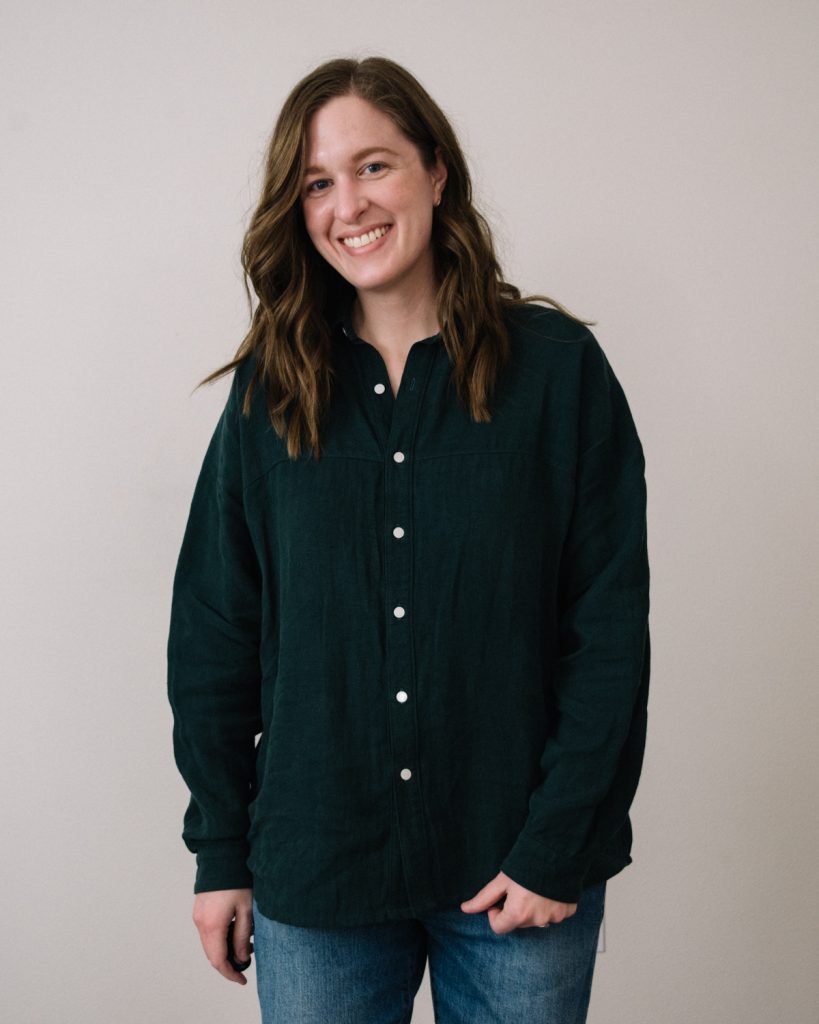
I have a couple of other button up shirt patterns that I’ve been wanting to make, so I didn’t think I would be making the Olya again so soon. But when I pulled out this Evergreen soft washed linen from my stack of fabrics, I just really wanted to make another one. Since I already had the first one under my belt, I was able to slow down and be more intentional and make some length adjustments this time around.
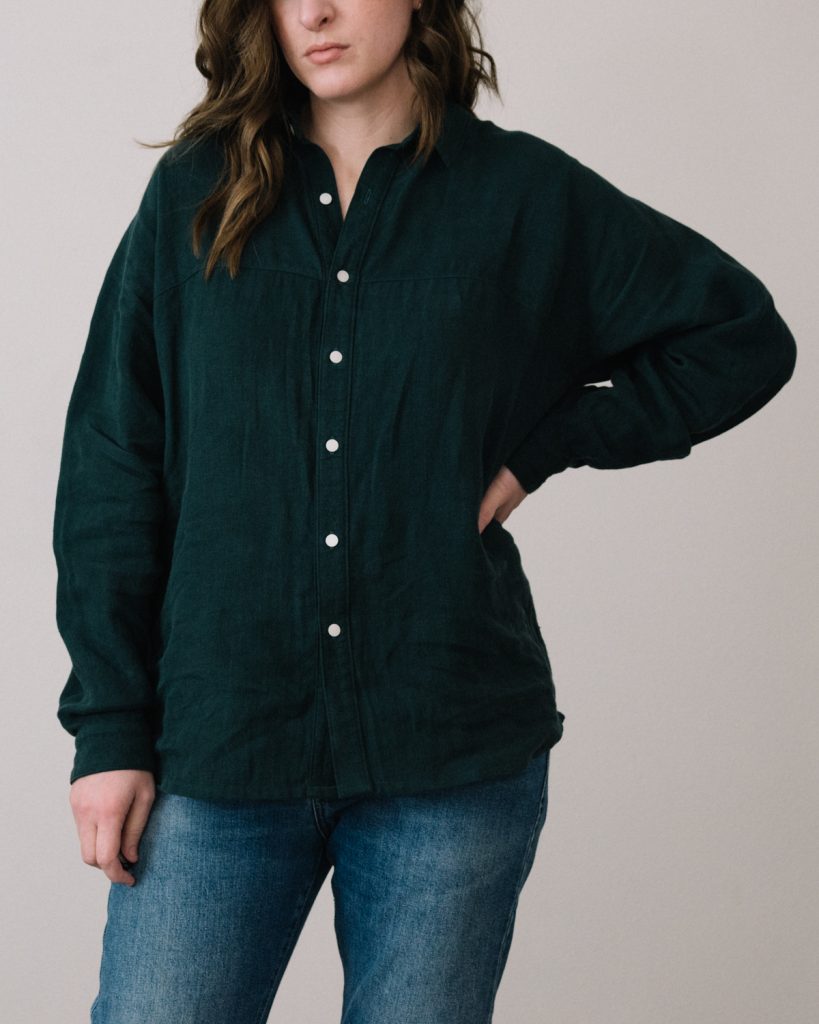
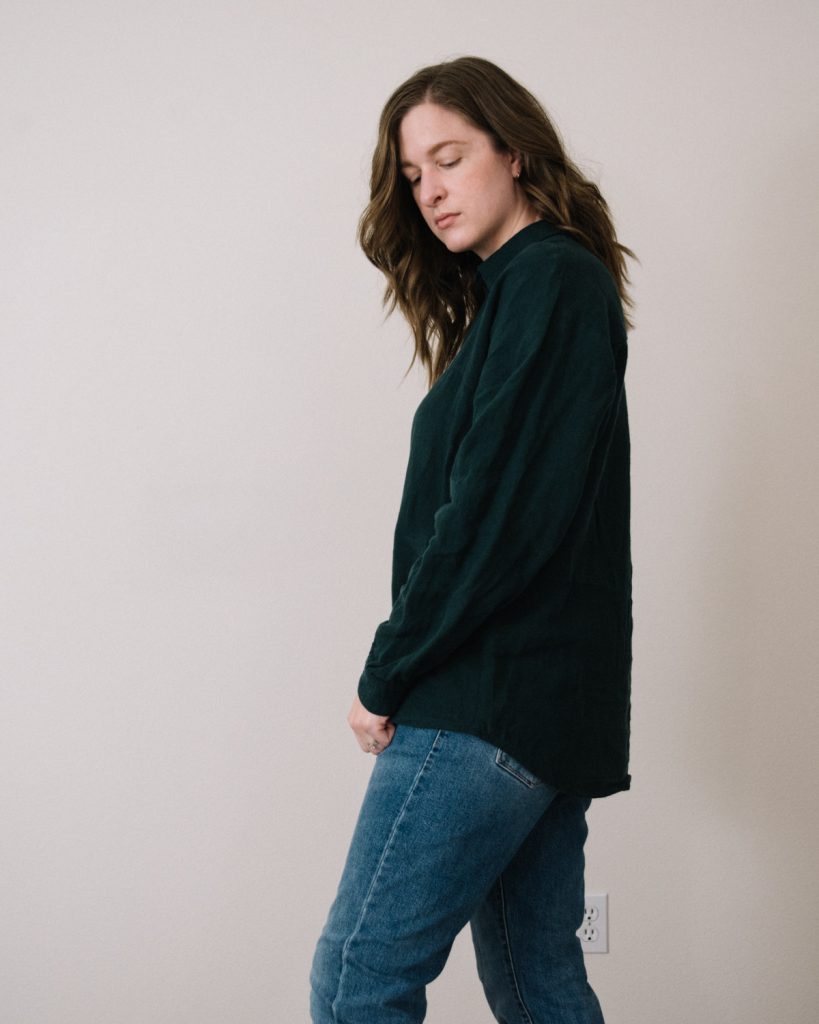
My original inspiration for this was from another sewist a few years ago who made an oversized shirt out of a dark green denim and silver snaps. I went in a little bit of a different direction with mine but kept the contrasting buttons. The buttons that I used have a shank at the bottom, so they look a little more like snaps.
I lengthened the sleeves by 1″ and the bodice and placket pieces by 3″. I was having a really rough time getting one of the plackets to fit along the front, and I sewed it on twice before I just went and cut a new placket. Towards the end, I realized that one of my front bodice pieces was longer than the other, so I trimmed it up to match. But the whole process was really frustrating.
I thought that this fabric would be really stable, but it had a tendency to grow a bit while I was working with it. I ended up having to ease in a few things like the neckline before attaching the collar and the end of the sleeves before I could attach the cuffs. I basted and gathered the fabric just slightly to get it to fit. The extra work was worth it because they eased in nicely, and it made it much easier to get the seams to match up.

The one thing I can’t live without when I’m doing collars, cuffs, and plackets is Wonder Tape. It’s sticky on both sides and holds everything in place while I’m sewing. Then when I’m finished with the project, the tape dissolves in the washer during its first wash. I would have such a hard time and probably hate doing button up shirts without it. That’s how I was able to get the collar and cuffs so nice on this.
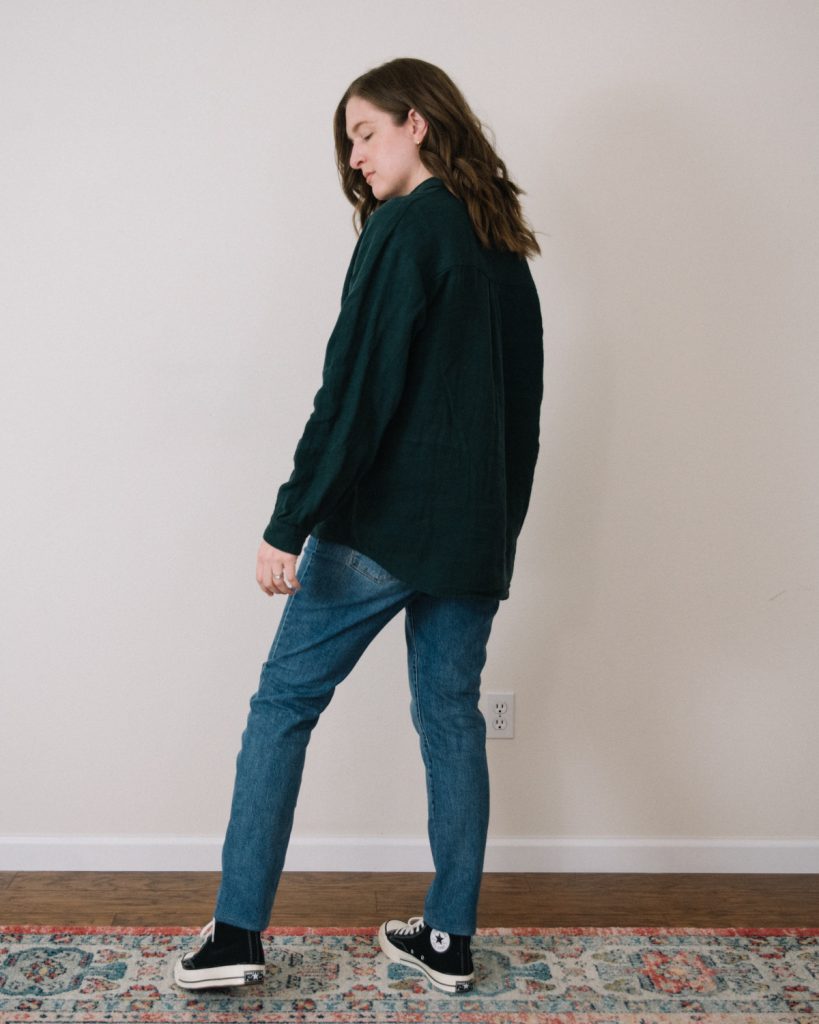
The one thing I did with my first Olya, and wish I would have done this time, is doing a binding on the hem. The Kalle Shirt by Closet Case does this for its drastic hem and it makes it SO much easier. I definitely regret not doing that because the hem also got pretty stretched out and it was flaring quite a bit, even after tons of steam. So, I unpicked and basted, then tried again, and it helped a little bit, but it was much better after I washed it and that helped the fabric shrink back up.
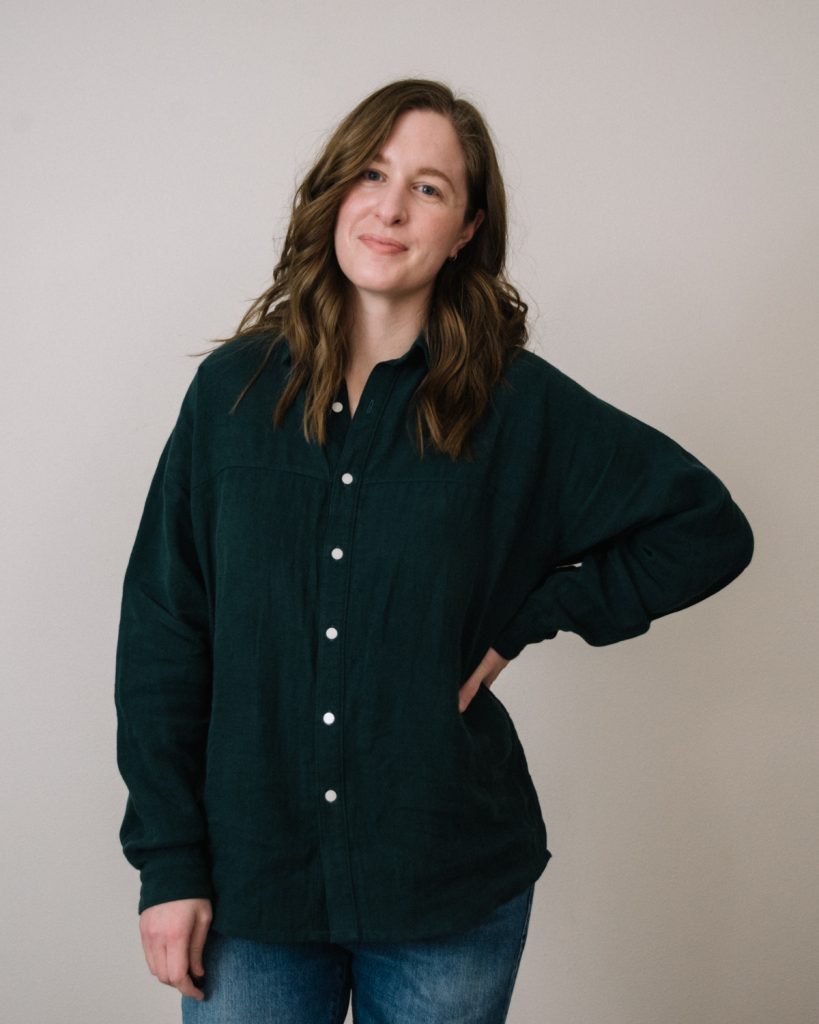
I made sure to follow the super helpful Youtube video that Paper Theory has for the Olya, just like I did the first time because there are a lot of things I couldn’t remember. I love the details and construction of this pattern. I had never done a burrito method for the front of the collar stand before and it is genius. It works so nicely, and it’s the reason my collar stands on both of my Olyas are the best I’ve ever done.
Now that I’ve finally made the Olya of my dreams, I’m excited to try some other patterns. I currently have the Grainline Archer (up to 47″ hip) cut out and waiting to be sewn, and I have a really cool ikat fabric that I might use for the Elbe Textiles Cornell (up to 56.5″ hip). Let me know if you have any other oversized button up shirt patterns that you really love!
If you have any questions or comments, please let me know below. Happy sewing! xo
This post contains affiliate links. For more information see our Affiliate Links disclosure.
This is lovely! I’m psyching myself up to an Olga. I’ve made a few Archer shirts and a Cornell and I’ll be interested to hear how you get on. I loved other people’s Cornell’s but the collar did nothing for me!
Thank you, Laura! If you’ve made a few Archers you could definitely make the Olya! I’m on the fence about the Cornell, so that’s good to know. I just really love the fabric that I have planned for it, and it would make me sad to not love what I make with it. We’ll see!
Love your Olya and it is about time I finish mine! It is half done for too long.
And for other patterns: I really like the Effigie Shirt by Coralie Bijasson and can’t wait to try Fougère by Deer and Doe – it also has a cropped version that looks pretty cool.
You definitely need to pump yourself up to get it finished! I just looked up both of those shirts and they look amazing! I’m going to look into the Fougère because I’ve made one D&D pattern before and really liked it. Thank you for sharing!
Te Archer USA go-to classic – you will love it. I’m just about to cut out my first olya and have already watched the video few times – very much needed that as complement to the written instructions (not that they are inadequate, I just had trouble picturing the steps). Curious about the bound hem – what is that? Will have to look it up! Thanks for the post- your olya is fab!
Thank you, Melissa! I’m so excited to sew the Archer! I’m working on a jacket at the moment, but it’s up next. I completely agree with you about the Olya video. I don’t even know how I would have explained those instructions without a video. For the bound hem I just cut bias tape, which is about 1.5-2″ wide. There are lots of tutorials online about how to make it. I just find it’s easier to get around the curved hem with bias tape and it’s a really nice, clean finish. Wishing you the best of luck on your Olya! 💕