I’ve gotta be honest with you when I say that I have no idea what I’m doing when it comes to linen pants. Outside of jeans and sweats, I feel very lost — mostly because that’s what I’ve worn for most of my life! But I was thinking about it the other day, and I just had to think – “If these linen pants were sweats, what could I wear with them?” I have gray sweats, green sweats, and even pink sweats! But when you turn that french terry into a woven fabric, I feel stuck. So, I just have to change my mindset a little, and I think I’ll get hang of it.
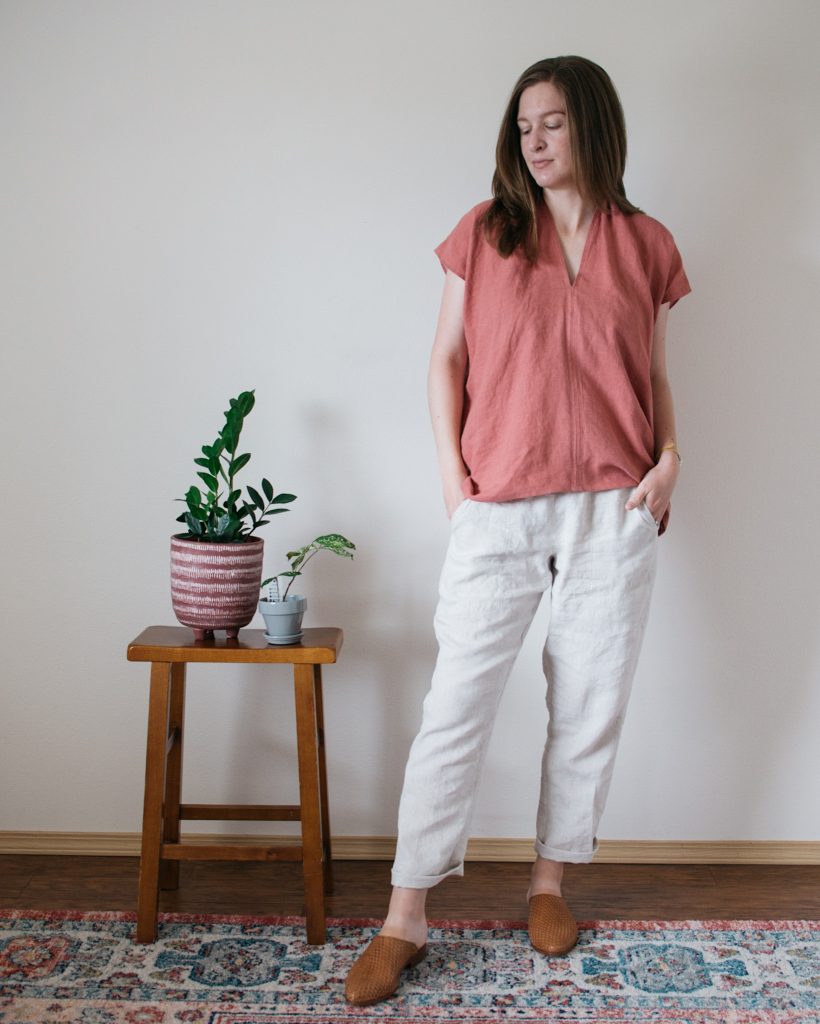
Or at least I hope I do, because I really like these Free Range Slacks (up to 65″ waist)! I learned from my semi-failed attempt at making the Pomona Pants that high rise pants are just not my thing. But I had already bought this pattern (and another that I’m still on the fence about). So, since I didn’t wanted these to also be high rise, let’s get into how I fixed them.
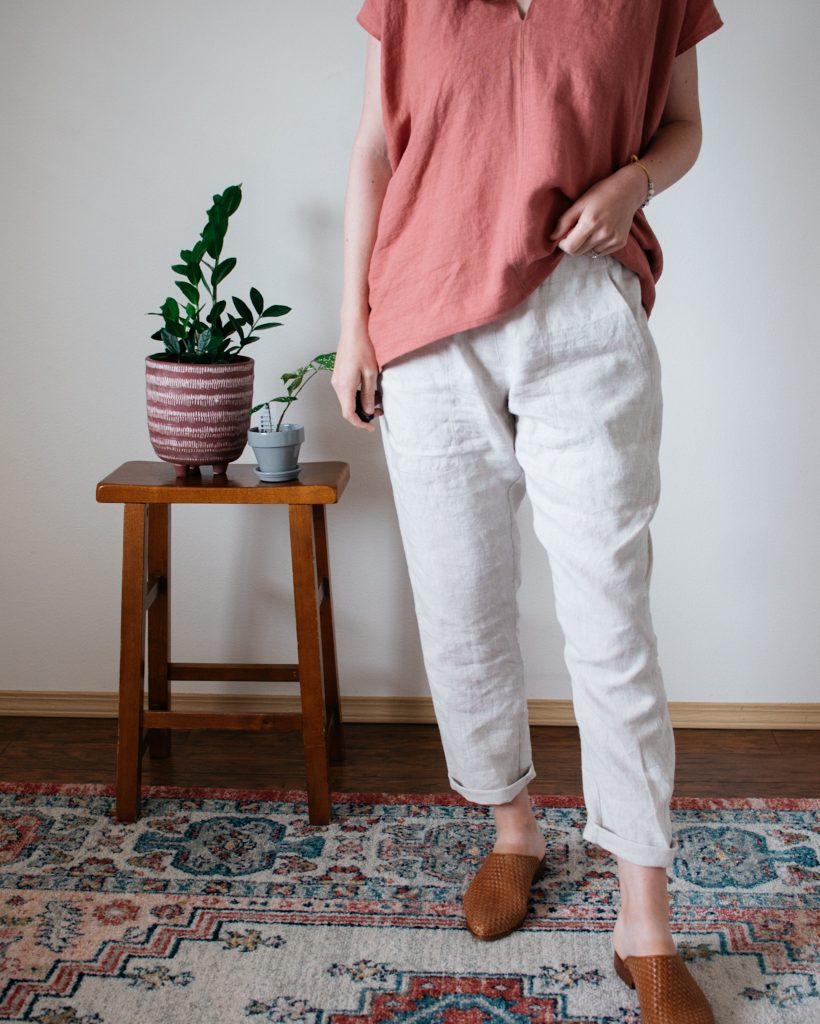
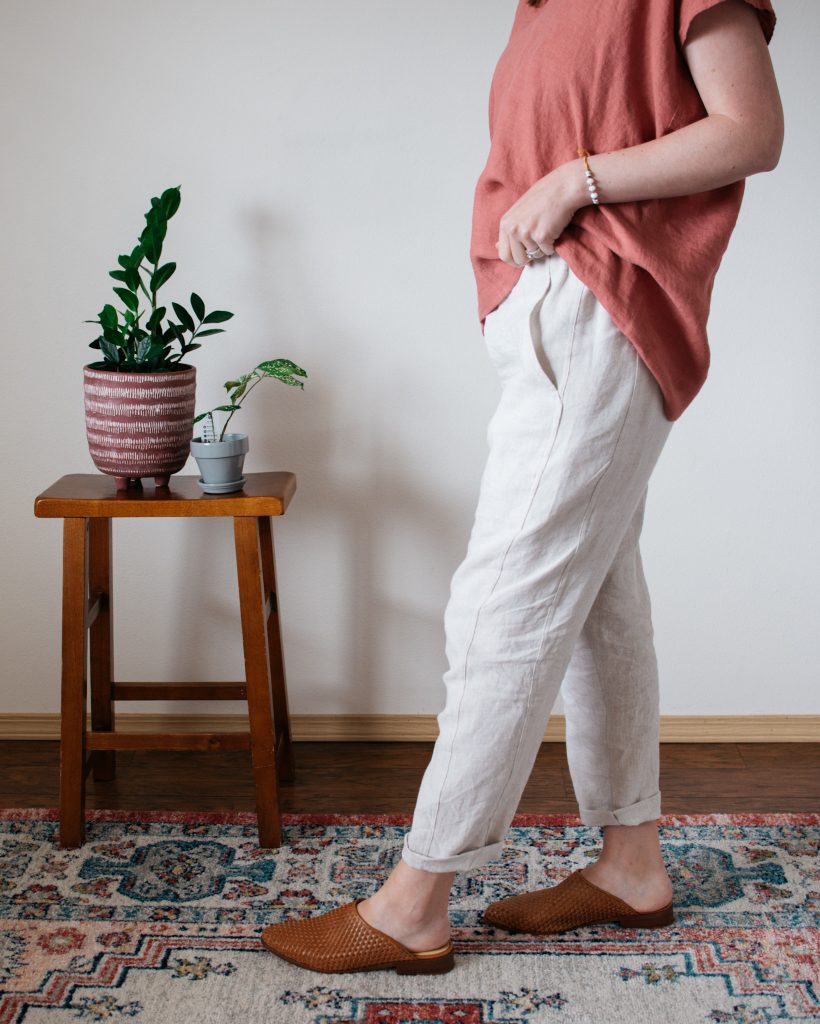
I promise it was super easy. I literally just used the shorten/lengthen line right above the crotch on the pattern, I took out 2″, and then I redrew the crotch curve. I did that with the front, back, and the side panel piece. I completely forgot to shorten the pockets on the bottom by an inch or two, so the pockets hit at an awkward spot on my lower thigh. They are super deep pockets though, so next time I will be making them shorter. I also added 2″ to the length – Which was really funny to me that I was taking two inches out of the top and essentially just adding it to the bottom. Haha. Sewing tall is just funny that way!
I’m terrible at taking the time/energy/material to make a muslin/toile, but sometimes it might be worth it because once I start making something new, I get so scared that it isn’t going to turn out, and I put off finishing it…as if that will help somehow. Haha. So these took some will power for me to finish.
The only thing about this pattern that threw me a little bit was the side panel. I do a mediocre job at marking notches sometimes, and since the side panel looks very similar on the top and bottom, plus my fabric has a very ambiguous right/wrong side, it took me a few tries to get it right. I know for next time to mark every side really well. Other than that, I really liked the seam finishes and the rest of the constructions process.
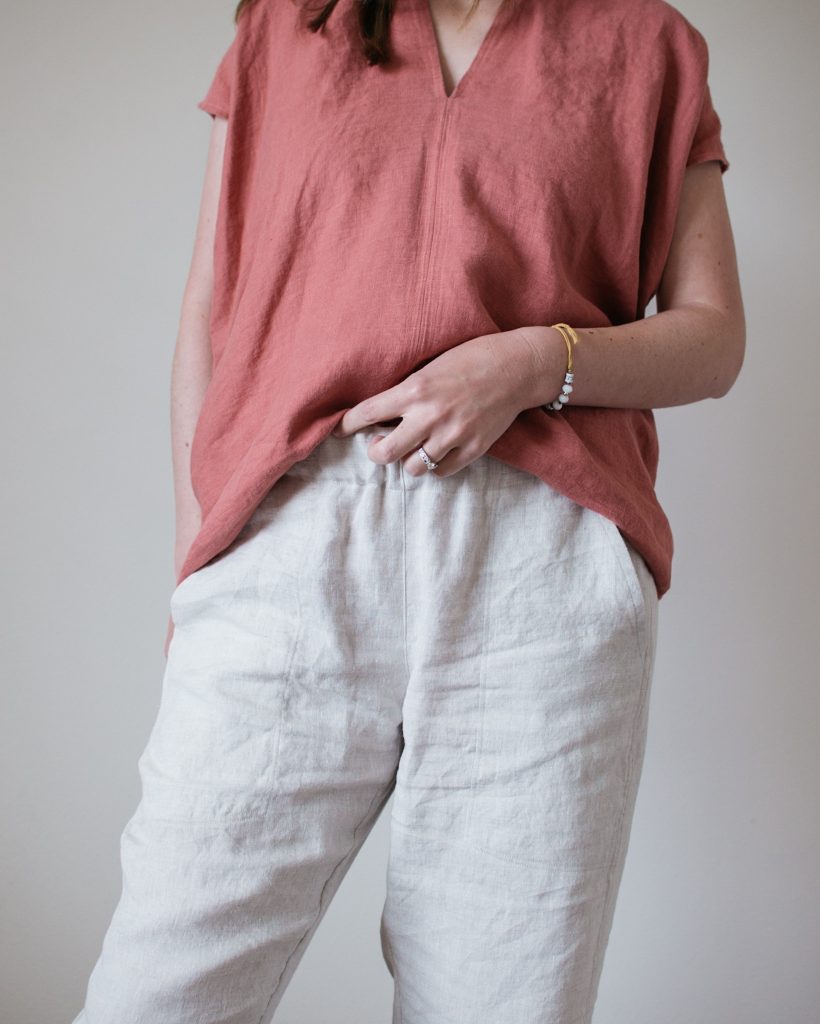
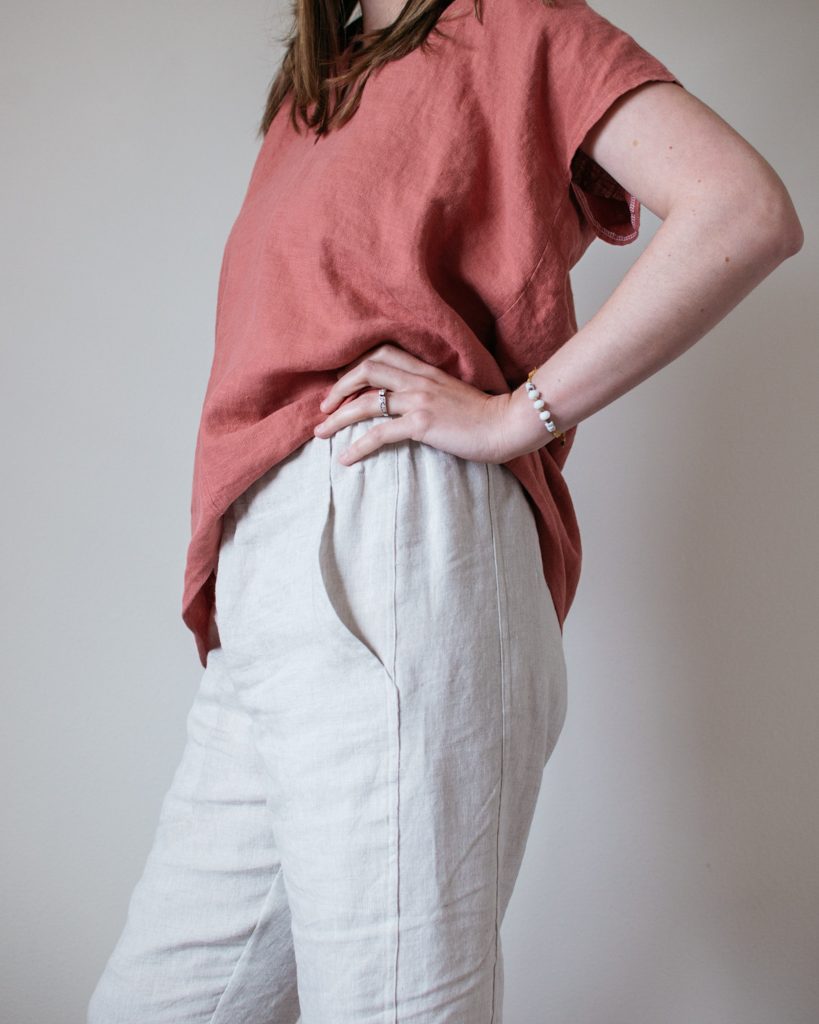
This fabric is midweight linen from Maker’s Fabric and it’s great! I was on the hunt for a light colored linen like this and I really liked this oatmeal color. What I didn’t realize until I started taking these pictures is that the top I’m wearing is also midweight washed linen (color: watermelon) from Makers Fabric! They were just meant to go together, I guess.
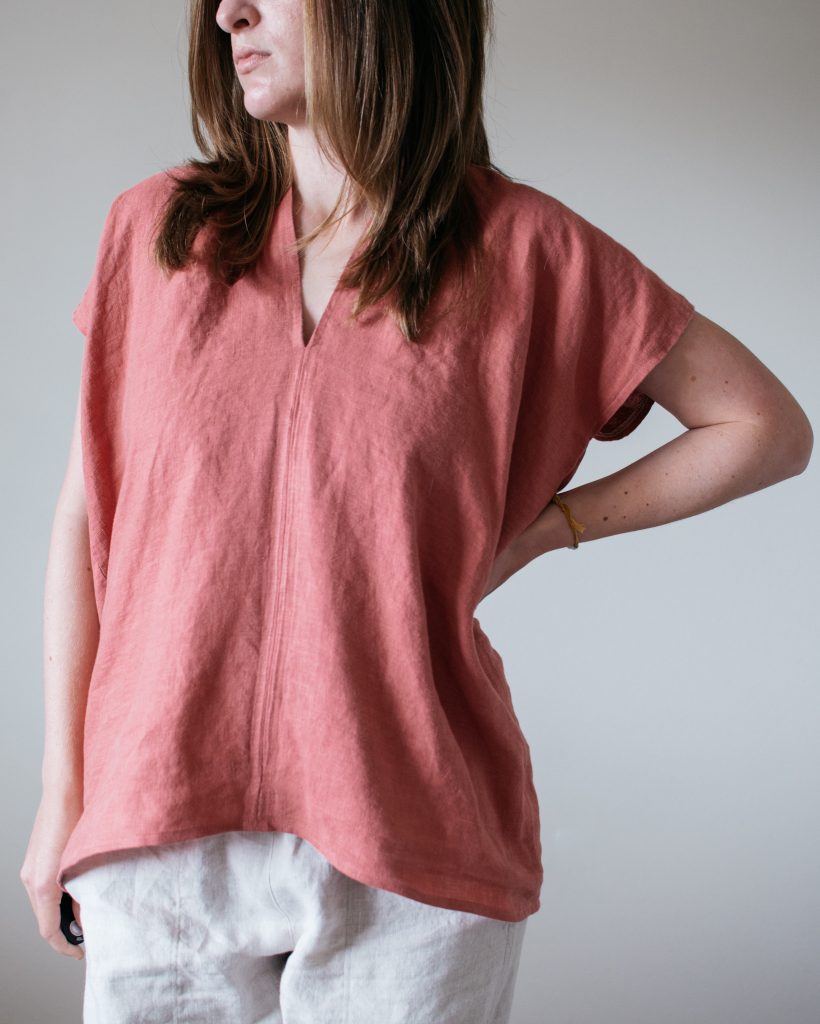
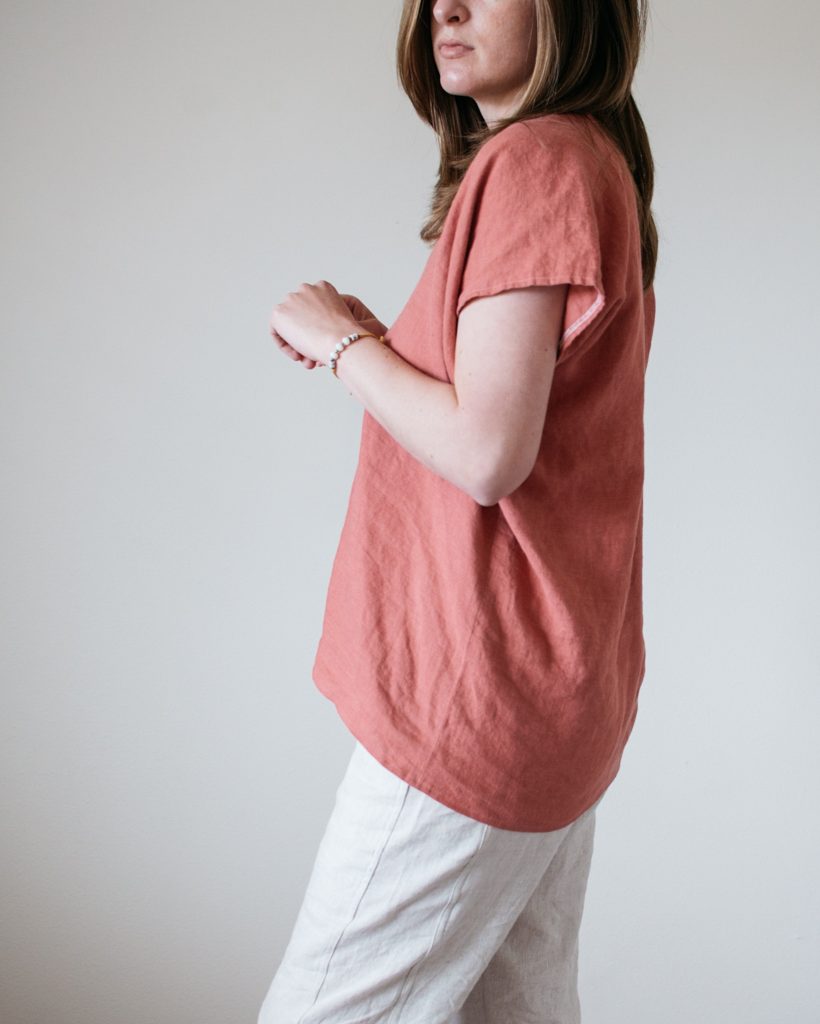
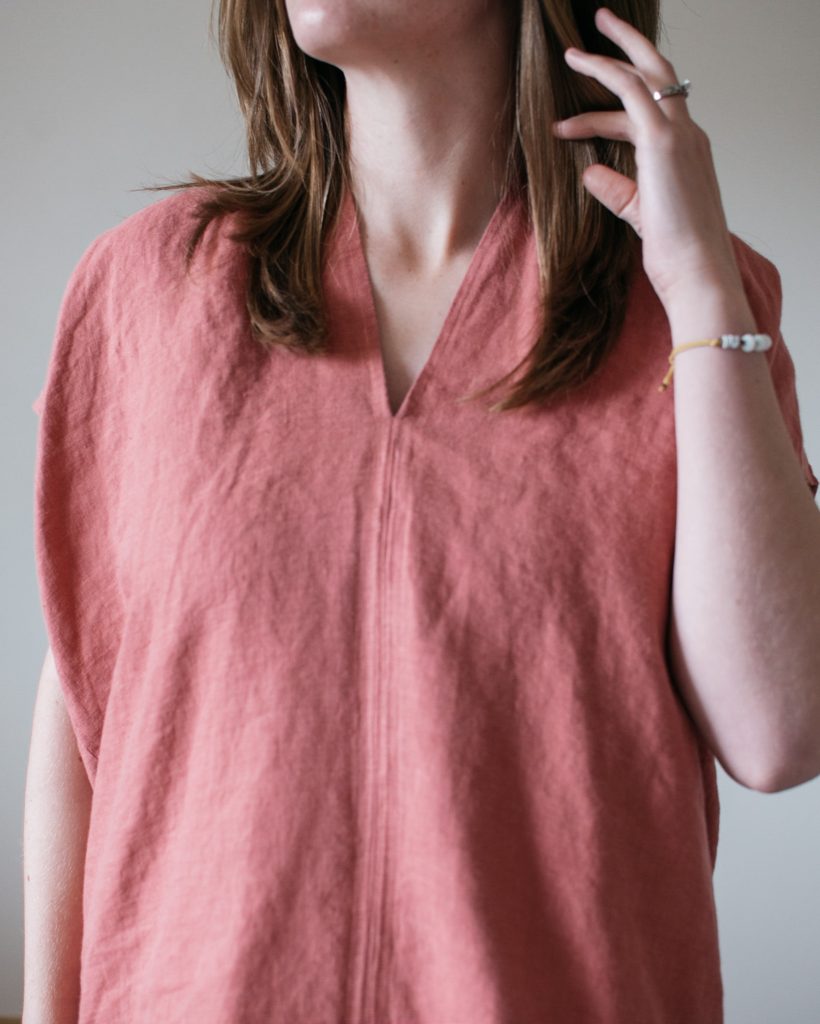
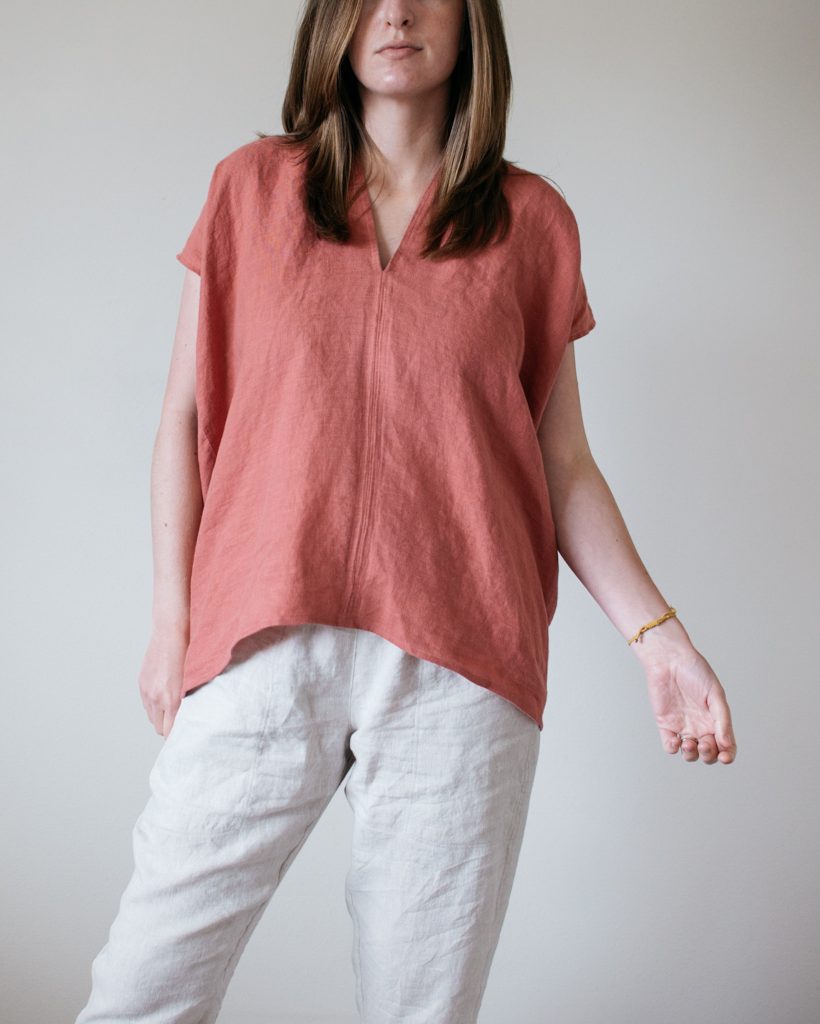
The top I’m wearing is the Envelope Dress by Cris Wood Sews (all sizes). I made the dress and added a front center zipper for nursing access while I was pregnant. It was fantastic to wear last summer when I was nursing and doing skin to skin with my daughter. But now it’s kind of just sitting and I don’t nurse as much, so I decided to upcycle it a little bit. I took out the front zipper and resewed the front. Then I cut it to the length that I wanted it to be in the *front*. This is an important thing to note because since it’s one big rectangle, the design has more of the fabric go to the back when you wear it, and that creates a high/low look.
I really like this whole outfit, and I’m having fun trying new things lately even though it’s a little intimidating and feels a little awkward at times. I even have some dark gray fabric in my stash that I’m considering making another pair of Free Range Slacks, but we’ll see.
Have you made woven pants before? I’m looking forward to wearing these on the warm summer days ahead!
I love how you talk about your sewing experience! 💕
Thanks Grandma! I think it helps to write out my experience afterwards, and I’m glad you enjoy reading it!
I love my #freerangeslacks. I made the cropped wide leg black linen. Then two linen slim leg versions. They are the best. I even cut one down to knee length shorts. Yours fit you beautifully so I suspect your waist is naturally lower with the adjustment. I wear mine with print cotton tops and shirts. I too have to label right and wrong sides of pattern pieces and top and bottom. A bit of labelled masking tape works for me. This is the first summer of linen for me too but it is the wearing I love! Surprised me that. Great make! Carry on. 😊❤
Thank you, Barb! I think that might be why I don’t like high rise things, because my waist might be lower. That’s a good point! And I’m excited to try wearing these with other tops in my closet. Luckily it’s a pretty easy color to match things with. I really want to make some black linen pants too though, and shorts would be so nice! I am definitely going to try your masking tape tip, because that would help me so much with this pattern!
Love your slacks! I thought that I was the only person that hates high waisted pants! (I’m tall but they feel like they’re hitting my ribs, ick…) If you make another pair I’d love to see a pic of how you redraw the crotch curve. (?) Thanks for the great info!
You are definitely not along in not liking high waisted pants! I took a full 2″ off of the top and I can’t even imagine them 2″ higher! Yikes. They would be on my ribs too. Haha! I’ll the pattern out and comparing the pattern pieces and take some pictures for you! I’ll try doing that soon. 😉 Thanks Lodi!
Hi Lodi! I have a blog post going up tomorrow morning on how I altered a high-rise pattern and made it mid-rise. I took pictures since I remember you asked on this blog post! I hope it’s helpful. 🙂
For my Free Range pants, I shortened both my front and back rise an inch (a bit more than that in front) for what I prefer as between high and low rise. I also think that design has too much front crotch length which makes some odd poofiness in pics of many makes I’ve seen.
I love how you restyled the Envelope Dress. I’ll have to try that.
That’s interesting! I did notice that my pants are a bit high in the front, so I might take out another 1/2 inch or so next time. Thank you for that tip, Marsha!