The Page Hoodie came out at the beginning of last year when I was super pregnant with Vanessa, and I loved it SO much. I’ve wanted to make it ever since, and I am happy to say I have not only made it once, but twice!
The first Page I made was out of a gray french terry that I had leftover from another project, but I didn’t have enough fabric left for the hood pieces. Luckily Gabriela (Owner of Chalk and Notch) is awesome and has a free neckband pattern piece that you can download — So that is what I did. I also didn’t have enough fabric width-wise to cut the hem bands, but luckily the fabric stretched quite a bit in both directions, so I risked cutting them on the cross grain. It worked out well, thankfully, but I was a little worried at first.
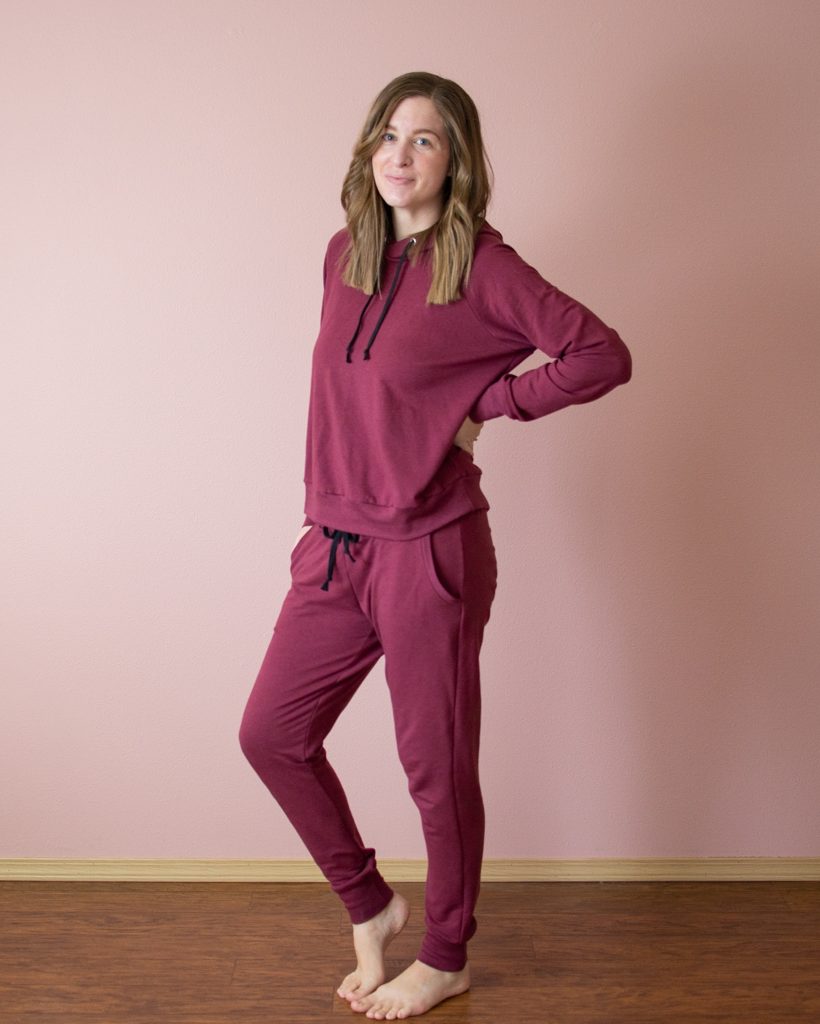
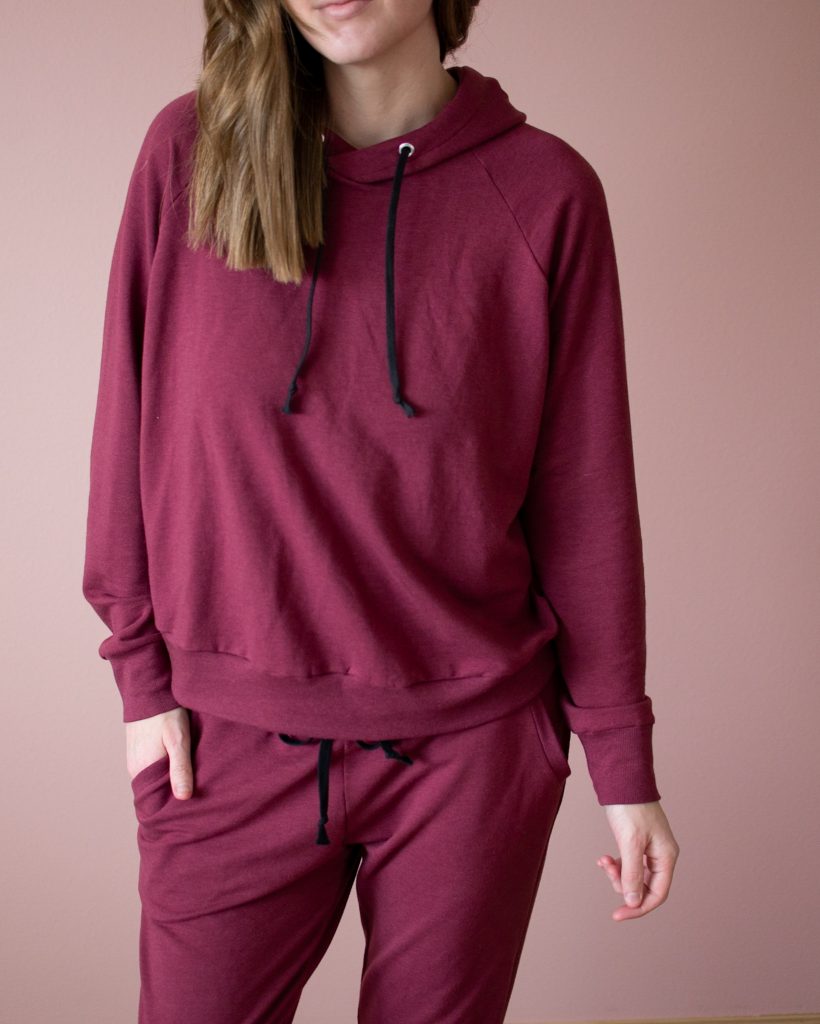
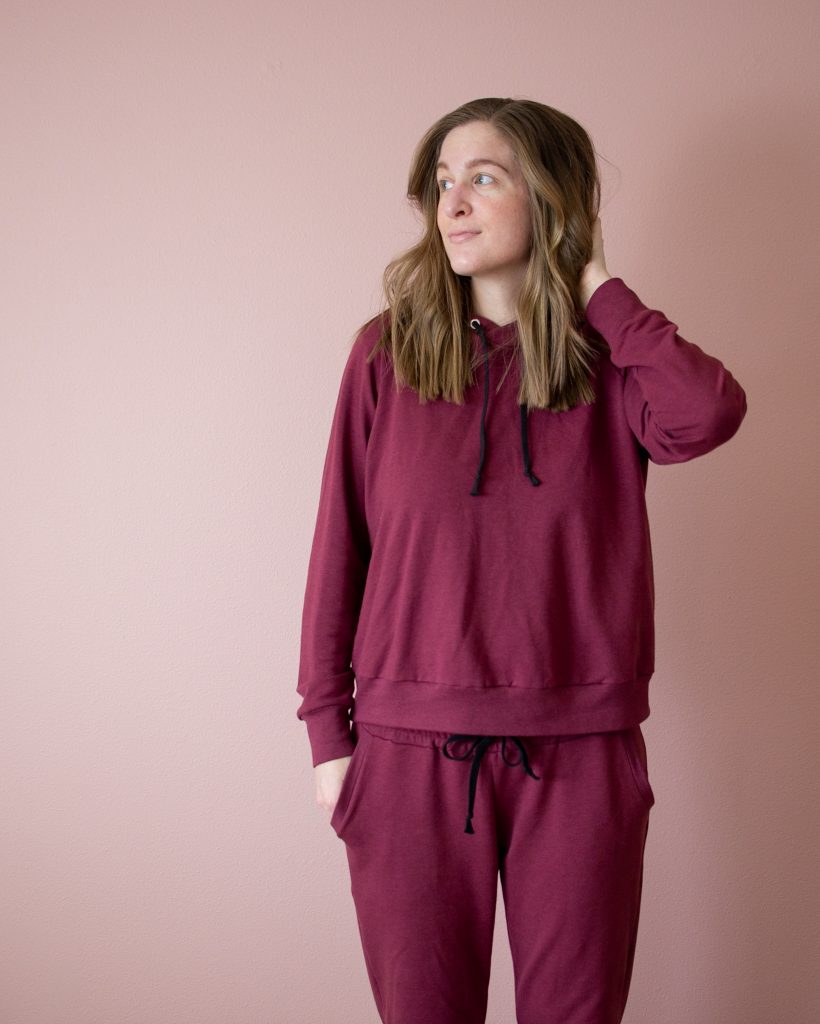
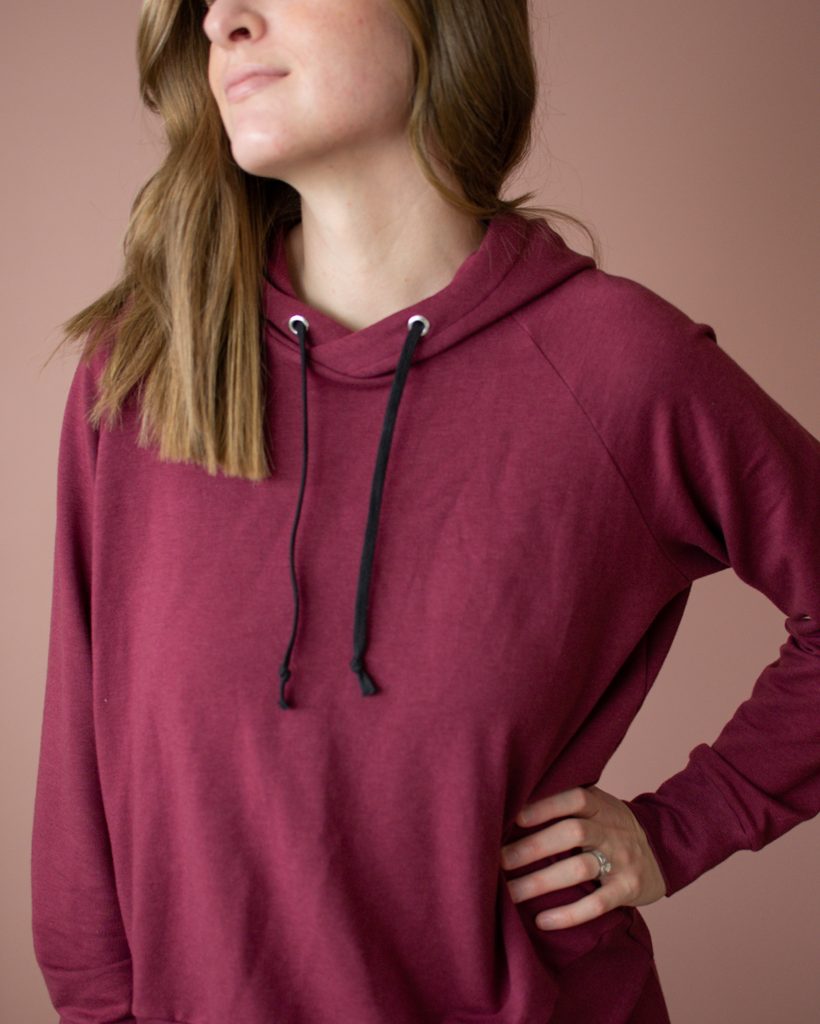
My second Page Hoodie I made with a tencel/cotton french terry that I ordered from Sitka Fabrics. I hopped on the matching ribbed knit train, too, and I’m so glad I did! And I had plenty of fabric to cut the hood this time. What I put off thinking about were the grommets for the hood. Yikes. I am NOT good at hardware, and it took a hot minute (read: about 45 hot minutes) to figure it out, but I did it!
The ribbed knit was super easy to use, and the Page Hoodie has different widths for the bands and cuffs depending on the amount of stretch in your fabric, so that was really nice. I LOVE the fit of this pattern. I also love the neckband pattern piece and will probably just use that in the future. The hood is cute, but I’m not actually going to wear it…and grommets, I will happily avoid. Haha.
Since I’m sewing tall I actually made some really easy adjustments to the pattern. I added 1″ to the sleeves, which was perfect for me. For the bodice, I didn’t even add length! I cut view B (the longer version) and just fixed the width on the bottom to be the same width as view A, since I still wanted to have the hem bands. It didn’t take off that much width, but I wanted to be on the safe side.
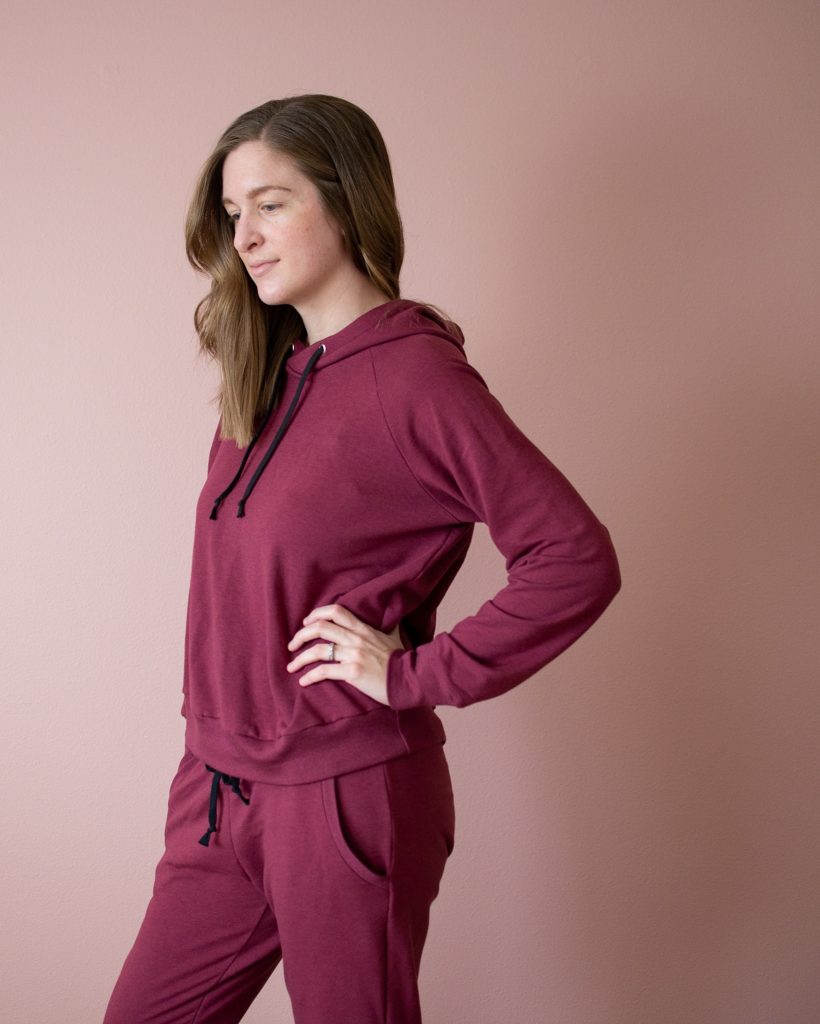

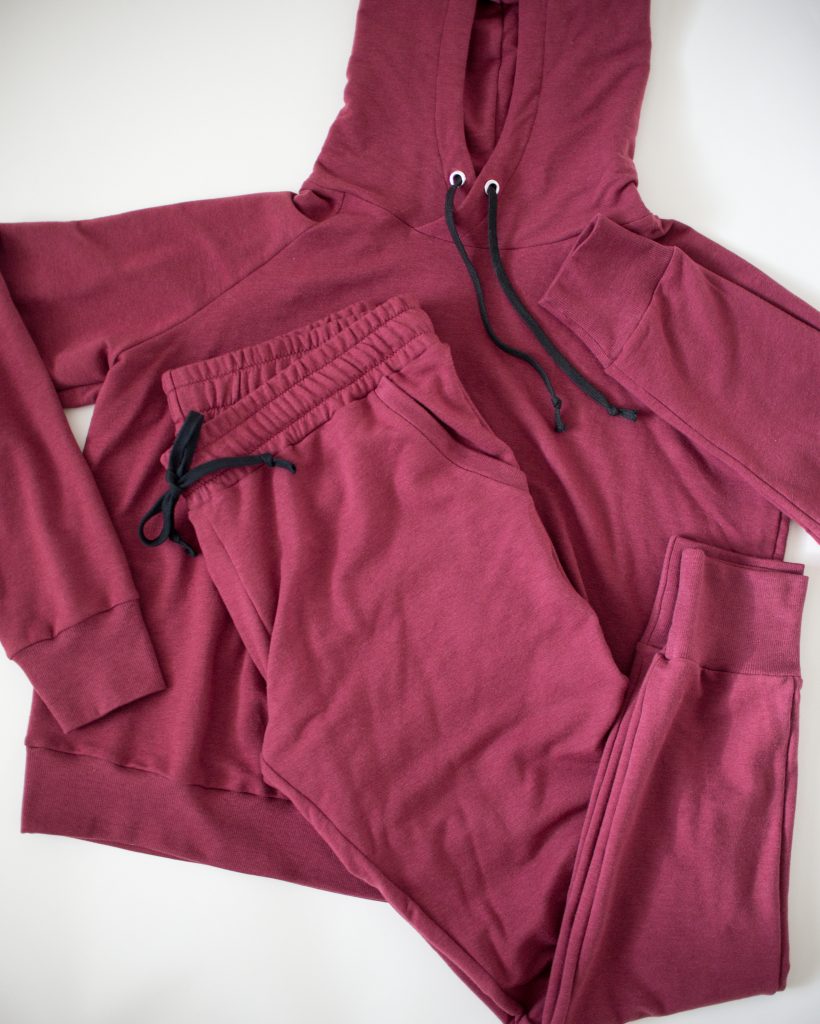
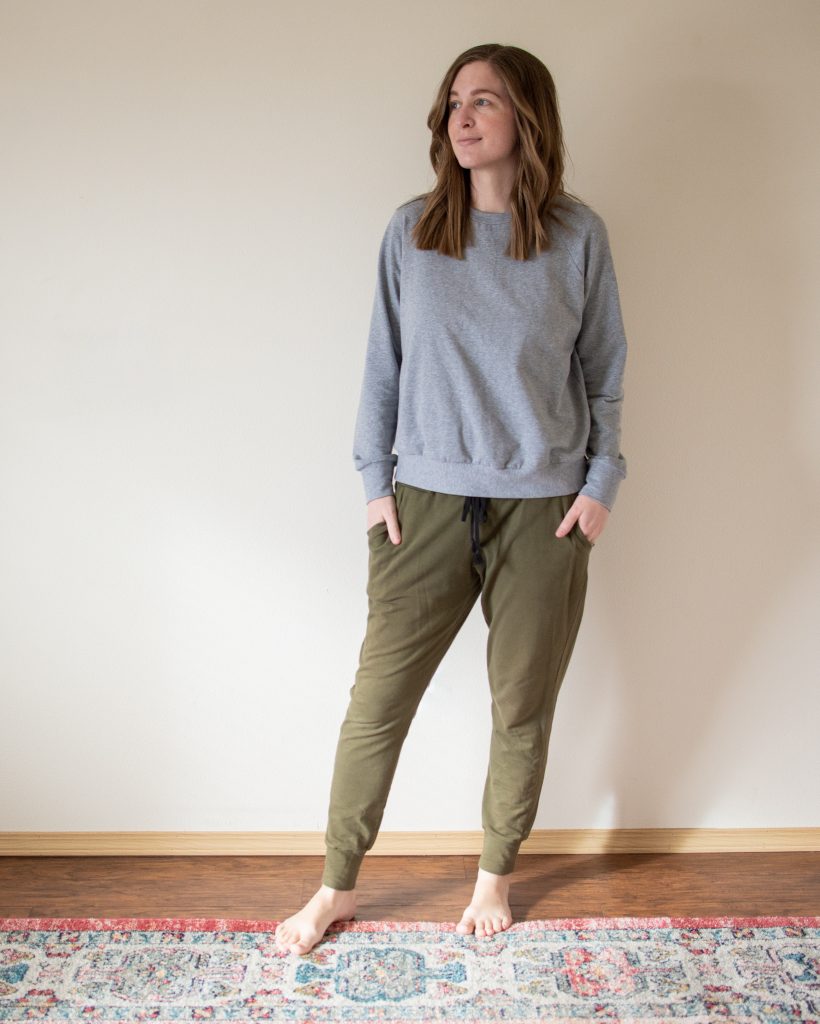
I’ve raved and RAVED about Hudson Pants by True Bias, so I’ll keep this short. For the last Hudson Pants that I made, I ended up making the regular length with no extra length added, and I liked it for less of a pajama look. But for these, I wanted the comfy factor back, so I added 2″ and still tapered the legs in one by one size. I don’t know that I really needed to do that, but I didn’t change it back from the last time I made this pattern. It’s all just preference about what look you’re going for.
I didn’t really mean to make a pink loungewear set this close to Valentine’s Day, but I’m not mad about it. 😉 I’ve been wanting to make lighter colored loungewear for a while, but I couldn’t find the right fabric or color. When I saw that Sitka Fabrics restocked this fabric with matching ribbing, I ordered right away! It is so soft and has really good stretch. The ribbing was awesome and I’m really excited to try projects with matching ribbing again in the future.
I hope this was helpful, and if you have any questions, let me know! Happy loungewear sewing!
I love your explanations and details. You look great, and the sewing is so well done. I especially noticed the waistband. I haven’t done well on those, but I might try again after seeing yours. 💕
Thanks Grandma! I’m so glad you read it. 🙂 The waistband on the pants are super easy because once you have the elastic sewn together you just stretch the whole waist a few times and it evenly distributed by itself. Then I just have to pin a bunch and sew!
So cute! I love it.
Thank you, Lauri! I’m so glad you like it!
Wow, have you really made those? They are fantastically made!!!! Puts me to shame.
Lynda B x
Thanks Lynda! I did! I’ve been sewing clothing for the past 5+ years, so that’s definitely a factor, but both of these patterns are really good too.