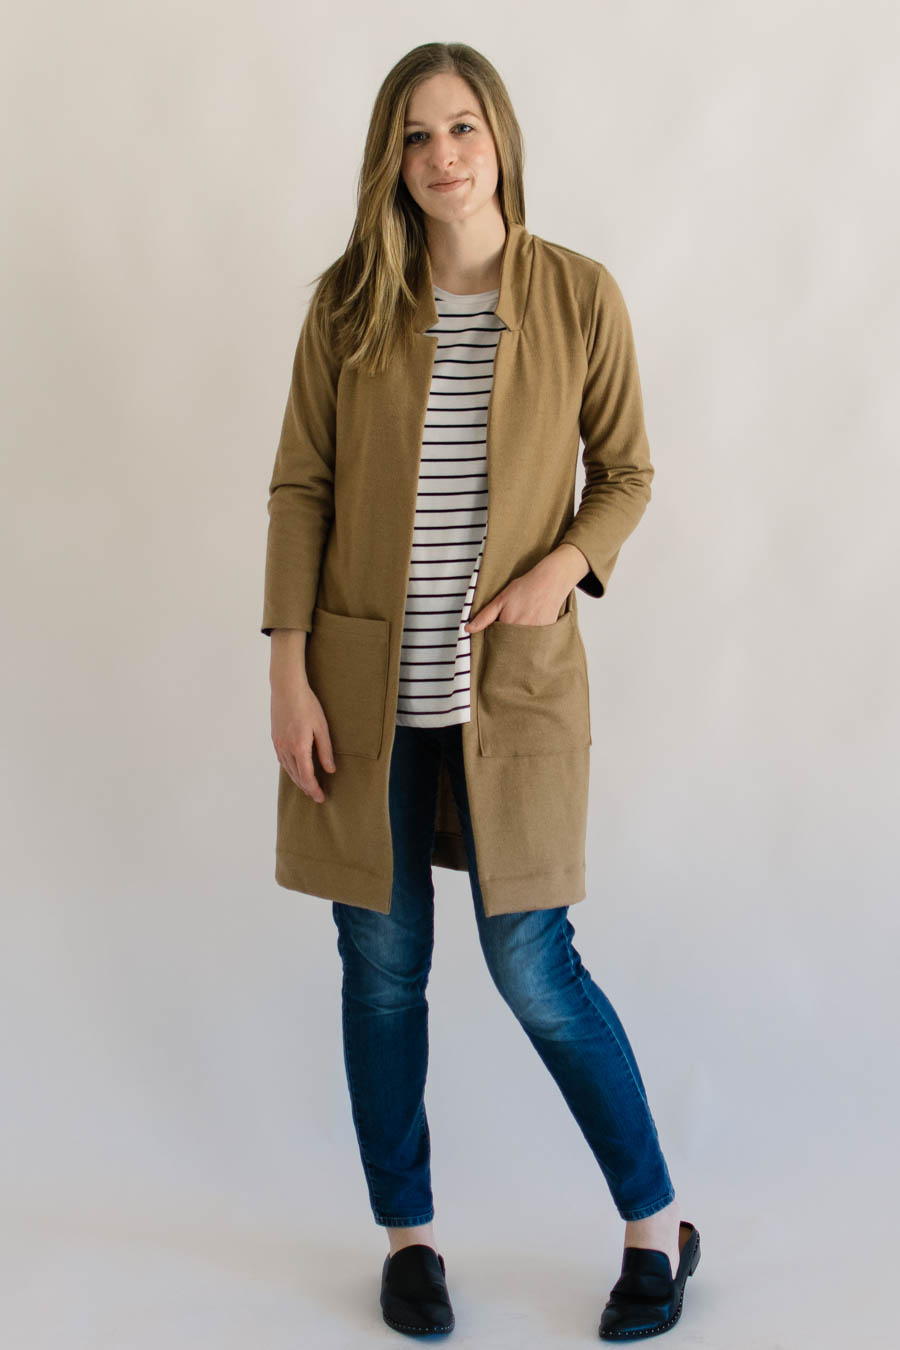
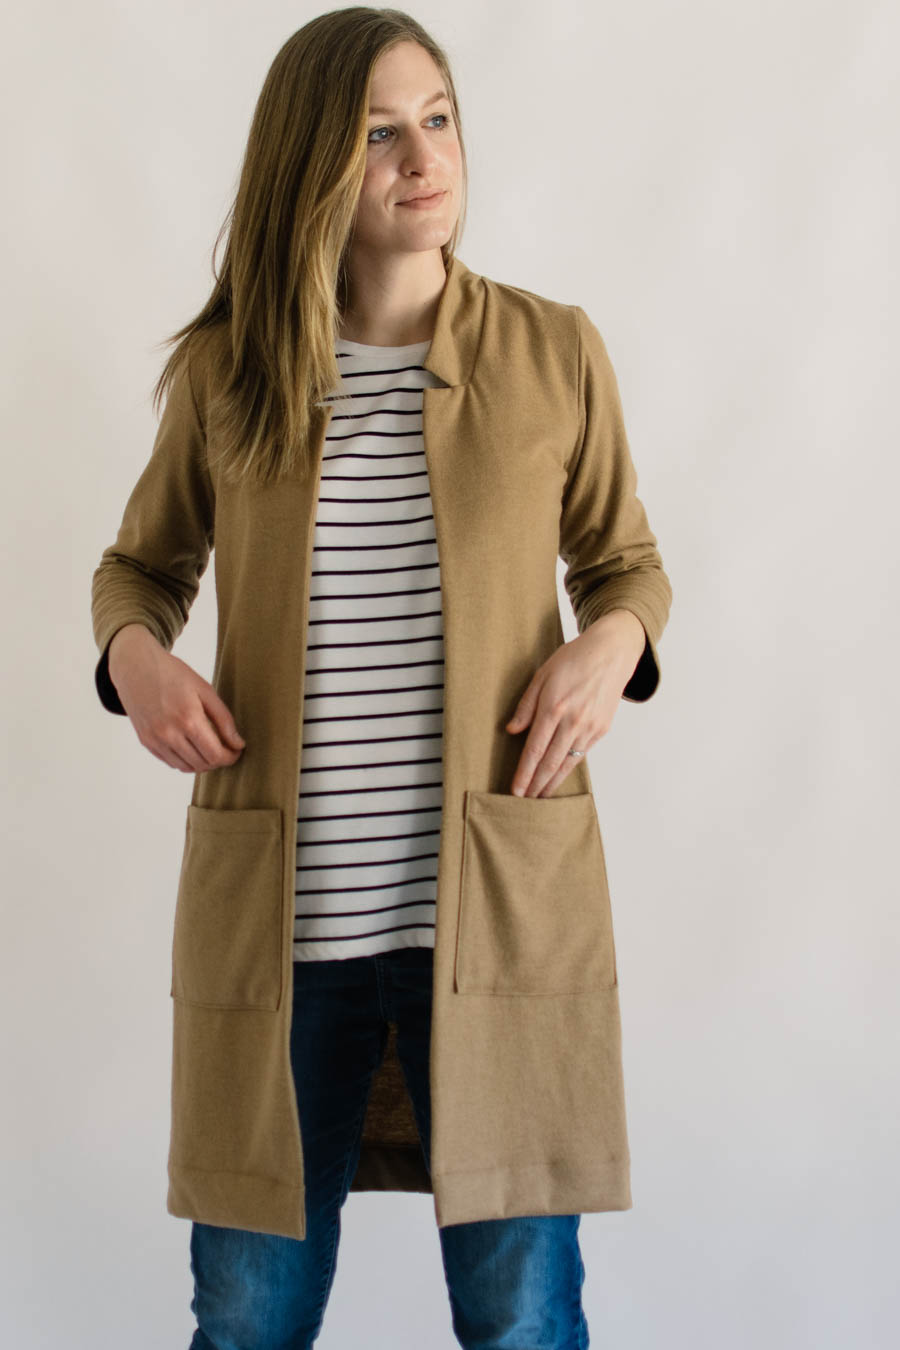
The Fulton Sweater Blazer is another one of the patterns I bought during it’s release week because it was just too good!! Alina knocks it out of the park with all of her patterns, and they are all perfect basics for anyone’s wardrobe. I knew the Fulton was another great pattern since so many people already made it and have been raving about it even before it’s release! I also bought another one of her patterns, the Panama Tee Dress (which I’m obsessed with), right when it was released two years ago and haven’t regretted it for a second ever since!
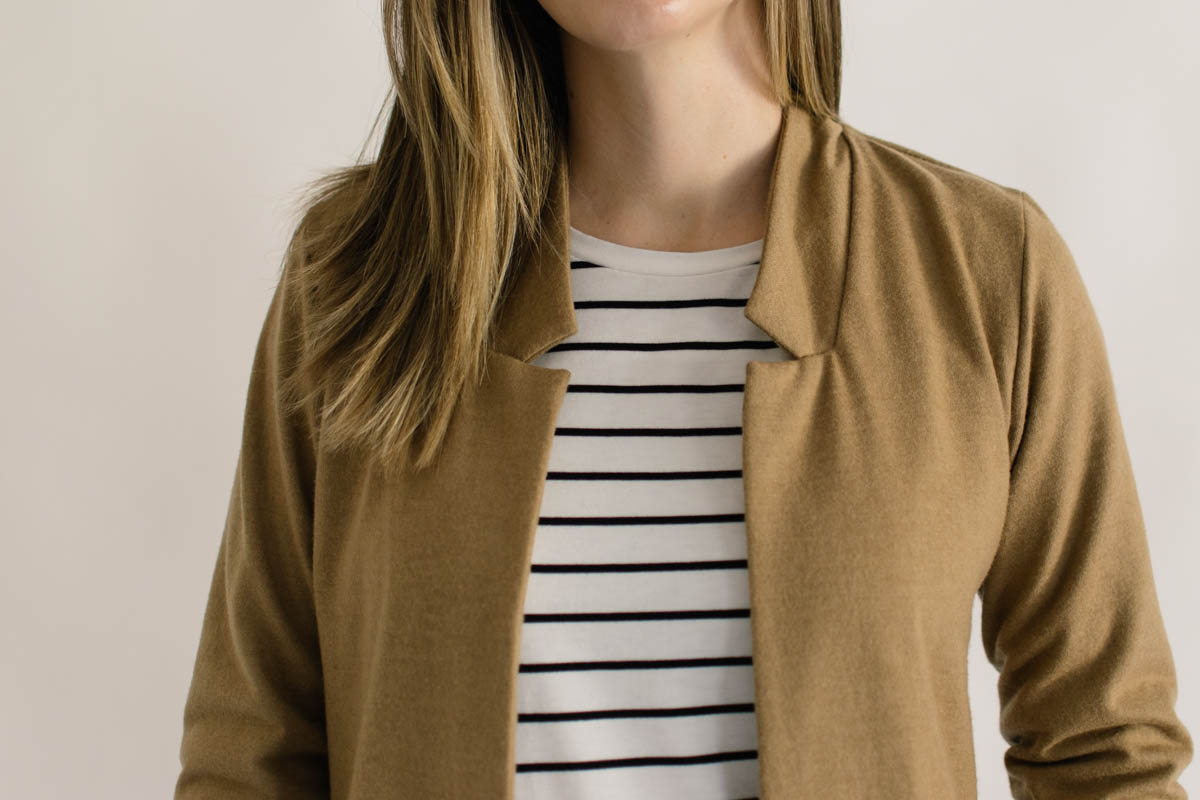
The illustrations and instructions are very clear and easy to understand. The collar is a bit confusing, but Alina knew that, so she made a video tutorial on exactly how to do it! I was VERY grateful to pull up the video in seconds and be able to watch her do it step by step.
During the video you can see that she basted the seam allowances/markings for the collar, and that was SO helpful. Do yourself a favor and just baste those markings on, that way you don’t have to mark with chalk on both sides and hope that they are equal. The collar is a bit tricky, but worth getting right, so make sure you go slow and make little changes if you need to.
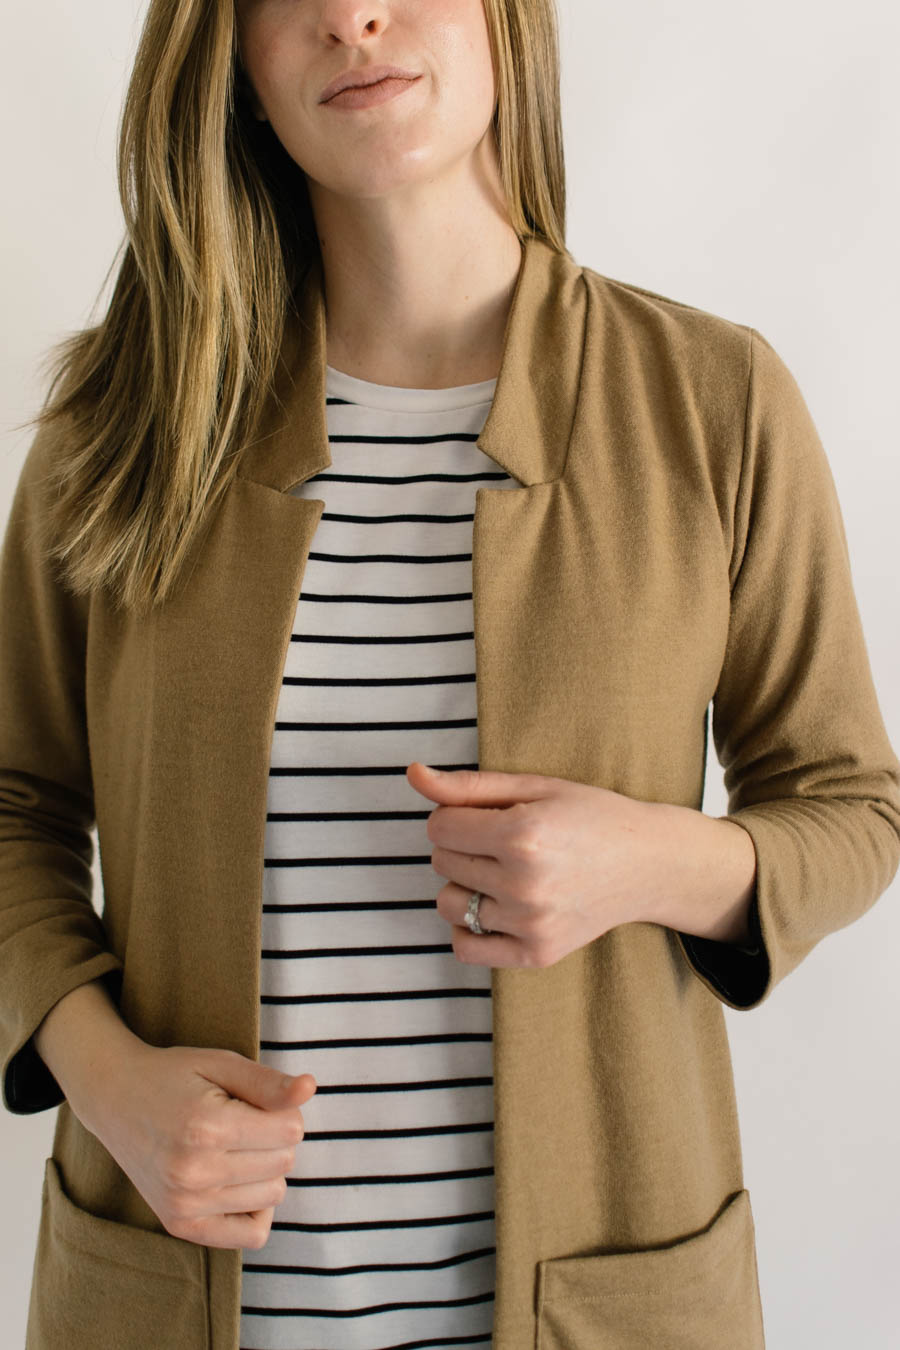
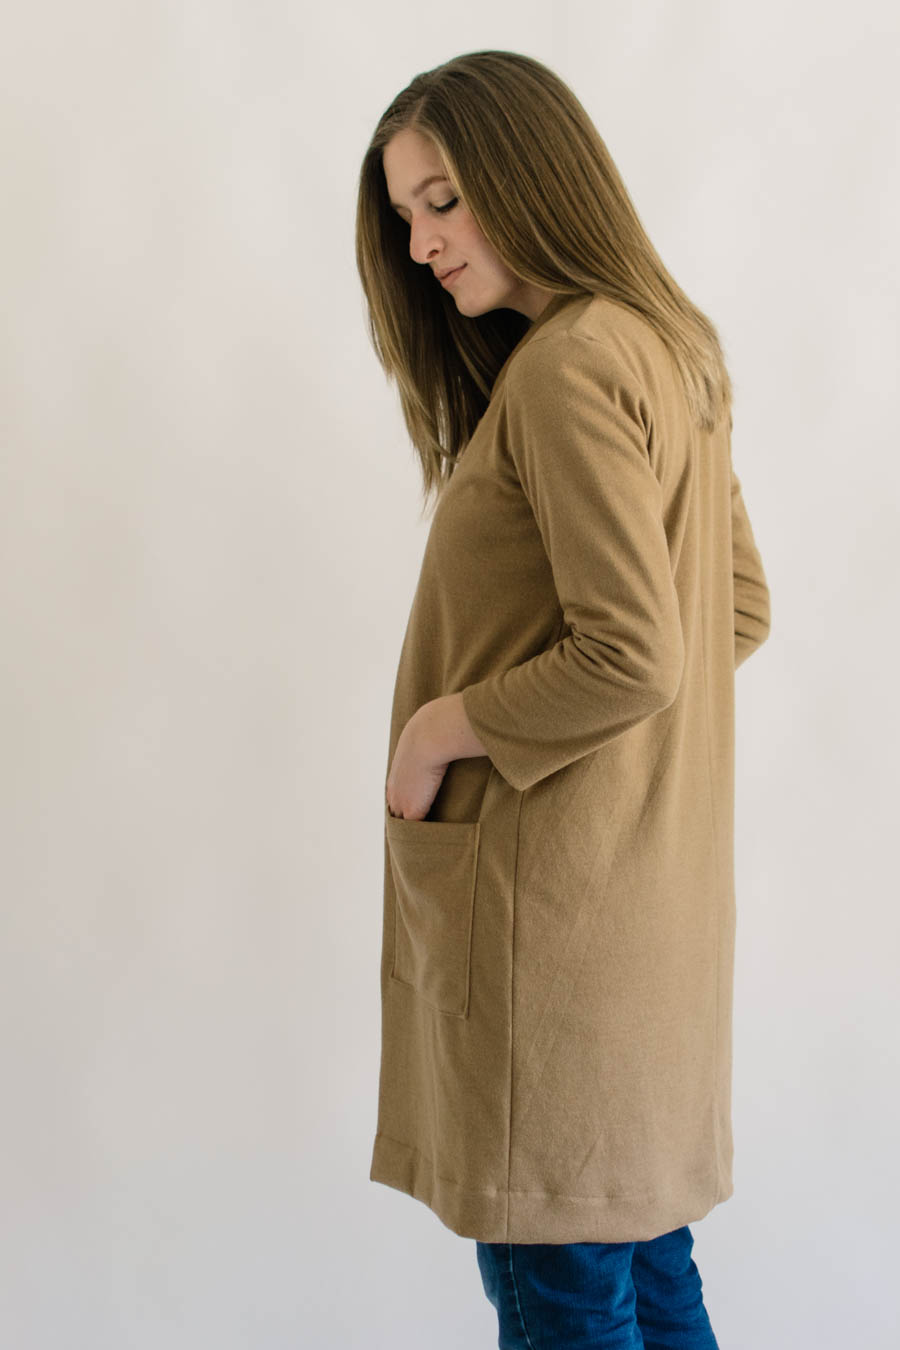
Once you’re past the collar, it’s smooth sailing from there! I sewed my Fulton out of Italian wool ponte from Minerva Crafts (camel color sold out, but available it brown). When I bought the fabric, it said it had a soft hand and and wouldn’t necessarily need a lining. But after finishing the sleeves and trying it on, I was frustrated to only then just realize that my arms are too sensitive for the wool content, and it felt like needles on my skin. For those who didn’t follow along with my saga of disappointment (and me just wanting to sell it), let me explain:
I live in California and the coldest it gets is in the 50-60’s, so I was really hoping this would be more like a cardigan that I could throw on over a short sleeved shirt. When I tried the Fulton on the first time, it was pretty snug in my shoulders, so I was nervous that if I added a lining to sleeves, it would tighten the fit and make it even more unwearable for me. After a day or two of thinking about it, I realized that I had a black dana knit I could use for the sleeve lining that is soft, not thick, and doesn’t have a ton of stretch like a rayon/spandex, and it would work great for the lining. I also decided that since I was adding a layer of fabric, I was going to sew it back together with a 1/4″ SA instead of the 3/8″ SA that the pattern calls for to give me a little more room in the shoulders. Problem solved. 🙂
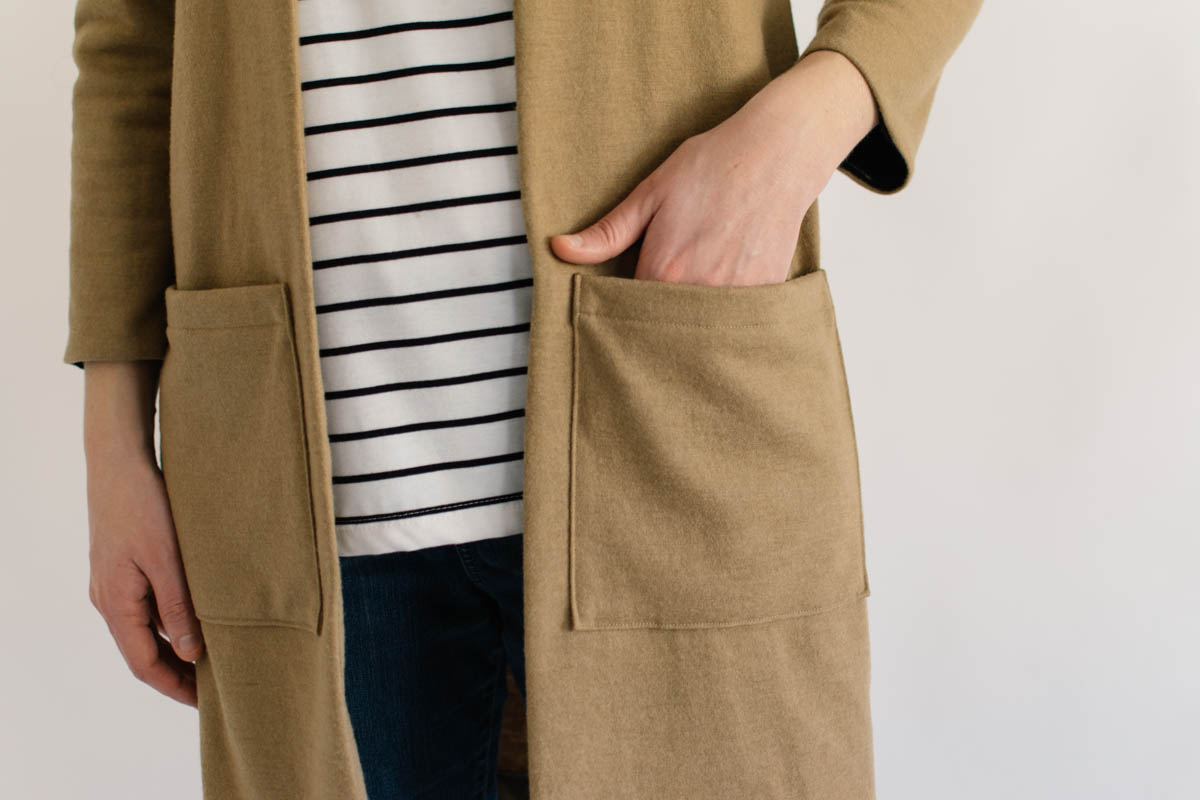
So, I got to work and unpicked a few inches below the armpit area up to the sleeve, and then took the sleeves out completely. I had to unpick the entire length of the sleeves seams as well. This didn’t take as long as I thought, and the fabric didn’t show any signs of holes from the stitching, so that made me feel better about fixing it. I watched Alina’s video about “underlining” the sleeves, and thought I would try that method. She didn’t show how to do the underlining step by step, like she did the collar, so I video-ed the whole process and saved it to my Instagram Story Highlights in case it helps someone else later.
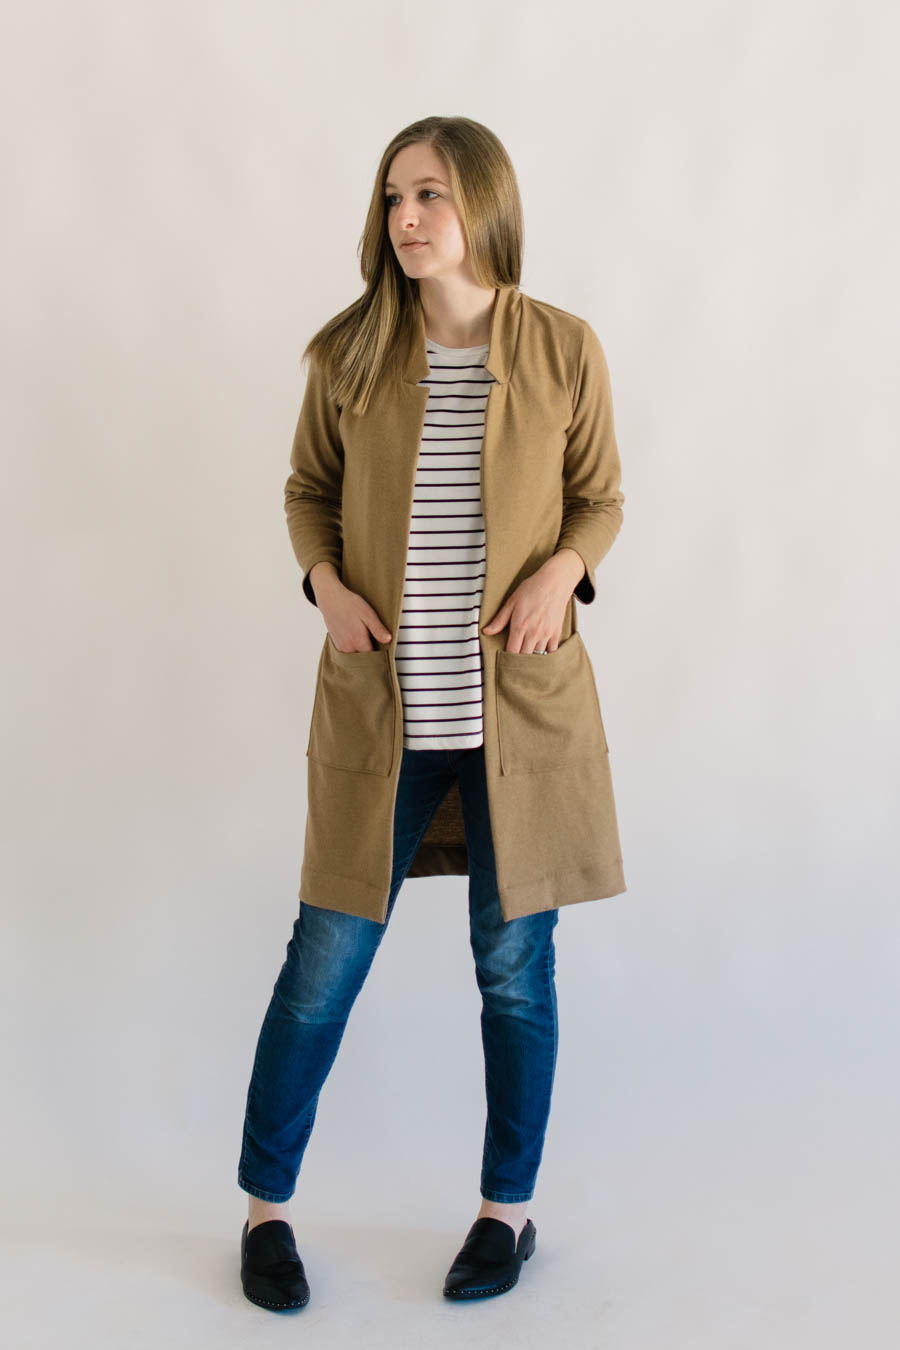
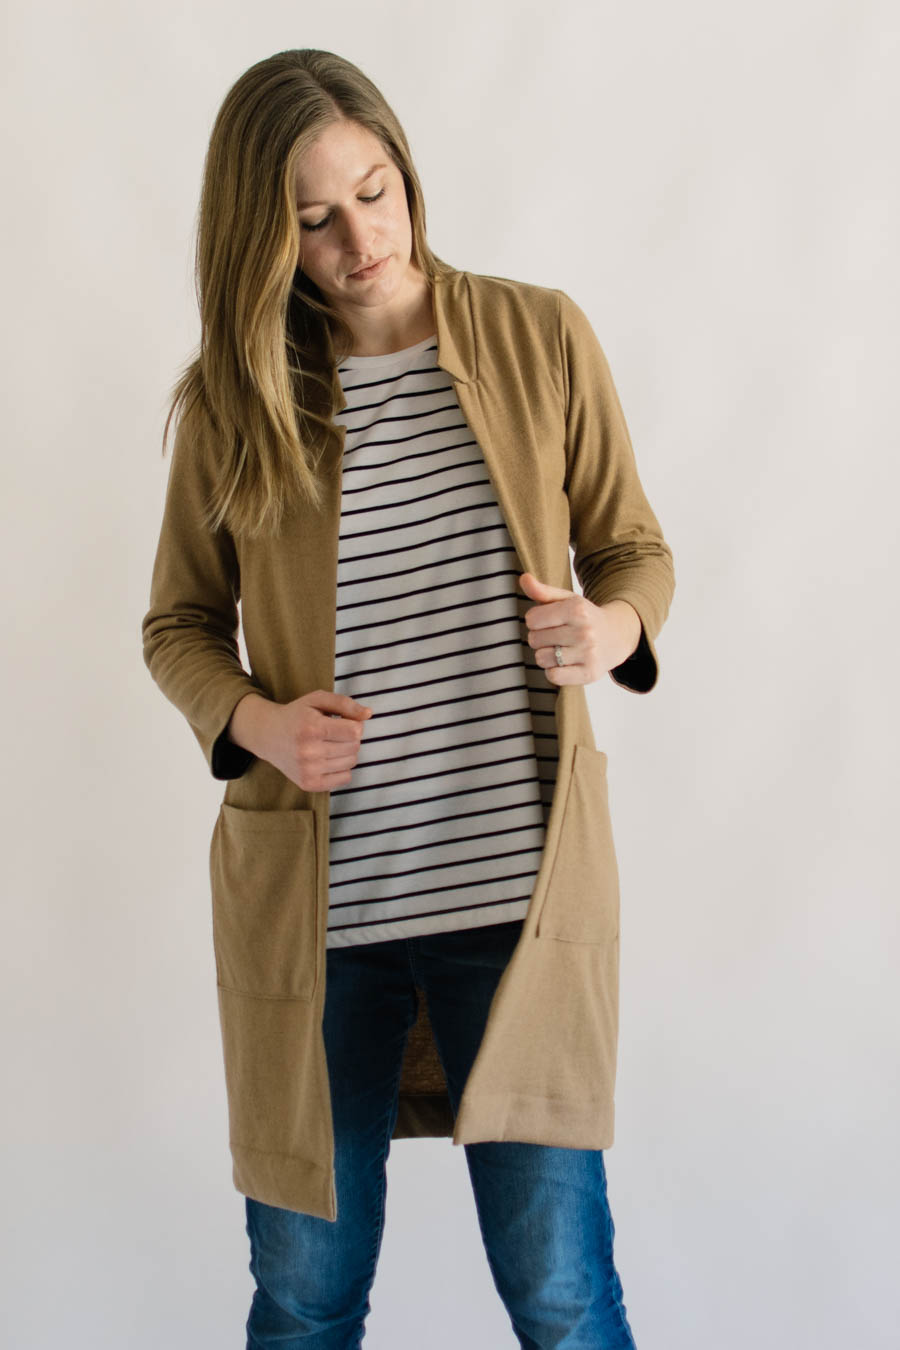
I ended having it all done in two hours (not counting the unpicking), and it is a dream to wear now! I really wish I would have just underlined it in the first place, but oh well – live and learn. To those of you making the Fulton out of a fabric with any amount of wool, I highly recommend underlining the sleeves. You may want to size up, or sew with a smaller SA if you chose to do that too.
I made a size 10 at the bust, and graded out to a 12 at the waist and hips, but looking back, I should have just made a straight 12. The pattern fits perfectly at the size 10, but doesn’t allow very much room for a very thick layer to wear under it. This also could have had to do with the fabric I used, because although I used a ponte, it doesn’t have a ton of stretch. I chose not to lengthen the pattern because view B is already really long, and I originally added 1″ to the [long] sleeves and then cut off 5″ when I decided to make the sleeves 3/4 length.
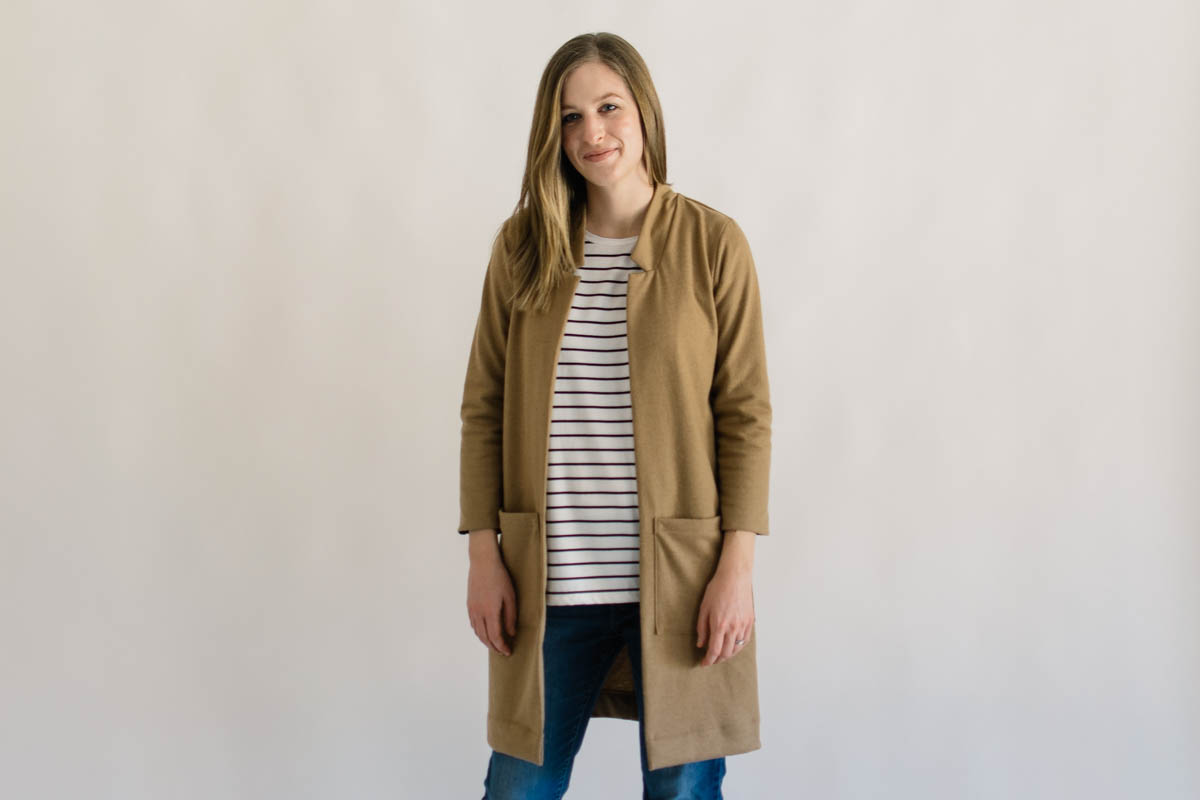
The shirt I’m wearing under it is the Monroe Turtleneck by Tessuti Fabric (FREE pattern!), and I turned it NON-turtleneck. 😉 It was super easy to just replace the Monroe’s neckline with the neckline of the Panama Tee, and it worked great! I’m going to be wearing this shirt a lot and the striped fabric is much more like a regular t-shirt fabric, which I have been dying to find. Do yourself a favor and get some while D&H has it in stock! I might buy another yard and make a t-shirt for summer.
The Fulton Sweater Blazer is a glorious pattern, and I really want to make another one in gray. I am so glad that Alina thought to fill a gap in the sweater blazer pattern department! I have already worn mine out to run errands multiple times now, and it’s perfect! I feel so good in it, and I even threw it on over a long sleeved black cardigan and it was SO cute!
Happy Fulton sewing!
One thought on “Fulton Sweater Blazer”