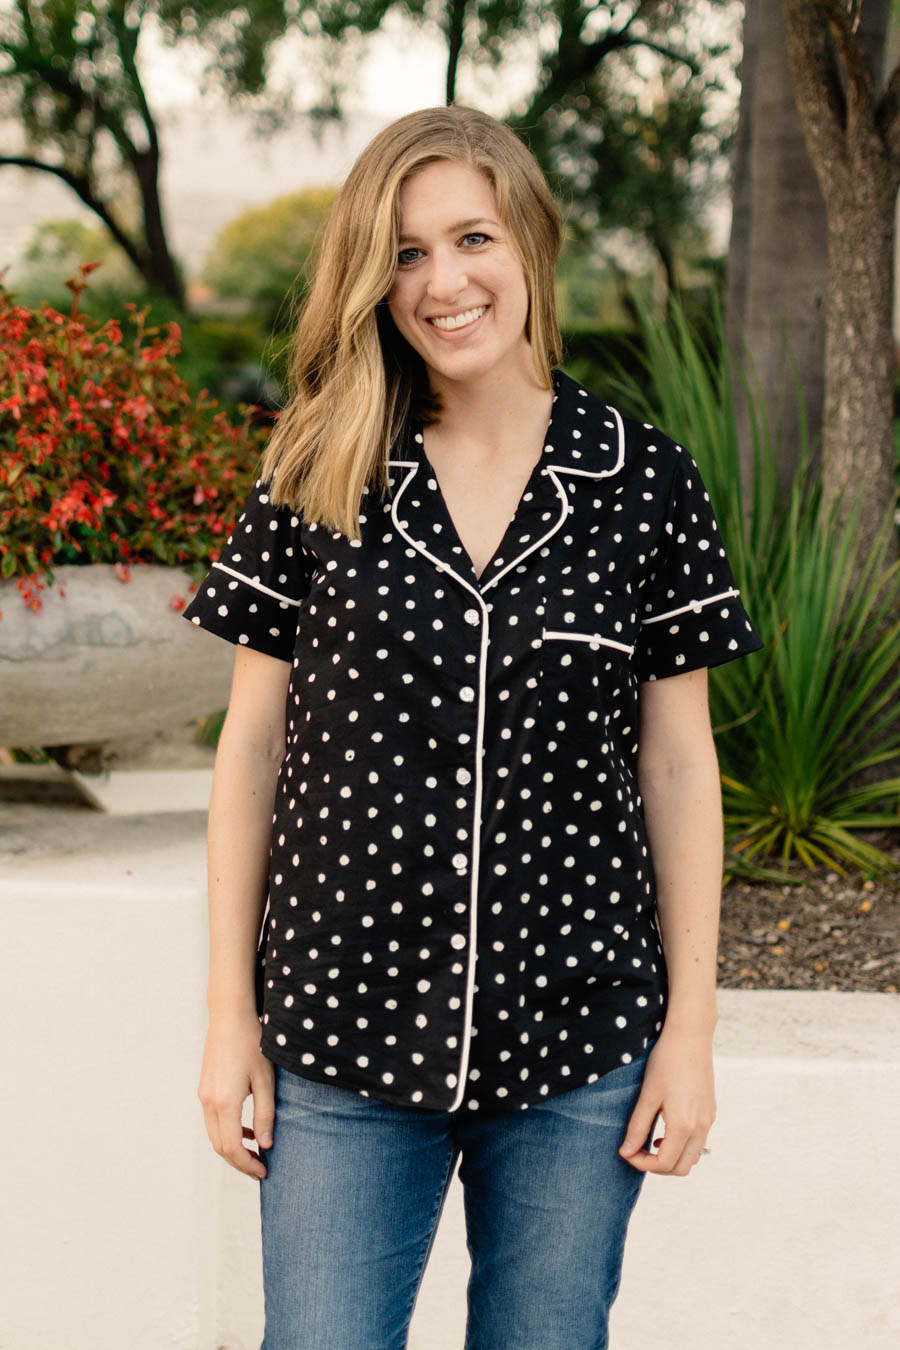
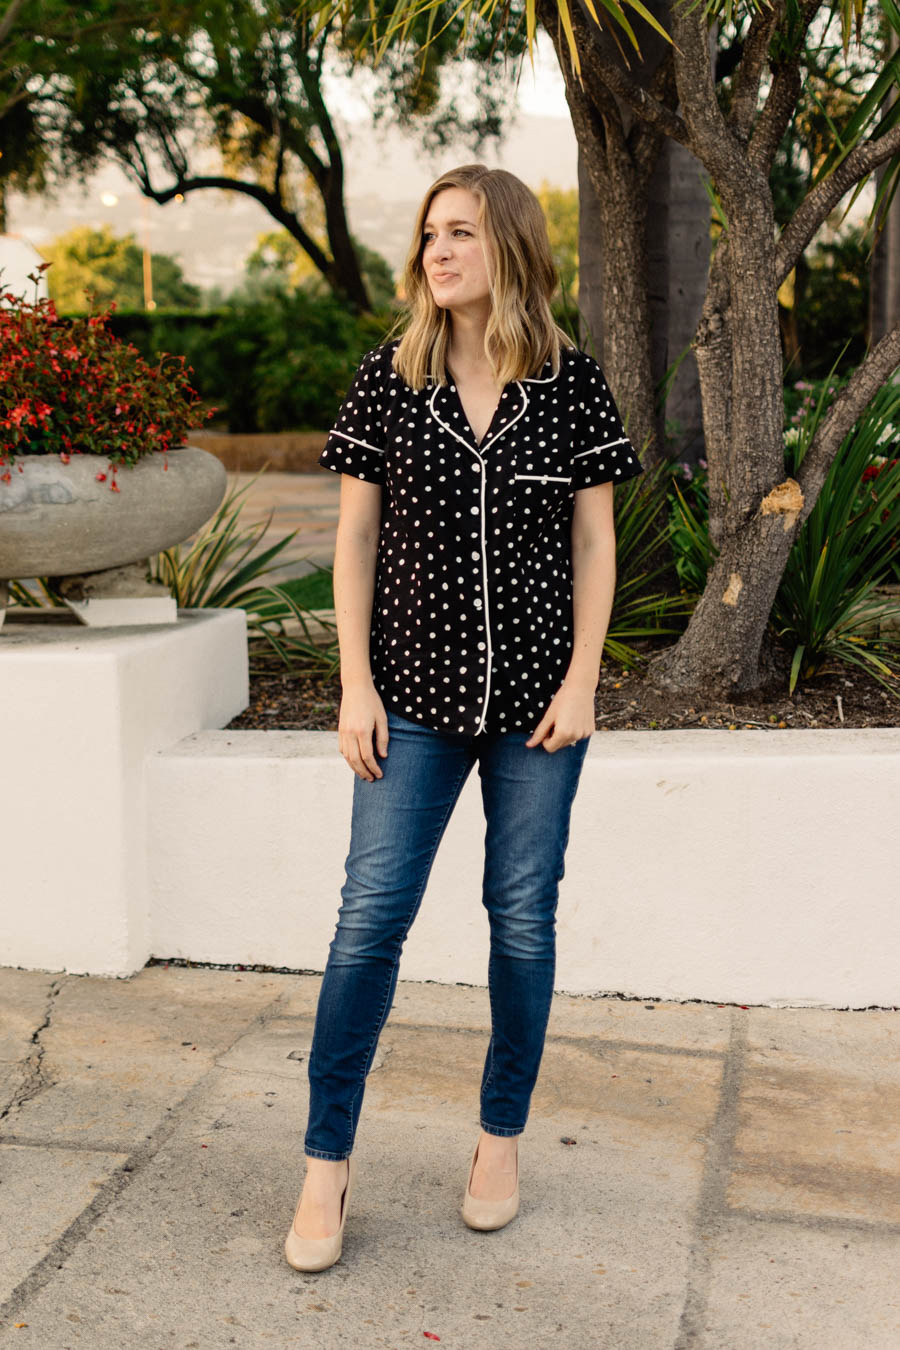
Has everyone else been dying over the pajama top trend lately?! I LOVE the look styled with jeans. I’ll be honest that I don’t really dig it with matching PJ pants, but the tops separately is gorgeous. I love the piping and curved lapels, and I really don’t see how I could sleep in something so pretty! (Unless I was exhausted during the day and fell asleep – which is much more likely and understandable.)
I am happy to say that I FINALLY made the Carolyn Pajamas top! I feel like I say “finally” with all of the things I’ve been making lately, but I feel like don’t sew as much as other sewists, and these things have been on my “to make” list for a long. time.
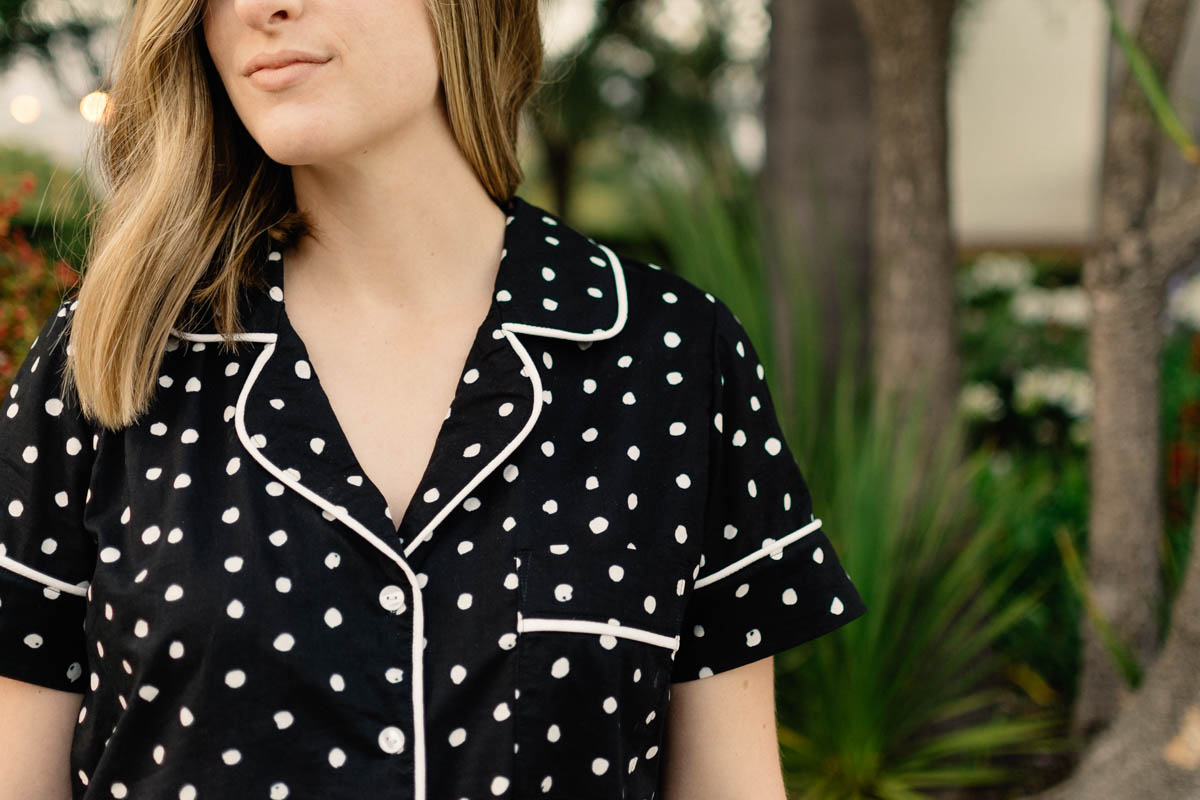
Tammy, with D+H Fabics Co, contacted me a few months ago because she was going to be opening an online fabric store, and it’s open now! You should definitely check out what she has, because she has the most beautiful selection of woven fabrics that would work so good for this pattern or any other button up shirt. The fabric I used is a Nani Iro Cotton Lawn. It’s a very stable fabric that is light weight and breathable, and it was perfect for this shirt. I love that the polka dots aren’t perfect circles and the pattern seems a bit random, so that I didn’t have to pattern match (win!).
The one thing I would recommend using for this fabric is a Microtex (size 60 or 70) needle. Because the fabric was so lightweight, I kept accidentally catching other parts of the fabric when I was stitching the collar, and when I unpicked, it left some bigger than preferable holes in the fabric. So make sure to use a thin needle, especially since you don’t need a thick one anyways.
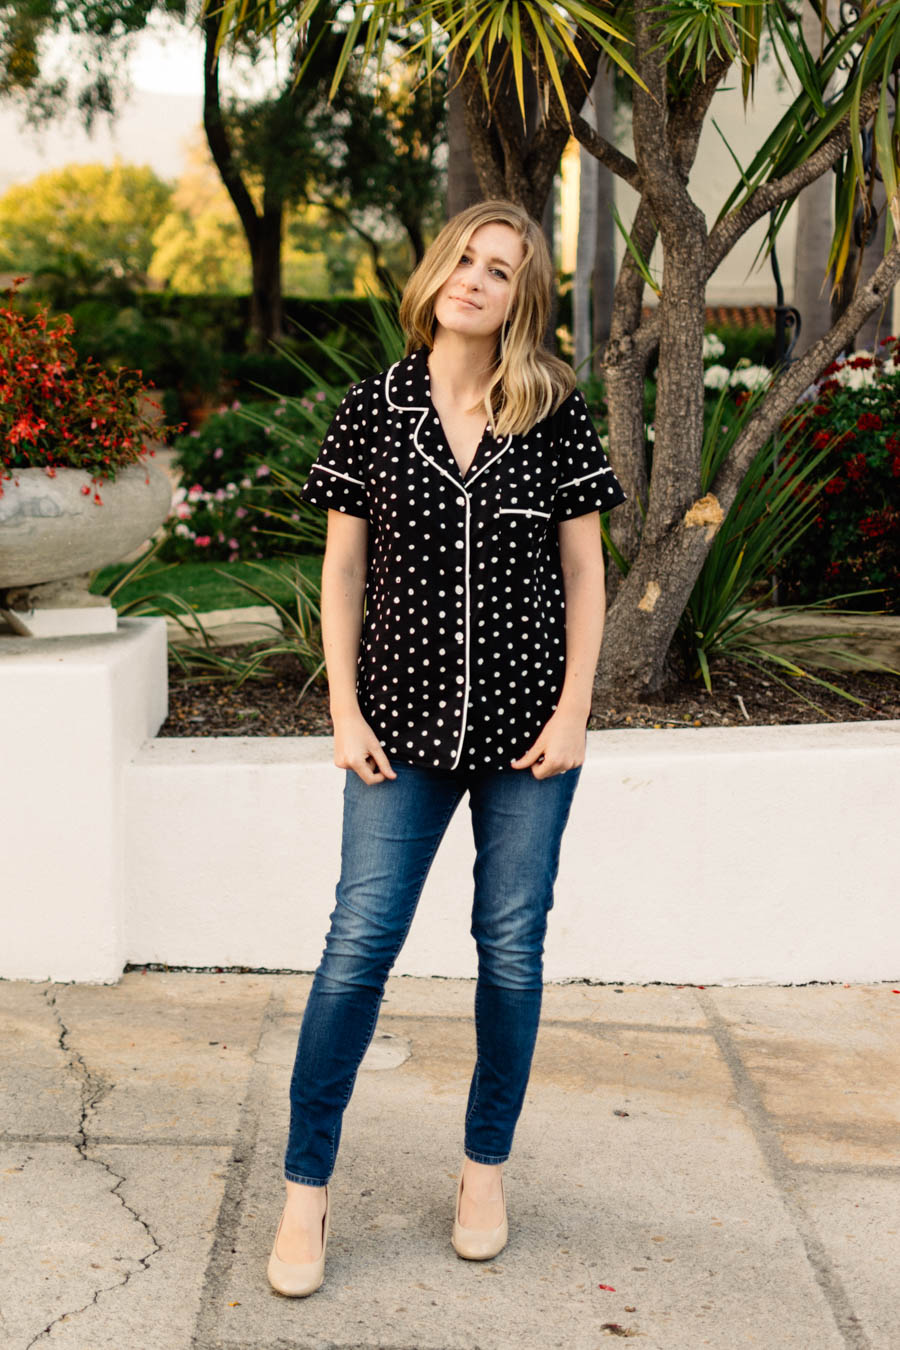
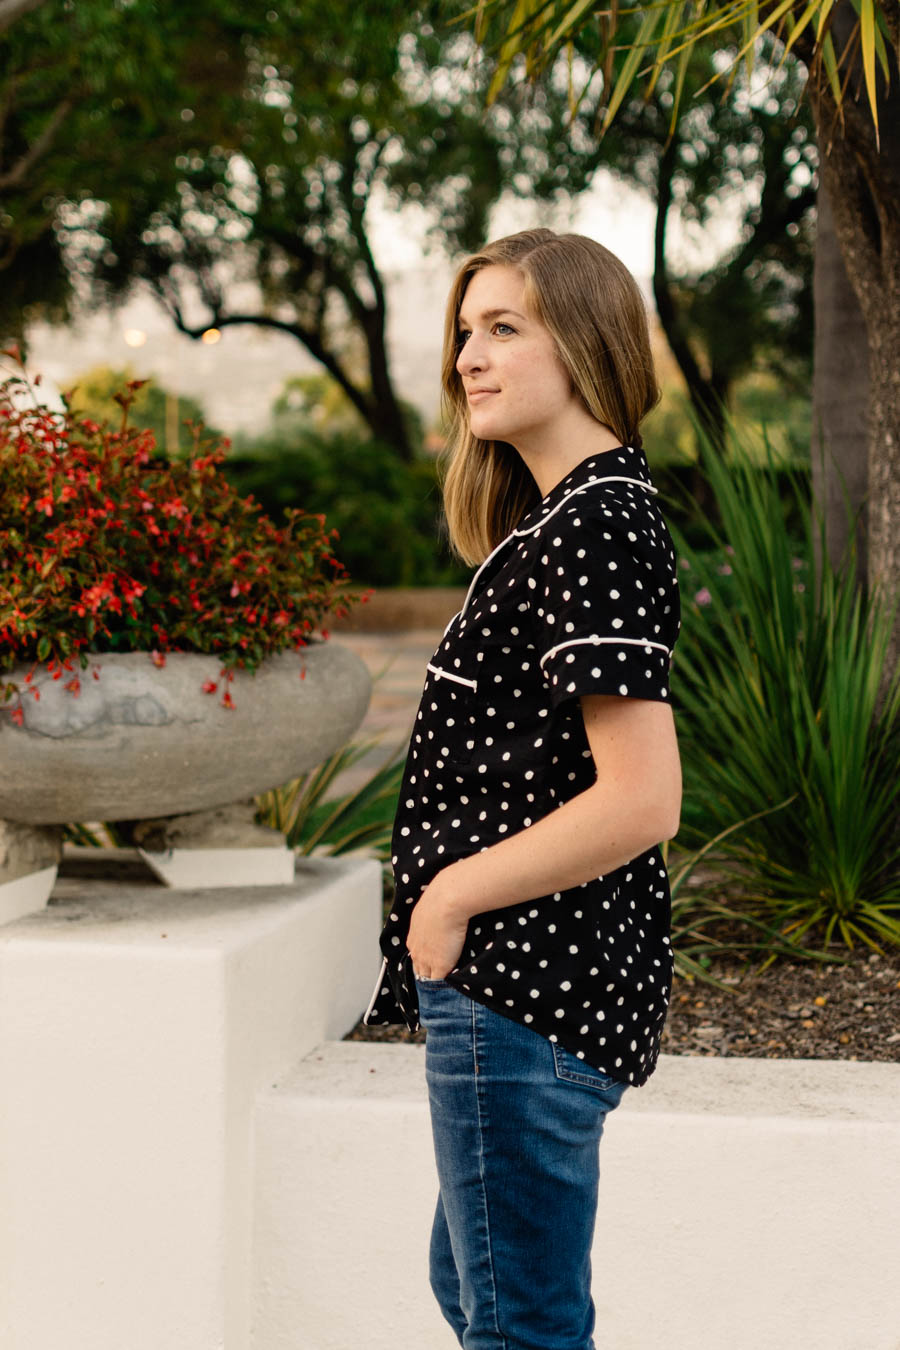
I bought the PDF pattern from Closet Case Files and printed the pattern through PDF Plotting (my favorite printing website for patterns. EVER.). The Carolyn Top comes in a pack with pajama bottoms as well, and it was actually in a separate file so that I could easily just send the top to print!
The pattern and instructions are designed and illustrated really well. I did get kind of stuck on different parts because the piping threw me off a little bit. I definitely wouldn’t recommend this pattern to beginners, and you probably want to make sure you’ve made a button up shirt or two before jumping into making this pattern. I think it was primarily the piping and curved collar/lapels that confused me, but it wasn’t too bad.
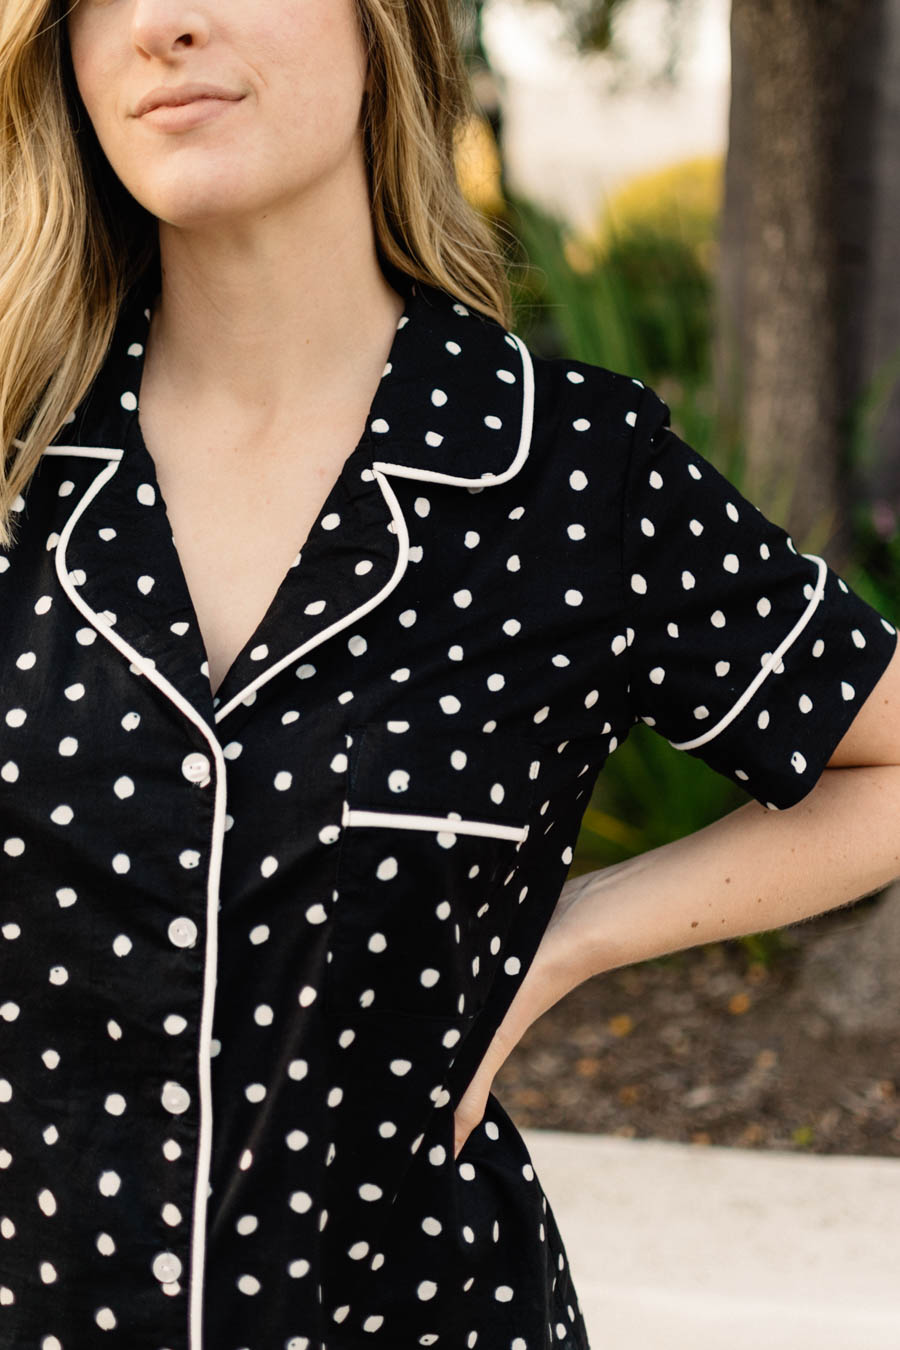
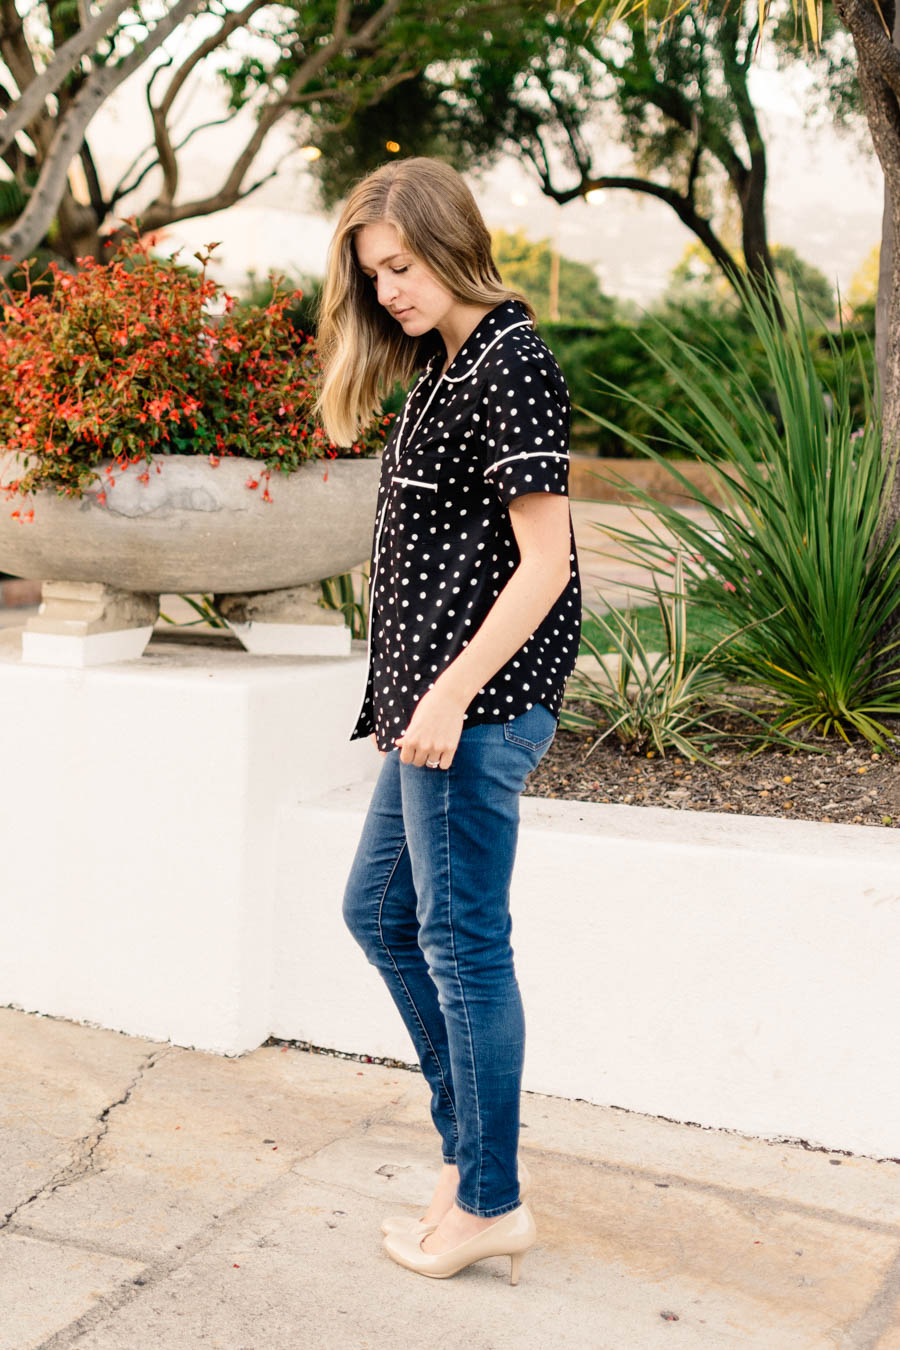
I made a size 12 and graded out to a size 14 at the hips. The only sewing tall adjustment I made was to lengthen the bodice and facing pieces by 1″. The pattern is already pretty long, so I didn’t have to lengthen as much as I normally do. I was also very happy that there weren’t any bust darts, because that made it really easy to adjust.
The one thing I did to make this pajama top more like a fancy top was to lengthen the sleeve cuffs! I adjusted the cuff pattern piece and made it 5 3/4″ wide – that way, they would end up being around 2 1/4″ long. You could have easily just used the cuff for the long sleeve version of the shirt, but that would have made the cuffs closer to 3″ long, and that’s not what I wanted.
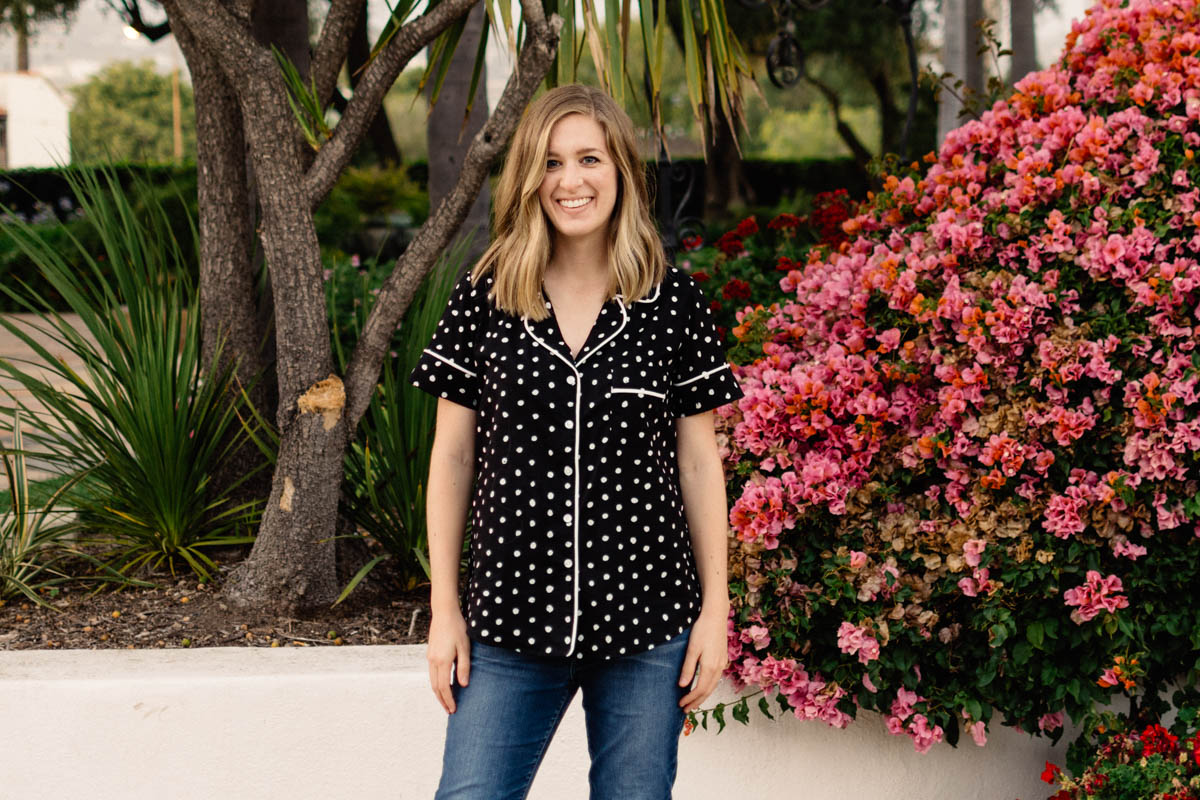
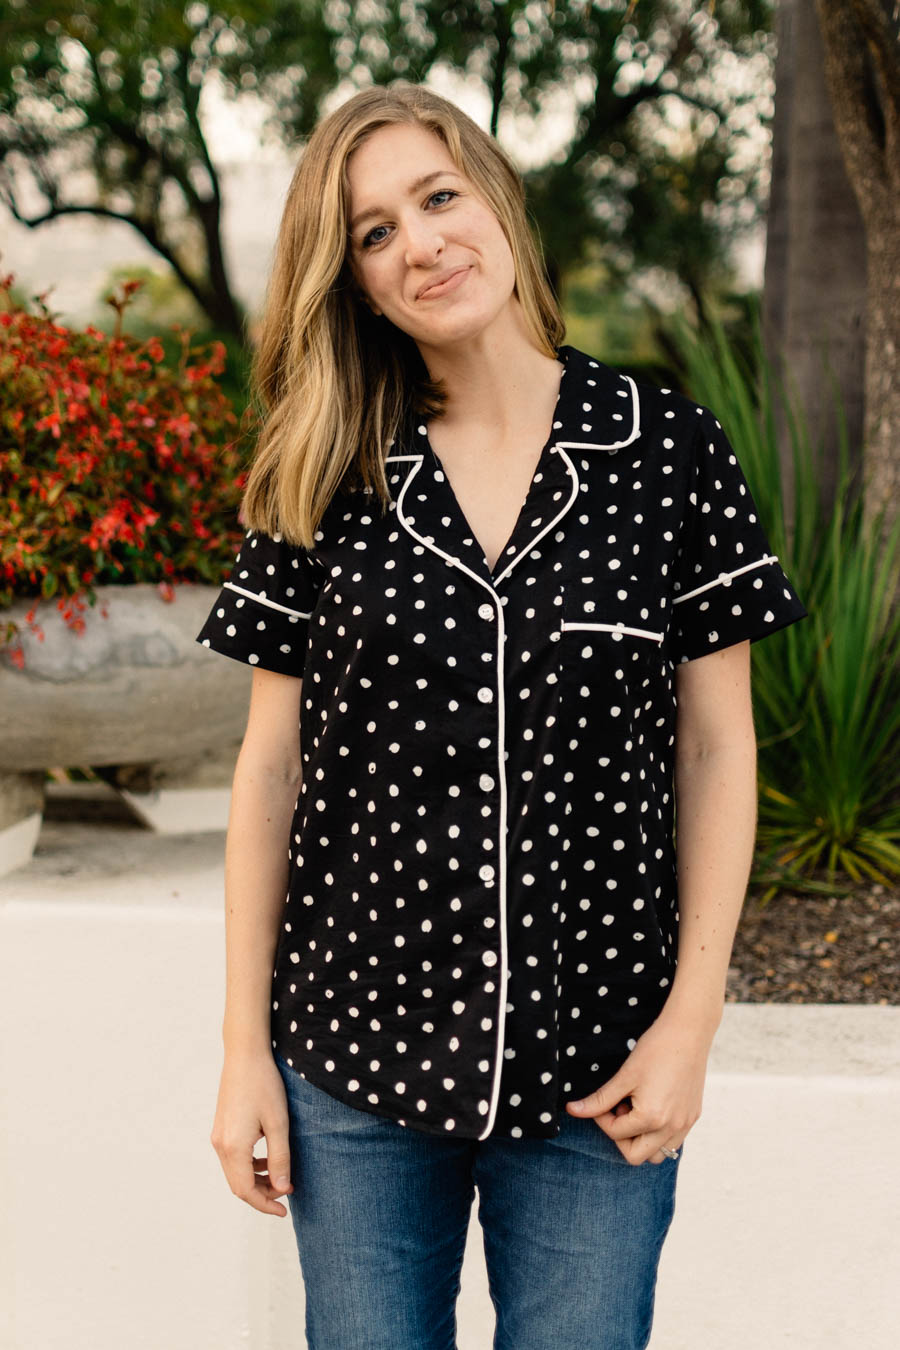
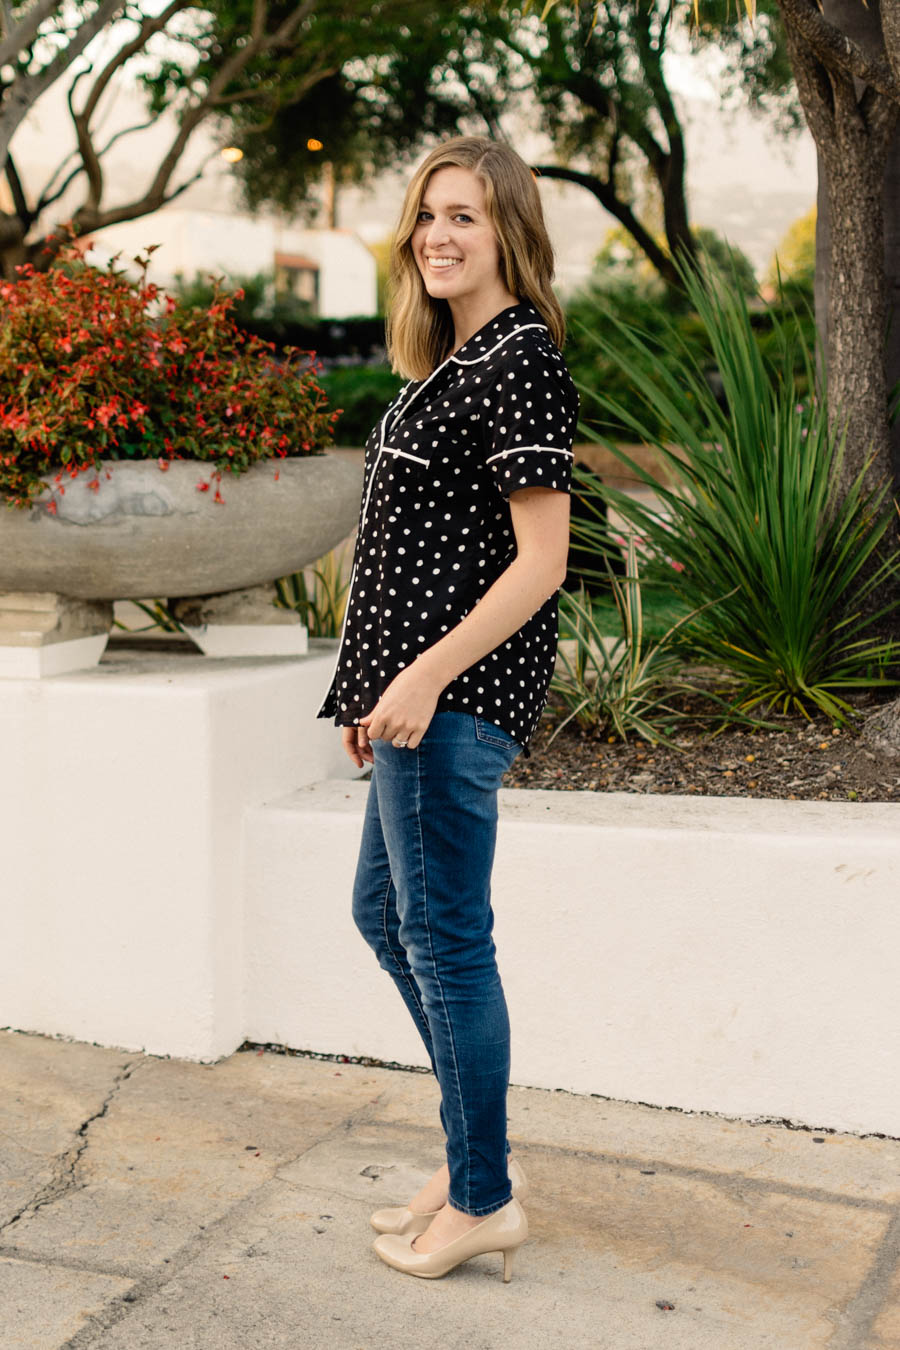
I did not make my own piping, because I feel like I have better things to do with my time and it’s really not very expensive to buy online. I bought the piping from Craft Supplies and Kits on Etsy and it was perfect! It came 10 days after I ordered it, which was fine because I ordered it a month before I was going to need it. I also used these pearl buttons (1/2″ size) from Benno’s Buttons online. They are beautiful.
I am so excited to wear this top with sandals for a more casual look when I wear it during the week, and it feels like a huge accomplishment to have it finished. The D+H Fabrics Co website has some beautiful photos of samples sewn in other fabrics they have in stock, so head over there to get inspired!
CLICK HERE for the FABRIC
CLICK HERE for the PATTERN
The fabric for this post was provided by D+H Fabrics Co. All thoughts and opinions are my own.
Love it! You styled it so well!
Thank you, Sky! I wore it with sandals the other day and it was just as cute, so it’s pretty easy to dress down for a regular day too!
Oh I absolutely love this! I have the pattern but I’ve only made the pants so far. Now I’m inspired to tackle the top 🙂 Thanks for the lead on the piping, btw. I know HOW to make it, but after doing it once before, the idea of making more does not excite me. I actually skipped the piping on my pants, so they are very plain 🙁 Now I am going to order the piping and spend that time elsewhere. So glad you mentioned it!
Thank you, Catherine! Anything to make sewing easier, I am all for! I think the shop I ordered from is taking a break, but there are other stores online that sell it. Piping is just a whole huge step that made me not want to do it if I had to do it myself. I have also seen others use rickrack or bias tape just as a trim without the rope on the inside, and it turns out really cute too!