The past couple of years I have had good intentions to make things for different holidays, and it just never happened! (Being pregnant and having a newborn tend to throw off your groove a little.) But at the end of 2017, I was like – This is the year!! I finally have my normal body back, and my baby still naps really well, so I’m hoping I can stay up on this because I have so many fun things planned!
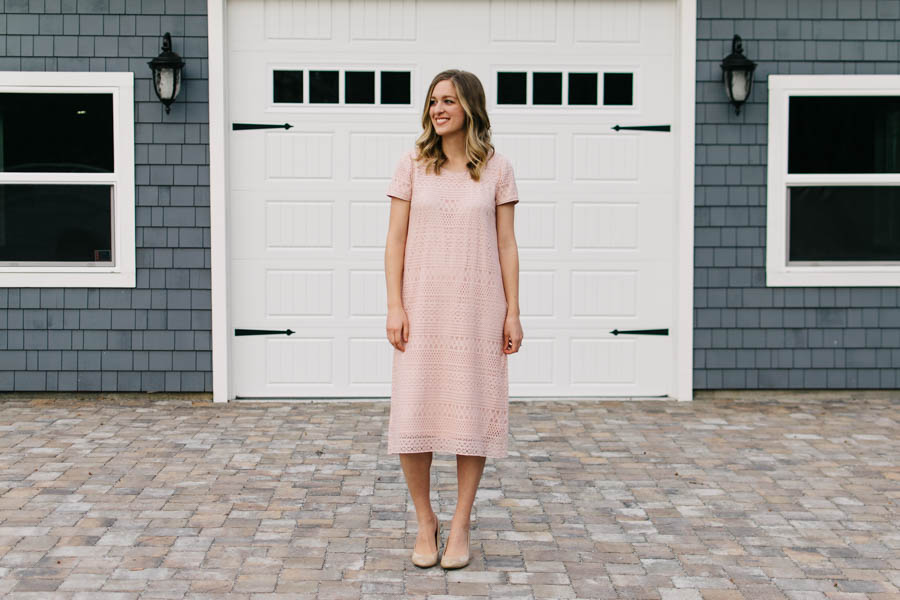
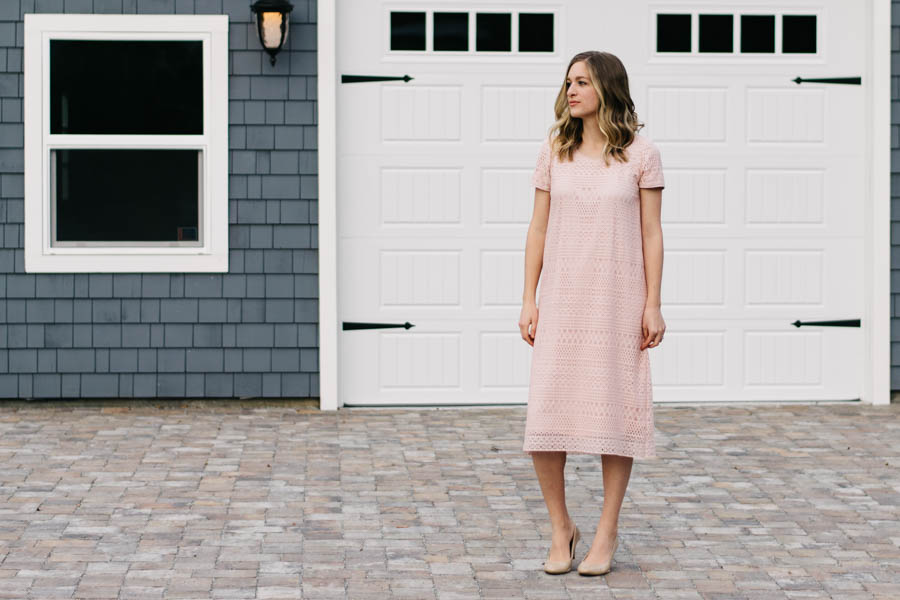
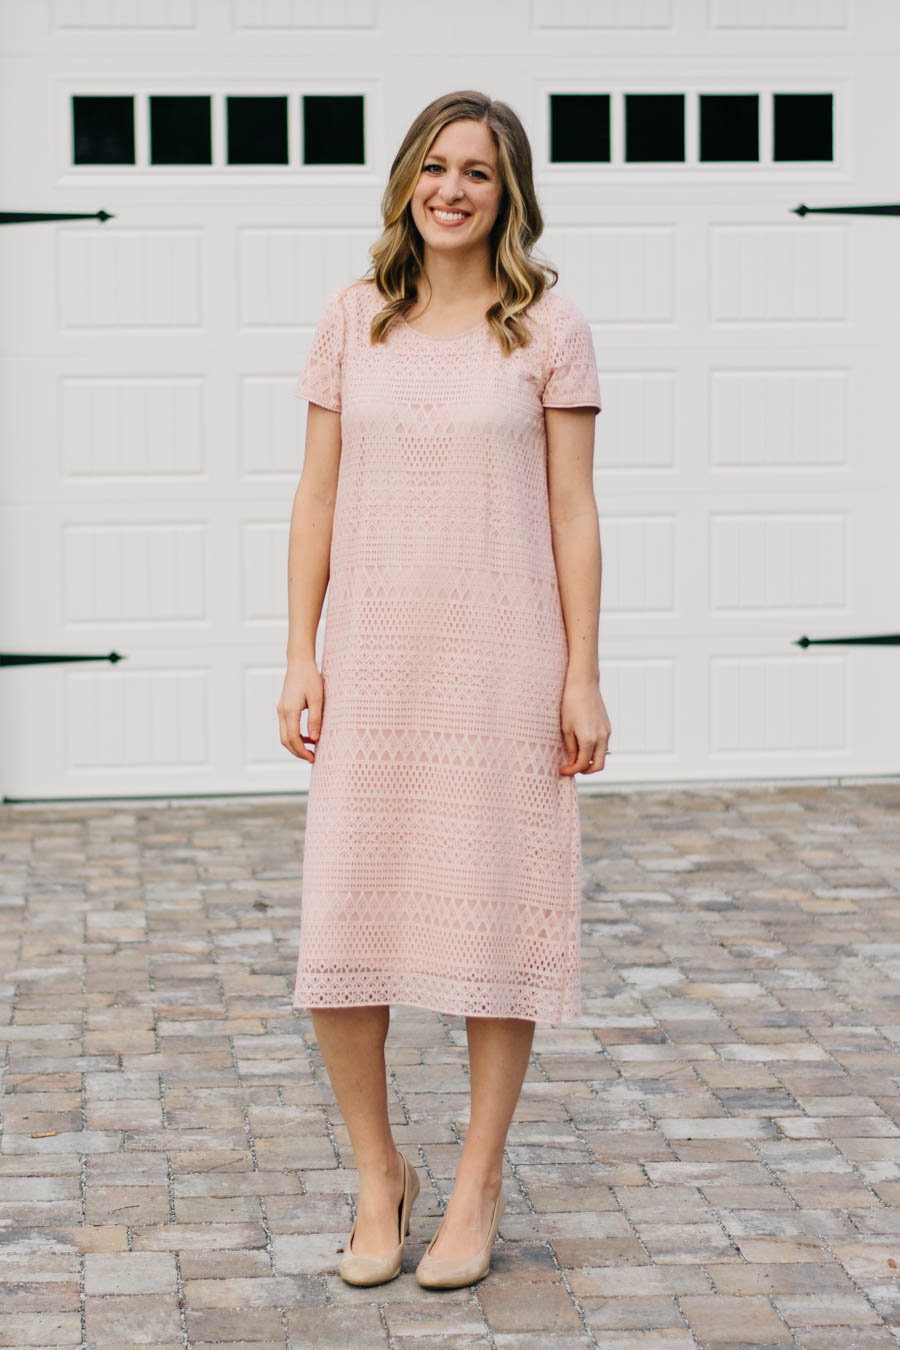
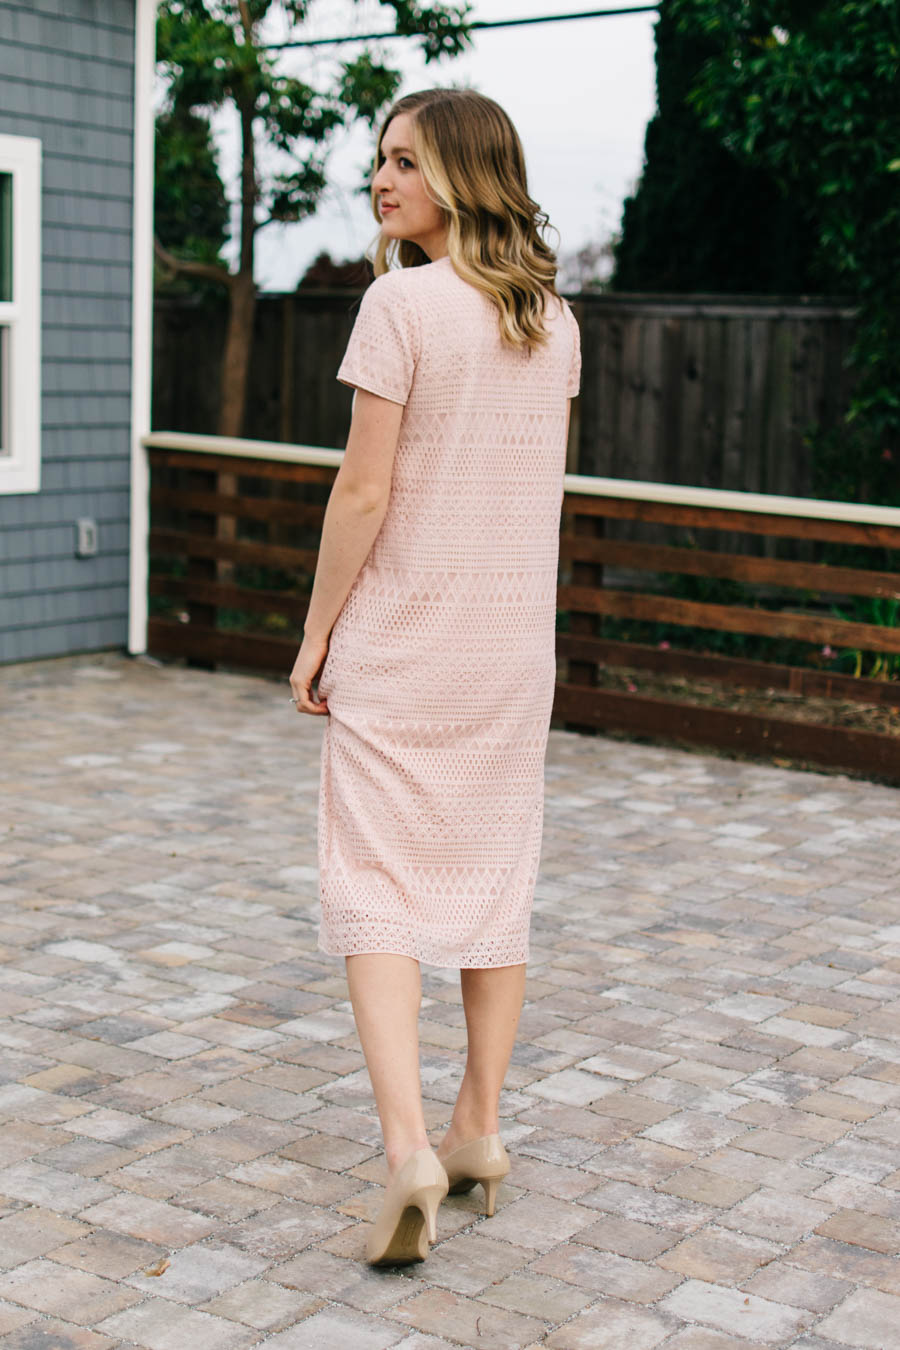
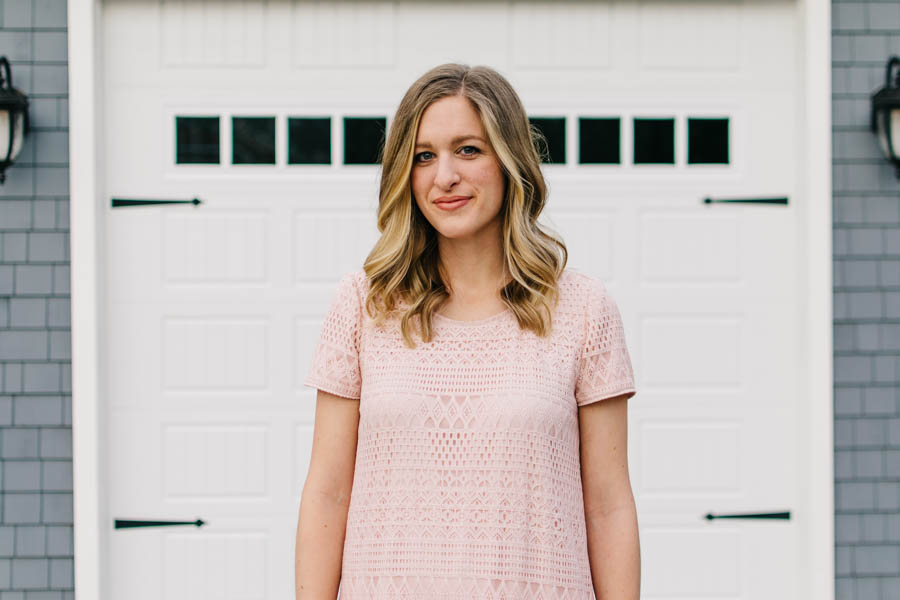
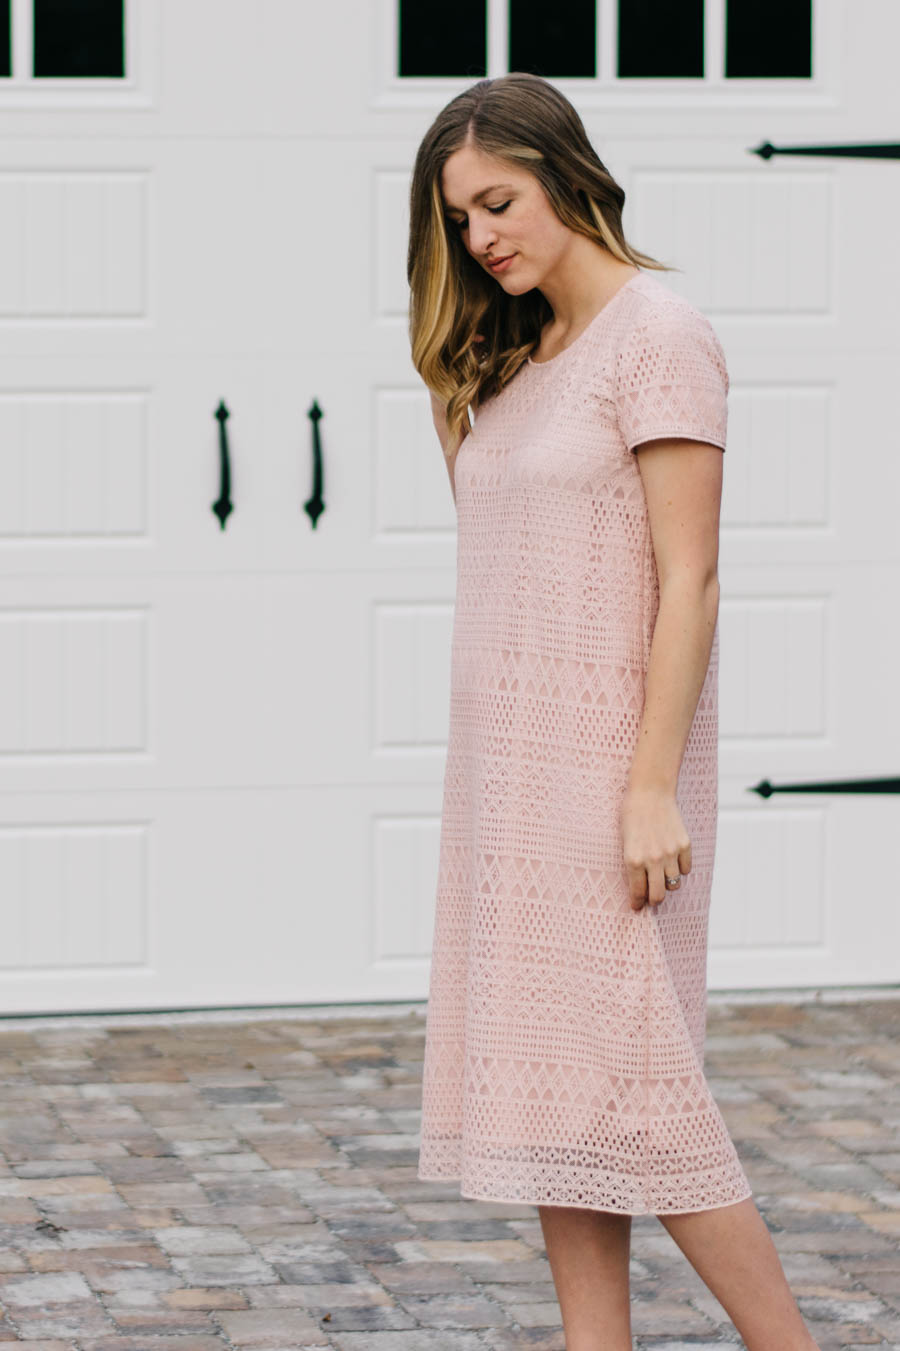
I am so excited to share my Valentines Dress with you! This is the Key Largo by Hey June, adjusted to be an A-line shift dress.
Before making this dress, I wanted to make sure I was using the pattern I liked the best for it, so I made the Key Largo Top and the Scout Tee. I wrote a blog post about how to two compare and you can read about the comparison here. Both are really great patterns, but I preferred the Key Largo more.
To create the A-line side seam, I went in 1/2 inch from the bottom of the armscye on the bodice pieces and drew a straight line all the way down to the corner of the hem. To make it a dress, I just continued the line all the way down to my desired length. The angle was very gradual.
Here are the details on how I sewed it all together, if you are interested:
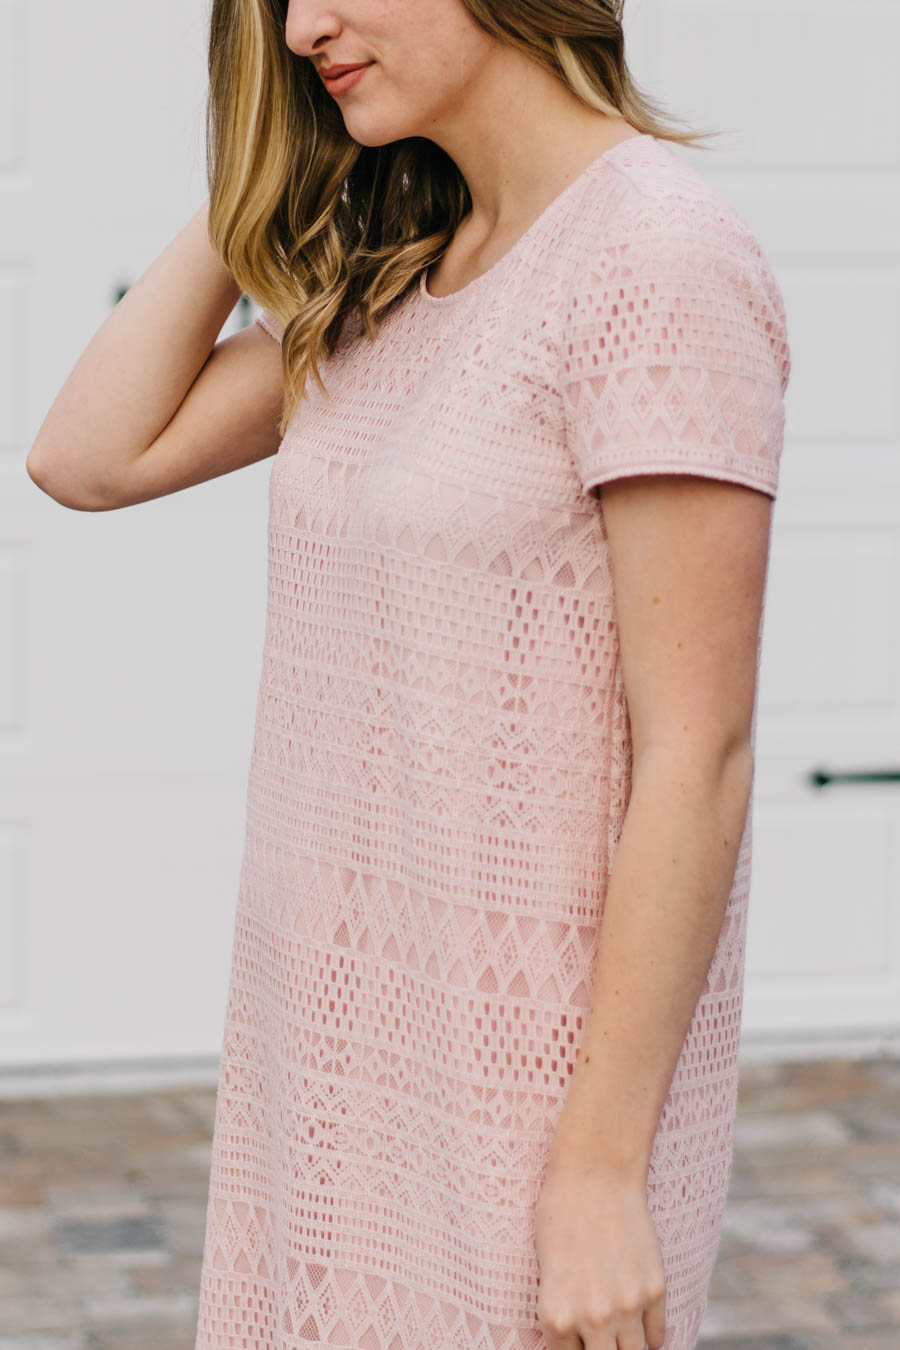
(1) I cut everything out and basted the lining/lace of the bodice pieces together at the shoulders, and then sewed both shoulder seams together. (2) I basted the armscye of the bodice so that the lining/lace layers would stay together while I was attaching the sleeves. (3) I basted the lining/lace pieces of the sleeves all the way around and sewed them to the bodice. (4) I hemmed the sleeves before sewing down the side seams. (Since I didn’t want the hems to be bulky, I just serged and then used wonder tape to fold up by about 3/8 inch and then topstitched with a 1/4 inch SA.)
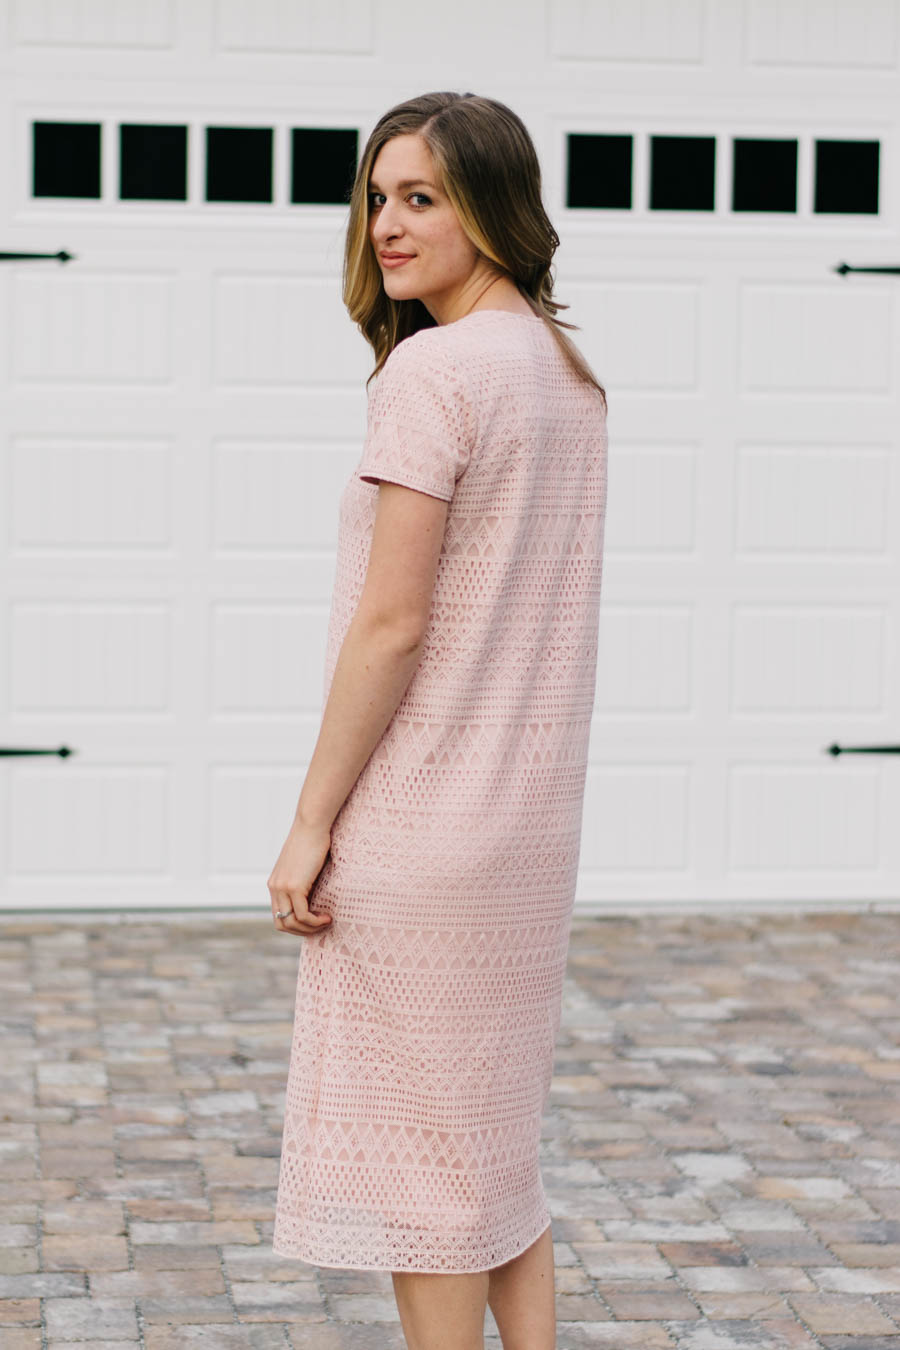
(5) I hemmed the bodice pieces of the lining, and then serged (instead of basting) down all FOUR side seams to make sure the lining/lace would stay together, then used my sewing machine to sew the side seams together.
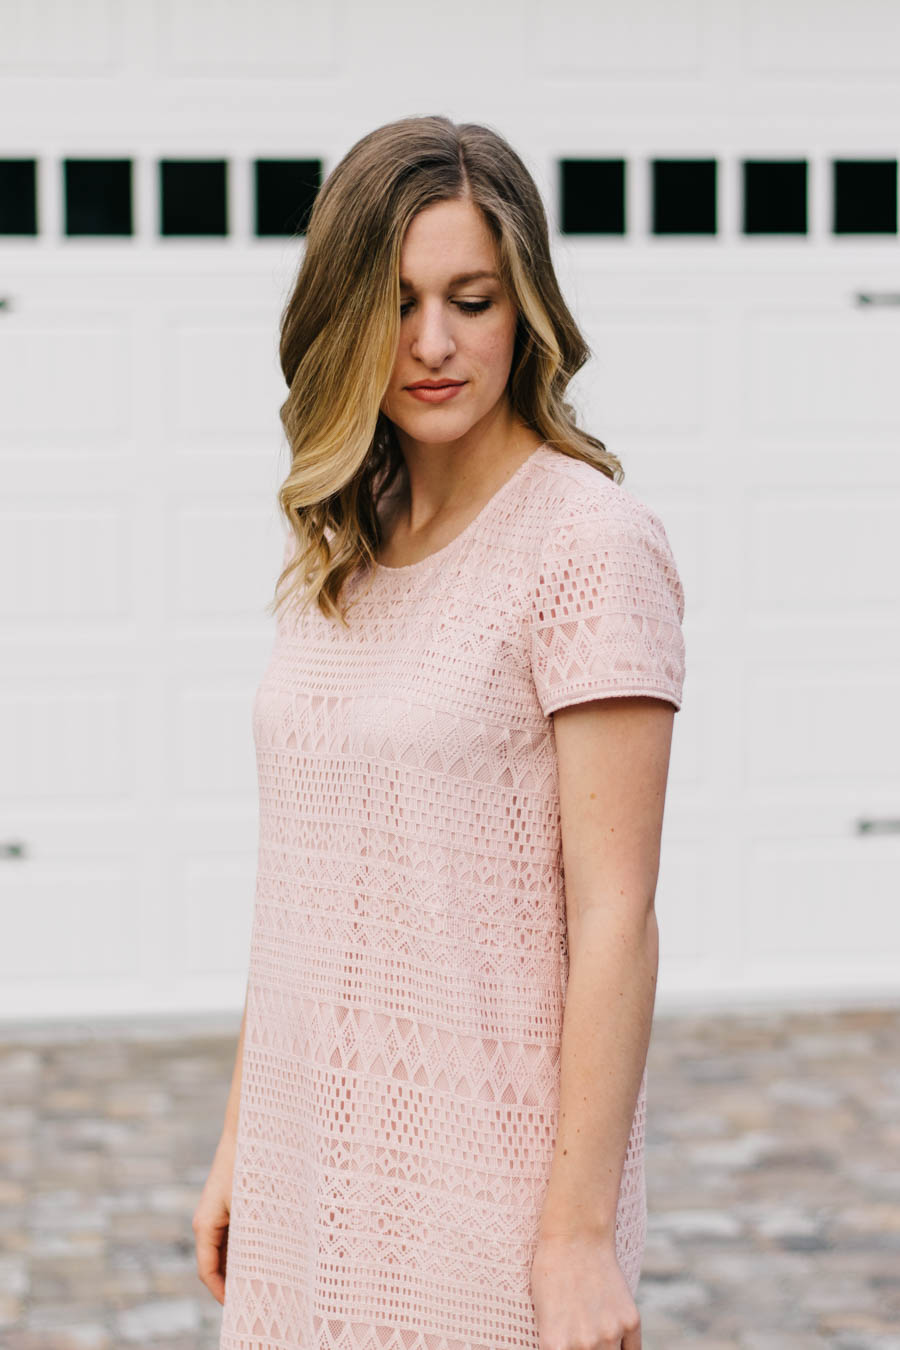
I tried really hard to get the linings to match up, and the lace to pattern match on both sides — but my linings do not match and both sides are about an inch off, and one side seam didn’t pattern match as well. So it’s definitely not perfect! I left the lace a little bit longer than the lining and just cut it at the same spot all the way around to finish it.
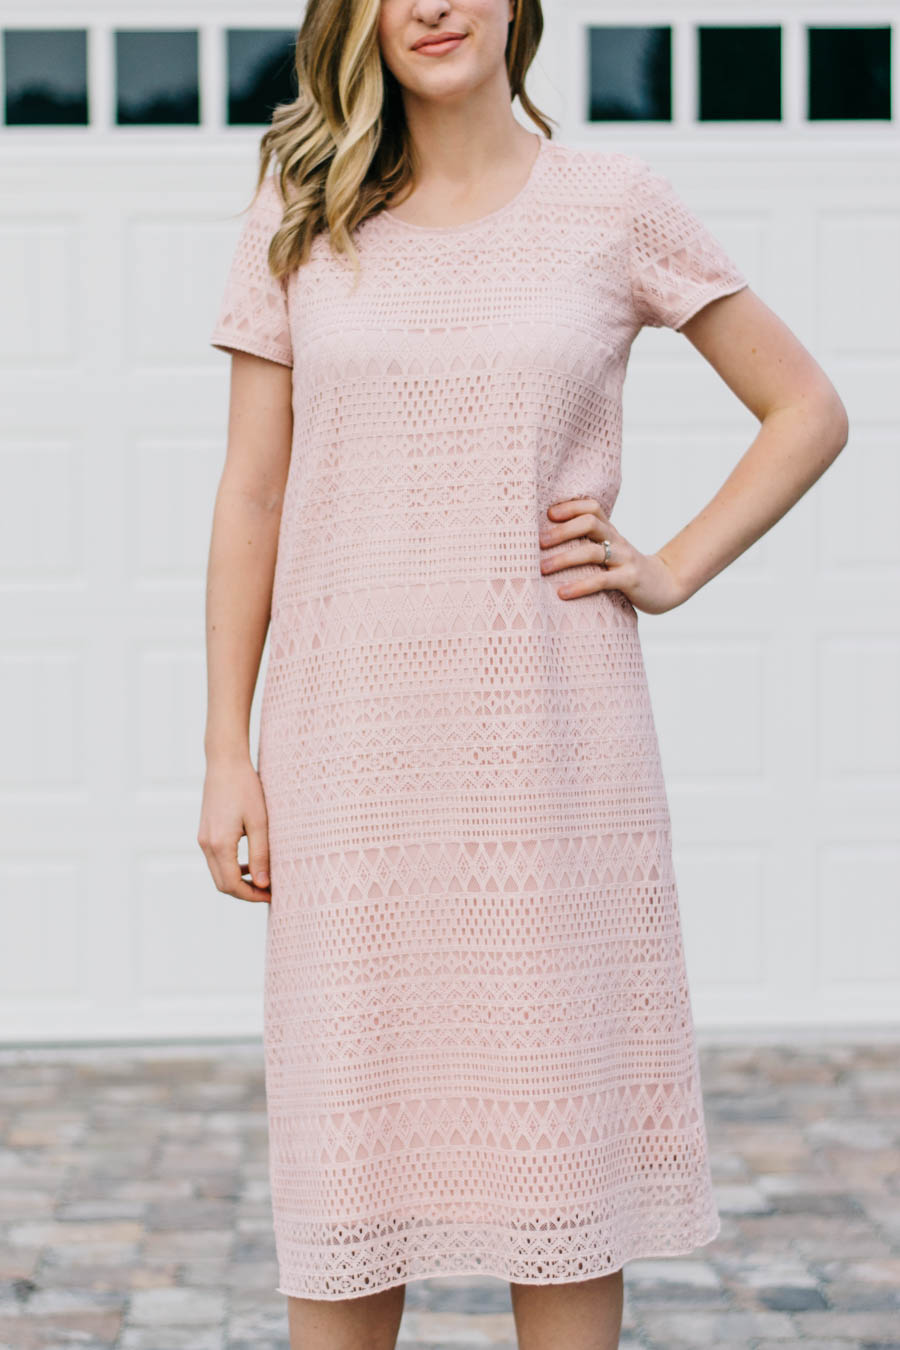
I am VERY glad that I muslined the shirts beforehand to get the fit that I wanted because, although my construction isn’t perfect, I can say that the fit is! I have had a dress like this in my head for years, and it feels so good to have finally made it! Bucket list item, CHECK!
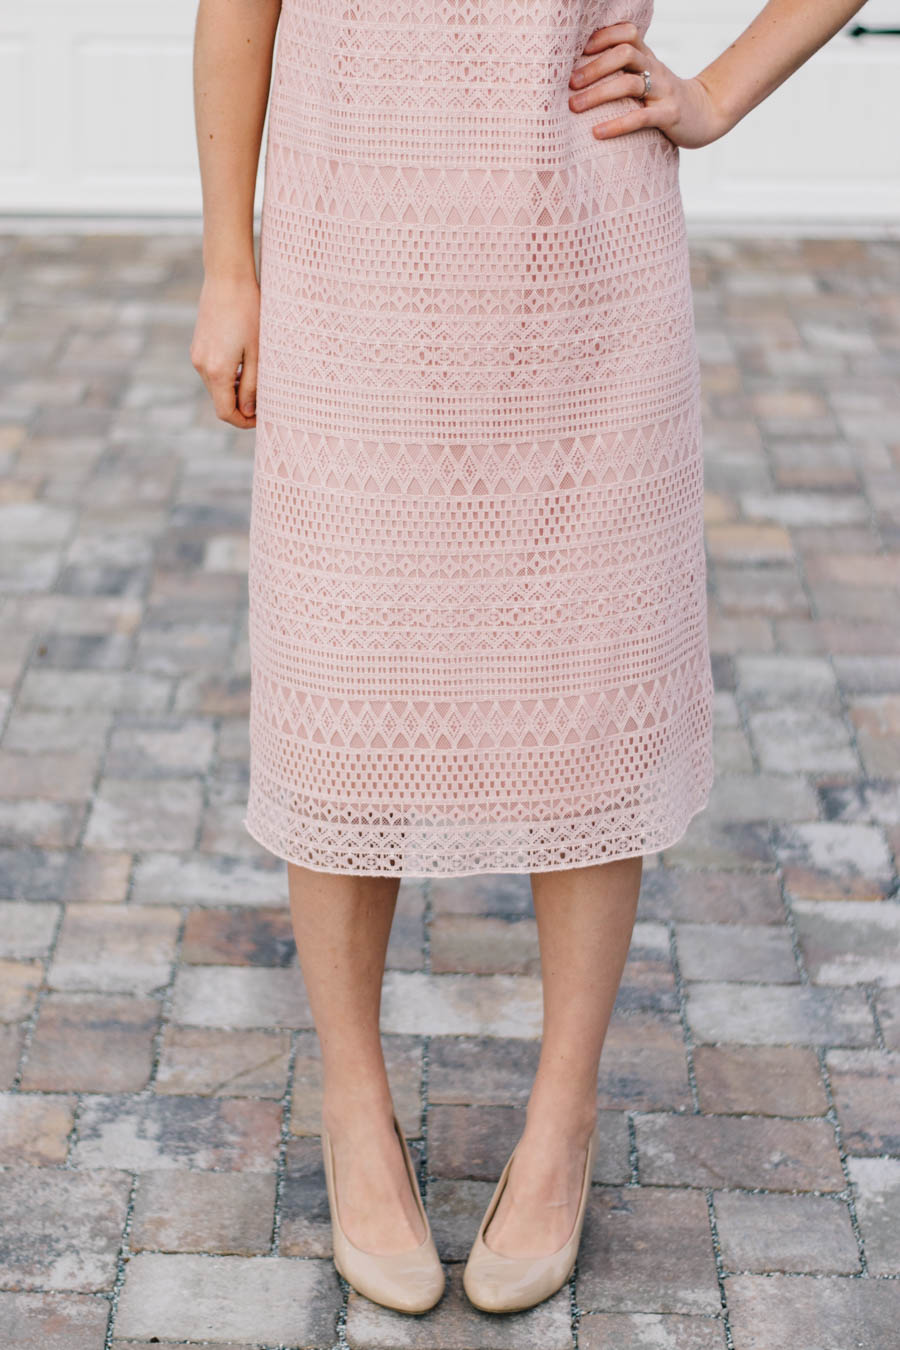
The two fabrics I used are from Fabric Outlet in San Francisco. The lace was a remnant I found while shopping there at the beginning of the year. The silky fabric (I’m not sure of the content) I found when I went to a sewing meetup at Fabric Outlet in December. I was SO happy when I found it because it matches perfectly! I went thinking I was going to have to find a different color or get something online, but when I found this I was AMAZED. This dress was definitely meant to be. (A little dramatic? Nah!)
Do you like making new things for holidays? Do you have any fun plans for Valentine’s Day?
This is a Indiesew Blogger Team post. All thoughts and opinions are my own.
This post contains affiliate links. For more information see our Affiliate Links disclosure.
So pretty on you!!!!!!!!
Thank you Emily!! I love the fit and I’m so happy to have finally made something with lace! 😀
It’s so beautiful! The blush color is so perfect for Valentines Day, and it will be perfect all spring and summer! 😍
Thank you Sky!! I LOVE the color too and I have a feeling I’m going to be wearing it a LOT!
Absolutely lovely!