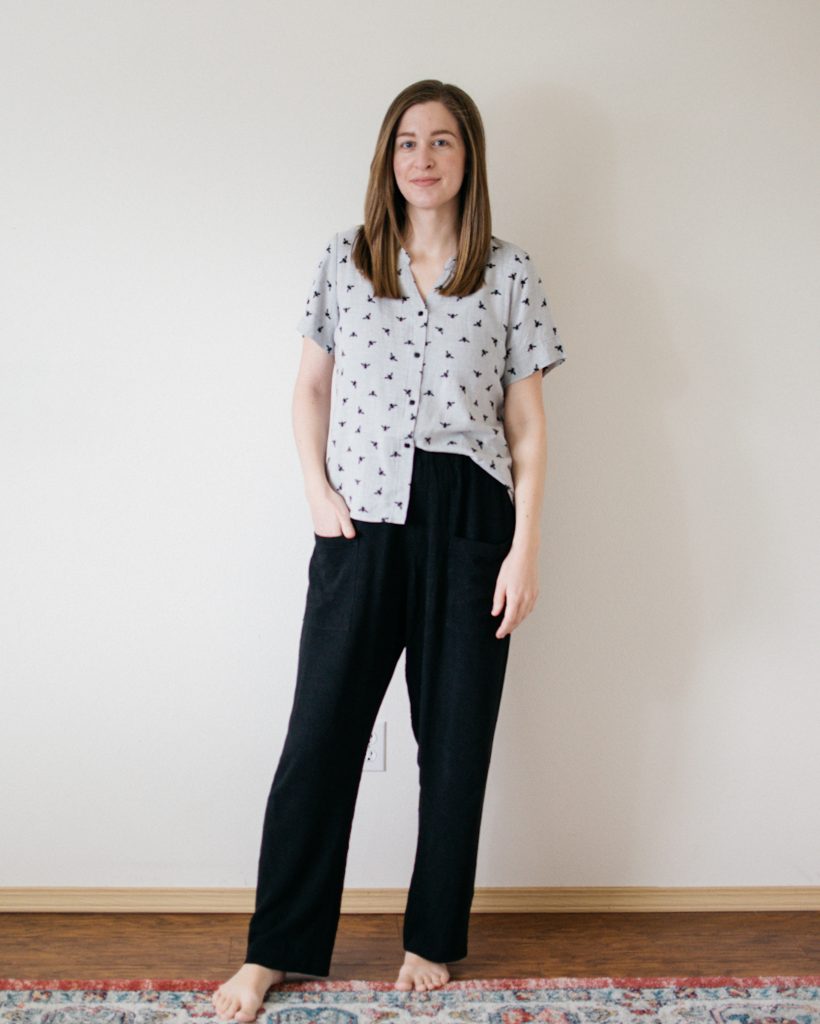
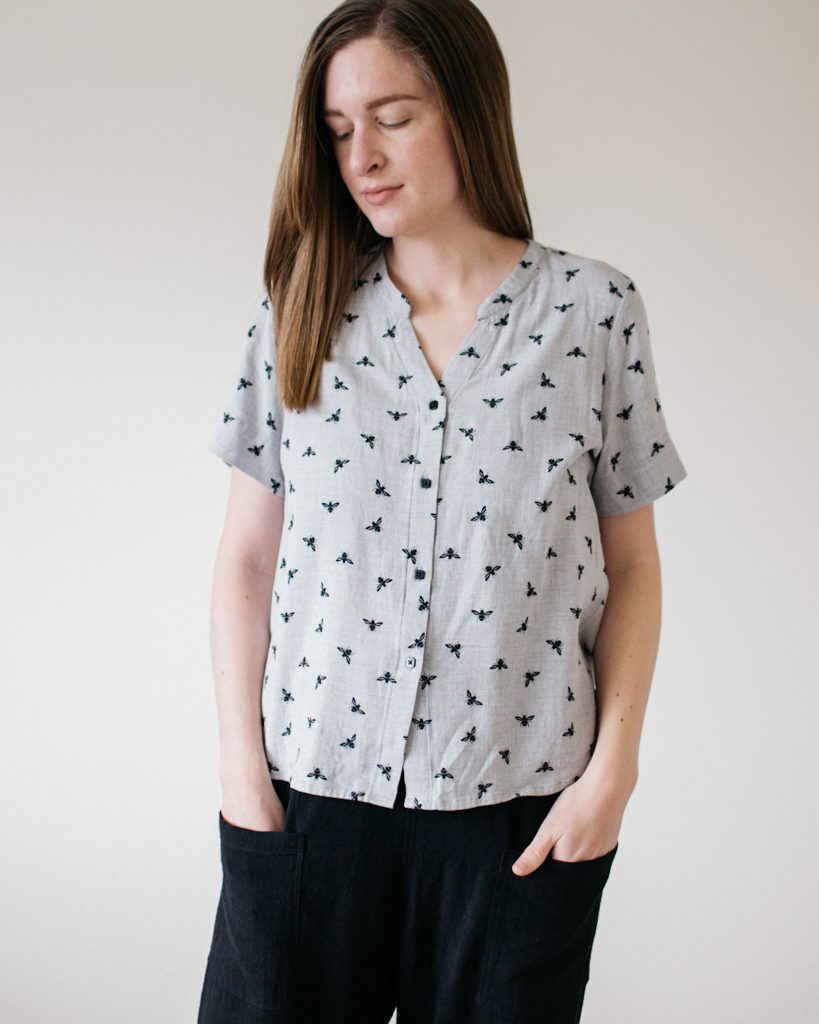
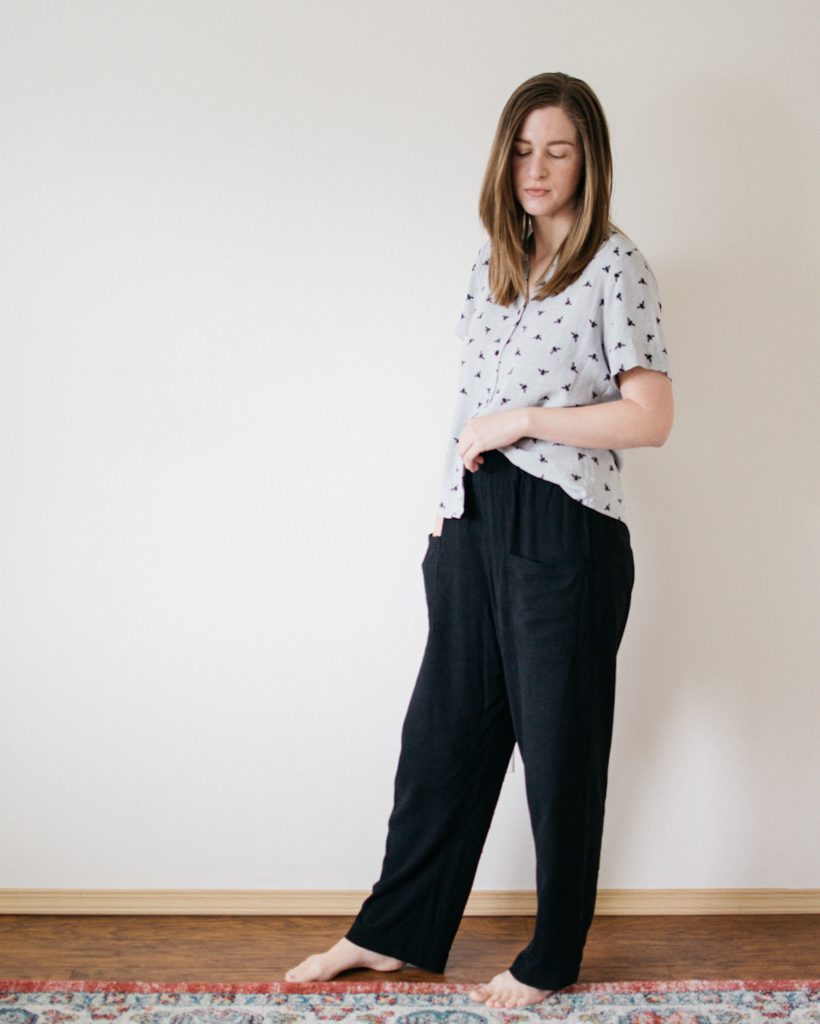
After I had Braden and was nursing, I went to Ross and bought a few button up shirts because I didn’t have almost anything nursing friendly. I’ve since gotten rid of most of those shirts, but there was one that I kept because I loved the style and how it fit. Every time I would wear it, it would drive me crazy, though, because it was 100% polyester and SO staticky. I’ve been meaning to remake it, and finally got around to it using the Bonn Shirt by Itch to Stitch.
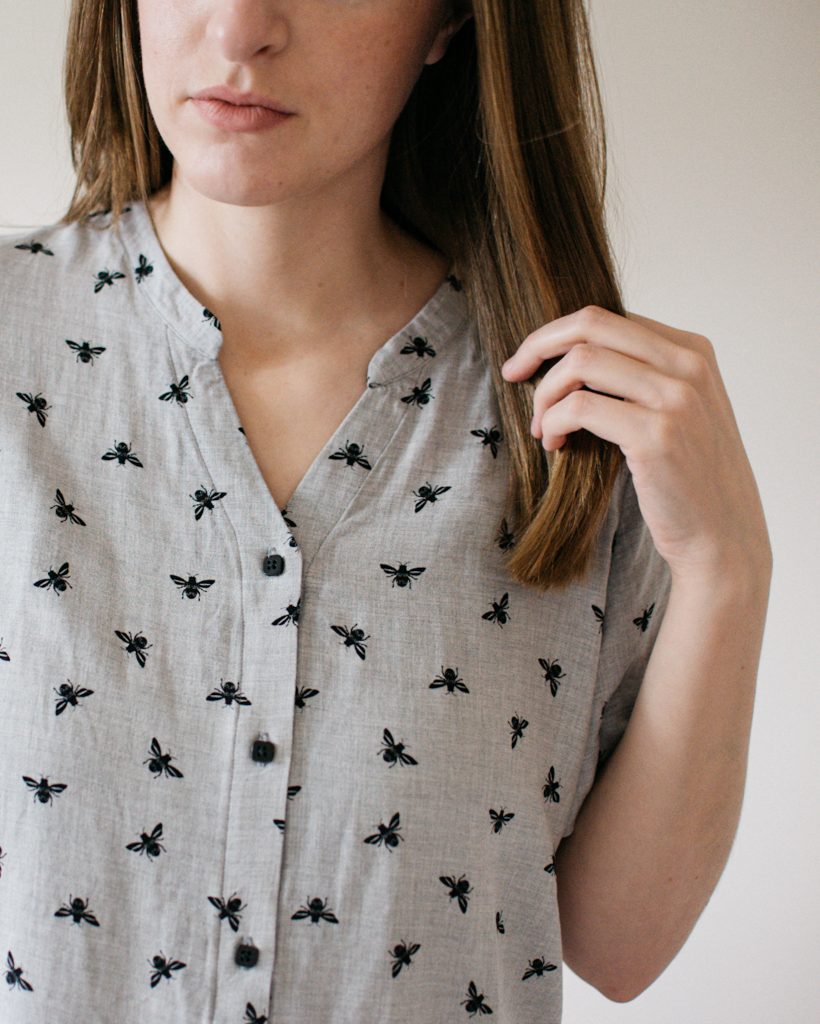
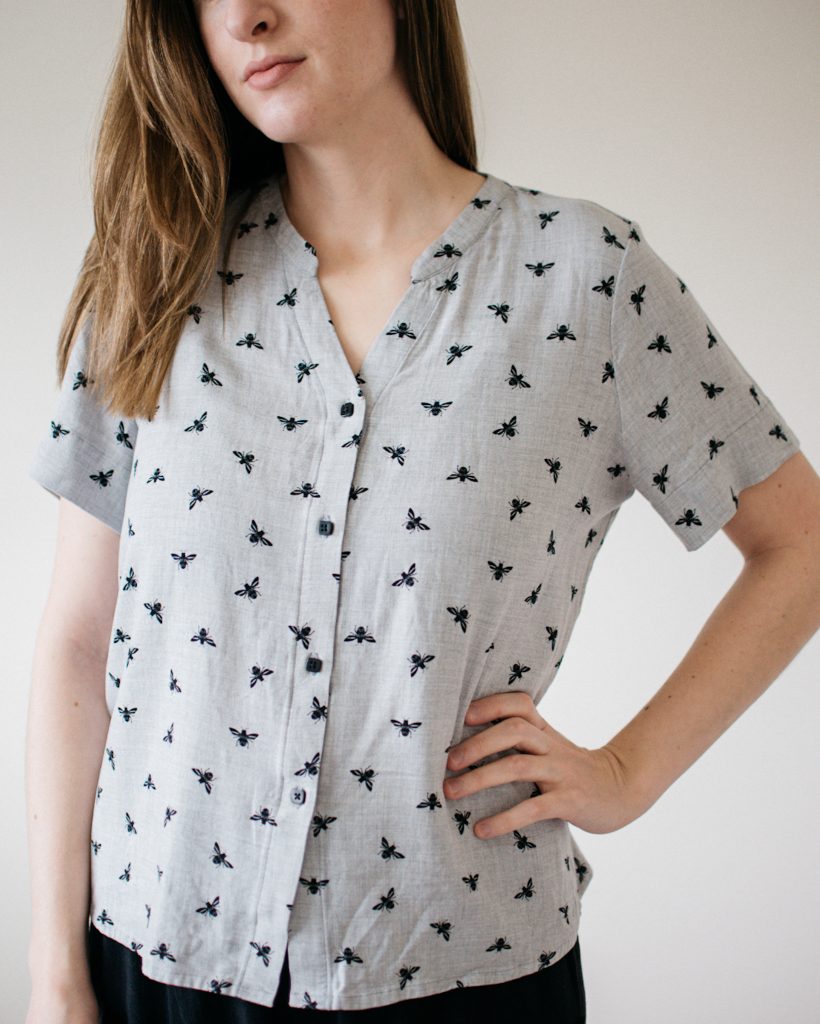
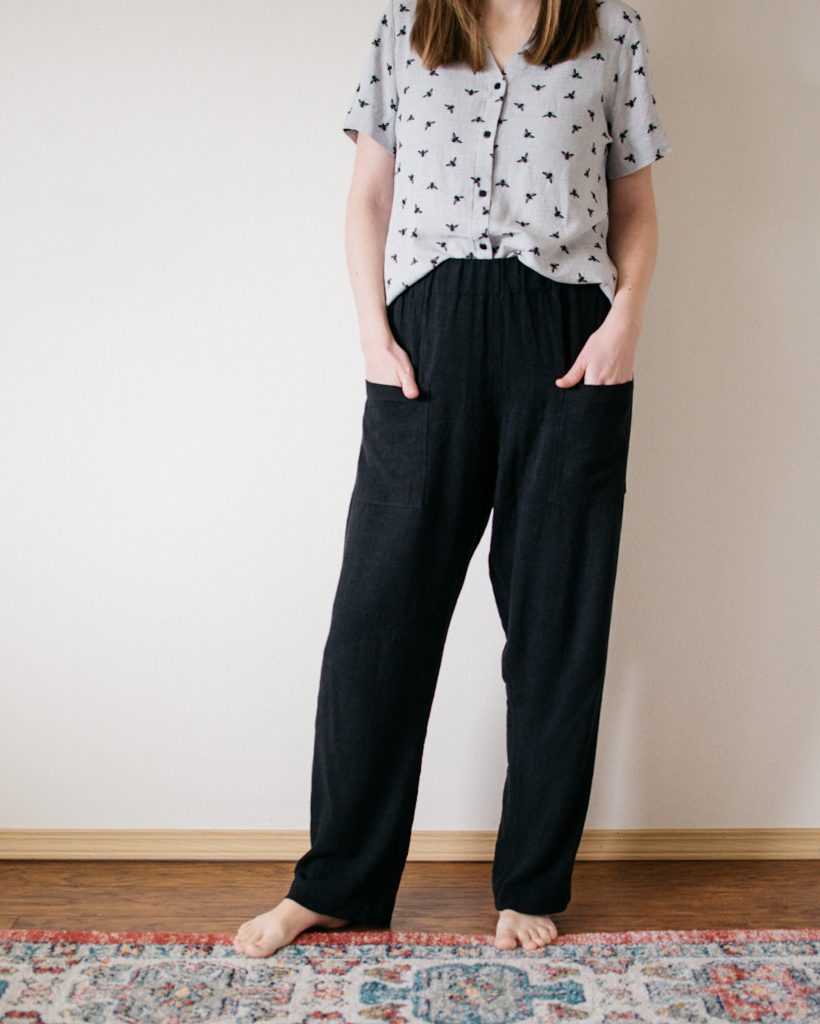
I used the Bonn Shirt as the main pattern, but to get the boxy shape and loose feel that my RTW shirt had, I also used the Key Largo Top by Hey June. The Key Largo is my favorite basic woven tee pattern, and doing a mashup with the Bonn Shirt worked perfect! To sum it up, I used the collar and button placket from the Bonn Shirt; then used the shaping and sleeves from the Key Largo. I didn’t pay much attention to which size I used for the Key Largo, because I was more focused on getting it to be the same shape as my RTW shirt.
This awesome bee fabric is a rayon from Blackbird Fabrics I purchased two-ish years ago. The first time I saw it in my email, I knew it was going to sell out fast, and sure enough, it was sold out in like an hour. So when they restocked I jumped on it immediately! If you were lucky enough to get some, then I definitely recommend making it into a comfy button up or tee!
The Pomona Pants by Anna Allen came out a year ago, when I was pregnant with Vanessa, but that didn’t stop me from buying them! Haha. I actually forgot that I had bought them and bought them again, then when I realized my mistake, I let Anna know I didn’t need two digital copies. She was awesome and thankfully refunded me for the second purchase.
After making them and trying them on I was a bit confused about how they looked and felt on me. I’m not completely onboard with high rise pants, but I REALLY loved these on all of the people who have posted about them (#PomonaPants on Instagram), so I wanted to give them a try. It has now been confirmed that I just need to stick to mid rise. Luckily, that’s not a hard adjustment to make if it just has an elastic waistband.
Teri Dodds has a blog post a couple of years ago about how she lowered the rise of her Free Range Slacks, and she linked to this blog post about common pant alterations. It was super helpful, and I was so glad that the adjustment is as easy as just shortening the rise and then redrawing the curve. I actually plan on making the Free Range Slacks next, so I was SO happy to read her blog post.
I made a size 14, which is one up from my usual 12. In the instructions it says to go with the size that is large enough for you to get over your hips, and I was worried, so I went up a size. But I have plenty of room and definitely could have just made my normal size. The pattern is meant for linen fabric and this fabric isn’t quite as rigid, so I think that played a part in these feeling a little larger on me too. I also added 2″ to the length, but they were plenty long enough, so I ended up cutting 1.5″ off at the end. The good news is that I know I’ll need much less fabric for these next time! Haha.
The instructions for the Pomonas are great, and I didn’t get lost at all. There is literally ONE pattern piece, if you don’t include the pocket square. I was relieved the size I made fit on the table so that I didn’t have to cut on the floor, but I thought that was interesting!
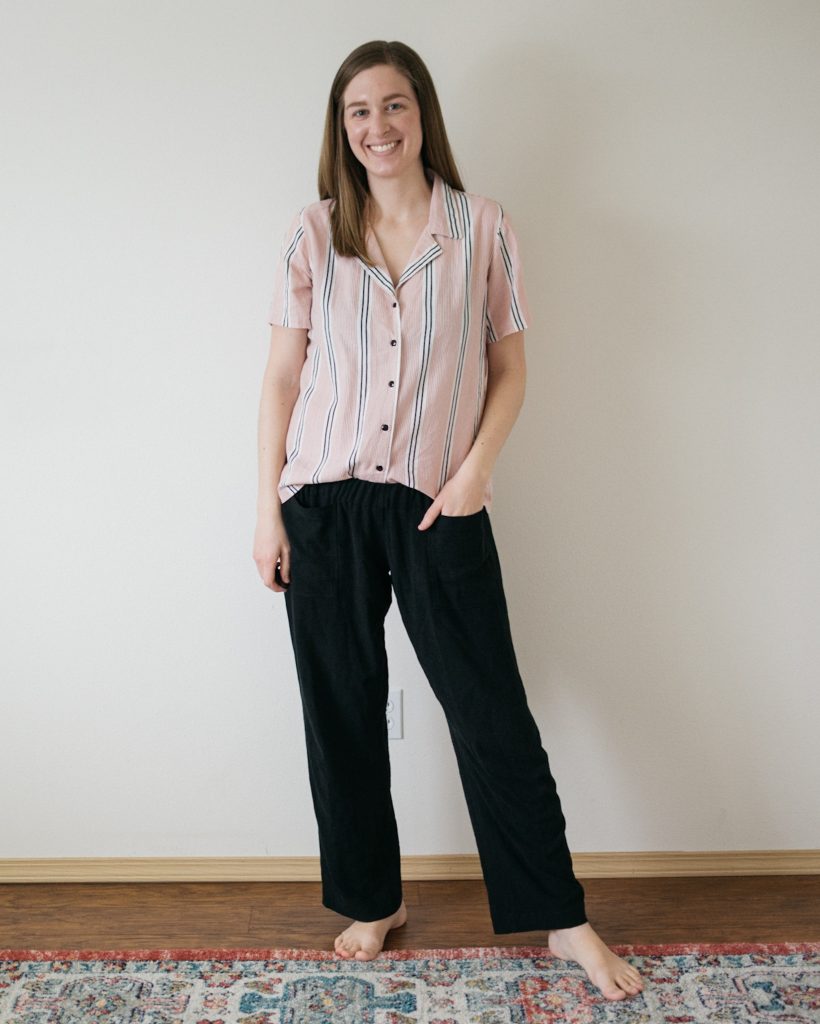
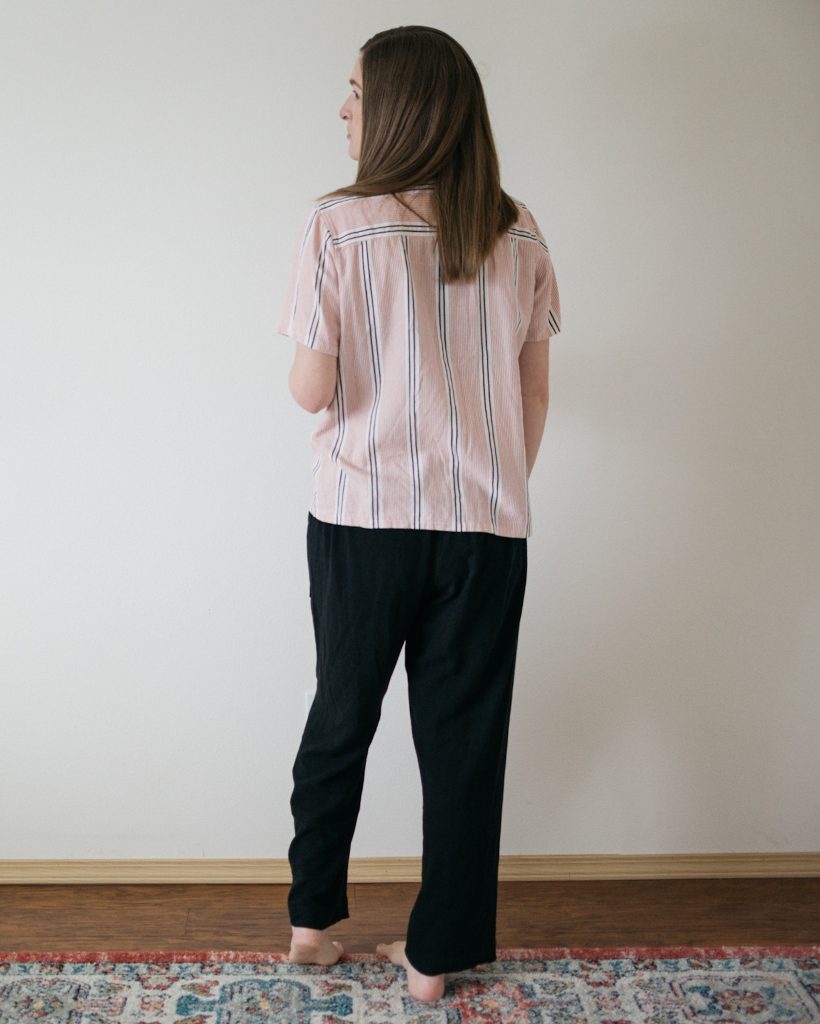
The fabric for the pants is a Slub Texture Linen/Rayon from Style Maker Fabrics (it comes in loads of colors!). It was pretty easy to work with (much less shifty than regular rayon), and it washes really easily and nicely. One thing I noticed is that when I was wearing the pants, I sat cross legged on the couch and then when I got up the knees were bagging out a bit. Nothing a little steam couldn’t fix before I took these pictures, but I didn’t realize that would happen. It’s probably common with pants made with fabric that doesn’t have spandex content, but these are my first, so I will remember that in the future.
Update: The high rise of the pants were driving me so crazy that I redid the waistband. Since I already had the waistband sewn on really well, I didn’t want to unpick and risk snagging this fabric, so I ended up cutting a total of 2.75″ off, since the waistband is folded over .5″ and then 2.25″ again. I got it done in about an hour, and it worked great! In the future I will try removing 2″ from the crotch length to make the pattern mid-rise and see how that goes. 2.75″ was a little much, but it’s still much better than it was, and I honestly think they look and fit better on me. That’s what it’s all about anyways! (Worn with my Willamette x Carolyn Mashup)
I’m so happy to have finally created these things that I had planned to make for so long. If you have any questions, let me know.
Happy sewing!
I enjoyed reading your interesting dialog and the picture are very nice! You are beautiful inside and out.
Thanks Grandma! <3