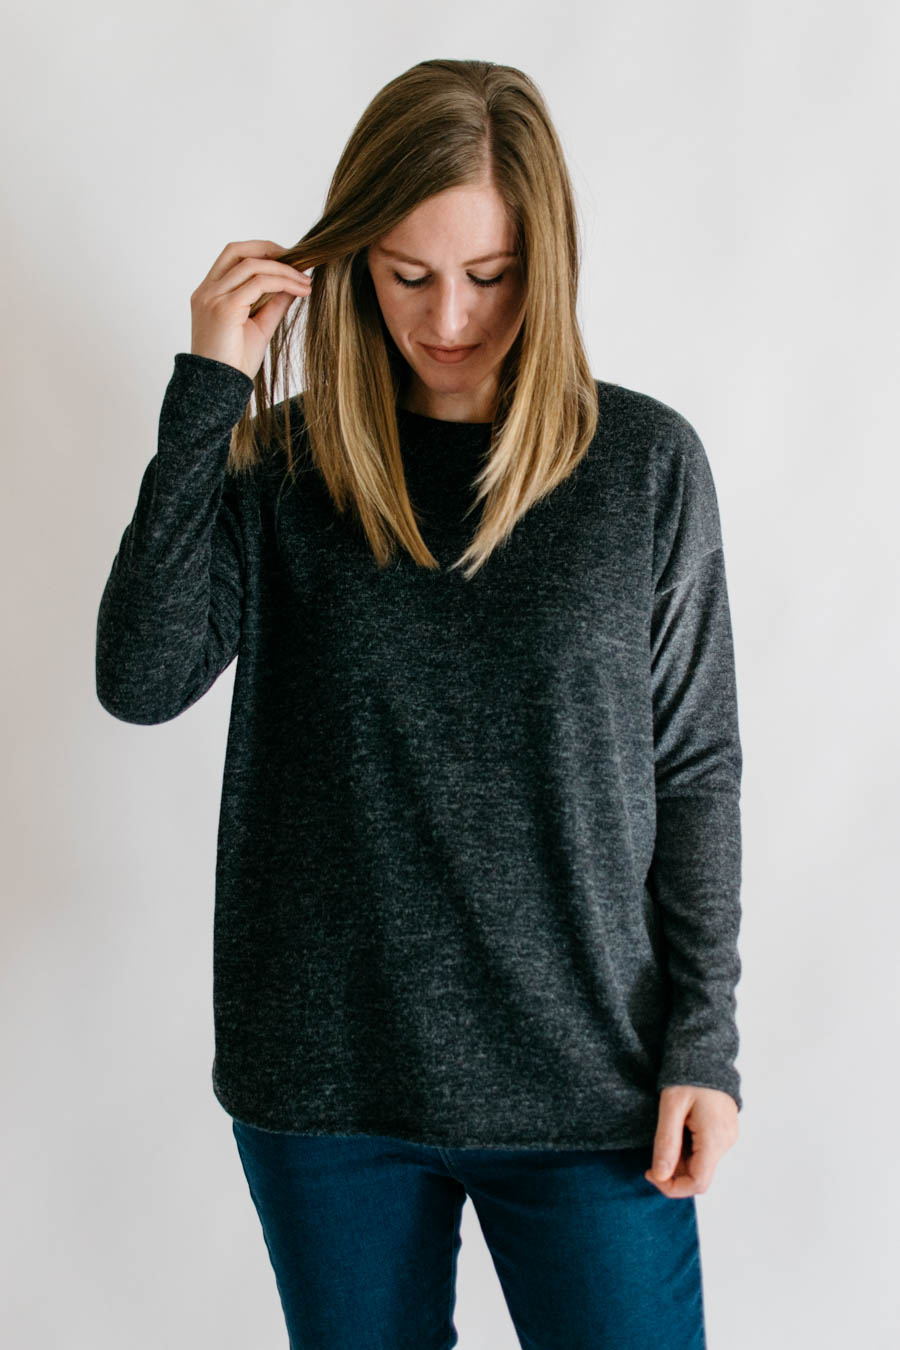
Most of the things I’ve been making lately have been on my list for so long, but I can honestly say that I didn’t really plan on making the Mandy Boat Tee (FREE PDF pattern!) until a few months ago when I heard on the Love To Sew Podcast that the hosts, Caroline and Helen, really like it. I looked up #mandyboattee on Instagram, and there are over 1K posts! So it has to be a good one, right? Plus, did I mention that it’s FREE?
This fabric is a wool blend knit that I bought from JoAnn a few years ago. So it had been sitting, and I decided that it would probably work really well for the Mandy since it’s such a loose fitting pattern.
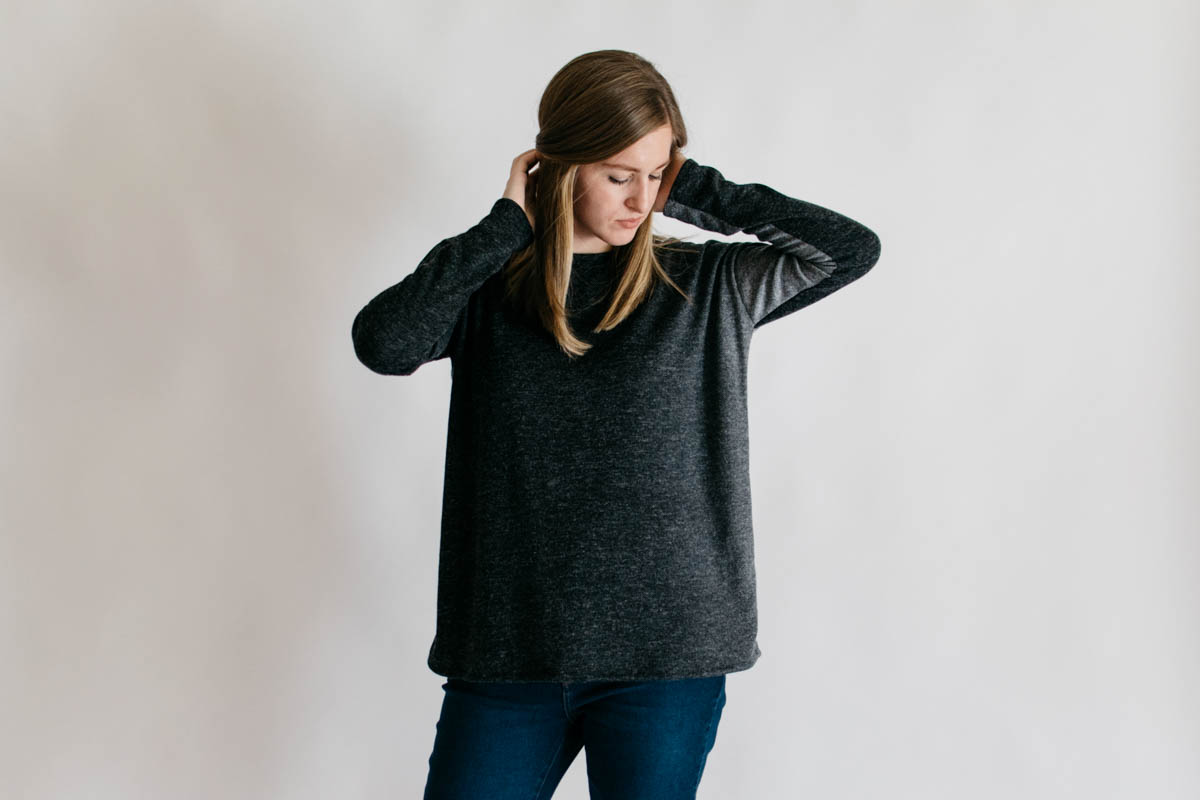
Tessui Fabrics release the new sizing for the pattern right after I printed it through the copy shop, and since I had heard so many people say that the pattern was really wide, I decided to just buck up and print it on my own printer. It actually didn’t take very long to cut and tape together, and I was very happy about that.
My first try with this fabric didn’t go very well, but I got it PERFECT on the second try. For reference my measurements are 37.5″ bust, 32″ waist, 42″ hips, and my height is 5’11. The pattern is in centimeters, so that means I’m about 95cm in the bust, which put me at the large end of the size 2. I decided to stick with the size 2 first, since I had enough fabric to make another one if I needed to.
Mandy #1 (Below – Not pictured anywhere else in this post.): I made a size 2 with no alterations besides bringing the neckline in by 1″ on both sides (for a total of 2″). I noticed right away that the sleeves and shoulders were too tight. With a soft, stretchy fabric, this might be okay, but because my fabric didn’t have a lot of stretch and the wool is a little itchy, it was much more noticeable. I had also made the neckline too narrow, but that was my own doing because didn’t want a wide boat neck. Because of my height, my first tee also came out short, since I hadn’t lengthened the pattern at all. SO – I retraced and went at it again!
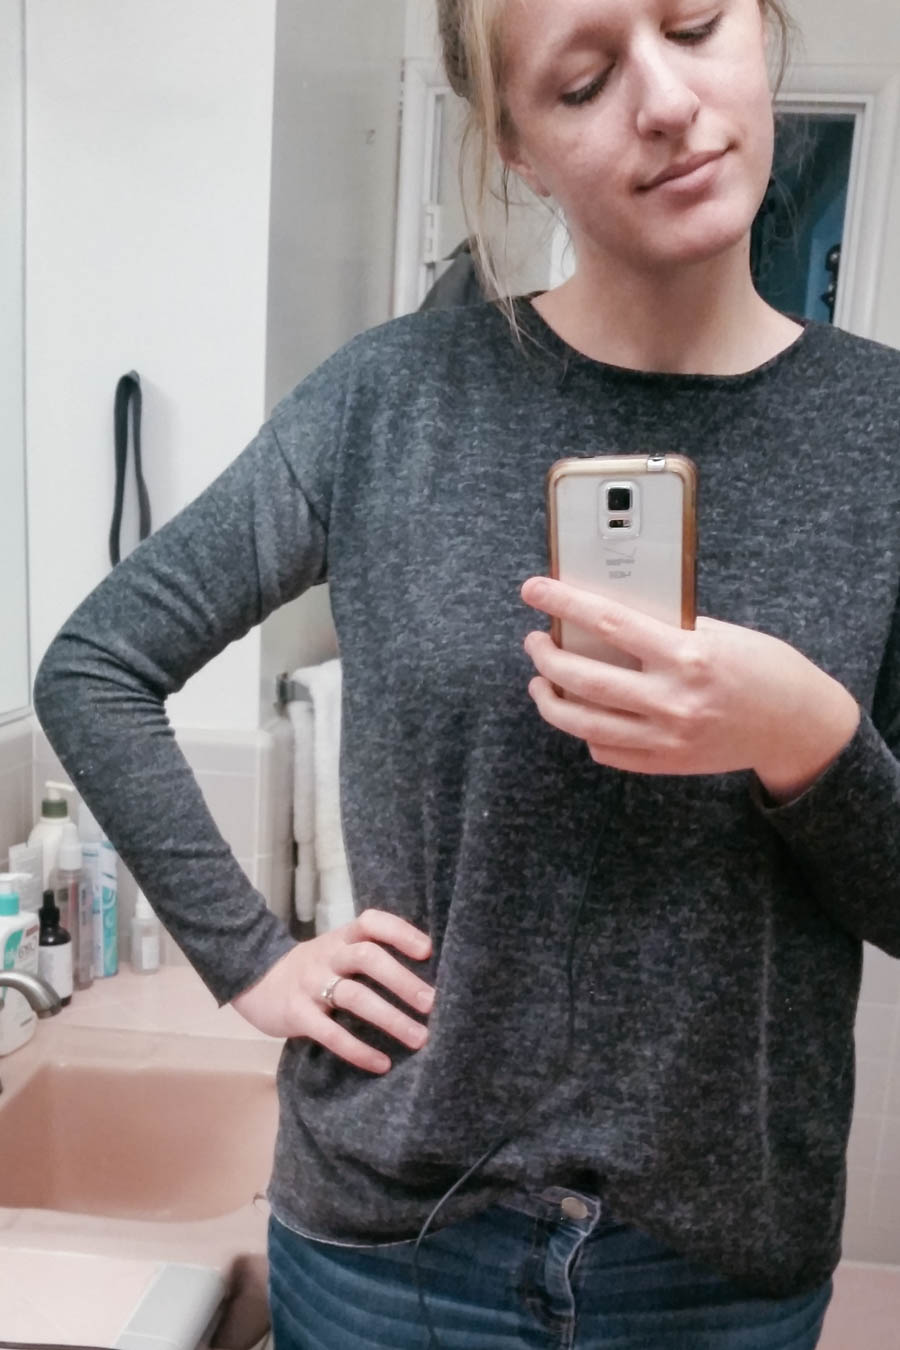
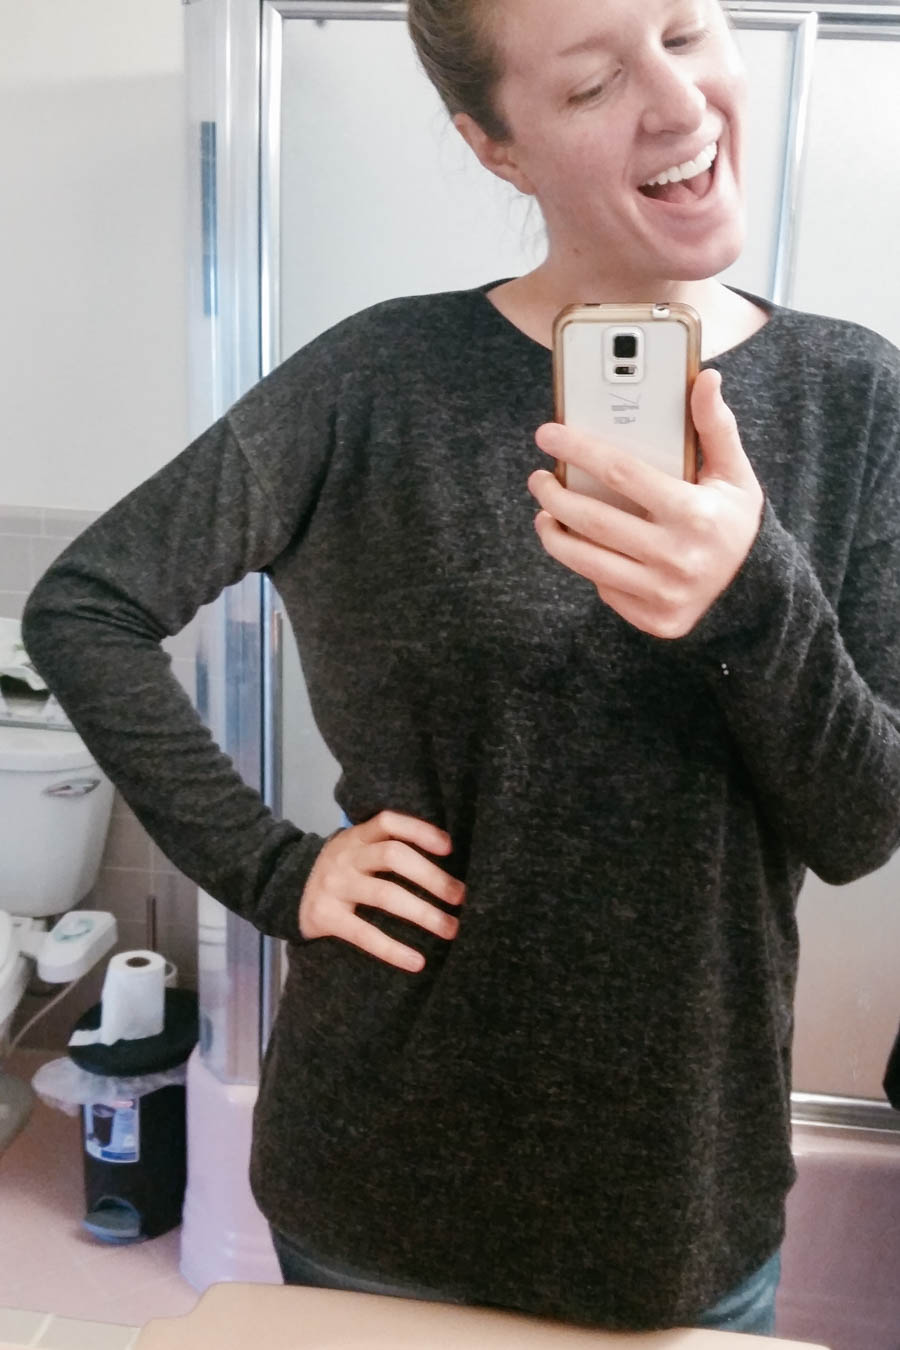
Mandy #2 (above): First, I traced the shoulder seam and brought the neckline in 3/4″ (1.5″ total). Next, I marked where the size 2 shoulder seam stopped and marked 1/2″ out and moved the pattern out to that point so that the shoulder seam and side seam were 1/2″ wider. The last thing I did with the bodice pieces was to lengthen them by 2″.
For the sleeves, I started at the top and traced the top of the shoulder to the size 2 and then graded to the size 4 in the sleeve side seam. I also lengthened the sleeve by 1″ longer than the size 1 sleeve (size 1 has the longest sleeve length).
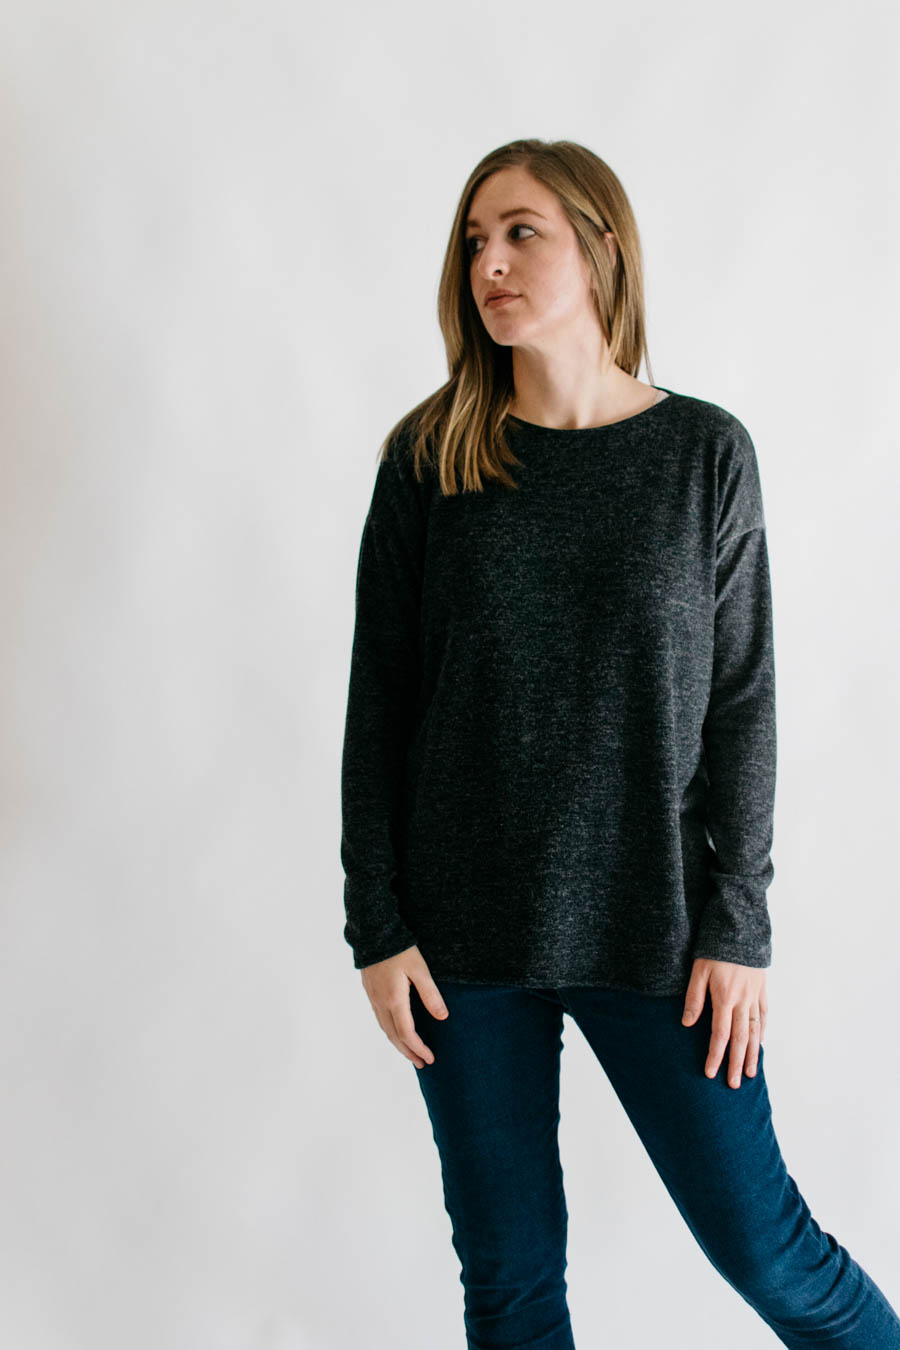
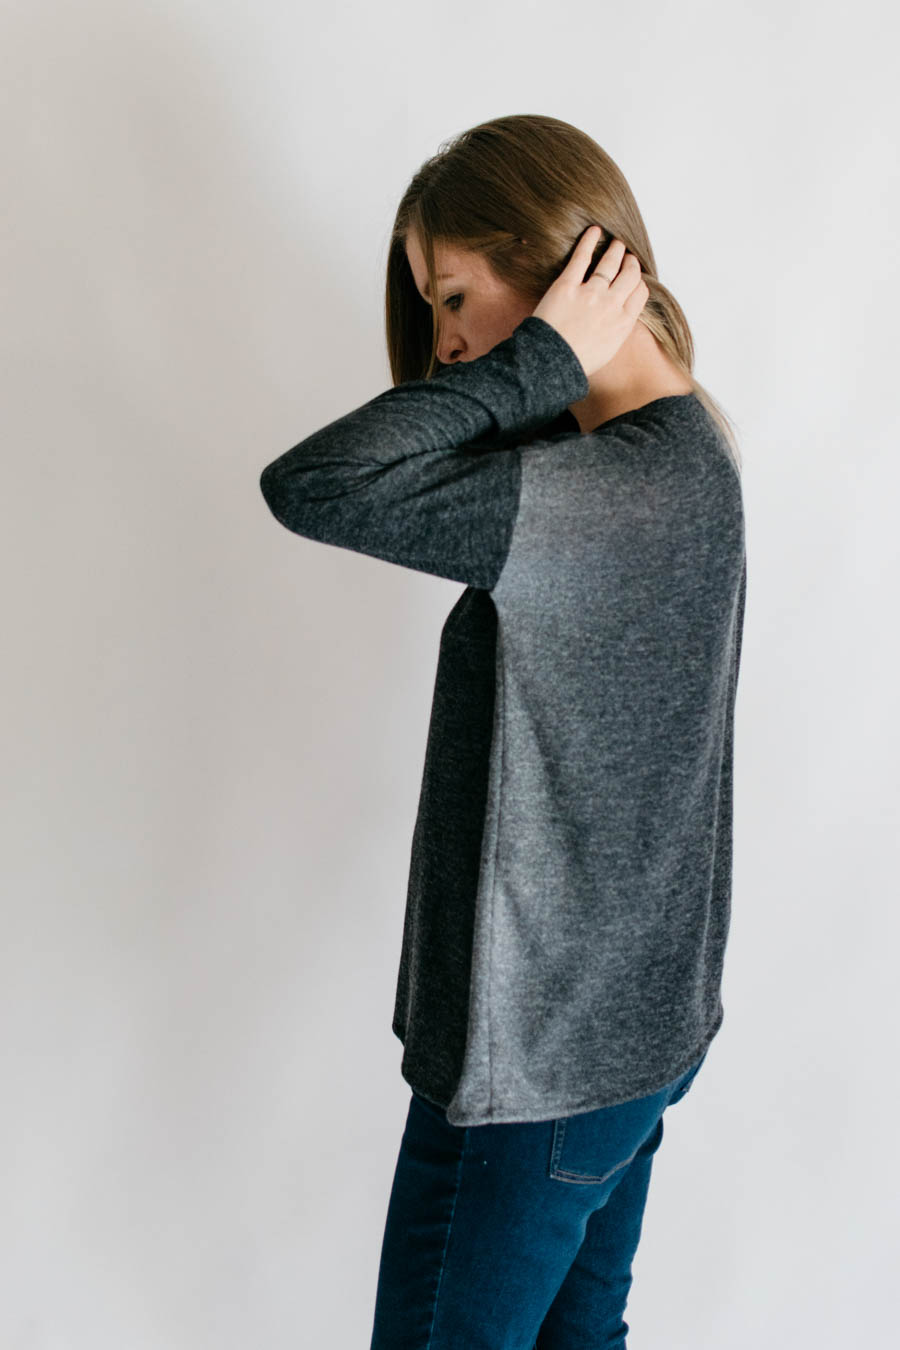
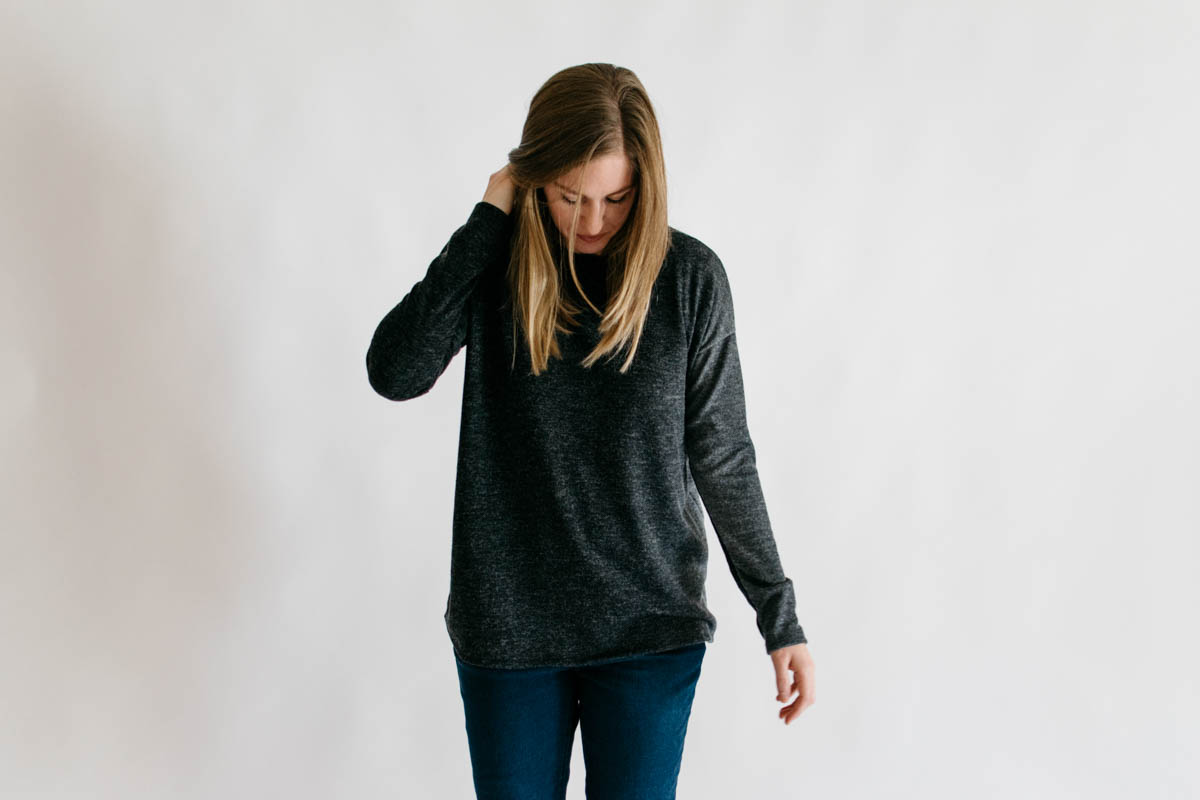
What’s different about the long sleeves on this pattern is that the sleeve sizes are all a different length…which was really confusing. If you want ACTUAL long sleeves, make sure you trace all the way down to the size 1 length, since that’s the actual length of a long sleeve. (Maybe the sleeves are different lengths because the shoulder seam gets wider? I’m not sure.)
This pattern takes a little bit of figuring out, but it’s SO nice that it has the separate sizes now so that I don’t have to do as much guess work as I would have with the old version!
My advice is to choose your size based on the amount of stretch in your fabric. If you have a normal jersey fabric with good stretch and recovery, go with the size on the chart. If your fabric has less stretch (or isn’t very soft), size up OR make it a little wider like I did. AND you may want to grade out on the sleeves (you can always take them in later).
This shirt is so comfortable and I sewed them up SO. FAST. I hope walking you through my process helped, and please let me know if you have any questions! Happy Mandy Boat Tee sewing!
***UPDATE*** If you want to change the neckline of the Mandy, the Monroe Turtleneck is the exact same pattern but with a different neckline, and I have found it much easier to adjust. The Monroe Turtleneck pattern is also free!
I finished my Mandy Boat Tee last weekend, and it’s interesting to seehow you went about it. I’m rather short so I had to shorten it a bit. And the 3/4 sleeves were about full sleeve length for me. I used size 1, and my fabric is very loosely knit and slouchy so that fits pretty nicely. I’m planning to make another one from jersey so I’ll use your tips for its sizing!
It’s definitely going to be different for everyone, and I’m no pattern alteration expert, but I hope you found something in the post that might be helpful. 🙂 Thank you, Karin!
HI Karin,
I’m about to cut out and ever version i have seen is a bit too tight around the upper arm. I didn’t quite understand your alteration – when you say for the sleeve you started at the top and traced the top of the shoulder to the size 2 and then graded to the size 4 in the sleeve side seam, do you mean it was a size 2 at the shoulder seam then got wider further down the arm? I feel like the seam between the shoulder and arm is where it is quite tight?
It’s been a while, so only if you remember 🙂
Thanks,
Kirsty
So sorry this is a bit late, Kristy, but I was referring to the sleeve piece because it was okay for me in the shoulder, but way too tight around the arms. If it’s too tight at the top where the sleeve meets the shoulder, you may want to size up or just make the armscye bigger and adjust the sleeve piece. I hope you were able to get it right for you!