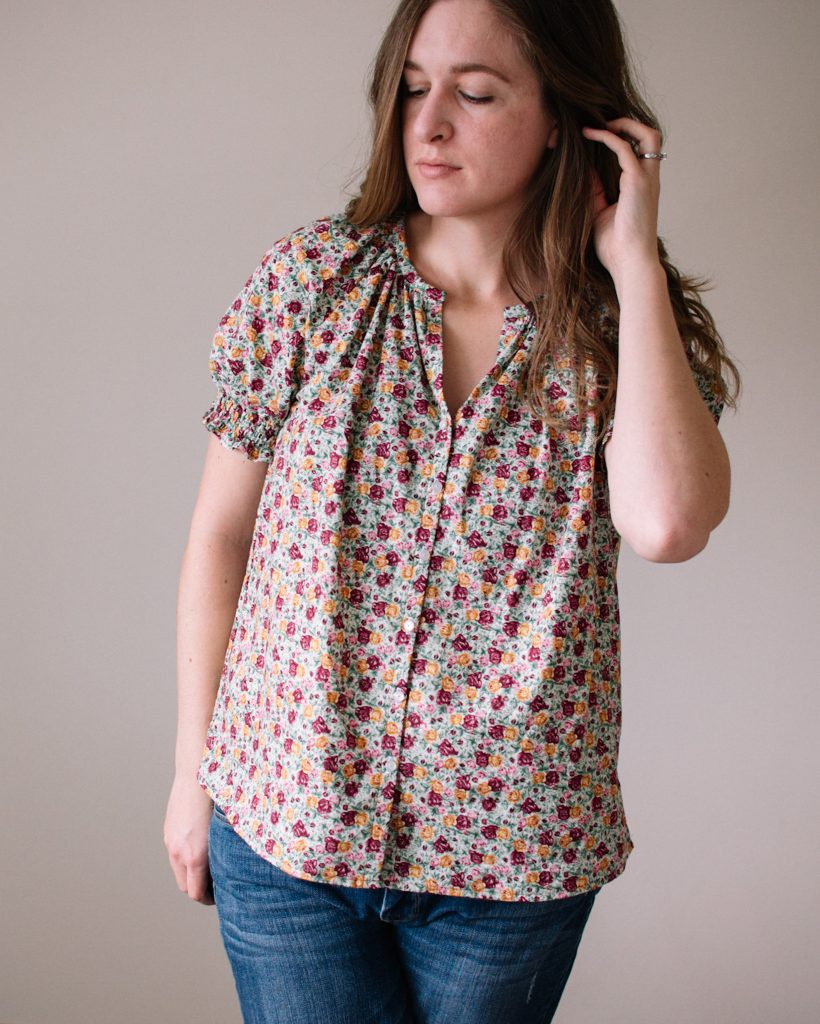
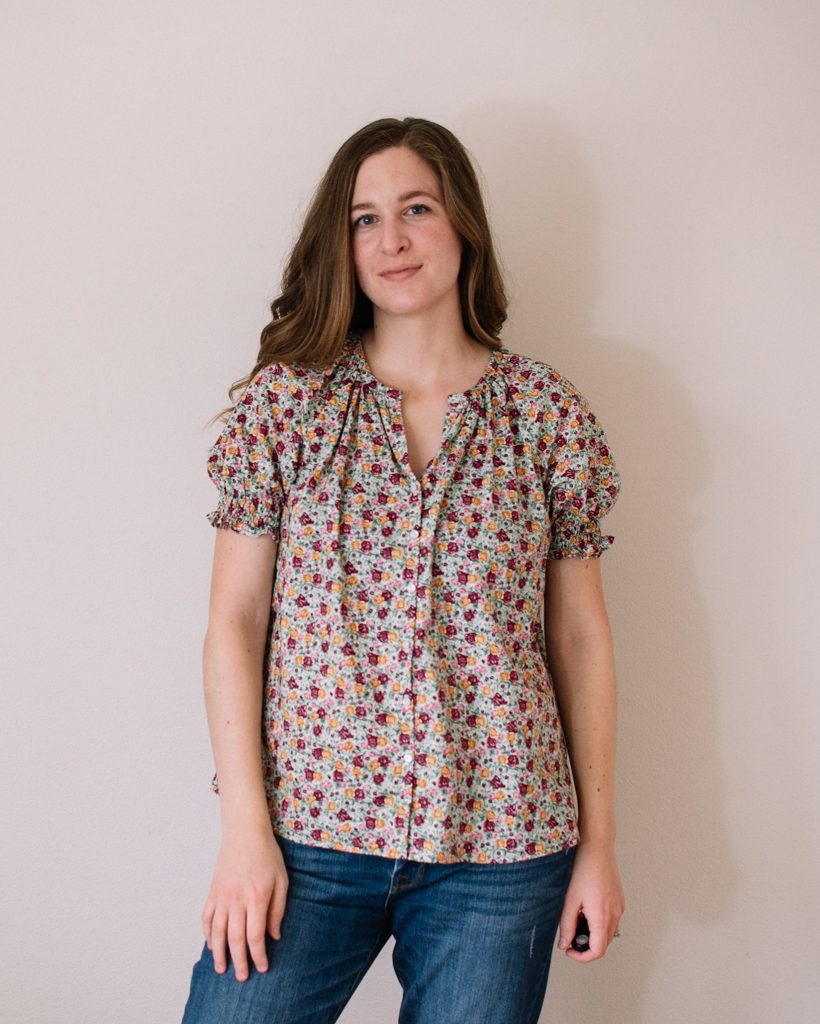
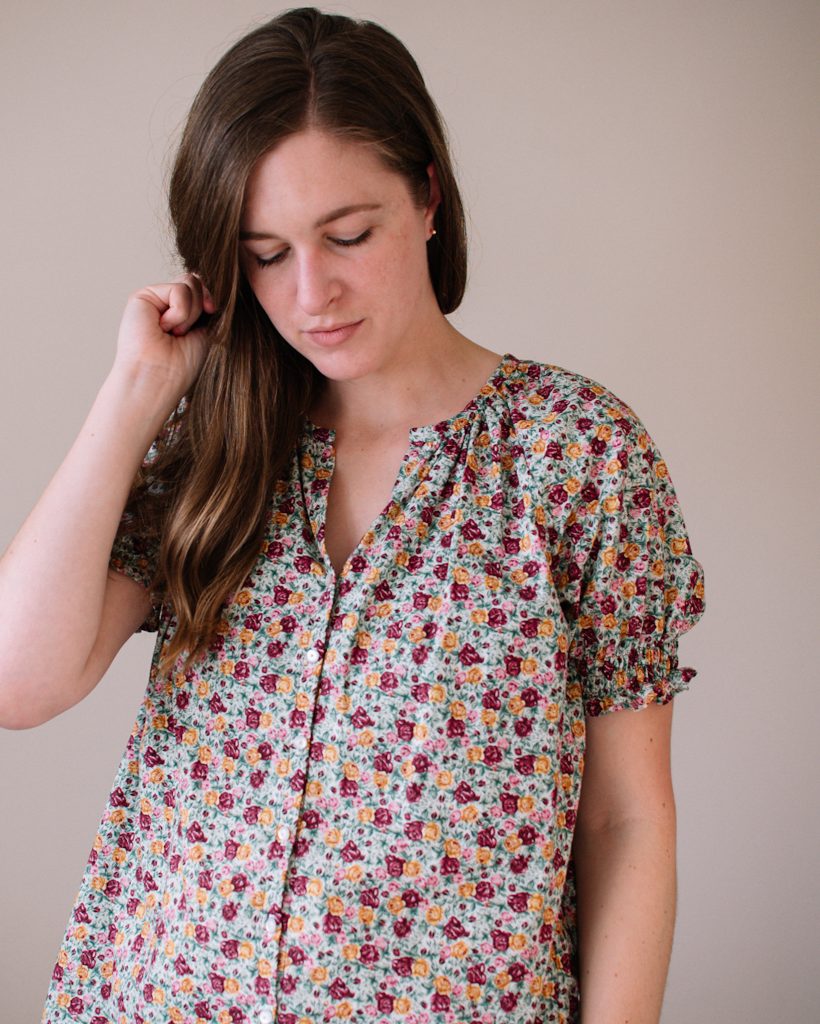
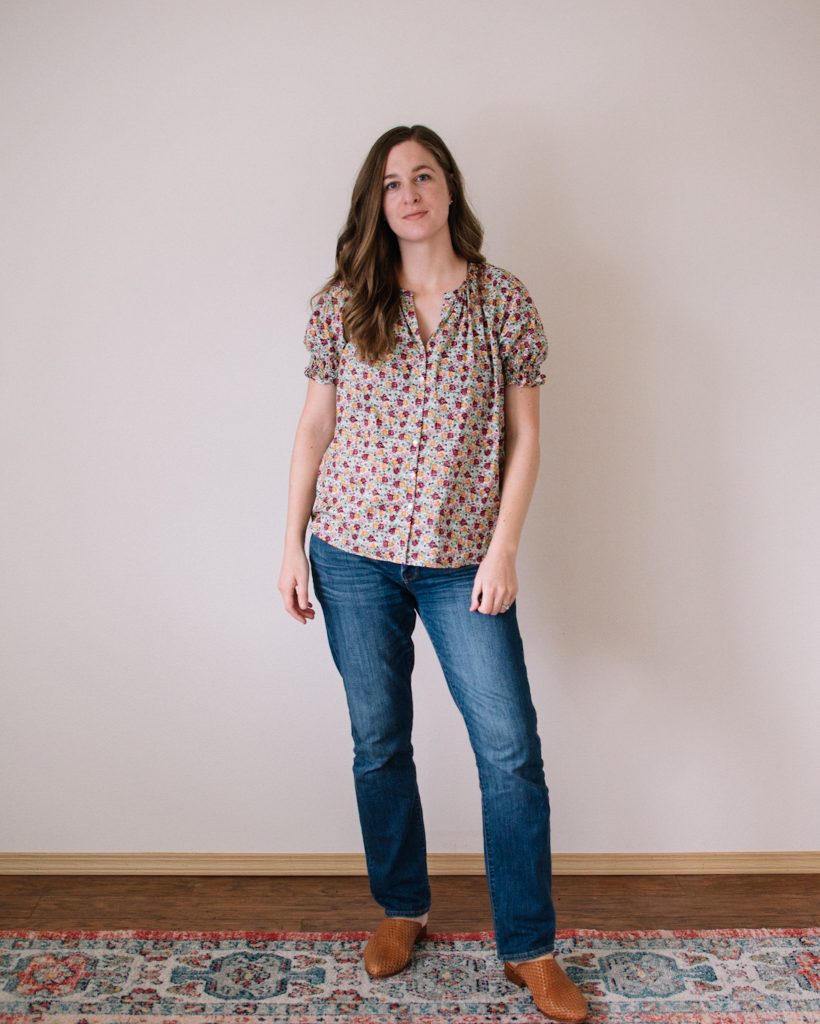
I’m back at it with the second button up Roscoe Blouse that I really wanted to finish before moving onto some fall sewing. I loved my first short sleeved version, so I really wanted to try a shirred short sleeve, similar to the one I saw Alexis @mysweetsunshine make.
If you’re wondering how I made the Roscoe into a button up, you can check out this post where I wrote in detail about how I did it. I made this version the same length as my last one because it was perfect (shortened the original pattern by 1″).
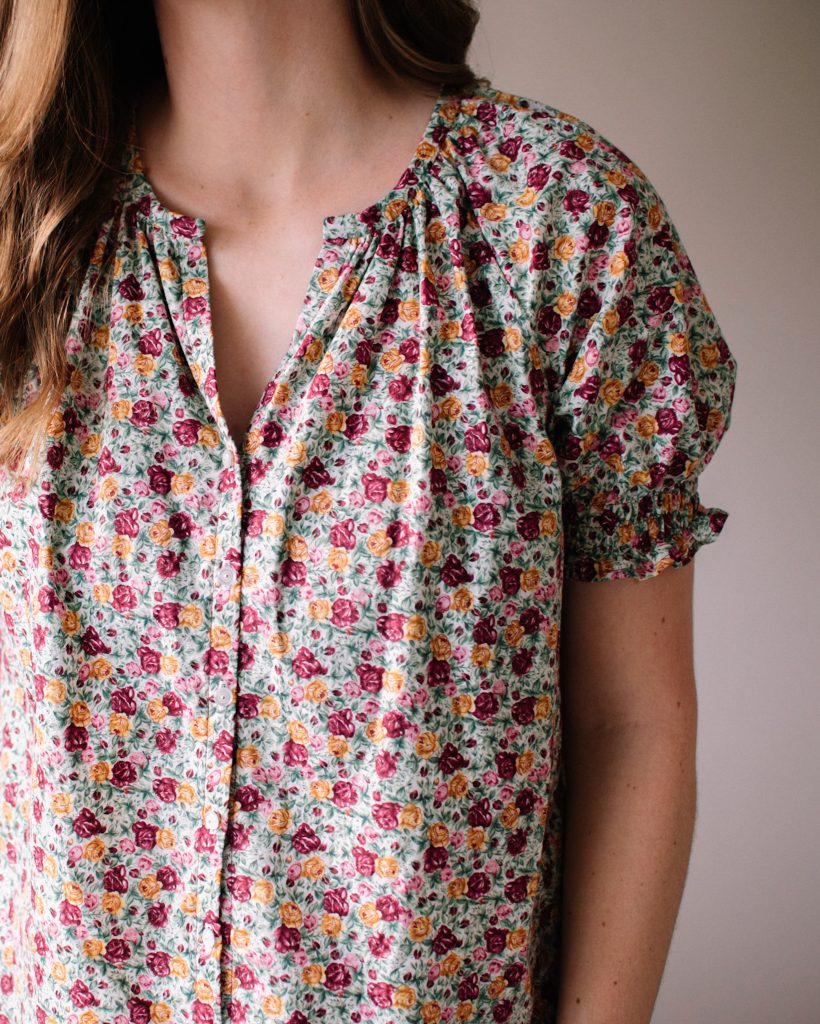
For the shirred sleeves, I shortened the original sleeve by 8″ and made sure to leave the curve at the hem. First, I hemmed the sleeves by folding over twice by 1/4″ and then edge stitched. Then I went up from the hem by 3/4″ and drew a line parallel to the hem with a blue fabric pen. Then I drew another line a 1/2″ above that, and another 1/2″ above that – so that I had three parallel lines to follow for the shirring.
I carefully wound my bobbin by hand with the shirring thread, and used regular thread for the top thread. I have an older mechanical Bernina, and I didn’t adjust the tension at all, and it did just fine on my first try. I made sure to backstitch at the beginning and end of each row of stitching. Then I sewed the blouse together like normal – making sure to align the hem of the sleeves really well. I also did French seams on the inside, so I think that really secured the shirring threads. If I hadn’t done French seams, I might have stitched over them twice still just to make sure they didn’t eventually pop out.
I haven’t done shirring before, but it seems like a pretty popular thing that people are trying on sleeves and bodices of patterns lately. There are tons of videos on YouTube on how to do it, so I just watched a few of the ones that popped up, and then went for it!
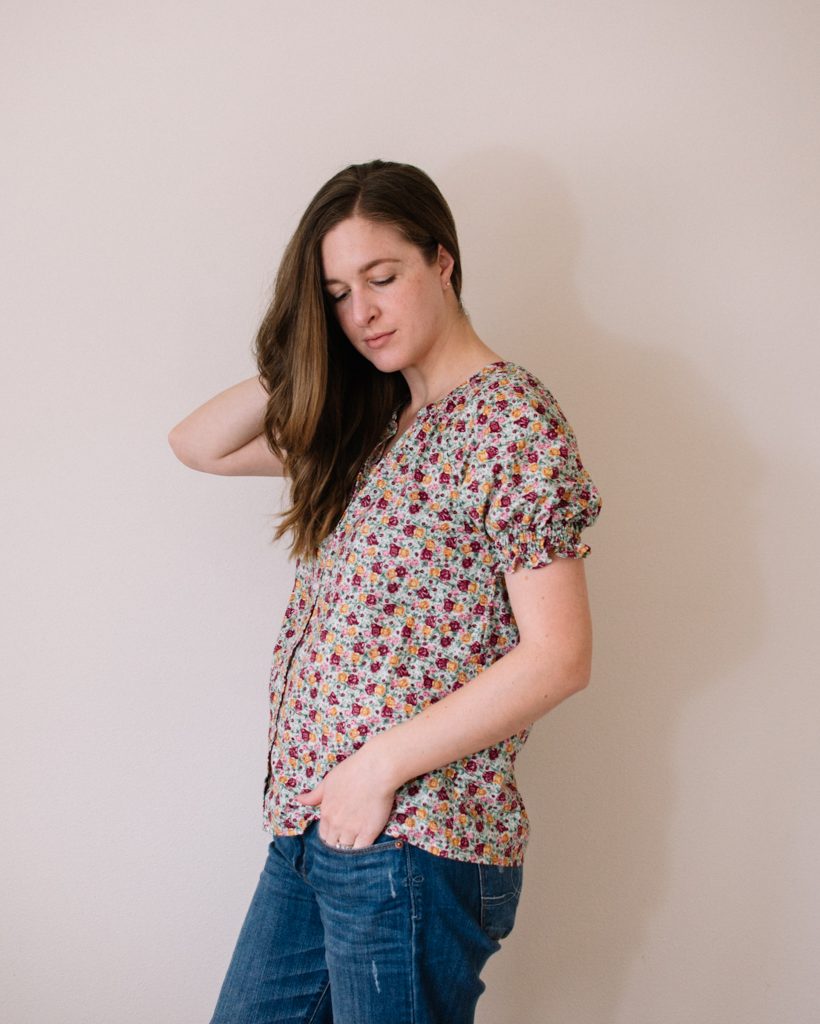
If I were to make this blouse again, I would make the sleeves 1.5-2″ longer because I didn’t really think about how much they would ride up from the shirring. In these photos I pulled the shirring down a little bit, but if I go about my day and I’m reaching for things or lifting my arms, the shirring rides up under my arm which is kind of annoying. If you want to make a Roscoe like this, make sure to measure from right under your armpit, to the place you want the hem to hit, and then use that as a guide on how long to make the sleeves. (I don’t know if that makes sense, but it makes sense to me. Lol.)
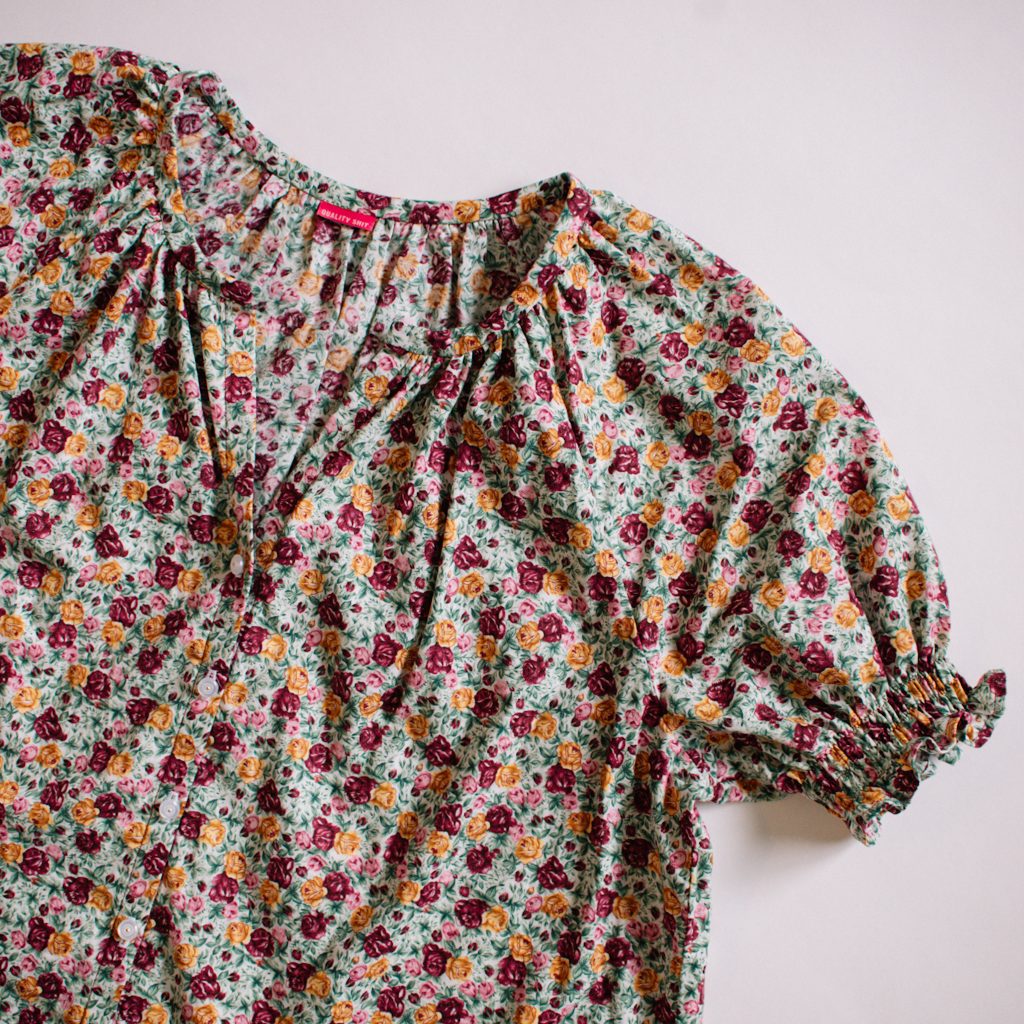
I really like the shirring, but I think my machine did it a little bit too well, and the sleeves are snug. So next time I might play with the tension more to see if I can have it be a little more loose.
I bought this cotton lawn fabric at the thrift store a few months ago, and I have quite a bit left, so I think I may try to remake this top and adjust the sleeves and shirring. I will make sure to update this post if/when I do. 🙂
Let me know in the comments if you have any questions, and happy Roscoe Blouse sewing!
Roscoe Love! I Pinterized your button-up tutorial – for a flannel version. The button front is such a great idea since I’ve never finished the ties to my satisfaction. (But I still wear it constantly.) Congratulations on finishing summer wear…I’m stalling on my last make!
Thank you, Lodi! A flannel Roscoe sounds so cozy and beautiful! The ties are a struggle for me too, so the button up is much easier for me. I hope you get the energy to finish your last make soon!