I bought these jeans last Thursday from the thrift store. I haven’t been to the thrift store very much since the pandemic started, so when I found these, I didn’t realize that I wouldn’t be able to try them on. I really liked these jeans, so I took a chance and bought them anyways. They are ‘boyfriend’ fit, so they are supposed to be more loose fitting, but they needed taken in by 2″ in the waist. I got to browsing YouTube and found this video on how to take-in the waist on jeans, and it was exactly what I needed!
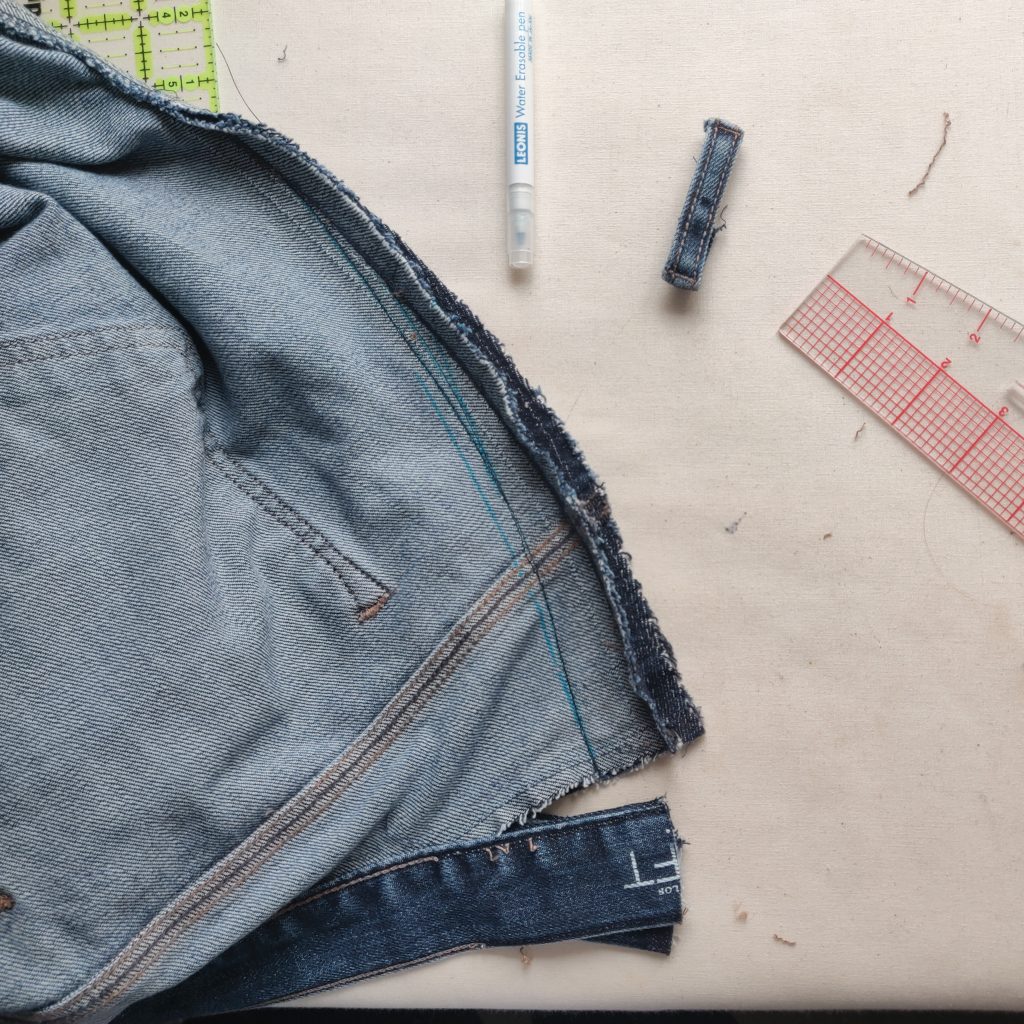
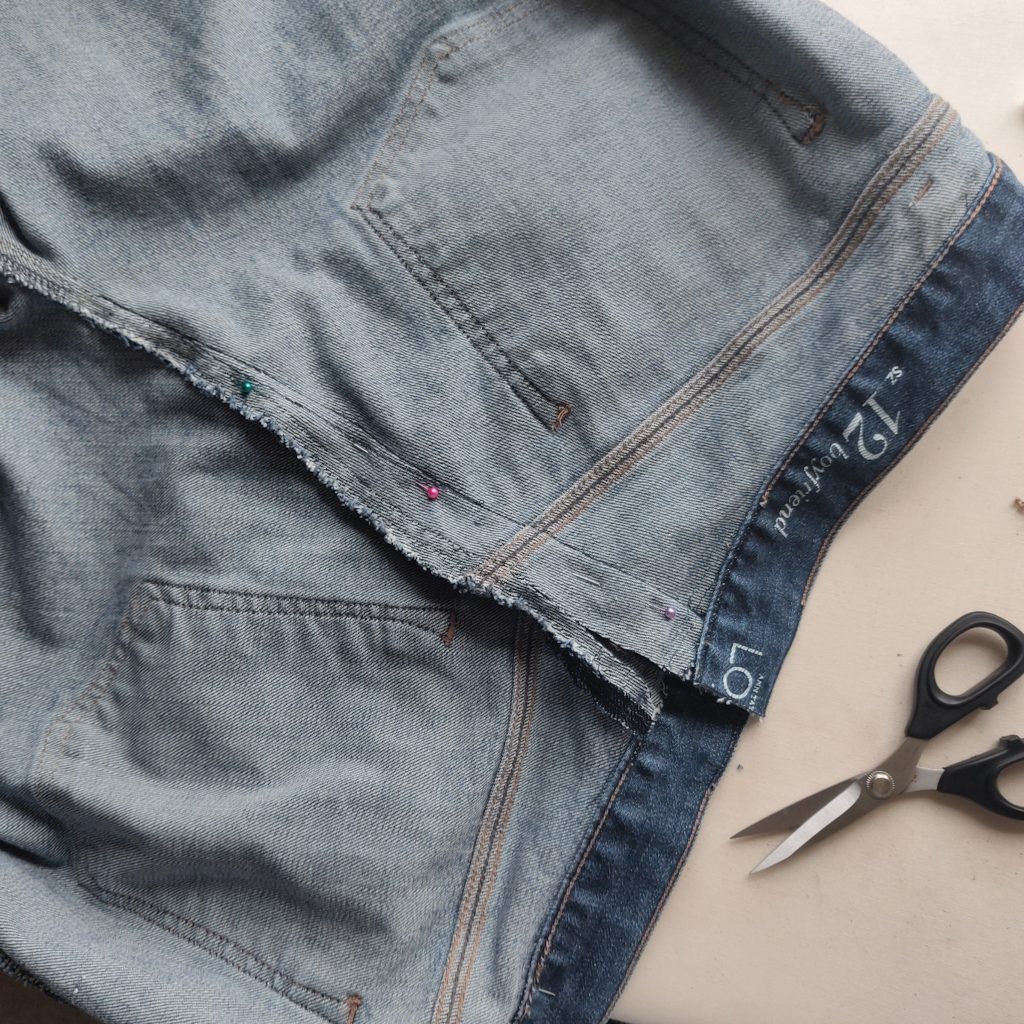
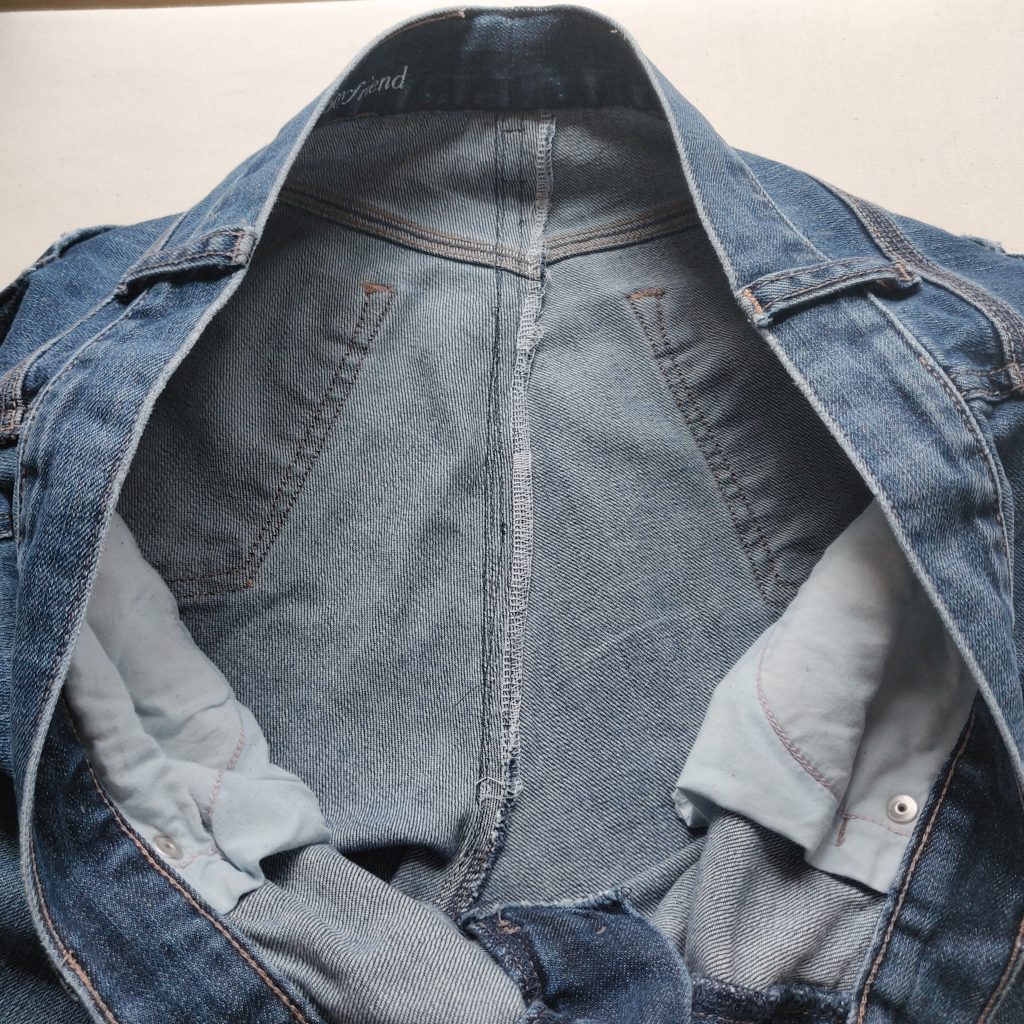
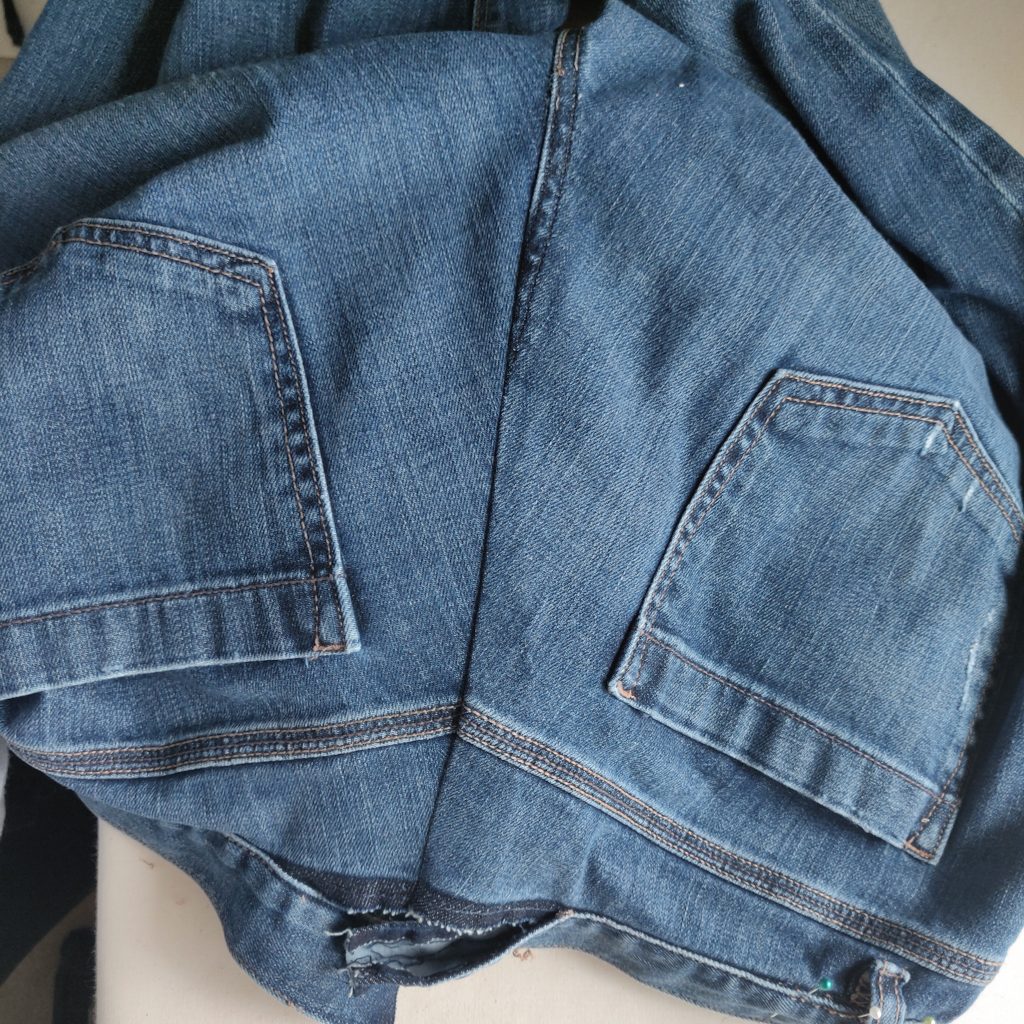
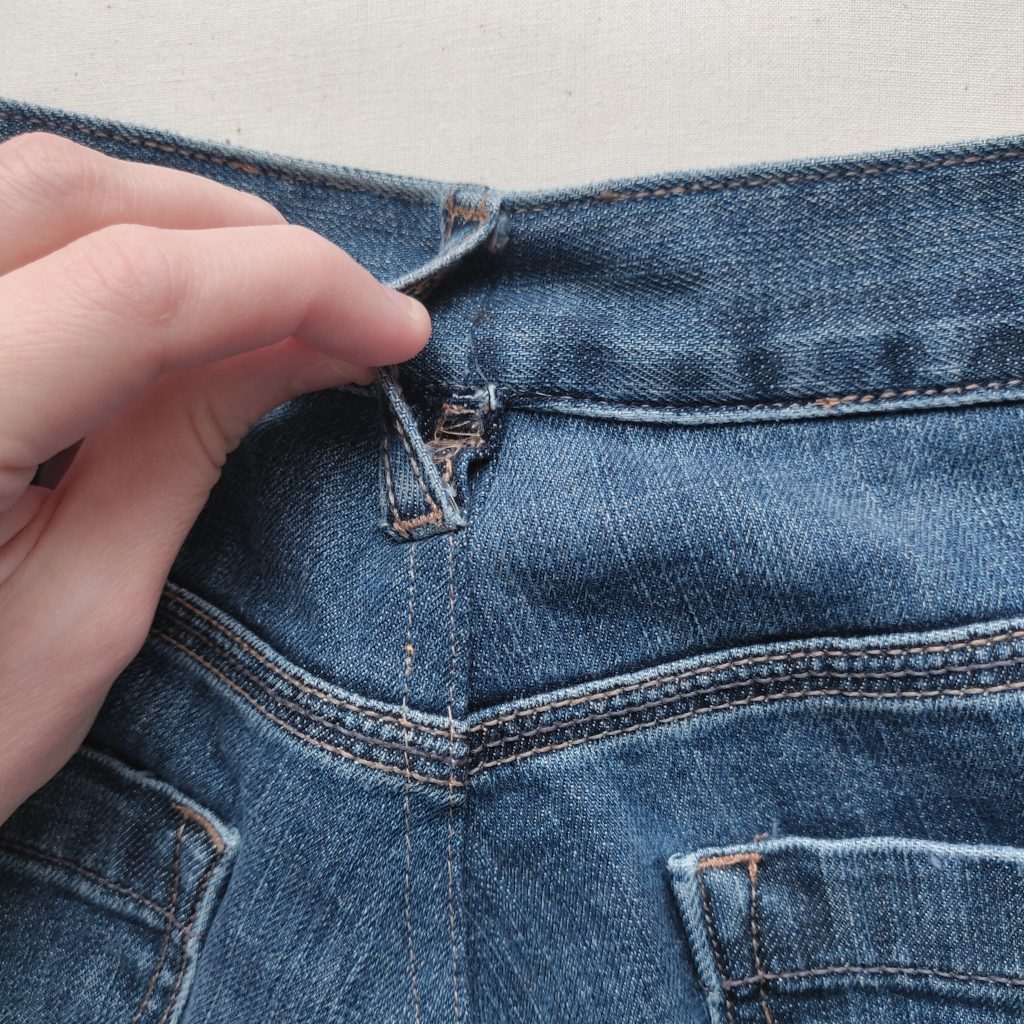
I didn’t take any before photos because I’m still really shocked that it worked! Haha. I was able to take a screenshot from the Instagram stories I took before I started. You can see that there was quite a bit that I could pinch out. Here are some process photos after I got everything unpicked and the waistband cut in half:
In the video I watched, I think the woman is actually fixing really nice jeans (with flat felled seams), but these jeans are on the cheap side, so to finish the seam I just had to press the seam to one side and topstitch. That made fixing these much easier.
I got a little distracted at the beginning (thanks children) and unpicked the wrong belt loop, and then one of my serger needles broke when I was serging the seam – but other than that, it went pretty smoothly! I didn’t have matching topstitching thread, so I just used some regular thread. I will probably go over it again once I get the right color though.
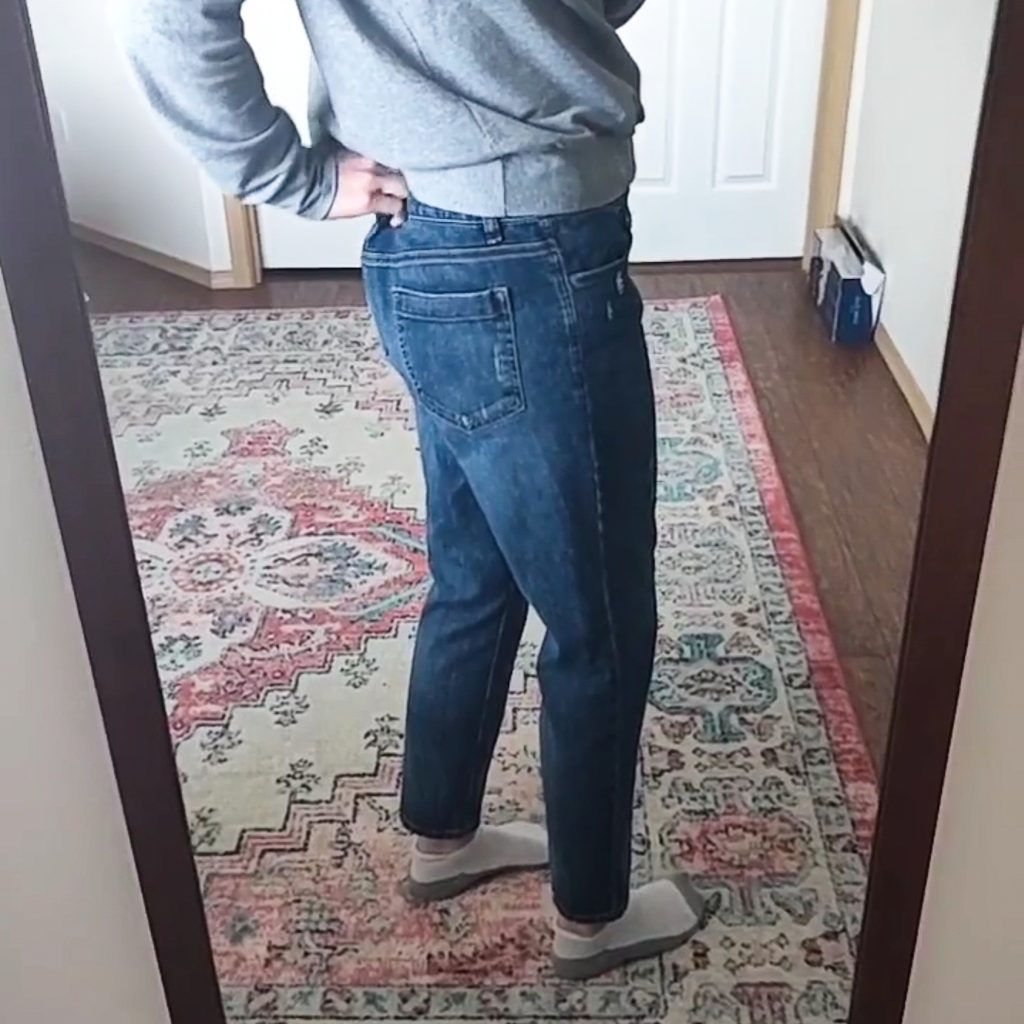
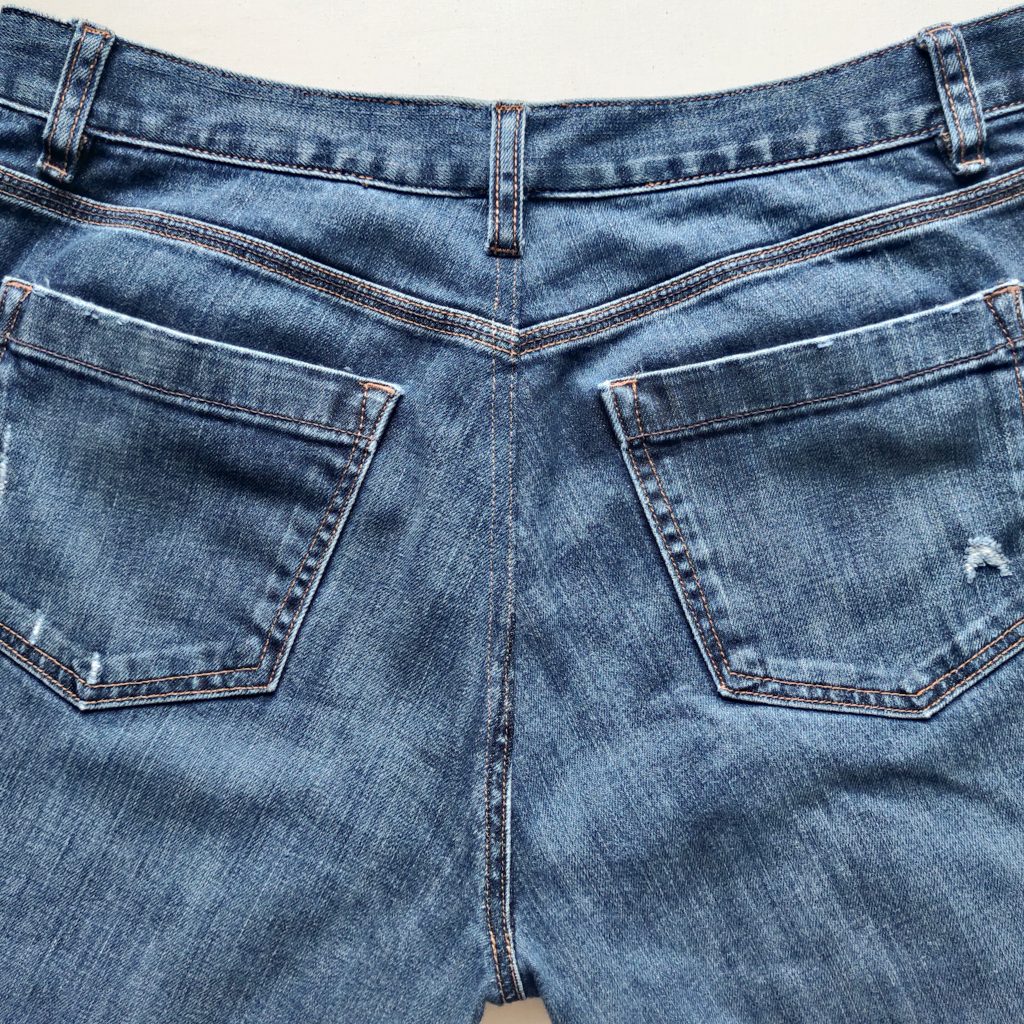
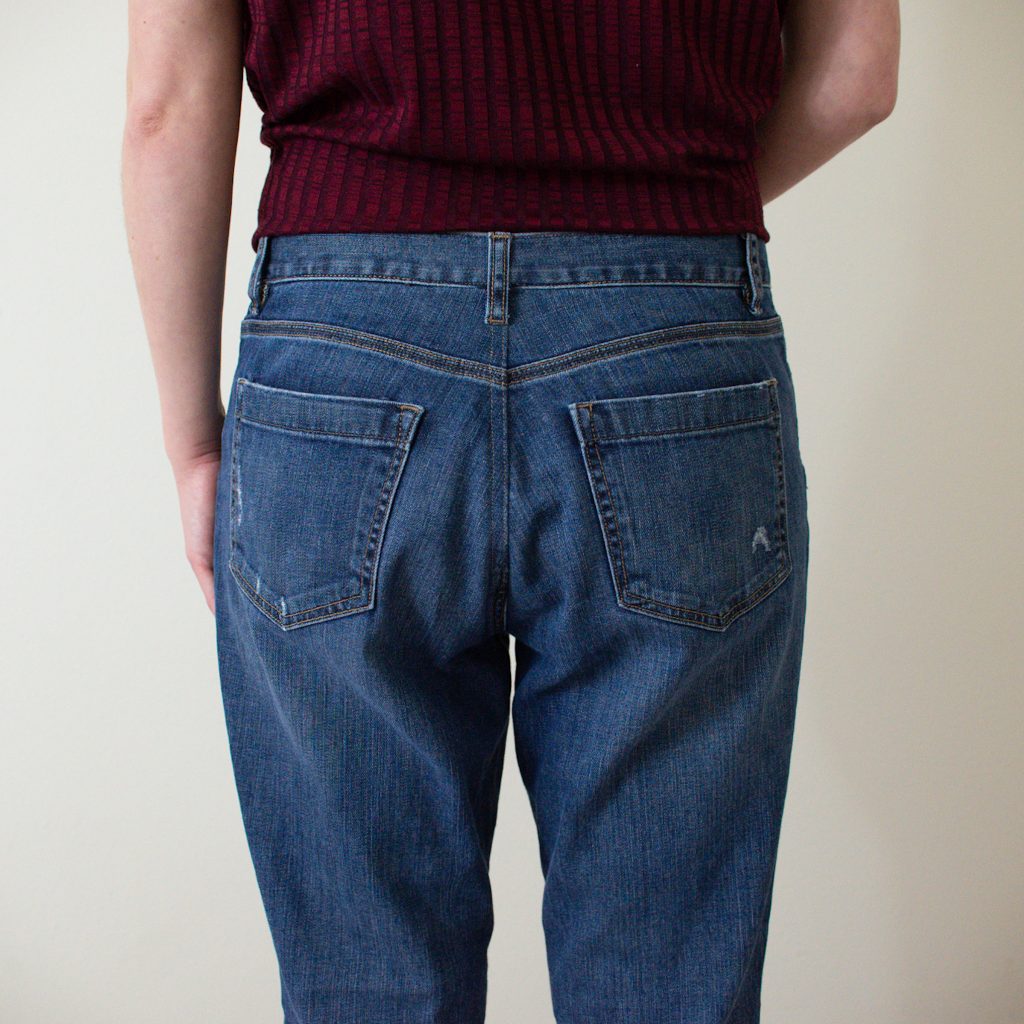
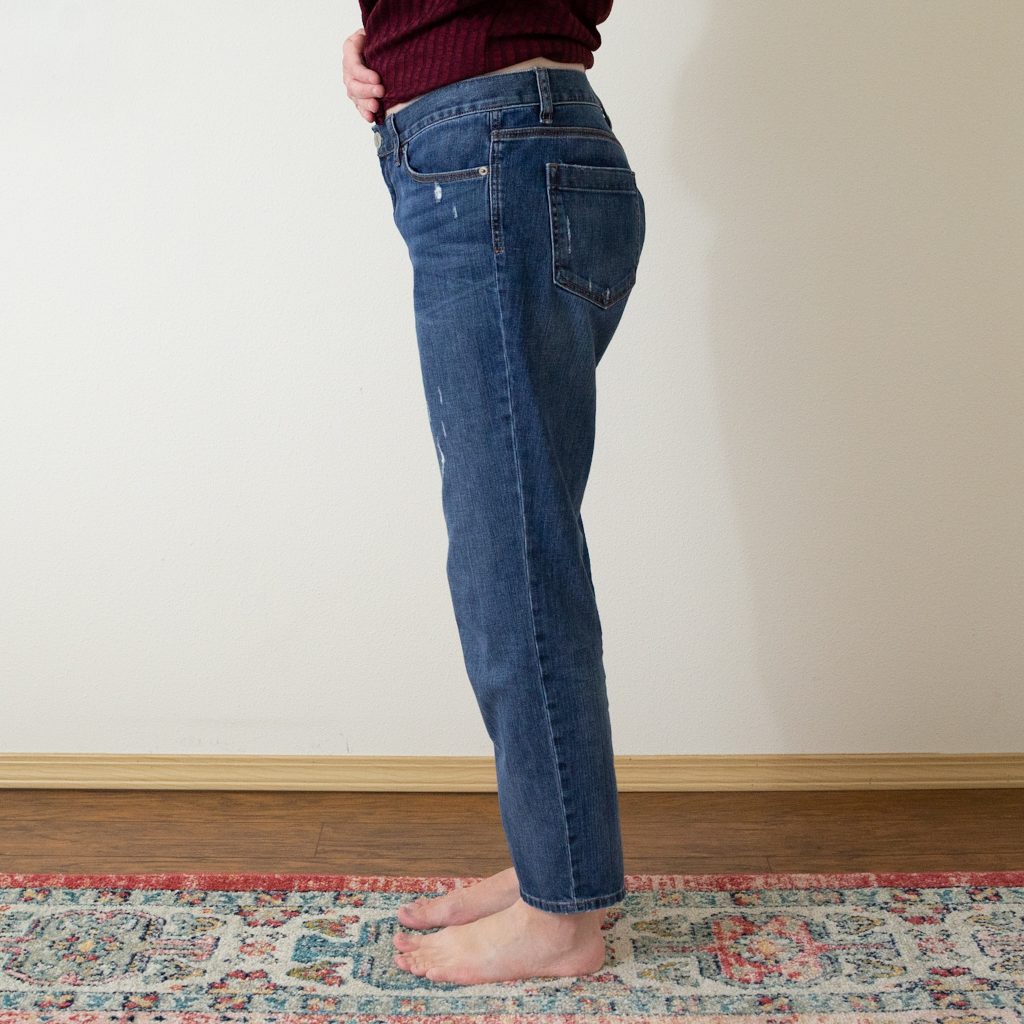
Here they are now that they’re all fixed!
I was so amazed when I tried them on and they fit so well! I realize there is a lot of bagging under the bum, but I’m not worried about it. This definitely beats sewing a pair of jeans from scratch any day! 😉
Have you tried this on jeans before?
I did this to a pair of jeans of my daughter’s and she was very happy with the result. We always have the gap because of small waist to hip. It’s nice to be able to have pants that don’t gap!
That’s so awesome! It really is such a simple and easy fix. I was so happy it worked my first time!