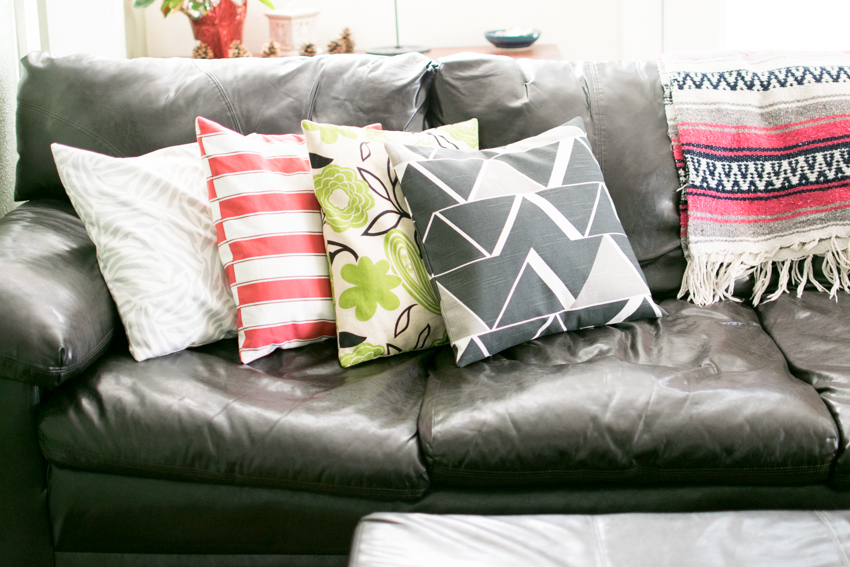
When I first learned to make these, we were living in a basement, and our furniture is all really dark. So I decided that the cheapest way for me to brighten up our living room was to buy plain pillows and make pillowcases that were whatever pattern, color, and texture that I wanted.
I love, love, love these envelope pillowcases because they have brightened up our living room so much! The best thing is that if I ever get bored of them, or if a fun holiday comes along and I want to make more, they take 20 minutes – tops.
After you’re done making them for your living room and bedrooms, they make great gifts for friends and family. They are sure to love them. Mine sure did!
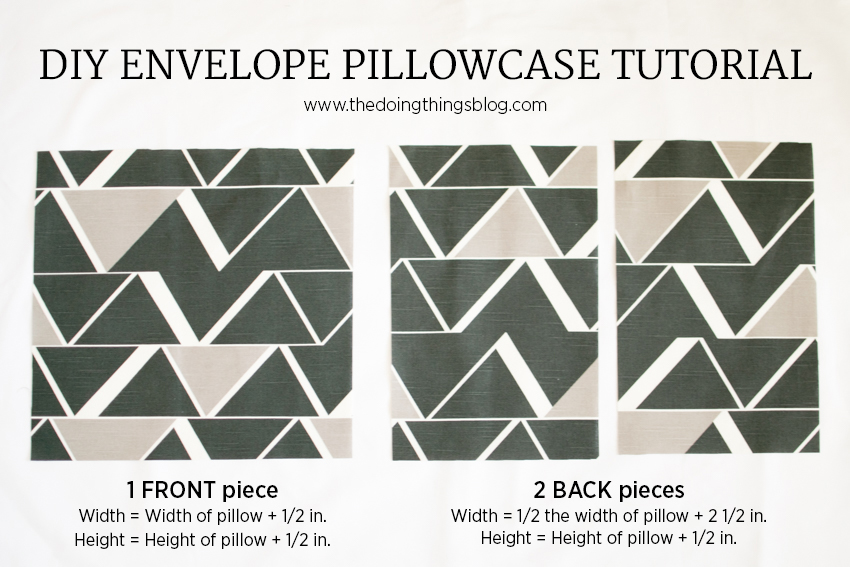
1. Measure your pillows. For the front piece, cut your fabric the same size as your pillow (plus 1/4 inch seam allowance around the entire piece). For the back pieces, cut your fabric to be the same height as your pillow and 1/2 the width of your pillow + 2 inches (make sure to factor in a 1/4 inch seam allowance).
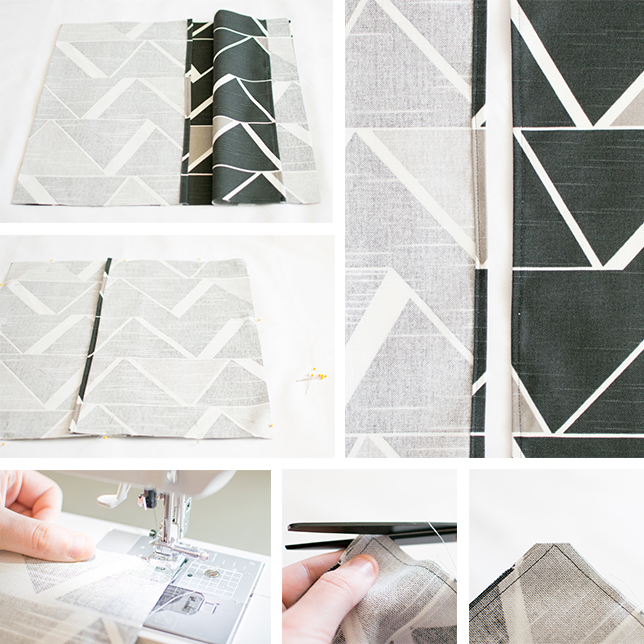
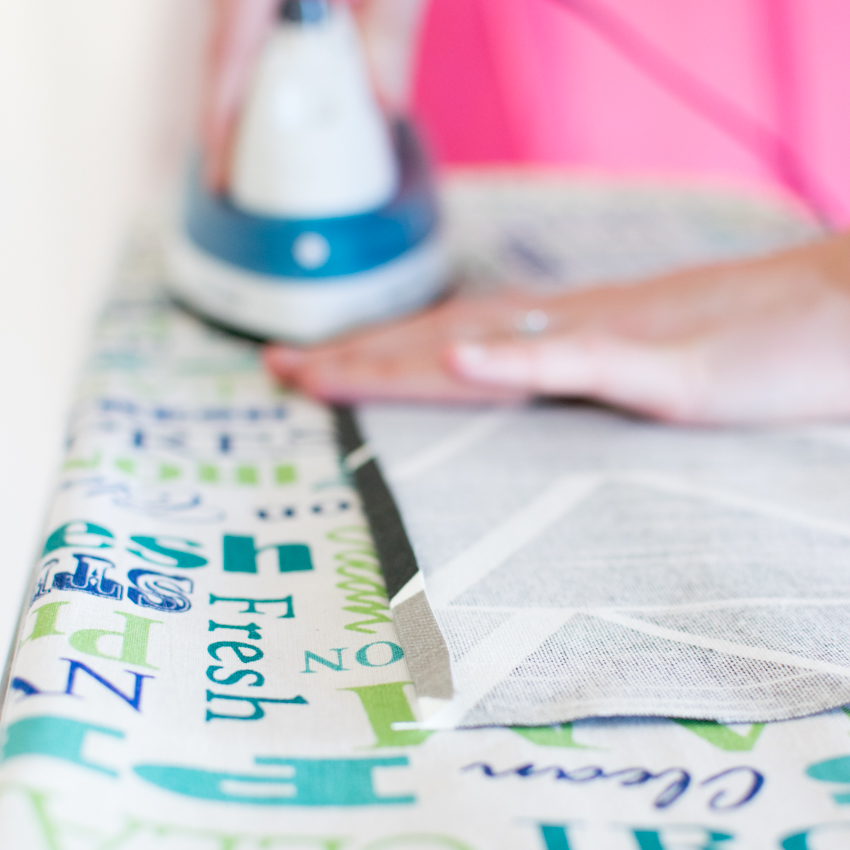
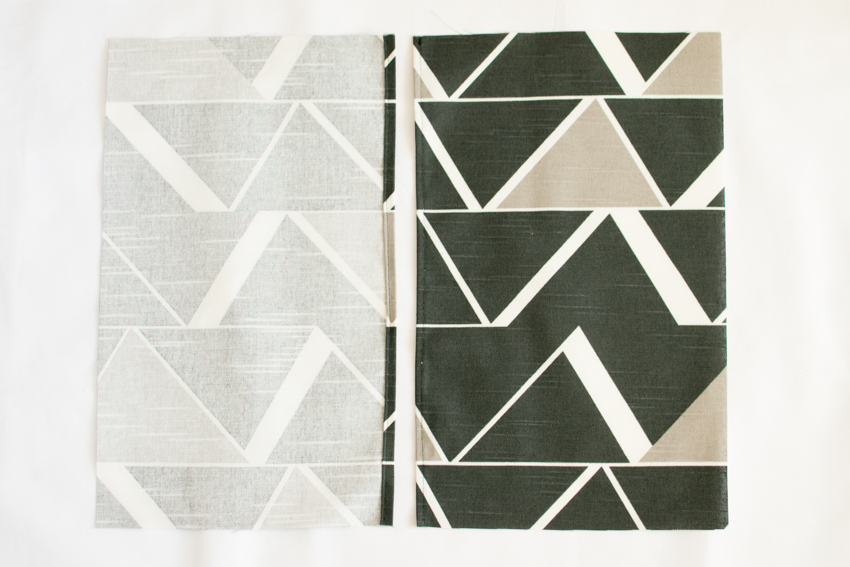
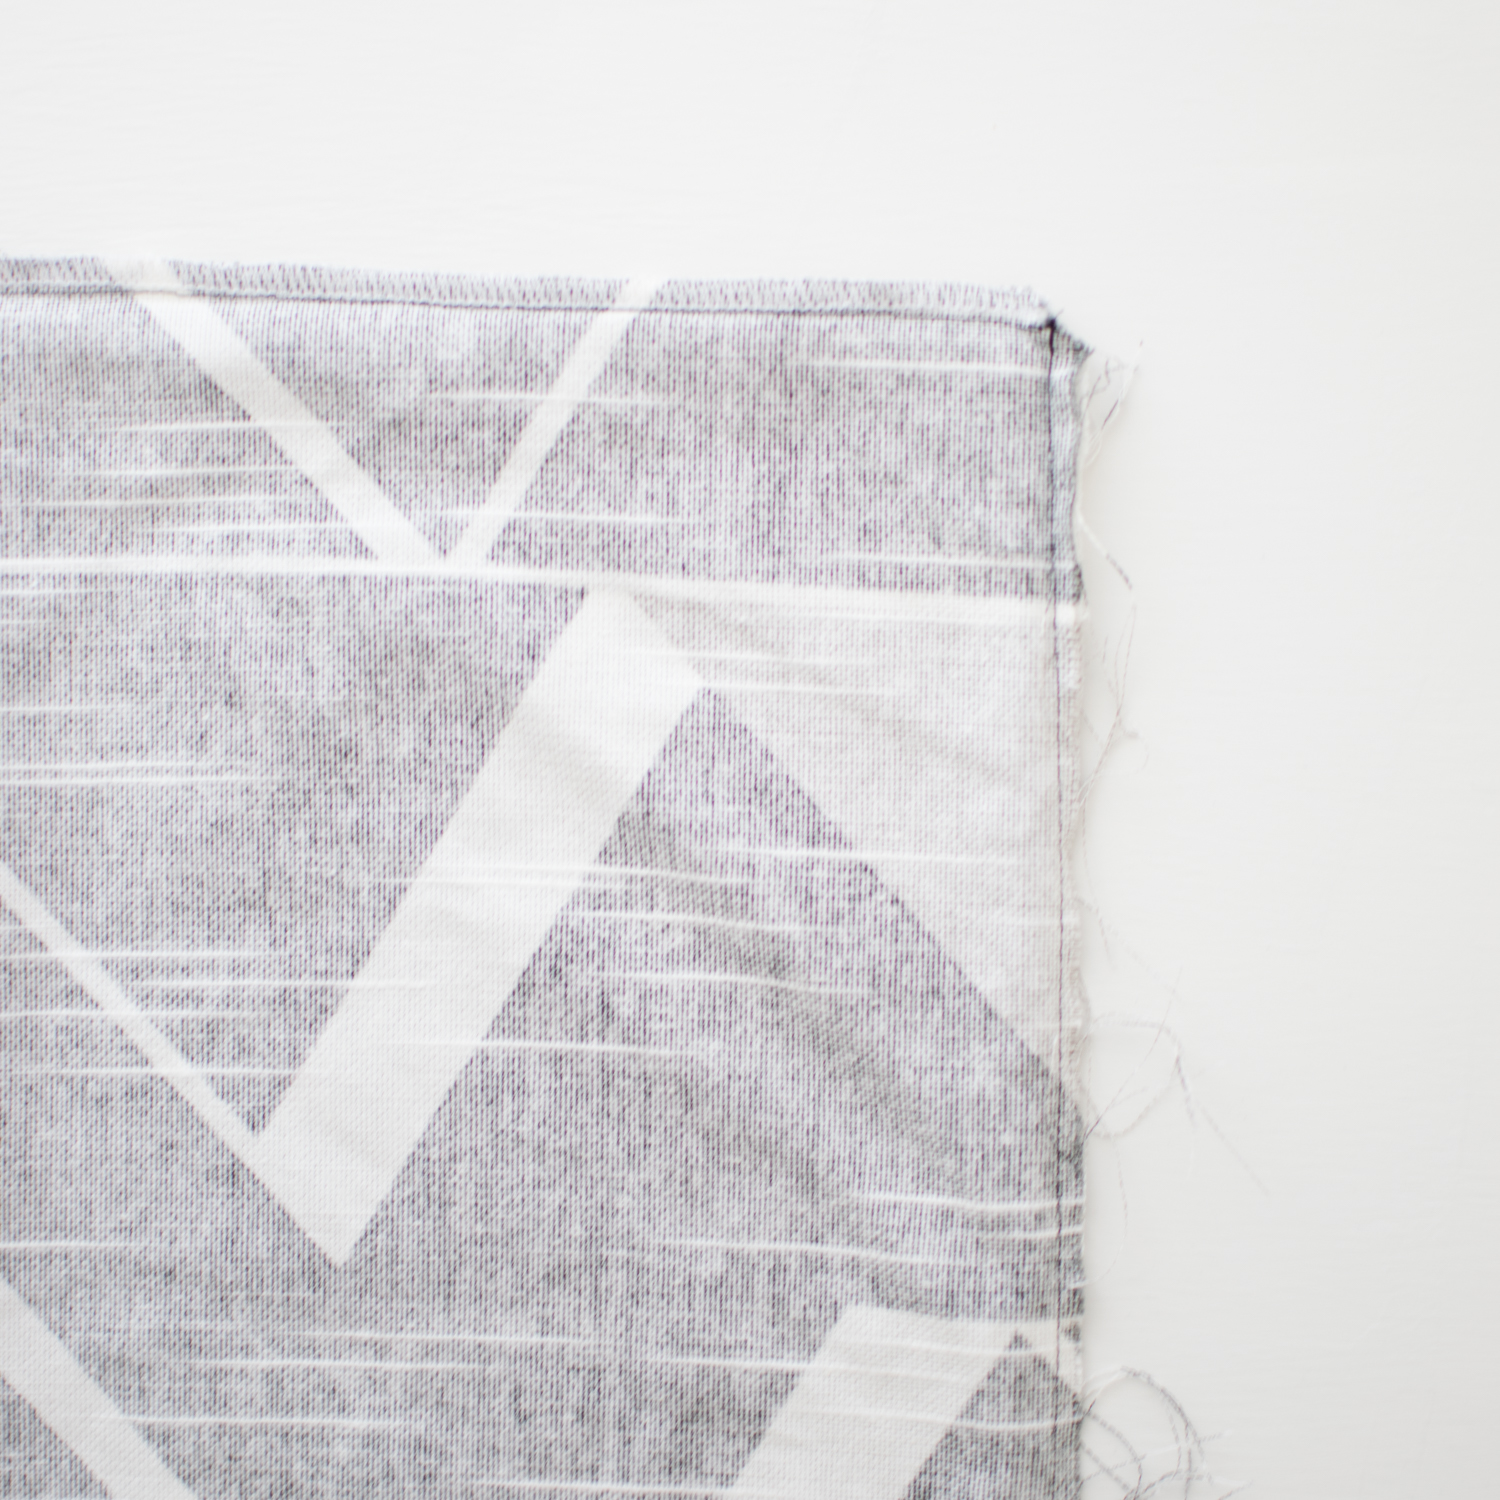
2. Iron your pieces. On the two BACK pieces create a finished edge on one of the sides that equal the pillows height. (The picture above shows what it should look like on the right and wrong sides of your BACK pieces.)
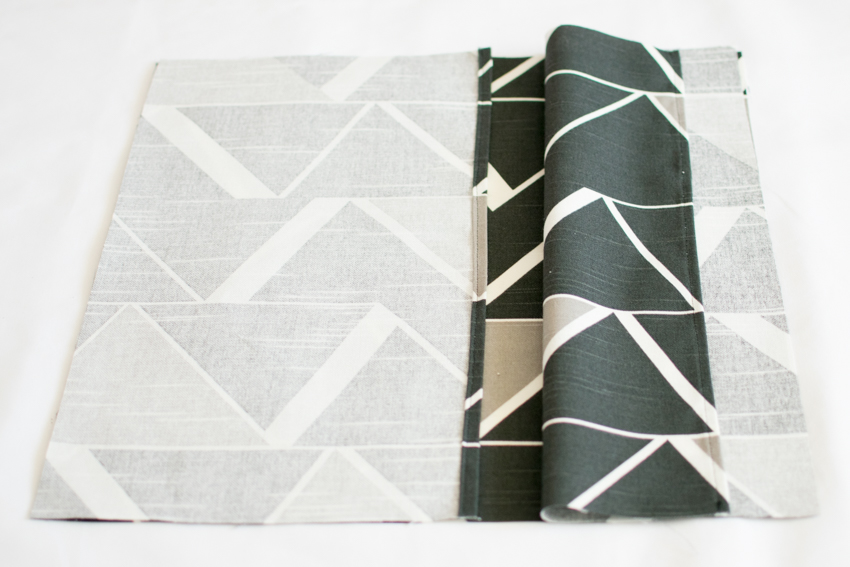
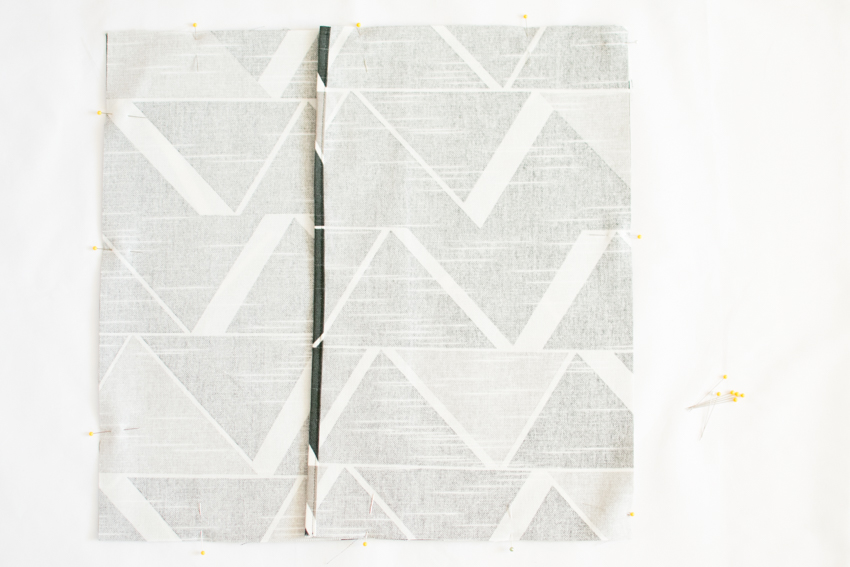
3. Lay your FRONT piece so that the right side is facing up. Lay one of your BACK pieces on top of the FRONT piece so that the heights are matching, the wrong side is up (right sides are together), and the finished edge is towards the center. Lay your other BACK piece on top of the FRONT piece so that the heights are matching, it is overlapping your other BACK piece, the wrong side is up, and the finished edge is facing towards the center.
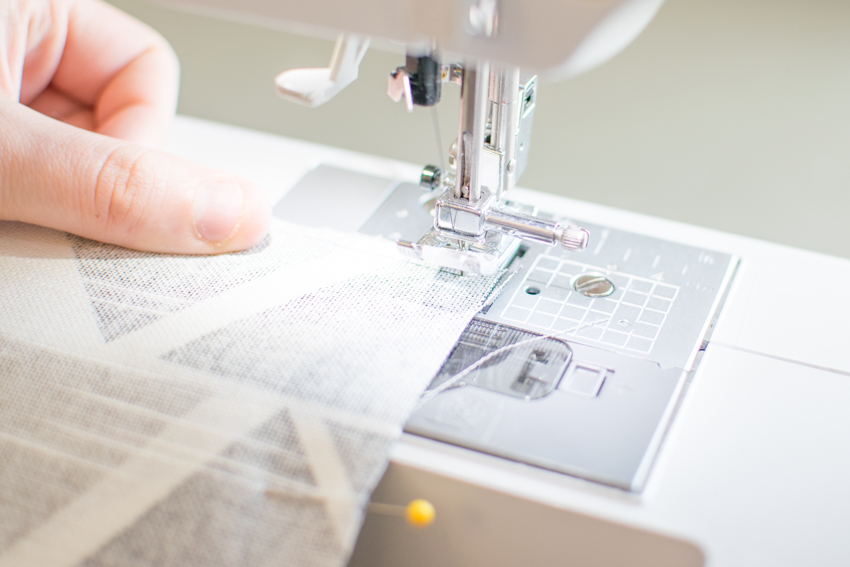
4. Pin all of the outer sides together. Sew along the outer edge of the pillowcase.
Tip: Start at a corner and once you get to the other corner, leave the needle in the fabric, lift your presser foot and turn your fabric to go the next direction, lower your presser foot and keep sewing.
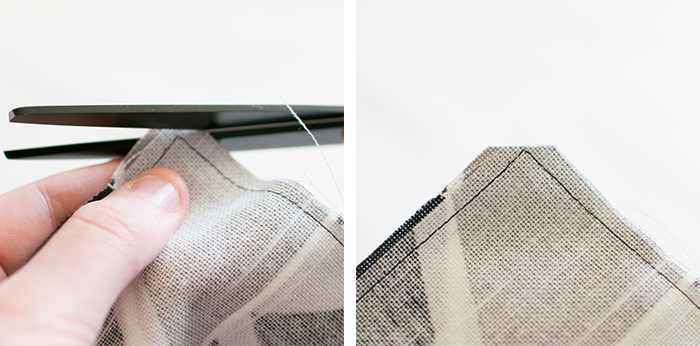
5. Cut the corners of your pillowcase before turning it right side out. This helps your corners to have a nice point and to not be so bunched up.
6. Serge or zigzag stick the outer edges if your fabric is fraying a lot. (Picture added at a later date, but you get the idea. 🙂
7. This is what the front and back should look like once you have inserted your pillow. (Picture added at a later date, but you get the idea. 🙂 Repeat for as many pillows as needed!
Let me know if you have any questions, and if you make it, tag me on Instagram (@torinoellehall) so that I can see your envelope pillowcase makes!

