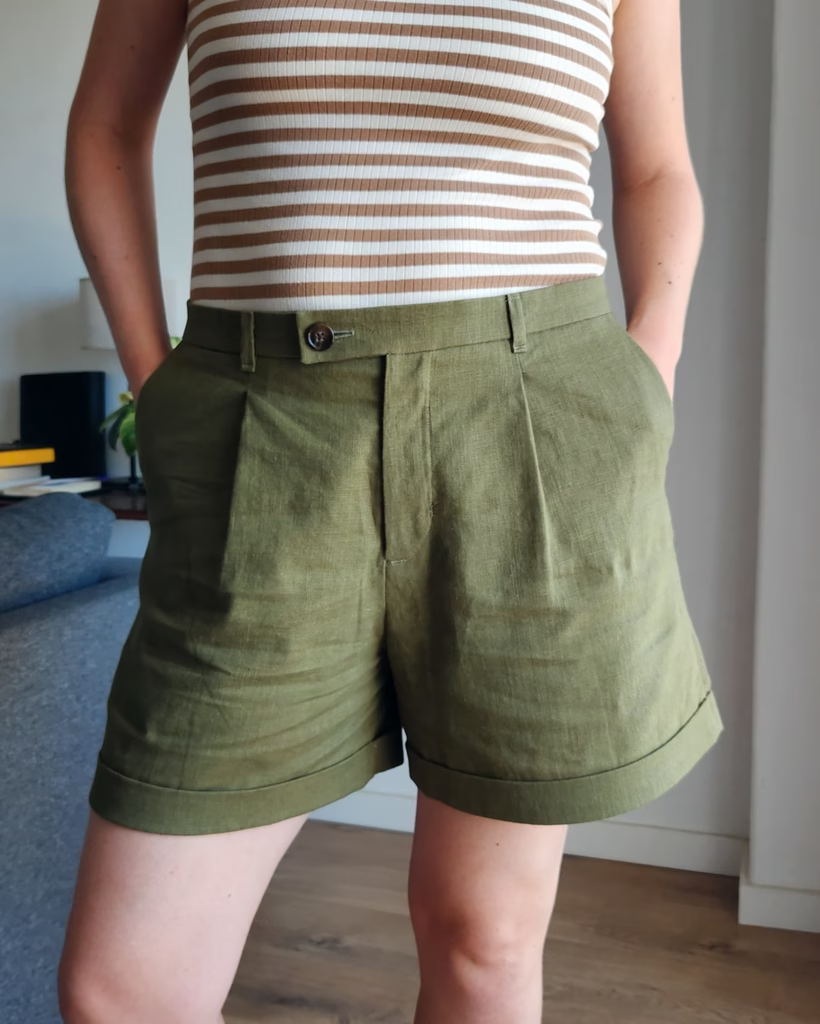
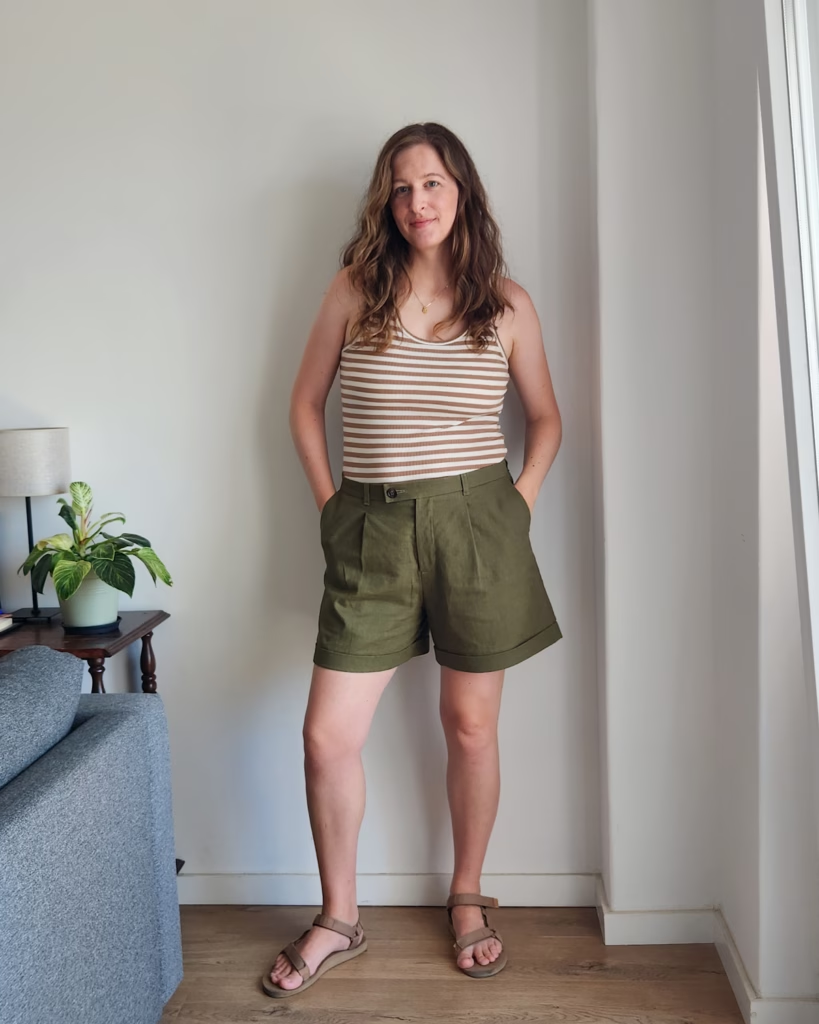
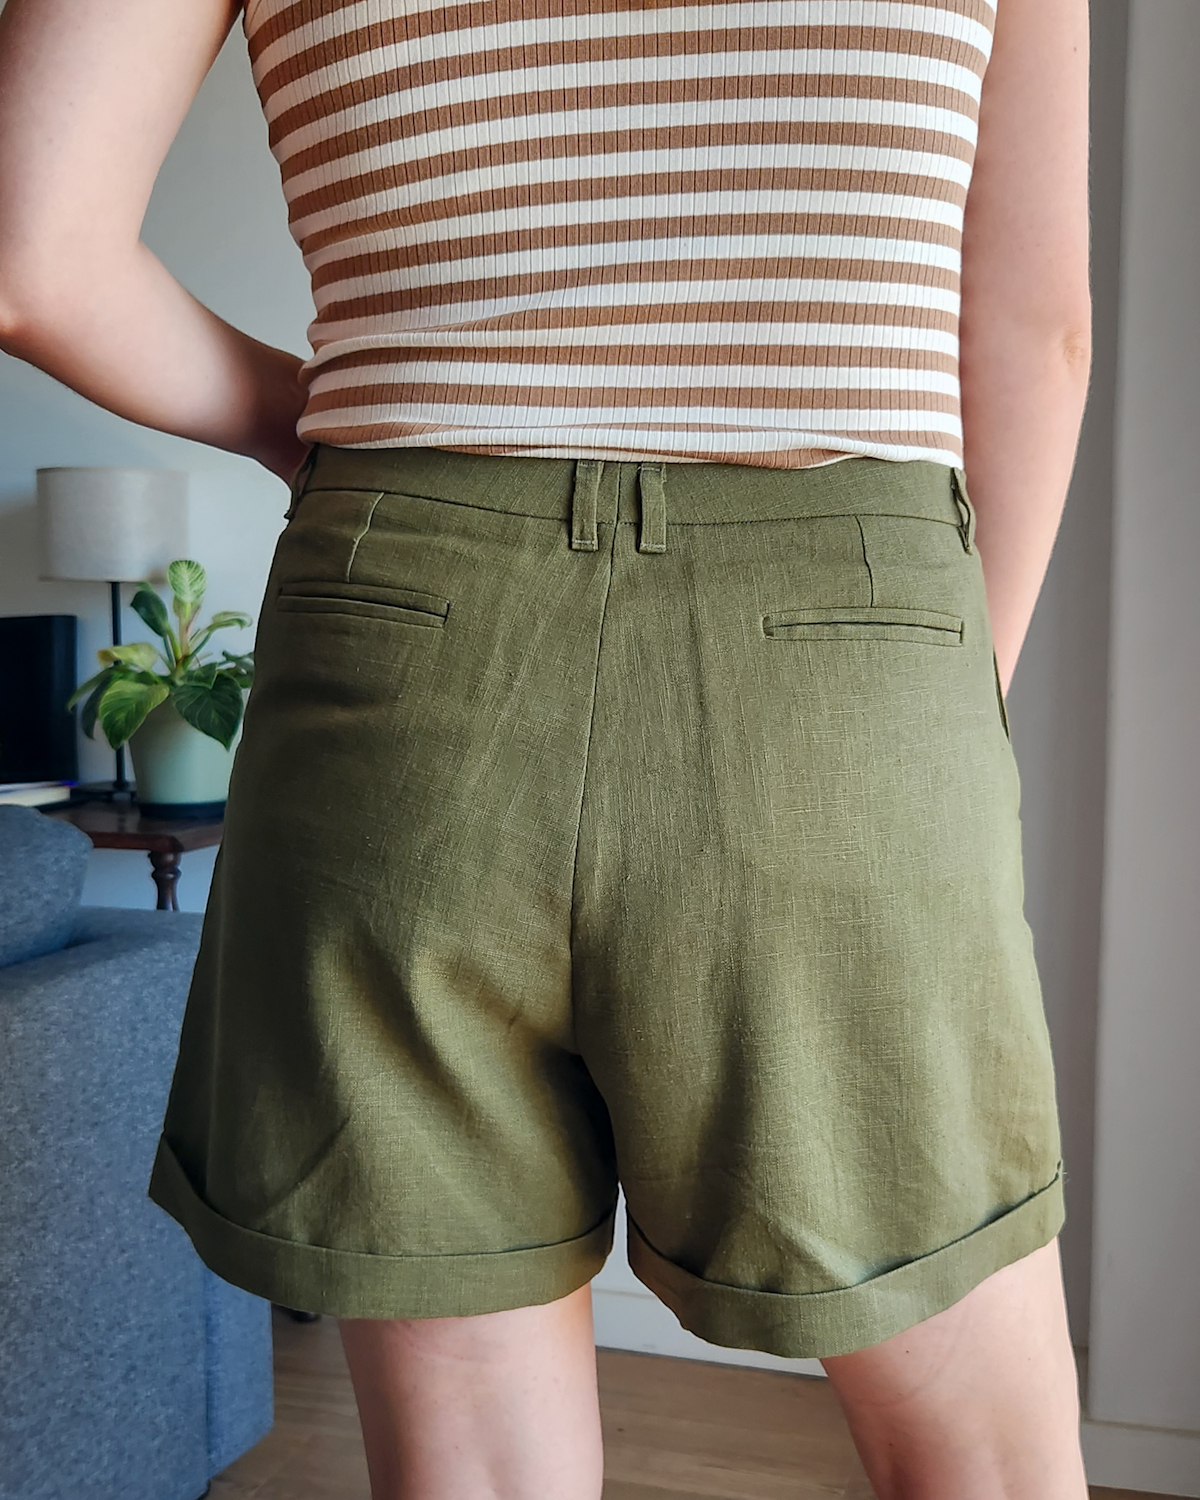
I’m so excited to share my most recent work of art and to share the new Clara Shorts pattern by my friend Susana of Suco by Susana. I know she has put so much work into this pattern, and I was so glad that I could help test the pattern. Susana is Portuguese, and you can buy her patterns in English or Portuguese.
She also has a complete video sew along to walk you through, step-by-step, on how to make these. And I can attest that the videos are amazing because I watched every single one to make mine! Susana has a blog post with the information about everything included when you buy the pattern.
I primarily watched the sew along videos to make my shorts, but I think it would be helpful to have the written instructions up to read as well. It’s helpful to see what the steps ahead look like so that you know what to pay attention to in the process.
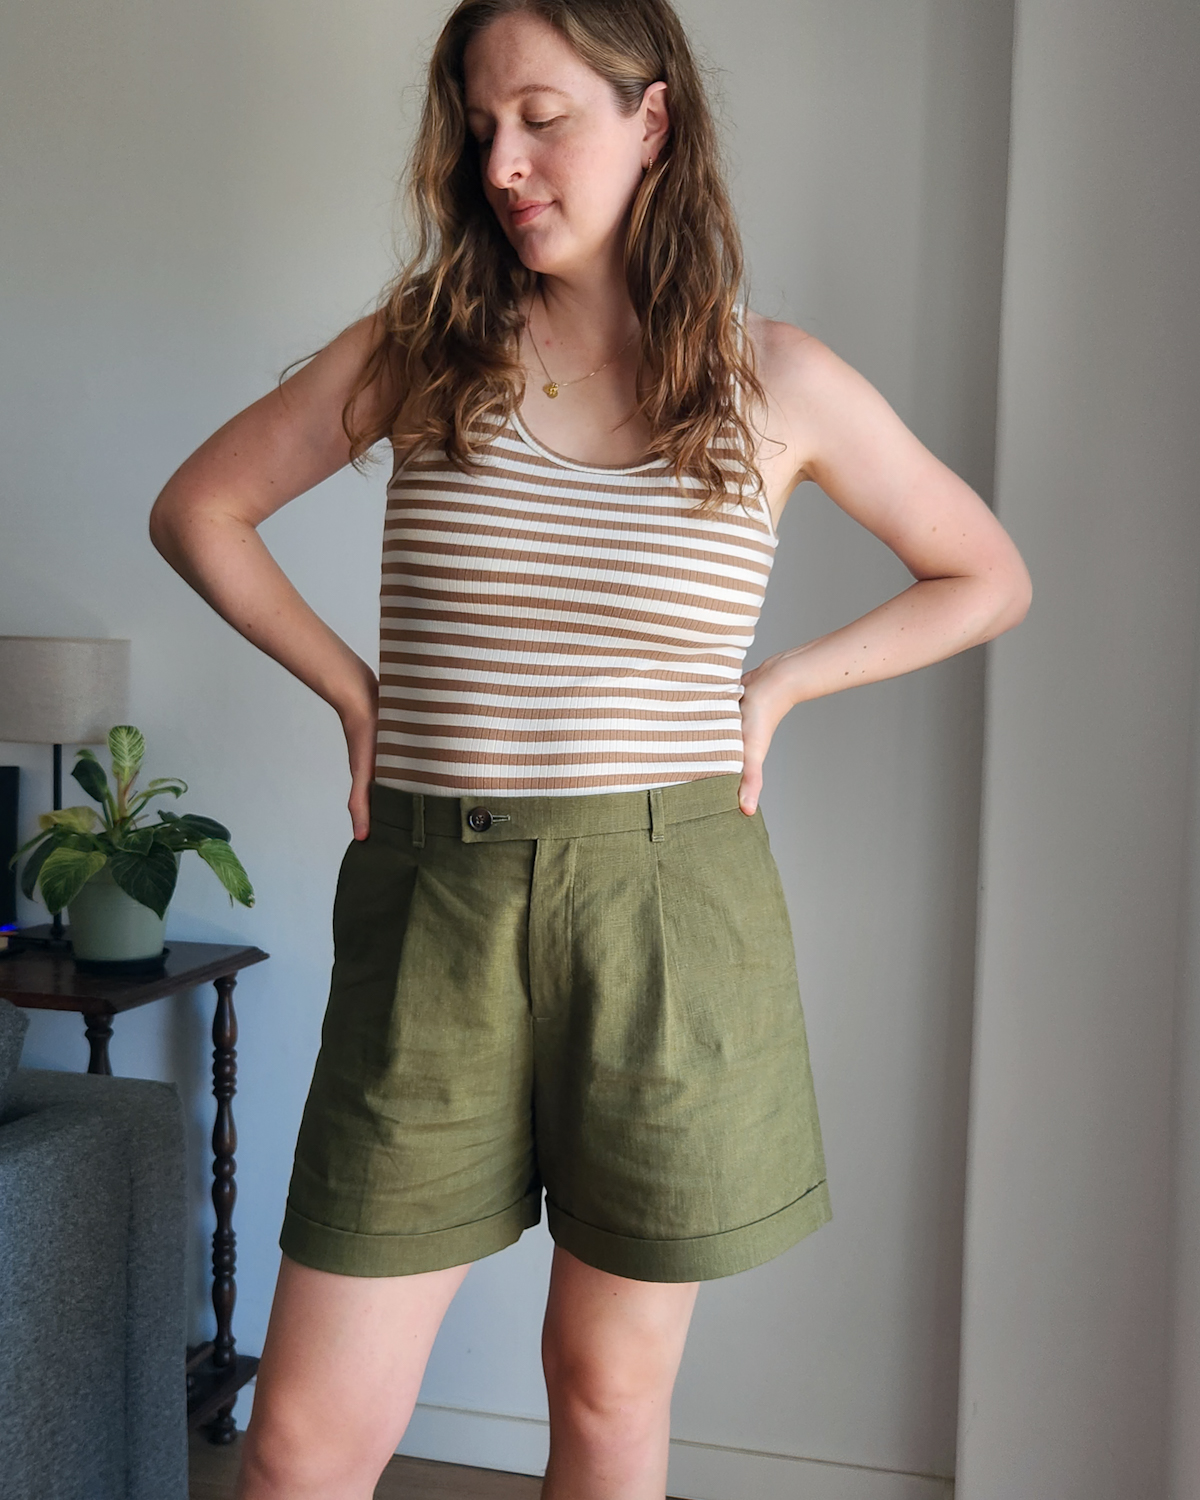
My measurements put me at a 48 in the waist and 46 in the hips, but I decided to just make a straight size 48. I don’t mind having a little more ease at the hips for this pattern. I usually do a mid-rise adjustment on bottoms, but I was nervous to do it with the zipper fly. These actually hit just below my belly button, so thankfully not in a sensitive part of my tummy. I’m happy with the size that I made, and they fit perfectly.
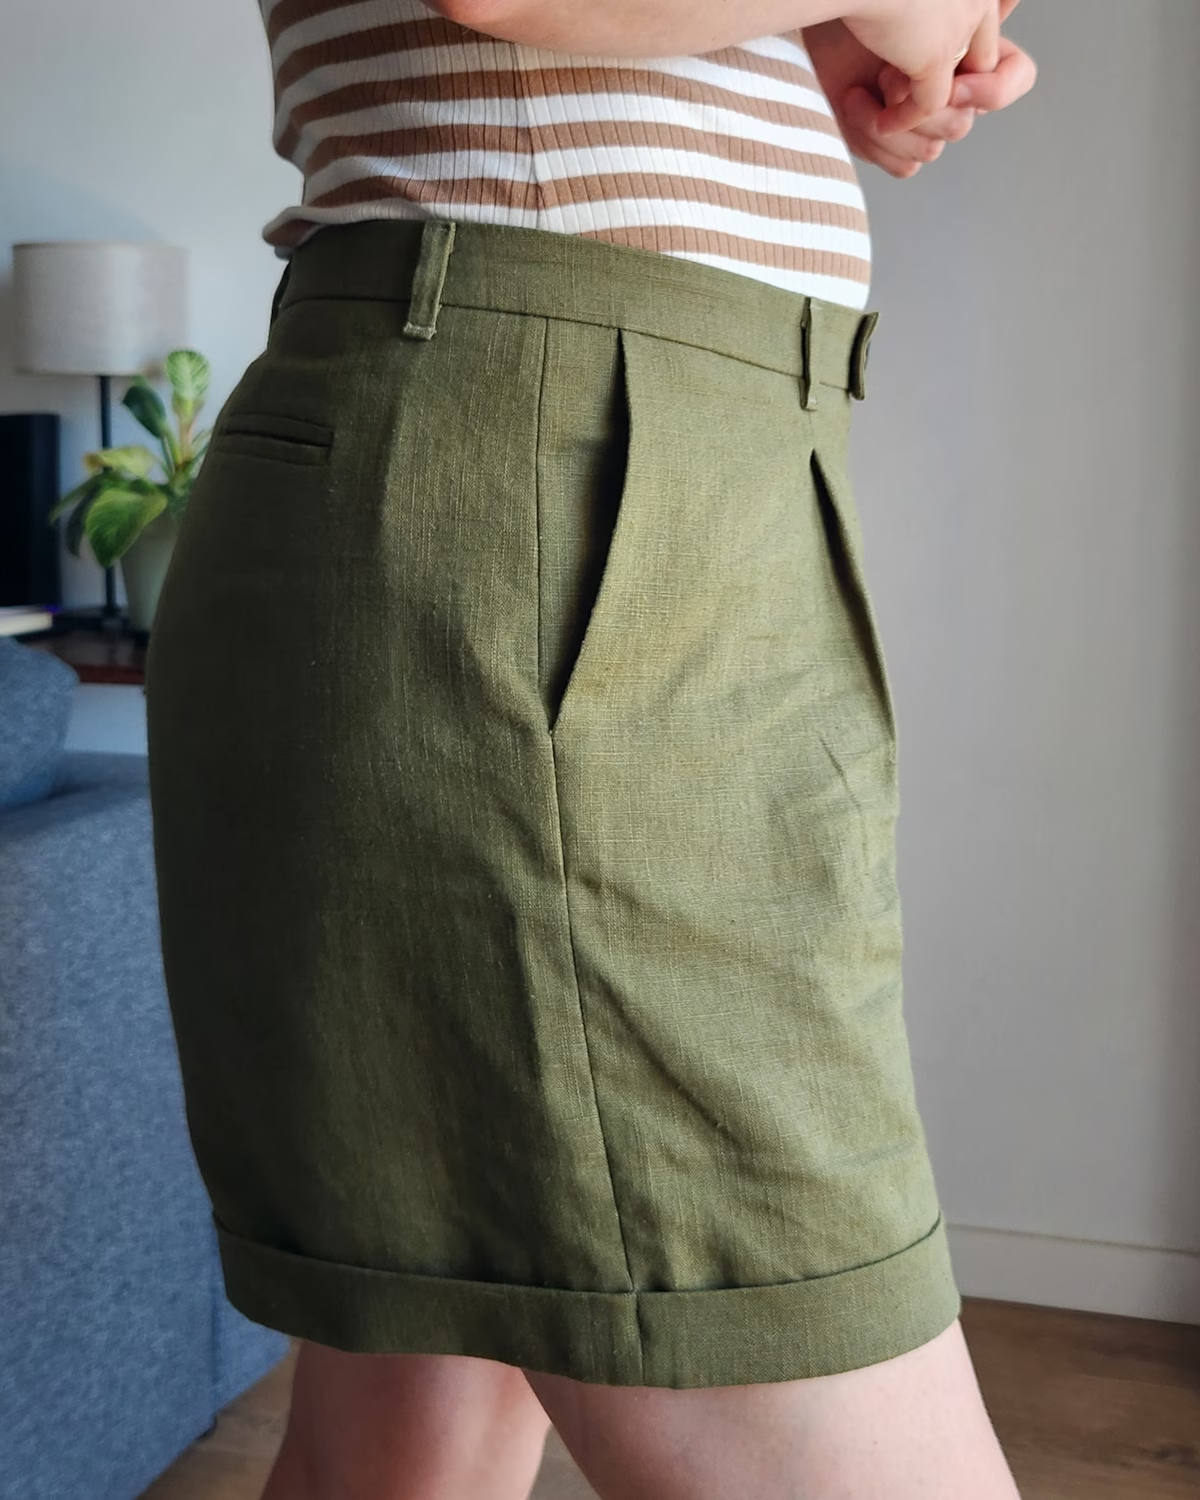
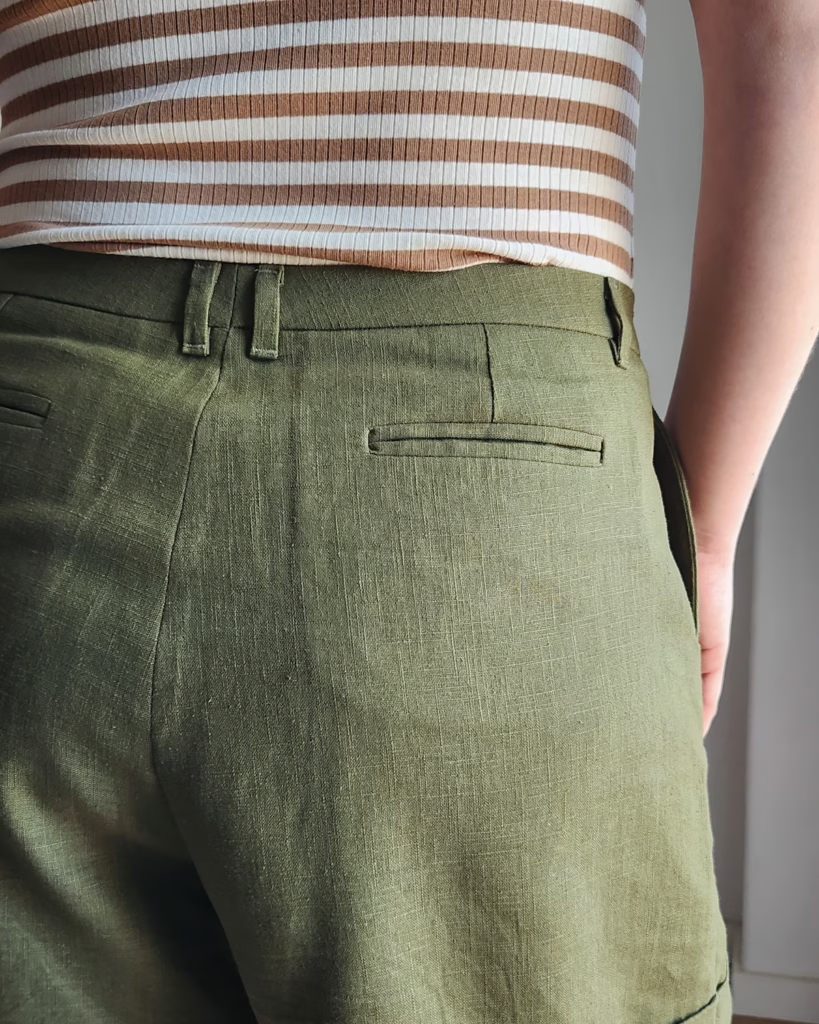
I learned so much while making these shorts. I almost swore off welt pockets for the rest of time, but I was having an off day. While I was cutting the opening for the pockets, I wasn’t paying attention to the lining in back, and I butchered it. I attempted fixing it, but the fix was sad. Then I clipped into the corners too far, and when I was finished, there was a hole in the bottom right corner that I knew would grow with time. I tried to mend it, but it proved to be pretty impossible, and I felt defeated.
By the next day I was feeling better and thinking more clearly and decided to try again. I had enough fabric that if I messed up again, I could just do the shorts without the back pockets. Luckily, the second time went much smoother since I knew what to pay attention to.
After marking the lines for the pockets, I added a 1″ square of interfacing to each end where I would be clipping into the corners. I was using linen, so the weave is a little looser than cotton, and I think the interfacing was helpful. I also made sure not to clip as far into the corner. By that point I was less worried about it laying perfectly flat, and more worried about having a hole in the corners. After a lot of pressing, the puckering at the corners isn’t all that bad, and most likely, no one is going to be close enough or stare enough to notice (shown below).
I really took my time, but I didn’t want to press my luck, so I only did one of the welt pockets one day and then sewed the other side the next day. They both look very similar with more puckering on the left side of the pocket than the right. I’m not sure why that is, but it’s better than holes!
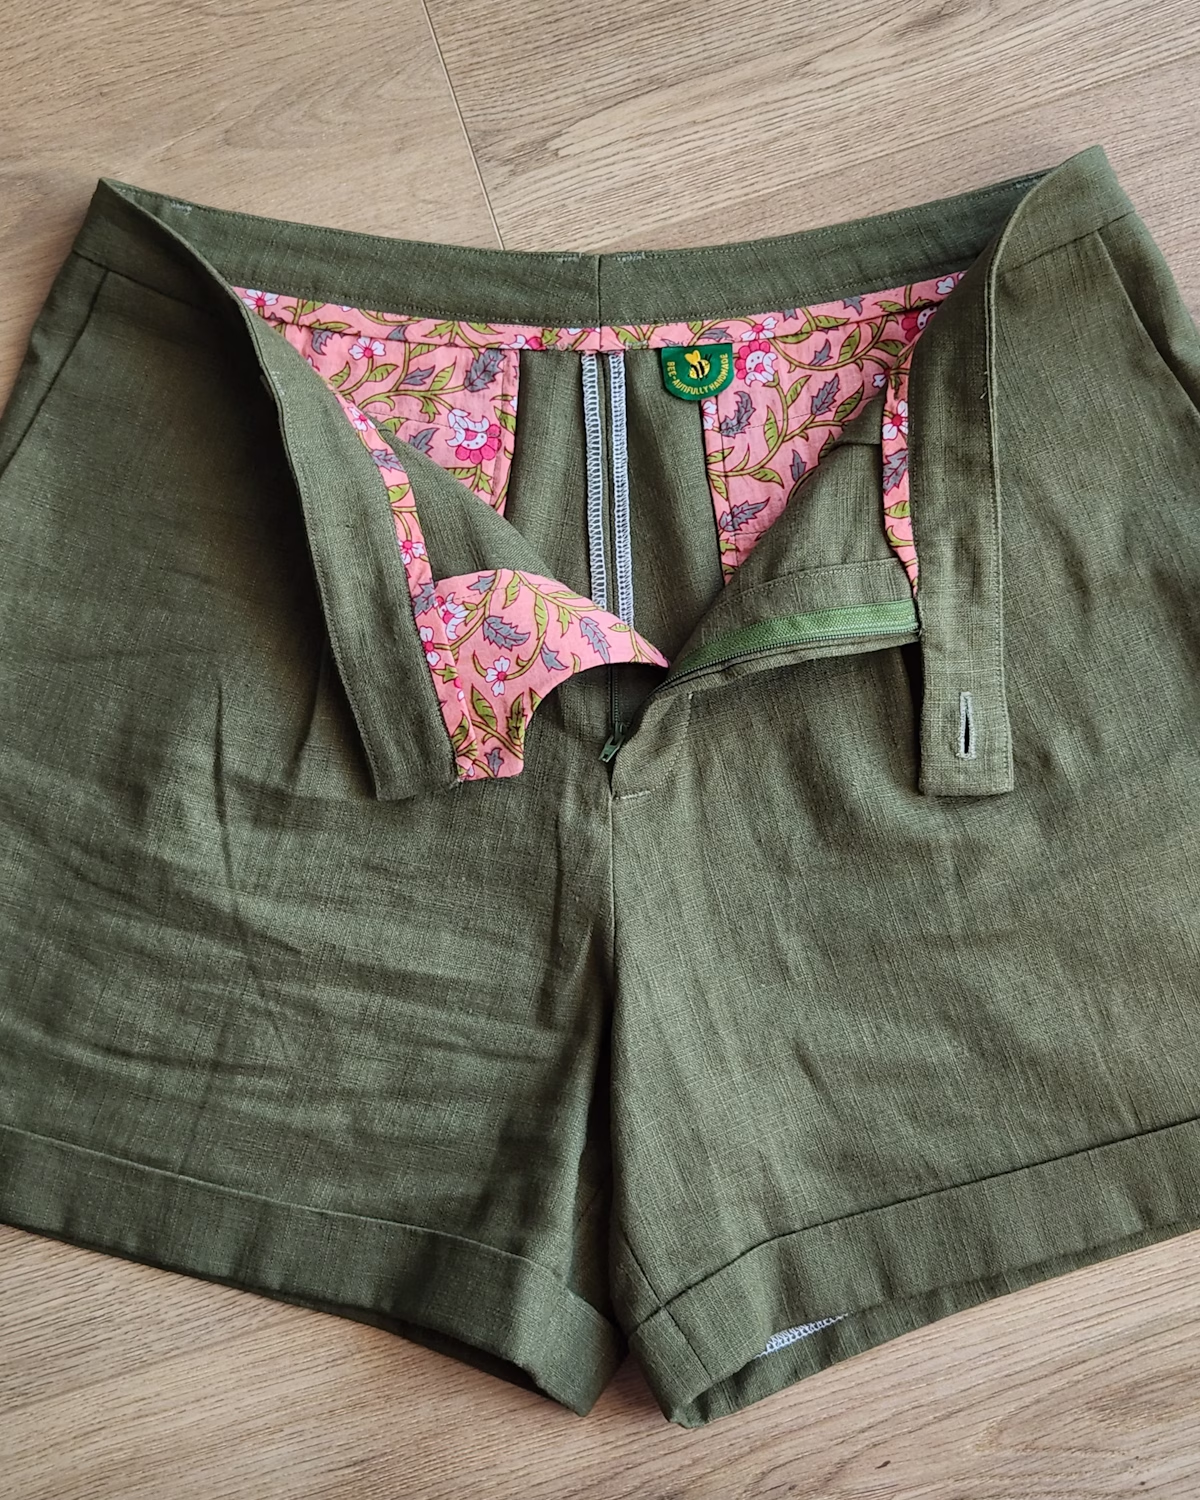
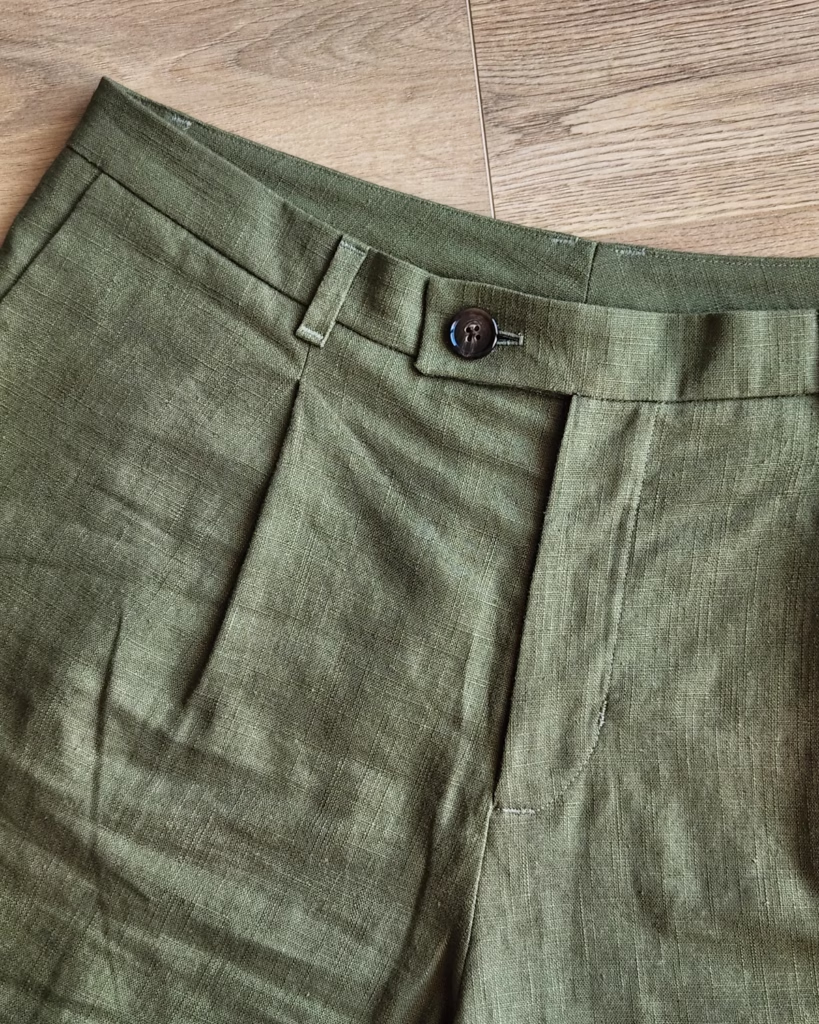
This was only my third time sewing a zip fly, and it went very smoothly! The last time I sewed a zip fly was in 2019 in two different bottoms and neither ended up fitting very well. So, I was a bit discouraged and hadn’t tried again until now. Susana explained everything really well, and I was more stressed about it than I needed to be.
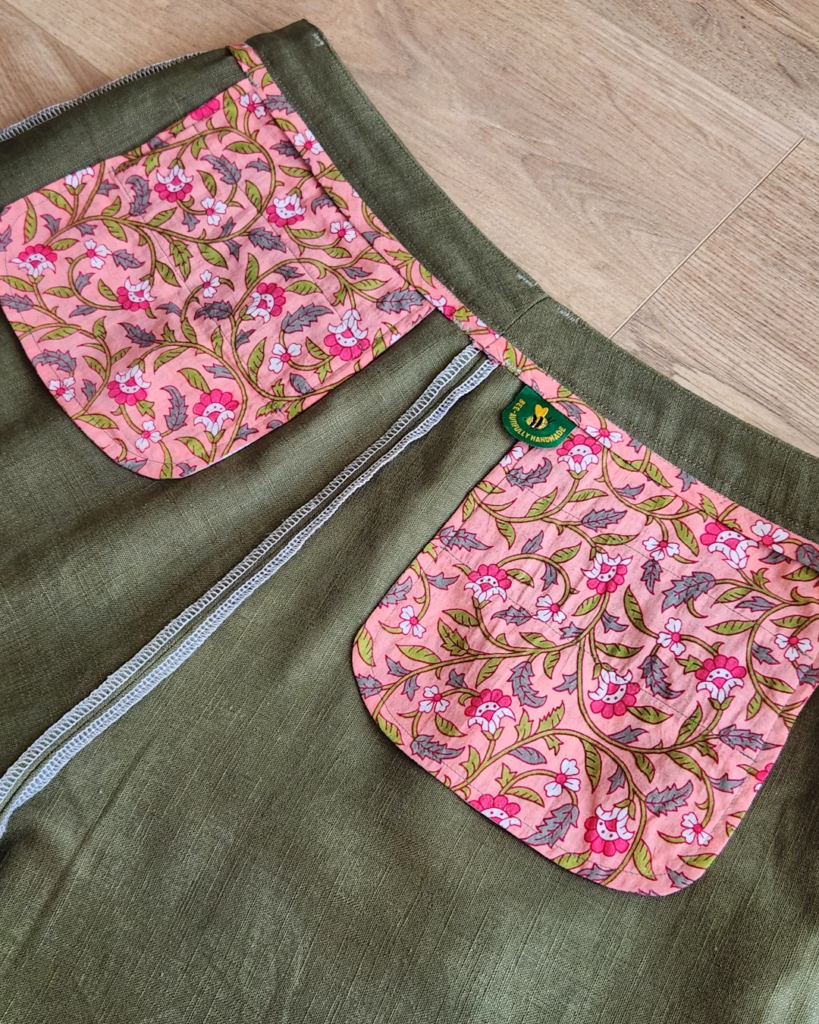
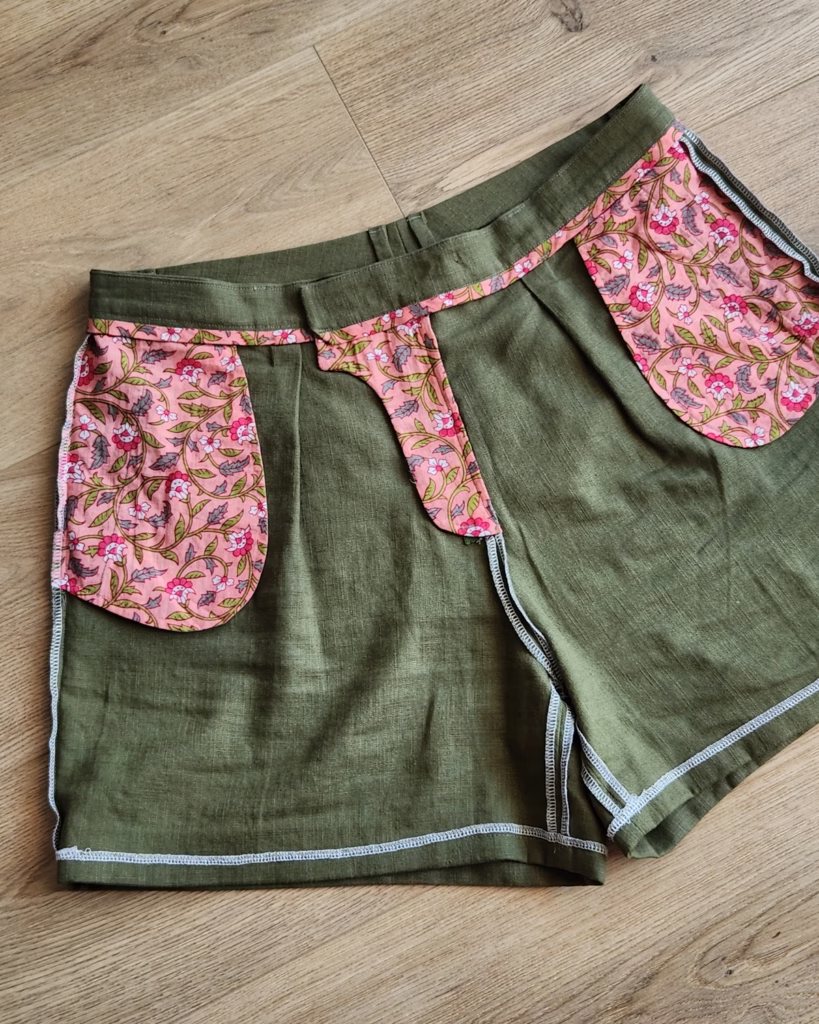
The one thing I didn’t pay attention to was the size of the front extension, so it’s a little wider than the waistband, but it’s not hugely noticeable (first photo below). Susana’s patterns teach you how to do the most beautiful insides. Can you believe those French seamed back pocket bags (second photo below)?? I couldn’t believe how nice they came out.
I got a little bit over excited about sewing the belt loops and forgot to sew the tag to the middle back, but it’s still there, just a little off centered. It’s a cute little tag with a bee that says, “bee-autifully handmade” from TheCosyClubHandmade. I don’t see this one in her shop right now, but she has some really cute tags.
I have some cream cotton twill that I would love to make into a pair of Clara Shorts. I’ve saved some cream-colored shorts as inspiration to my Pinterest.
I think next time I would change the front to not have the extension and do a regular hem (or facing) instead of the fold up. These shorts fit me so well that it makes me much less nervous to try again. It’s also nice that the back double pockets are one of the first steps so that you can get them done and not stress about the rest of the process.
As I was making these shorts and finally got into the groove after finishing the back double welt pockets, it kind of reminded me of making button up shirts. Some steps in making a button up shirt are more complicated and take more effort, but it’s nice to have projects like that sometimes. It’s a little bit meditative…as long as I’m not in a bad mood and I don’t keep messing up. Lol.
The Clara Shorts pattern is 25% off until July 26th. I highly recommend them if you are looking for a nice shorts pattern or if you’re new to making shorts and would like to have a sew along to walk you through every step.
Thank you for reading and happy sewing! xoxo

Sharing Joy:
The free Roxie Tee pattern by Sewlala was release a couple of weeks ago and after reading the instructions, I realized that I didn’t have the correct interfacing. I was able to order it from a shop in France and it finally got here a couple of days ago! I’m so excited to work on it this week. I’m using a very bright lime colored fabric and I’m excited to try styling it a few different ways.
So cute!
Thanks Julie! 💗
Holy moly I’d be wearing these inside out. Gorgeous fit and finish!
You know, I did think about that before I took the flat lay photos. 😆 It would be a little difficult to zip and button. Thank you, Lia! 🥰
Ya know! So good!
So cute! I love the inside pocket fabric!
Thanks Sky! 🥰 I love any chance I get to use my Indian cotton scraps.
Good for you for not giving up! The shorts look great on you! And I also love the inside facing fabric.
Thanks Grandma! 😘 The inside facings always make it fun.
The insides 😍😍😍! Excellent work! I’ve been keeping an eye out for shorts with these exact features, the only thing missing is an elasticated back, but I’m wondering if I could just alter the pattern to include it. Thanks for sharing! Yours turned out great!
Thank you, Kim! 🥰😘 You could definitely try hacking them. I test for a pattern designer who is making a similar design in the works, WITH the elastic back, but I’m not sure when they’ll be releasing it yet. I’m rooting for hopefully this fall/winter. 🤞